A hidden water leak is plumbing leaking behind a wall, under a floor, or beneath a concrete slab, where the water never surfaces where you would expect it. You find most of them the same way: look for damage you cannot explain, then run the water meter test to prove a leak exists, then shut valves off one branch at a time until the meter stops moving. The whole diagnostic path costs almost nothing and takes an evening, and it tells a plumber exactly where to open a wall instead of guessing.
Here are the nine signs worth chasing, in the order I would chase them.
- A water bill that climbs with no change in how you use water
- A musty or damp smell in one room, closet, or cabinet
- Discoloration or a stain on a ceiling, wall, or floor
- Paint that bubbles, blisters, or flakes away from drywall
- Floorboards, tile, or vinyl that warp, cup, or lift at a seam
- The sound of water running when every fixture is off
- Water pressure that keeps dropping on one side of the house
- Warm or damp patches on a floor, especially on a slab
- A water meter that moves or a dial that creeps with nothing running
Table of Contents
- What You Need
- Step-by-Step: How to Find a Hidden Water Leak in Your House
- 1. Look for Water Damage and Musty Smells
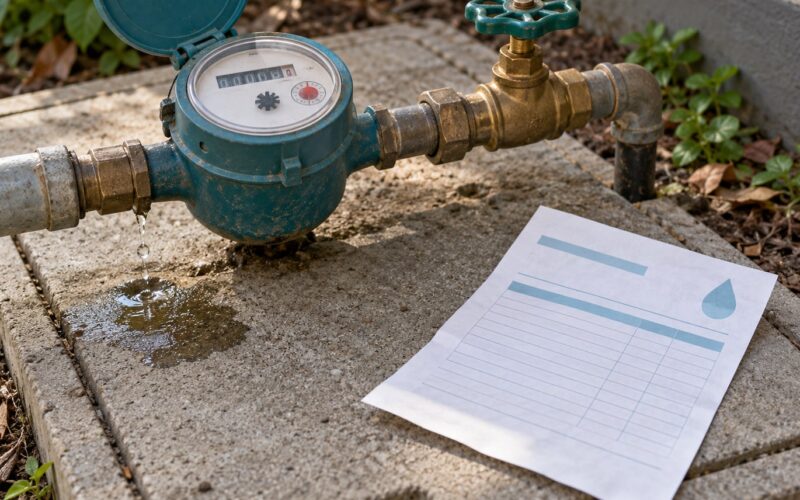
- 2. Check the Water Meter
- 3. Listen for Running Water
- 4. Test Toilets, Faucets, and Visible Plumbing
- 5. Search Around Common Leak Locations
- 6. Use Moisture and Temperature Clues
- 7. Isolate the Water Supply Room by Room to Find the Hidden Water Leak
- 8. Know When to Call a Plumber
- Common Mistakes
- Frequently Asked Questions
- How do I find a water leak that is not visible?
- How long can a water leak go unnoticed?
- How do plumbers detect hidden leaks?
- Can plumbers detect leaks behind walls without damaging the wall?
- What is the typical cost of leak detection?
- What to Do First
What You Need
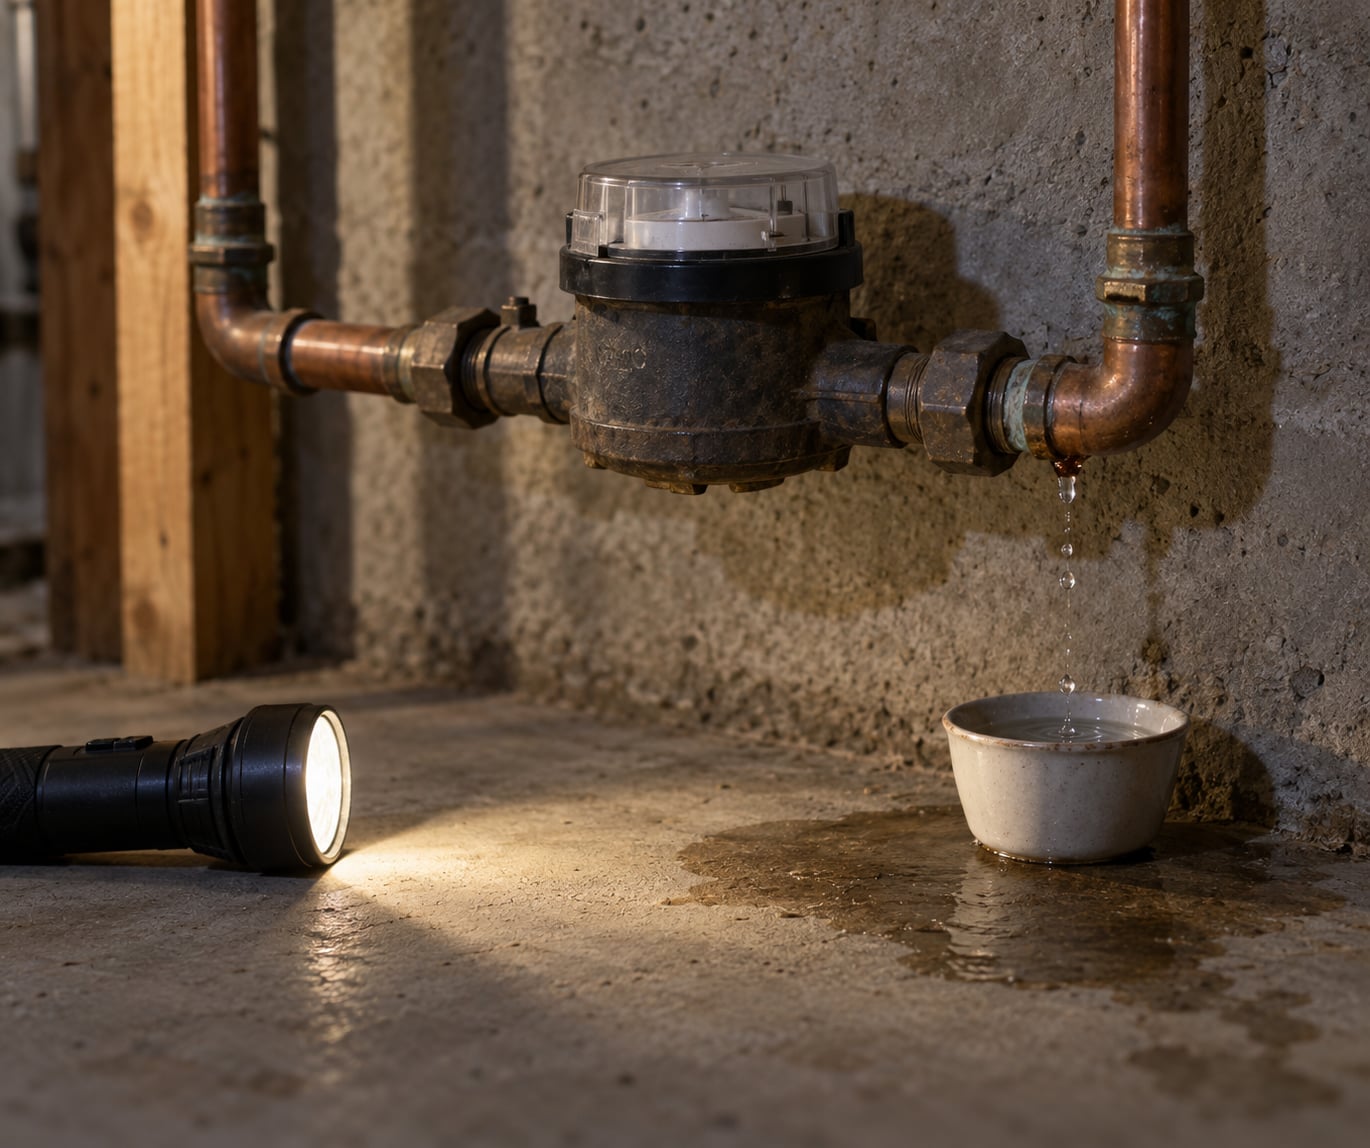
You can start this investigation with a flashlight and a notepad, and add tools only as the evidence demands them.
- Flashlight and charged phone. For ceilings, under-sink cabinets, and crawlspaces where a dark space hides a stain you would never see in daylight.
- Paper and pen. Write down every reading and every shutoff. The pattern is the diagnosis, and nobody can remember it from memory at 9 p.m.
- Food coloring or a water dye tablet. For the toilet tank test in step 4.
- Tissue or paper towel. For finding a dripping valve or a weeping supply line without wetting the floor.
- Moisture meter. A pin-type or pinless meter turns a guess about a damp wall into a reading. A cheap pinless meter is adequate for most homeowners.
- Infrared thermometer. Cools and heats are what you feel under a slab or behind drywall where water travels.
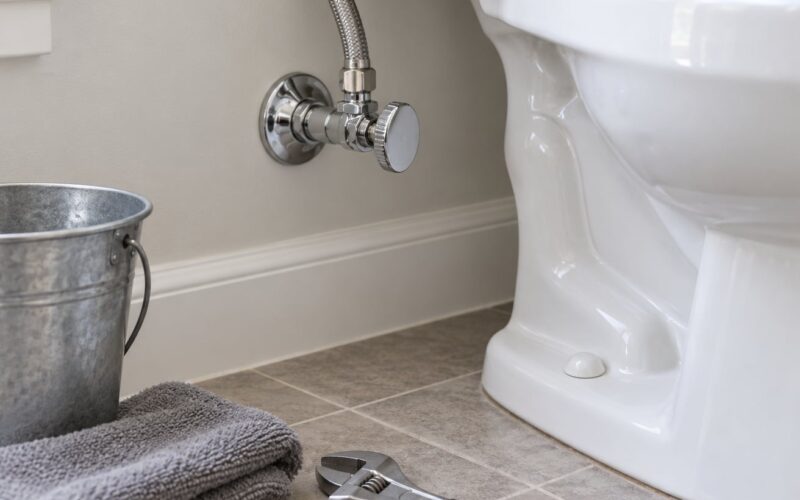
- Small cup and a wrench. The cup catches a slow drip from a supply line so you can measure it against the meter.
Skip the thermal camera rental until steps 1 through 6 come up empty. A thermal camera reads surface temperature, and a leak buried deep under a concrete slab or behind a thick wall often shows nothing at all.
Step-by-Step: How to Find a Hidden Water Leak in Your House
1. Look for Water Damage and Musty Smells
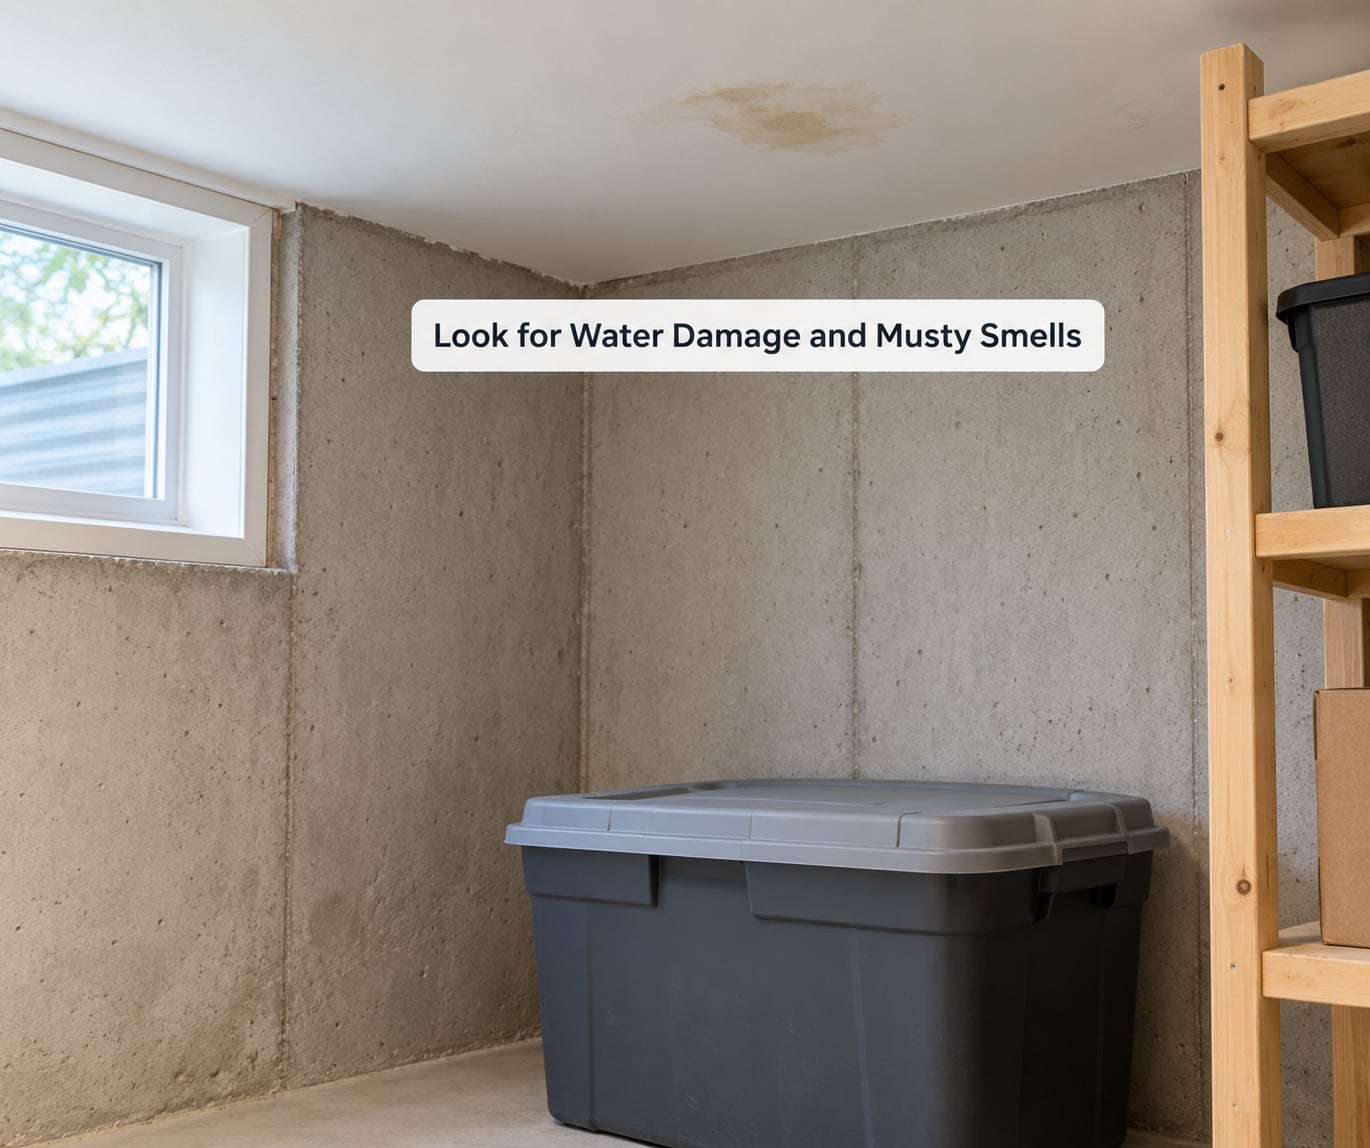
Start where water would show itself: ceilings, walls, floors, and the backs of cabinets and baseboards.
Look for discoloration that does not match a clean paint line, paint that bubbles or peels without a reason, drywall that feels soft under a light tap, baseboards that have swollen and pulled away from the wall, and flooring that cups, curls, or buckles at a joint. In a bathroom, check the ceiling below the room above and the underside of every tub and shower surround.
Smell counts as evidence. A musty, earthy or sour odor that appears in a dry room after rain, and that gets stronger in a closed cabinet, usually means water is evaporating somewhere out of sight. Follow the smell to its tightest spot, then look upward from there, because water almost always travels downward from its source.
Also check the base of the water heater, the supply hoses to the washing machine and dishwasher, and the toilet tank-to-floor joint. A small puddle that keeps returning after you dry it is not a condensation problem, and a tank that rocks on the floor is a failed wax ring.
2. Check the Water Meter
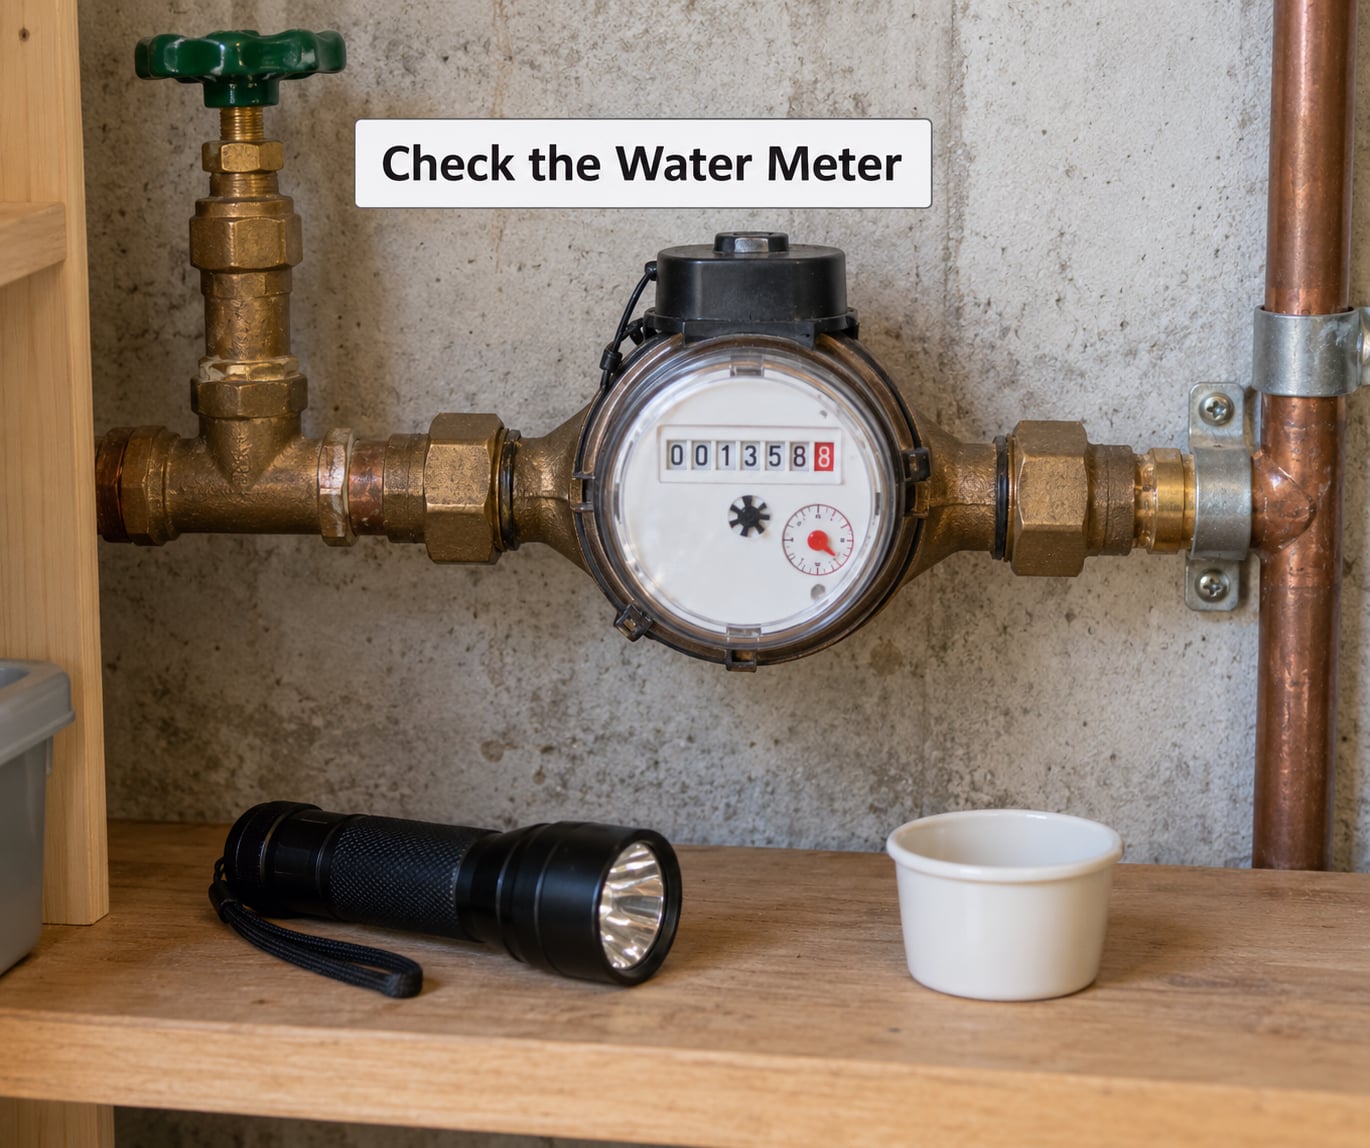
The water meter test is the most reliable way to know a hidden leak exists, and it costs nothing.
First, find the main shutoff valve for the house, usually on the basement wall nearest the street-facing wall, in a crawlspace, in a garage, or in an outside utility box. Note where it is. If you cannot find it, that is the first problem to fix, before anything else in this list.
Read the meter, then close every fixture in the house: sinks, toilets, shower, washing machine, dishwasher, outdoor spigots, and irrigation. Wait fifteen minutes to an hour. Some meters show a numeric total, some have a small triangular spinner, and some have a red leak indicator flag or a black hand that drifts. Any movement at all with everything shut off means water is still reaching a fixture or a pipe.
Then shut off the main and watch the meter again. If it stops, the leak is inside the house. If it keeps moving with the main closed, the leak is on the property side of the meter, in the service line, or in an irrigation zone, and your utility company is the one to call.
A slow drip may not register. If the meter does not move but the signs in step 1 are real, trust the signs and move to step 7.
3. Listen for Running Water
Standing still in a quiet house with every appliance off, you can often hear a leak that no camera will catch.
Start at the meter, because a pressurized supply line running under pressure makes a hiss or a low whoosh near a fitting. Then work outward: toilet supply valves and the tank, the angle stops under every sink, the washing machine and dishwasher connections, the water heater relief area, and the main shutoff.
A toilet that refills without a visible bowl leak is often a flapper or fill valve. Put a tissue on the bowl rim and the tank edge, flush, and wait a few minutes. Damp tissue means a slow leak. A hissing sound with the bowl staying dry points at the fill valve or the overflow tube.
Do this at night, when the street is quiet and the pressure is higher. Water noise carries, so shut off a branch valve and listen again; if the sound changes, you have just narrowed the search to a section of the house.
4. Test Toilets, Faucets, and Visible Plumbing
A few simple tests catch most fixture leaks without touching a wall.
For the toilet, drop a small amount of food coloring into the tank and wait fifteen minutes with the lid off. Color in the bowl without a flush means the flapper is passing water, which is the most common hidden toilet leak and the most commonly missed. Check the tank-to-bowl and tank-to-floor joints for dampness with a paper towel, and press on the tank base to see if it rocks.
For faucets, drip-dry the spout overnight and look at the drip pattern in the morning. Check each handle, the aerator, and the connections behind the wall under the sink while you are there, since a dripping supply line wets the cabinet floor long before the cabinet floor gets noticed.
For valves, put a paper towel under every shutoff and supply connection, then look at it an hour later. Slow weeping reads as a dark spot, not a drip, and it is a warning, not a nuisance.
5. Search Around Common Leak Locations
Most concealed leaks live in a short list of places, so work that list before you explore anything unusual.
Check every plumbing penetration in exterior walls, especially hose bibbs, laundry spigots, and outdoor shower or kitchen valves, which often weep behind siding where nobody looks. In bathrooms, pay attention to shower and tub valve surrounds, the wax ring under the toilet, and the supply lines entering the wall behind the vanity. In the kitchen, the dishwasher line, the disposal supply, and the icemaker line are the usual three.
In the laundry area, replace-style thinking helps: braided stainless supply hoses and the shutoff valves on both the hot and cold side should be checked for weeping at the threads. At the water heater, look for a puddle at the base, an active drip from the relief valve, and rust-colored water on the floor nearby.
Outside, turn on each irrigation zone one at a time and watch the meter. A zone that pushes far more water than the others has a broken head or a valve that will not shut fully. Slabs and crawlspaces get their own approach: wet or warm concrete, a meter that moves with everything indoors off, or a damp carpet that never dries.
6. Use Moisture and Temperature Clues
Once you suspect a wall or floor, a moisture meter and an infrared thermometer narrow the search without a single cut.
Sweep the suspected area with a pinless meter, then confirm the highest readings with a pin meter, which gives a comparable number. Baseline the room first by reading a known-dry area of the same material, because readings scale differently on drywall than on concrete. Readings that drop back to baseline as you move away mark the edges of the wet zone rather than the leak itself, so the source is usually toward the warmest, wettest part of the zone.
Thermal imaging works where water moves. A supply line discharging into a wall, a hot line losing heat, or water pooling in an attic or cabinet often shows as a distinct warm or cool patch depending on season. Take a reference image of the area before you start, because an infrared thermometer measures one spot at a time and pointing it at a ceiling for ten minutes proves nothing.
Be honest about the limits. A deep under-slab leak may never show a surface signature, and cold water running through a pipe barely changes the surface temperature.
7. Isolate the Water Supply Room by Room to Find the Hidden Water Leak
Valve-by-valve isolation is the most reliable homeowner method for locating a hidden water leak, and it is the step most guides skip.
Start with everything off and the meter still. Turn on one branch only, usually the lowest-numbered or nearest group, then go inside and use fixtures in that branch for several minutes. Return to the meter. If it moved while you were drawing water, that branch is clean. If the meter creeps on its own with that one branch open and no fixture running, you have found the section.
Then split that branch again. Close half the shutoffs on it, leave the rest open, and repeat. Each pass halves the search area, and within a few rounds you have narrowed the leak to a single wall, bathroom, or appliance.
Two practical notes. If your home has a manifold system or older mixing valves with no individual shutoffs, test groups of fixtures instead of single runs, such as all bathrooms on one floor, or all fixtures on the cold side. And if the meter will not move for any branch but the signs persist, the leak is intermittent, which is common with a slowly weeping shower valve that only drips under pressure, or a toilet flapper that only fails when a supply line is disturbed.
8. Know When to Call a Plumber
Stop investigating and call a licensed plumber the moment the water has a path to electricity, a sewer, or a gas line.
Call immediately if water is near an outlet, a light fixture, a panel, or a gas appliance, if you smell sewage or gas rather than musty damp, if water is coming from a ceiling and the ceiling is sagging, if the meter runs fast and continuously rather than slowly, or if the damage is spreading between one look and the next. Never open an electrical panel with water present, and never ignore a hissing sound near a gas line.
Call a plumber, not a handyman, when the source is inside a finished wall, under a concrete slab, inside a wall you would have to cut, or behind a shower or tub surround. Those are the cases where exploration costs more than the diagnosis, and a plumber with acoustic and thermal equipment can find the source without opening anything.
Ask for two things before work starts: a detection fee quoted separately from the repair estimate, and a written statement of whether the equipment used is non-invasive. If a company will not come out because the meter is not moving, that is the wrong company for an intermittent leak.
Common Mistakes
Mistaking an irrigation leak for a plumbing leak costs a plumber’s visit and a wasted afternoon.
Ignoring small meter movement. A slow drip of a gallon an hour shows as a fraction of a rotation and is easy to talk yourself out of. Trust any movement at all with everything shut off, and re-run the test at a different time of day.
Testing while the irrigation system is running. A zone left on, a pet drinking fountain, or a leaking outdoor spigot will keep the meter moving and send you hunting indoors for nothing. Close every outdoor valve first.
Cutting into a finished surface too early. Opening drywall to chase a damp reading can cost several hundred dollars and still miss the source. Use the meter, valve isolation, and readings to pick the opening spot instead of guessing.
Overlooking intermittent leaks. A toilet that only runs at night, a shower valve that only drips under pressure, or a supply line that only leaks when the dishwasher is running will look like a phantom problem. Test at the hours the problem appears, and leave a toilet dye tablet in the tank overnight so the test covers a full cycle.
Failing to document anything. Photos of stains, meter readings with timestamps, and a note of which branches you shut off turn a vague suspicion into a claim you can actually make. Insurance adjusters and plumbers both ask the same questions, and a notebook answers them in seconds.
Frequently Asked Questions
How do I find a water leak that is not visible?
Start with the water meter. Shut off every fixture in the house, wait fifteen minutes or more, and watch for any movement, including a drifting hand or a small triangular spinner. Then close the main valve: if the meter stops, the leak is inside the house, and if it keeps running, the leak is on the property side of the meter and belongs to your water utility. If the meter stays still, look for stains, soft drywall, warped flooring, a musty smell, and warm or damp patches, and test fixtures with a toilet dye tablet and listening checks.
How long can a water leak go unnoticed?
Longer than most people expect. A slow leak behind a toilet or under a sink can run for months inside a wall cavity, and under a slab it can stay invisible far longer because the water never surfaces. The usual warning is a water bill that climbs for no clear reason, so compare billing periods rather than individual months. Mold can begin within roughly 48 hours of sustained dampness, which means a leak that goes unnoticed for a season has usually already cost you in remediation work as well as wasted water.
How do plumbers detect hidden leaks?
Plumbers use non-invasive methods first: acoustic listening devices that pick up the noise of pressurized water escaping, infrared thermal cameras that spot temperature anomalies in walls and floors, and correlation equipment that triangulates a leak’s position along a pipe run. They follow those with isolation tests at the meter, pressure testing on isolated sections, and in some cases small cameras or dyes fed through the line. When no electronic method finds it, they open an inspection hole at a targeted spot rather than tearing out a whole wall.
Can plumbers detect leaks behind walls without damaging the wall?
In most cases, yes. Acoustic and thermal equipment are designed specifically to find a leak that is concealed, and a plumber can usually narrow it to a two-foot section of wall before anything is opened. That inspection opening is small and patchable, and it is far cheaper than removing an entire wall on a guess. Leaks that defeat these tools are usually deep under a concrete slab or hidden behind a thick assembly, which is why slab leaks often end up with a targeted section of pipe replaced instead of a single spot repair.
What is the typical cost of leak detection?
Fees vary widely by region, by how the system is piped, and by how long the search takes, so any number you find online is only a rough starting point. A detection visit is usually quoted as a separate fee from the repair work, and that distinction is worth insisting on before anyone starts. If the leak is in plain sight or turns out to be a weeping valve, a dripping supply line, or a toilet flapper, the repair is usually straightforward and modest. The expensive outcomes are the ones where the pipe is under a slab or in a wall that has to be opened.
What to Do First
Do these in order, tonight, before you buy a single tool.
Find your main shutoff and know where it is. Read the water meter, shut off every fixture, and watch for movement. Walk the ceilings, the backs of cabinets, the base of the water heater, and the appliance connections, and photograph anything you find. Drop a dye tablet in each toilet tank and check again in the morning.
If the meter moves, start isolating branch by branch until the movement stops. If the meter stays still but the stains, smell, or warped flooring are real, keep testing at the times the problem actually shows up. When the source stays hidden or the water is anywhere near electricity, a sewer line, or a gas appliance, shut off the main and call a licensed plumber, handing over your meter readings, photos, and isolation notes. Updated for 2026, this order keeps your repair bill small because the plumber opens one wall instead of three.