A frozen hose bib is fixable, and most of the job takes under an hour once the ice is gone. Shut off the water at the interior valve, pull the hose off, thaw the pipe with gentle heat, check the spigot body for splits, then replace and reseal it if it’s cracked.
The tricky part isn’t the wrench work. It’s knowing where the water shutoff is before you need it, and avoiding the one mistake that turns a small repair into an open wall cavity.
A hose bib is the exterior faucet where a water supply line meets an outside wall. Plumbers and hardware stores also call it a spigot or a sillcock. Because it sits at the coldest point of the line, usually against an exterior wall with nothing between it and the air, it’s the fixture that fails first in a hard freeze.
The physics is simple. Water expands when it freezes, and that expansion splits something — usually the short run of pipe between the interior shut-off valve and the exterior spigot, or the spigot body itself. If a garden hose was attached the whole winter, the hose blocks drainage and holds water right at the valve seat, which is why an unused, covered spigot sometimes still freezes.
Table of Contents
- What You Need
- Step-by-Step: How to Fix a Frozen Hose Bib
- 1. Find the water shutoff valve and relieve pressure
- 2. Thaw the frozen pipe safely
- 3. Remove the damaged hose bib
- 4. Install and seal the replacement valve
- 5. Turn the water back on slowly
- 6. Test the repair and prevent freezing again
- Common Mistakes When Fixing a Frozen Hose Bib
- Frequently Asked Questions
- Can a frozen hose bib be used again after it thaws?
- When does a frozen hose bib need replacing instead of repair?
- Is boiling water safe for thawing a frozen hose bib?
- Will outside faucets freeze at 30 degrees?
- What signs mean the pipe burst behind the wall?
- Will wrapping a towel around an outdoor faucet keep it from freezing?
- Conclusion
What You Need
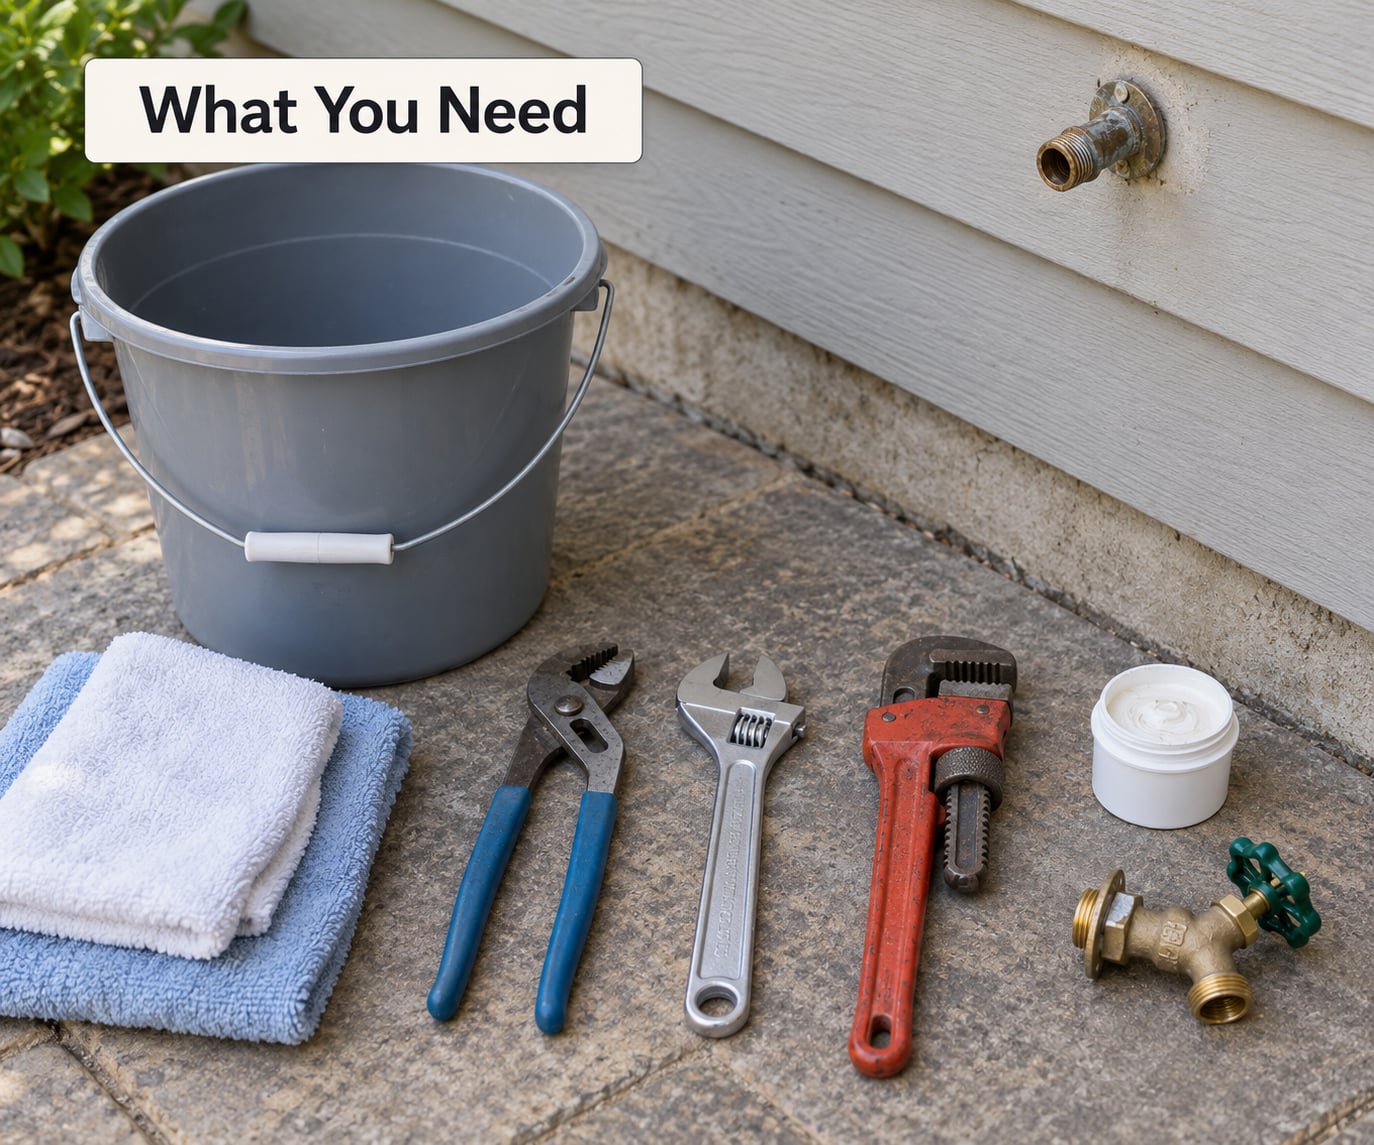
Most of the tool list is cheap and some of it you already own. The items that genuinely matter are the two wrenches and the sealant.
- Two pipe wrenches, ideally one large and one smaller. You need one to grip the spigot and one to hold the supply pipe so it doesn’t twist and snap when you break the threads loose.
- Adjustable pliers for the hose coupling and any clamps.
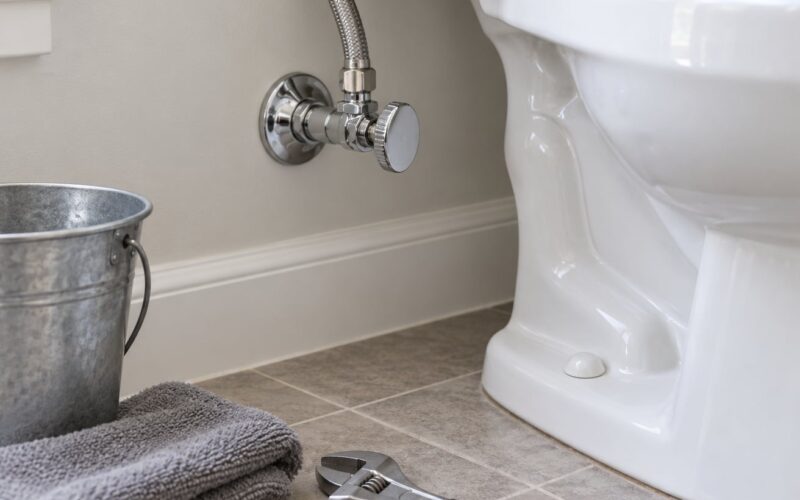
- Adjustable wrench or basin wrench for the interior shut-off valve.
- Thread seal tape (PTFE) for the inlet threads of the new valve. Pipe dope works too, but not both at the same time.
- Wire brush to clean rust and scale off the existing threads before the new valve goes on.
- Penetrating oil for a spigot that hasn’t been moved in years. Spray it and wait before you apply force.
- Bucket and old towels to catch whatever comes out, including the small surprise drip the moment the valve opens.
- Hair dryer or heat lamp for thawing. A heat gun on low can work but moves fast and is easy to misuse.
- Replacement hose bib, plus a frost-proof repair kit if your spigot is a frost-free model and you only need the stem assembly or vacuum breaker.
- Rag or cloth to wrap around the spigot so the wrench teeth don’t scar the finish.
If the new valve has to go through finished wall or siding to reach the stub-out, add the matching piece of trim or exterior spigot cover. Insulated covers that slip over the faucet are worth adding while you’re there.
Stop and call a licensed plumber instead if there’s no interior shut-off valve for that line, if the interior valve is seized solid and won’t budge, if the pipe behind the wall has already split, or if the supply pipe is galvanized and so corroded that it crumbles when you touch it. Those are not DIY calls. Getting a plumber to the house early is much cheaper than a wet stud bay.
Step-by-Step: How to Fix a Frozen Hose Bib
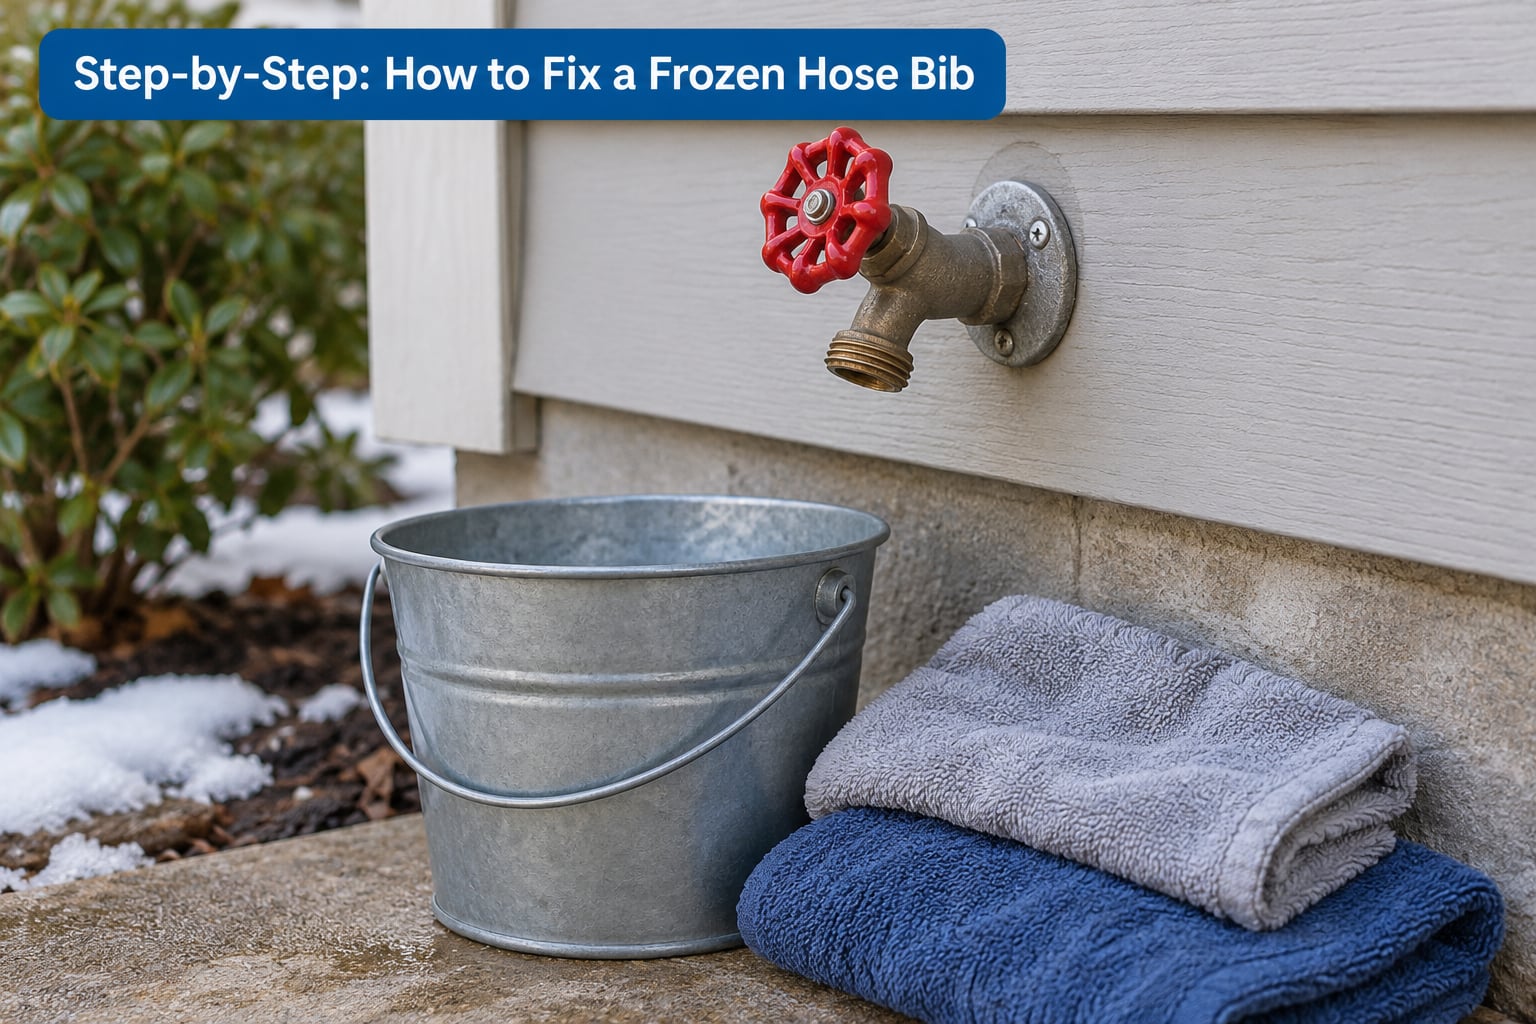
1. Find the water shutoff valve and relieve pressure
The shutoff for an outdoor spigot is usually inside, on the wall behind or beside the first floor toilet, in a basement, in a crawlspace, in a garage, or in a mechanical closet. Trace the supply pipe by following it from outside inward if you have to.
Close that valve all the way. Then open the exterior spigot. With the interior closed and the exterior open, whatever water is trapped in between has a path out and the line drains, which takes pressure off the frozen section.
Many frost-proof installations have a small bleeder cap on the side of the interior shut-off. Loosen it a quarter turn with a cup underneath and you pull off the last of the trapped water. It’s the step most guides skip, and it’s the one that keeps pressure off the pipe while you work.
Open a faucet inside the house too, which confirms the line is actually isolated and tells you if the valve shut all the way. If water still runs at the spigot with the interior valve closed, that valve is not closing properly and needs attention first.
2. Thaw the frozen pipe safely
Never use an open flame, a torch, or a lighter on a water line. Inside a wall cavity that flame can ignite framing, insulation, or drywall, and on copper or PVC it turns a freeze into a burn or a melt.
Set the bucket under the spigot, then start with the gentlest option: warm tap water poured slowly over the exposed pipe and spigot. Not boiling — a sudden temperature jump can shock old galvanized pipe and split a weakened section.
If that isn’t enough, move a hair dryer or heat lamp along the pipe, keeping it moving and staying well back from wood and siding. Heat the pipe, not the house. A heat gun on its lowest setting works with the same caution, and people ask about it constantly because a torch is what their grandfather used; the answer is no.
A trick homeowners on plumbing forums pass along is to crack the frost-proof valve only halfway while you warm it, so any pressure in the cartridge can escape instead of pushing against the ice.
| Method | Heat level | Safe on copper, PVC, galvanized | Notes |
|---|---|---|---|
| Warm tap water poured over the pipe | Low | Yes, on all three | Gentlest starting point; go slow |
| Hair dryer | Medium, moving | Yes, keep it moving | Best all-around choice |
| Heat lamp | Medium | Yes | Good for a wide, slow thaw |
| Heat gun on low | Medium to high | Yes, with care | Easy to scorch siding or melt PVC |
| Boiling water | High, sudden | Not recommended | Thermal shock can split weakened pipe |
| Torch or open flame | Very high | No | Fire risk inside a wall; melts plastic |
How long it takes depends entirely on where the ice is. A frozen spigot at the wall usually gives up in 20 to 40 minutes with a hair dryer. Ice a foot or more back inside the stub-out can take two to four hours with a heat lamp, and longer if nobody is applying heat. Once you see water or a drip at the spigot, the ice is gone.
If several hours of gentle heat produce nothing, the blockage is deeper in the wall than your heat can reach. That’s a plumber with a pipe-thawing machine, not a bigger torch.
3. Remove the damaged hose bib
Disconnect the garden hose first. If it’s frozen to the spigot, warm it with warm water rather than levering on it with pliers. A shot of penetrating oil on the hose threads helps, but WD-40 is a lubricant and water displacer, not a penetrating oil — it will not free a seized threaded connection, and it washes down to the rubber washers where it does more harm than good.
Wrap a rag around the spigot body, then hold the supply pipe with one pipe wrench and turn the spigot counterclockwise with the other. Keep the pipe absolutely still. If the pipe twists, twists are where supply lines snap, and a snapped supply line means opening the wall.
Spray the threads with penetrating oil before you start and give it time. On an old galvanized stub, expect resistance. If the spigot starts to crush or the pipe starts to twist, stop. You can often back the spigot off a half turn, hit it again with fresh oil, and work it out in stages.
Once it’s off, look at the pipe end before you install anything. If it’s split, badly corroded, or the threads are gone, the pipe itself needs replacing, and that is where the job moves into plumber territory.
4. Install and seal the replacement valve
Match the new valve to what you removed. Standard residential hose bibs are half-inch male NPT, which threads into a half-inch copper or galvanized stub-out. You also need the body to be short enough to fit your wall’s thickness and long enough that the hose threads clear the siding by a couple of inches.
If your old spigot was a frost-free or anti-siphon model, install the same. Downgrading to a plain spigot loses the vacuum breaker that stops the line from siphoning contaminated water back into your house.
Scrape the existing threads with the wire brush until the metal is bright. Old thread tape and rust under a new valve are the most common cause of a fitting that weeps forever.
Wrap PTFE tape clockwise around the male threads, two to three wraps, leaving the first thread bare so you can set the valve by hand. Screw the new spigot on clockwise, hand-tight, then about a quarter turn past snug with the wrench. Both sides of the valve are under torque now, so hold the pipe with the second wrench again while you tighten.
5. Turn the water back on slowly
Open the interior shut-off valve slowly, a quarter turn at a time, and stand where you can see the spigot and the pipe entering the wall. Water pressure arriving all at once pushes a lot of air into the line.
Open the spigot and watch every joint: the spigot-to-stub connection, the supply pipe, and the interior valve. A mist or a slow weep means the tape didn’t seal. A spray means a connection failed under load.
Shut the water back down, relieve pressure, and re-tape or replace the fitting. Do not just tighten harder. Overtightening cracks the casting and the pipe, and you’ll be back where you started with a bigger problem.
Run the spigot for a few minutes with a paper towel or toilet paper held against every joint. Paper shows a drip long before you see it. Then check the interior valve and the wall behind it.
6. Test the repair and prevent freezing again
Close and open the handle several times. It should operate smoothly, and the spigot should shut off completely. A frost-free spigot that still drips from the top after everything is reassembled has a failed vacuum breaker, which is a repair kit job rather than a wall job.
Most of the time a thawed hose bib is perfectly usable again. The ice did its work and left the fixture intact. The reason people find out about a split pipe weeks later is that the break sits inside the wall with the valve closed, dormant, until the first warm day someone turns the handle on.
Check the inside of that wall now: a damp or soft baseboard, peeling paint, a musty smell, or a water bill that climbed while the spigot sat unused all point to a supply line that split in the cavity. Inside, look at the drywall around the stub-out and at the stud bay below it for staining or swelling.
To keep it from happening again, disconnect and drain every hose, close the interior valves, and leave the exterior spigots open all winter so the line can drain. An open spigot is the cheapest insurance there is.
An insulated hose bib cover, foam pipe insulation over exposed supply lines, and freeze-protected heat tape on the pipe section help in marginal climates. None of them help much while a hose is still attached, because the hose is what’s holding water against the valve.
| What you find | Recommended action | Difficulty |
|---|---|---|
| Handle stiff, water flows fine, no cracks | Clean, lubricate with silicone grease, retest | Easy |
| Drip from the spigot when closed | Replace washer, O-ring, or stem assembly | Easy to moderate |
| Drip from the top of a frost-free bib | Replace the vacuum breaker or repair kit | Moderate |
| Spigot body split or handle won’t budge | Replace the entire valve | Moderate |
| Supply pipe split or corroded inside the wall | Open the wall or call a licensed plumber | Professional |
Common Mistakes When Fixing a Frozen Hose Bib
Almost every bad outcome traces back to one of these, and every one of them is easier to prevent than to undo.
- Using an open flame or torch. It’s the fastest way to a house fire or a melted pipe. The fix is a hair dryer or a heat lamp, moved continuously and kept off the siding and wood.
- Pouring boiling water on the spigot. The sudden temperature change can split already-weakened pipe. The fix is warm tap water poured slowly, which is slower and works.
- Heating too aggressively or staying in one spot. Scorched siding and cracked cast iron come from overheating one area. The fix is constant motion and a moderate heat setting.
- Skipping the shutoff and the drain-down. Working on a live line sprays water the moment you break a connection. The fix is closing the interior valve, opening the spigot, and cracking the bleeder cap if there is one.
- Overtightening the new valve. Both ends are under torque, and extra force cracks brass and splits copper. The fix is hand-tight plus a quarter turn, holding the pipe with the second wrench.
- Forgetting new thread seal tape, or layering fresh tape over old. A dry threaded nipple weeps from the first day. The fix is scraping the threads with a wire brush and wrapping fresh PTFE tape only.
- Leaving the garden hose connected through winter. The hose blocks drainage and traps water at the valve seat, which is the leading cause of this whole problem. The fix is disconnecting and draining it every fall.
- Skipping the inside inspection after the thaw. The visible spigot can look perfect while the pipe behind it has split. The fix is checking the baseboard, drywall, and stub-out area before you close anything up.
One more worth naming: leaving the exterior spigot open all winter while the interior valve stays closed. That is the correct setup. An open spigot with a closed interior valve lets the line drain and relieves pressure. An open spigot with the interior valve also open just puts running water on your driveway until spring.
Frequently Asked Questions
Can a frozen hose bib be used again after it thaws?
Most of the time, yes. Ice expands and splits metal, but a spigot that survived intact usually works normally once it is thawed and the water is back on. Open and close the handle several times, watch every joint for drips with a paper towel, and check the interior wall behind the spigot for a damp baseboard or peeling paint. If water does not flow after thawing, or if it drips from the top of a frost-proof unit, the valve needs repair or replacement.
When does a frozen hose bib need replacing instead of repair?
Replace the valve when the spigot body is split, when the handle will not budge after penetrating oil and soaking time, or when a frost-proof unit drips from the top and no repair kit matches your model. Simple washers, O-rings, and stem assemblies are repairable jobs. A split or badly corroded supply pipe inside the wall is not, because fixing it means opening the wall or calling a licensed plumber.
Is boiling water safe for thawing a frozen hose bib?
Skip it. Boiling water delivers a sudden temperature change that can shock old galvanized or weakened pipe and split it outright. Warm tap water poured slowly over the pipe and spigot is gentler and usually enough. If warm water is not enough, move a hair dryer or a heat lamp along the pipe, keeping the heat moving and away from siding and wood. Never use a torch or any open flame.
Will outside faucets freeze at 30 degrees?
It happens more often than people expect. A forecast high of 30 degrees does not tell you the temperature at the spigot, which sits against an exterior wall with no insulation between it and the outside air. Radiant cooling from the wall and from a bare metal spigot pulls that local temperature below the 32 degrees where water starts to freeze. Wind and a hose left attached make it worse.
What signs mean the pipe burst behind the wall?
Watch for a damp or soft baseboard on the interior wall, peeling or bubbling paint, a musty smell in the room, and a water bill that climbed while the spigot sat unused all winter. Open the interior valve slowly and watch the drywall around the stub-out and the stud bay below it for staining or swelling. Water that misted or ran inside the cavity means shut the water off and call a licensed plumber before you close anything up.
Will wrapping a towel around an outdoor faucet keep it from freezing?
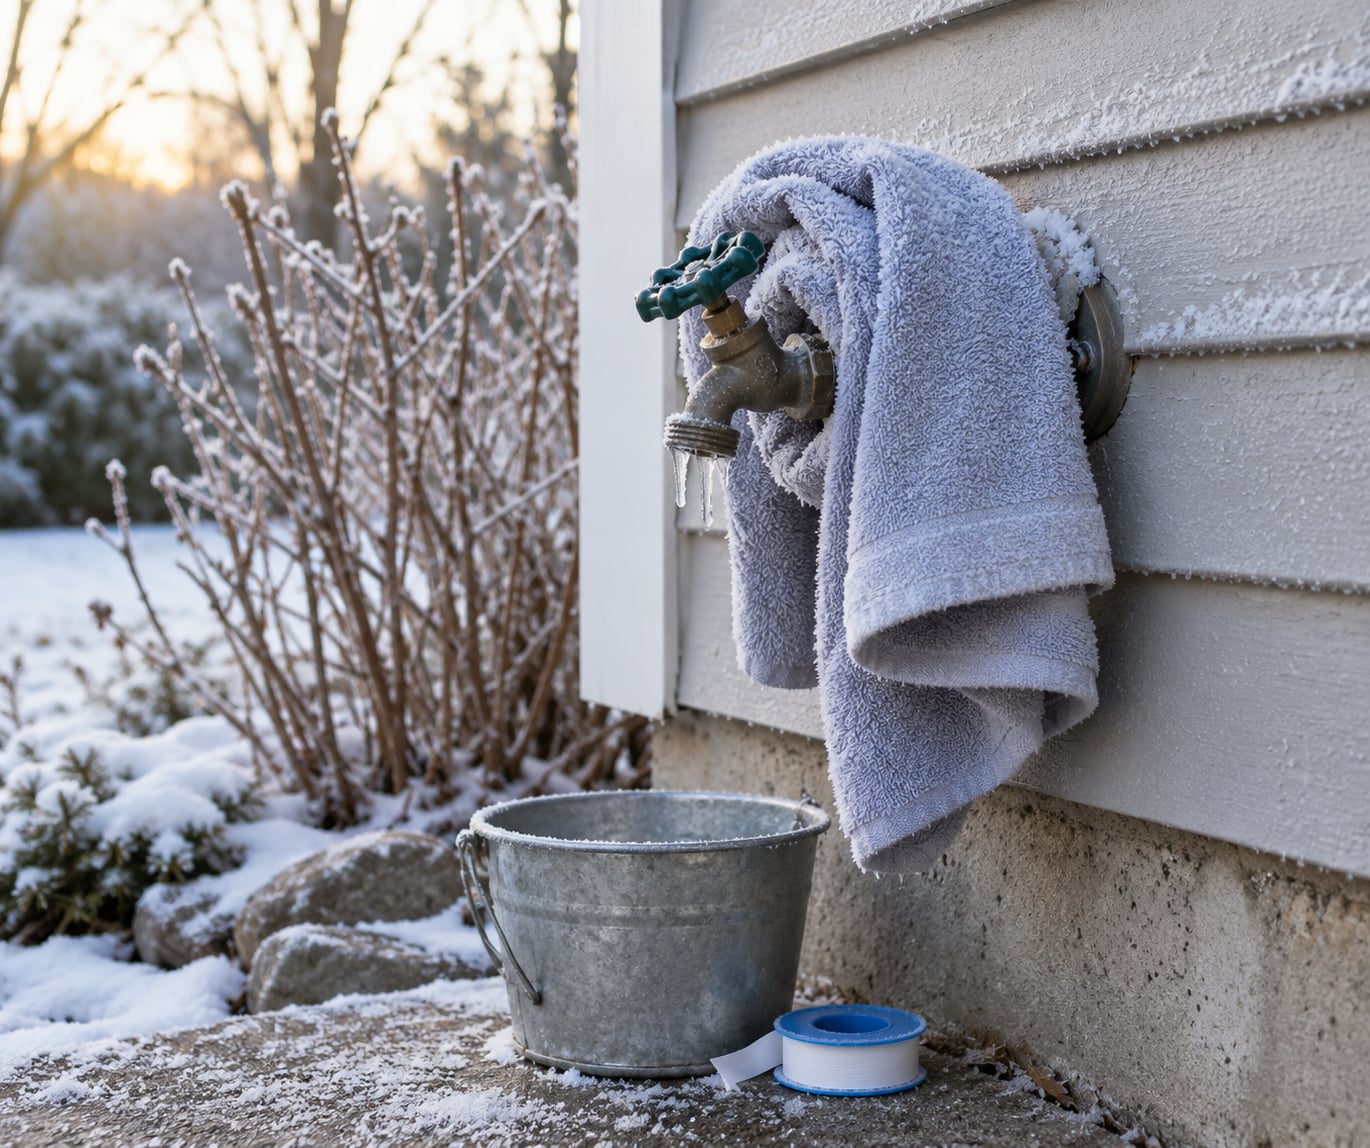
A towel adds a thin layer of insulation, which helps a little in a marginal freeze and does nothing in a hard one. An insulated hose bib cover, foam pipe insulation over the supply pipe, and freeze-protected heat tape are more dependable. The single most effective step is free: disconnect and drain every garden hose, close the interior valve, and leave the exterior spigot open all winter so the line can drain.
Conclusion
Find the interior shut-off valve before anything else. That one habit is the difference between a half-hour repair and a flooded wall.
From there the order is simple: shut off, disconnect the hose, thaw with gentle moving heat, inspect the spigot and the pipe end, replace and reseal with fresh tape, then bring the water back slowly while you watch every joint.
Know where to stop. A seized interior valve, a spigot that crumbles under the wrench, or any sign of a split pipe behind the wall means the job belongs to a licensed plumber. Once water has reached framing or insulation, the repair bill grows fast, and no wrench is worth it.