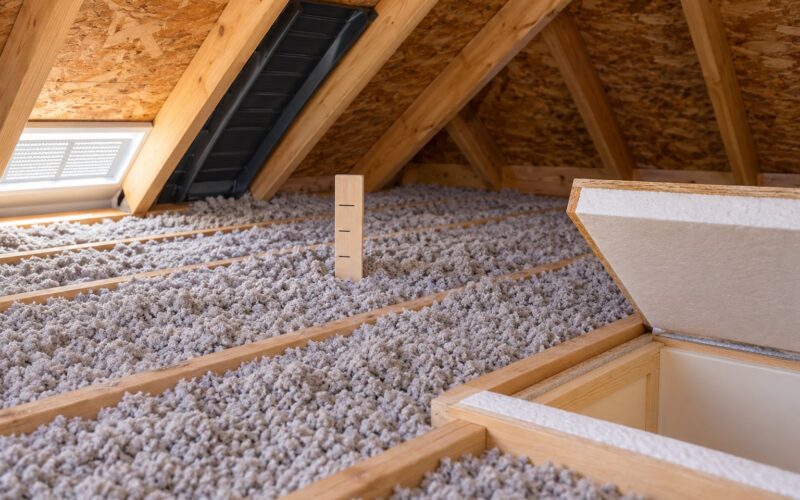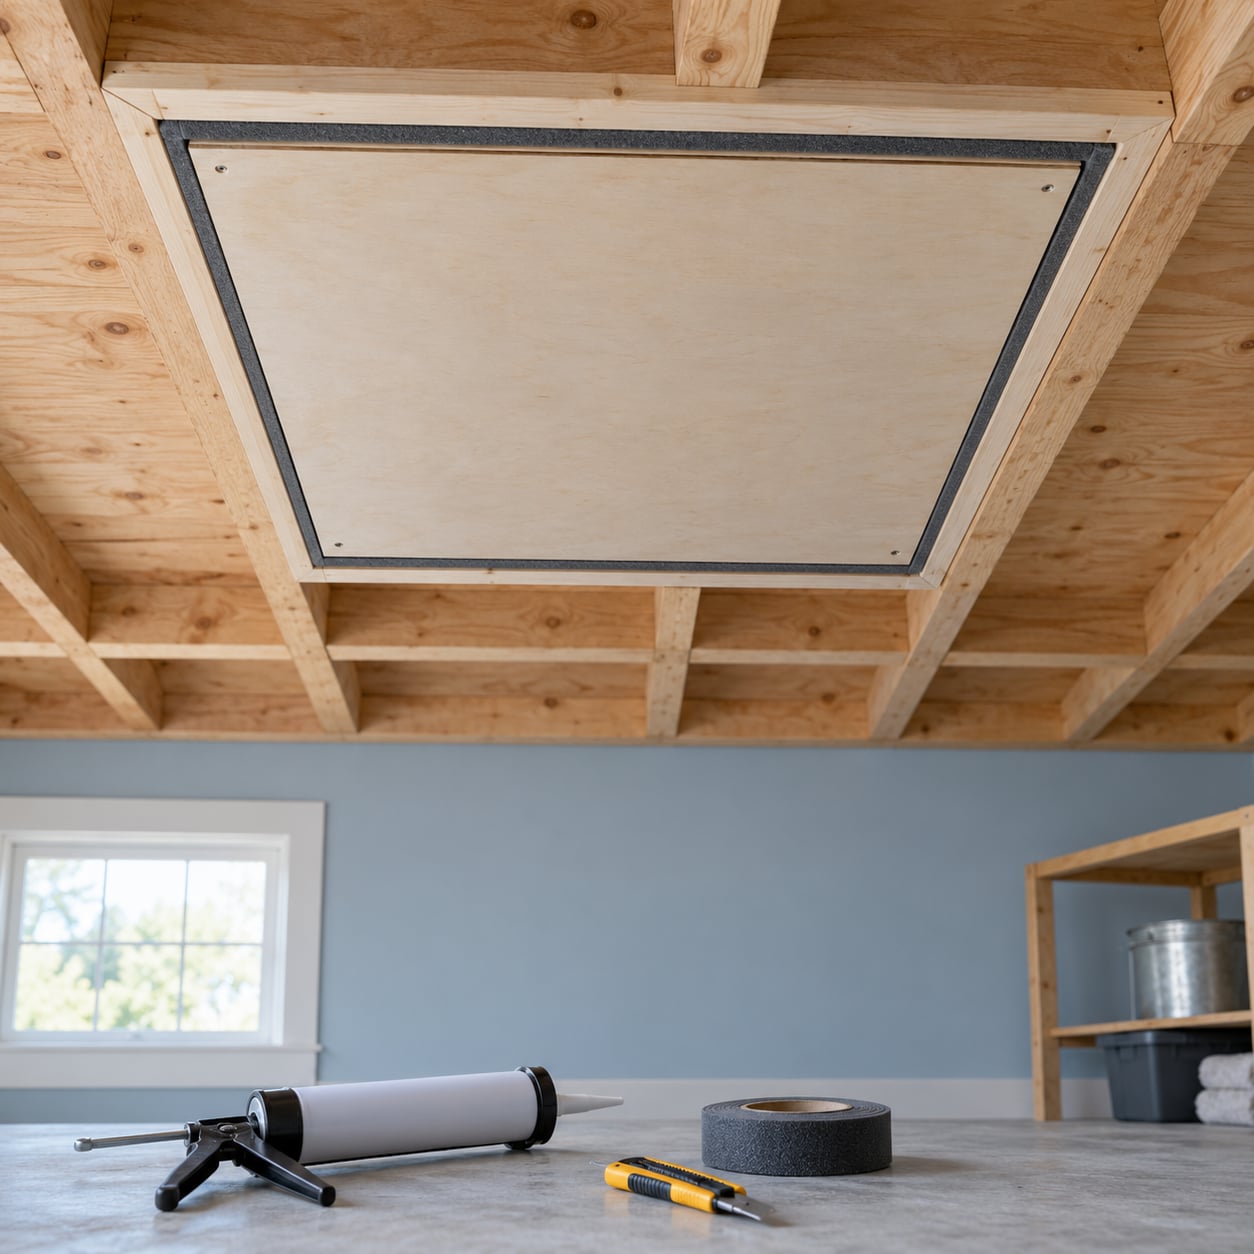
An attic hatch leaks because a thin panel closes against a flat frame with nothing between them, and warm air from the attic pours through every crack. To fix it, do two jobs: stick a rigid foam board to the attic side of the panel to add R-value, and run self-adhesive weatherstripping around the frame lip where the hatch rests so the latch compresses it into a continuous air barrier. Most people finish in under an hour with a caulk gun, a tape measure and one sheet of foam board.
That combination matters more than most homeowners expect. A quarter-inch gap running the perimeter of a hatch can move as much air as a bedroom supply vent, and the stack effect in winter pulls that air straight up and out of the house. In summer the same opening works in reverse, pushing dusty, attic-hot air down into the room below.
The symptoms are easy to recognize. Look for visible daylight around the closed hatch, dust bunnies forming near the opening, rooms that run two or three degrees warmer than the rest of the house, and a musty smell that shows up on hot days. Any one of those points to the same fix.
Table of Contents
- What You Need
- Step-by-Step: How to Air Seal an Attic Hatch
- 1. Inspect the Hatch and Locate the Leaks
- 2. Clean and Repair the Hatch
- 3. Install the Insulation
- 4. Add Weatherstripping Around the Frame
- 5. Seal Gaps and Add a Draft Guard
- 6. Test the Finished Seal
- Common Mistakes
- Frequently Asked Questions
- What is the best material for sealing an attic hatch?
- Do I need to remove the existing attic hatch insulation before installing a new seal?
- Should I use caulk or foam around an attic hatch?
- Can I paint over the weatherstripping on an attic hatch?
- How do I seal an attic hatch that opens inward?
- When should I call a professional instead of sealing the hatch myself?
- Conclusion: Check the Hatch for a Complete Seal
What You Need

Gather everything before you climb up. The list is short, and most items you probably already own.
- Weatherstripping in the shape of the frame lip: D-seal rubber, V-seal, or high-compression foam tape. Measure the width of the contact surface and pick something that compresses against it without folding.
- Rigid foam board in a piece slightly larger than the hatch panel. Two-inch-thick foam is roughly R-10 per layer, so a single sheet moves a bare hatch into useful territory.
- Foam-compatible construction adhesive or acrylic latex caulk in a caulk gun. Some spray adhesives dissolve polystyrene foam, so check the label before you apply.
- Foil duct tape for covering seams and wrapping the panel edges.
- Hook-and-eye latches or cam-action latches. This is the piece people skip, and skipping it is why weatherstripping never actually compresses.
- Hand tools: tape measure, utility knife, straightedge, flat pry bar, paint scraper, screwdriver or drill, and a putty knife.
Two optional items change the job depending on what kind of access you have. A hook-and-eye latch and a short coil of mason wire let you pull the panel down evenly, the way builders on GreenBuildingAdvisor do it with an eyebolt and a tension spring. And if your hatch is a pull-down stair unit with no room behind the panel, plan on a light-weight foam box instead of a flat board.
Wear a dust mask and gloves. Attic dust is fine gypsum and old insulation, and you do not want to breathe it for an hour.
Step-by-Step: How to Air Seal an Attic Hatch
1. Inspect the Hatch and Locate the Leaks
Start from below with the hatch closed and the room lights off. Daylight around the perimeter is the fastest possible diagnosis, and it takes about ten seconds.
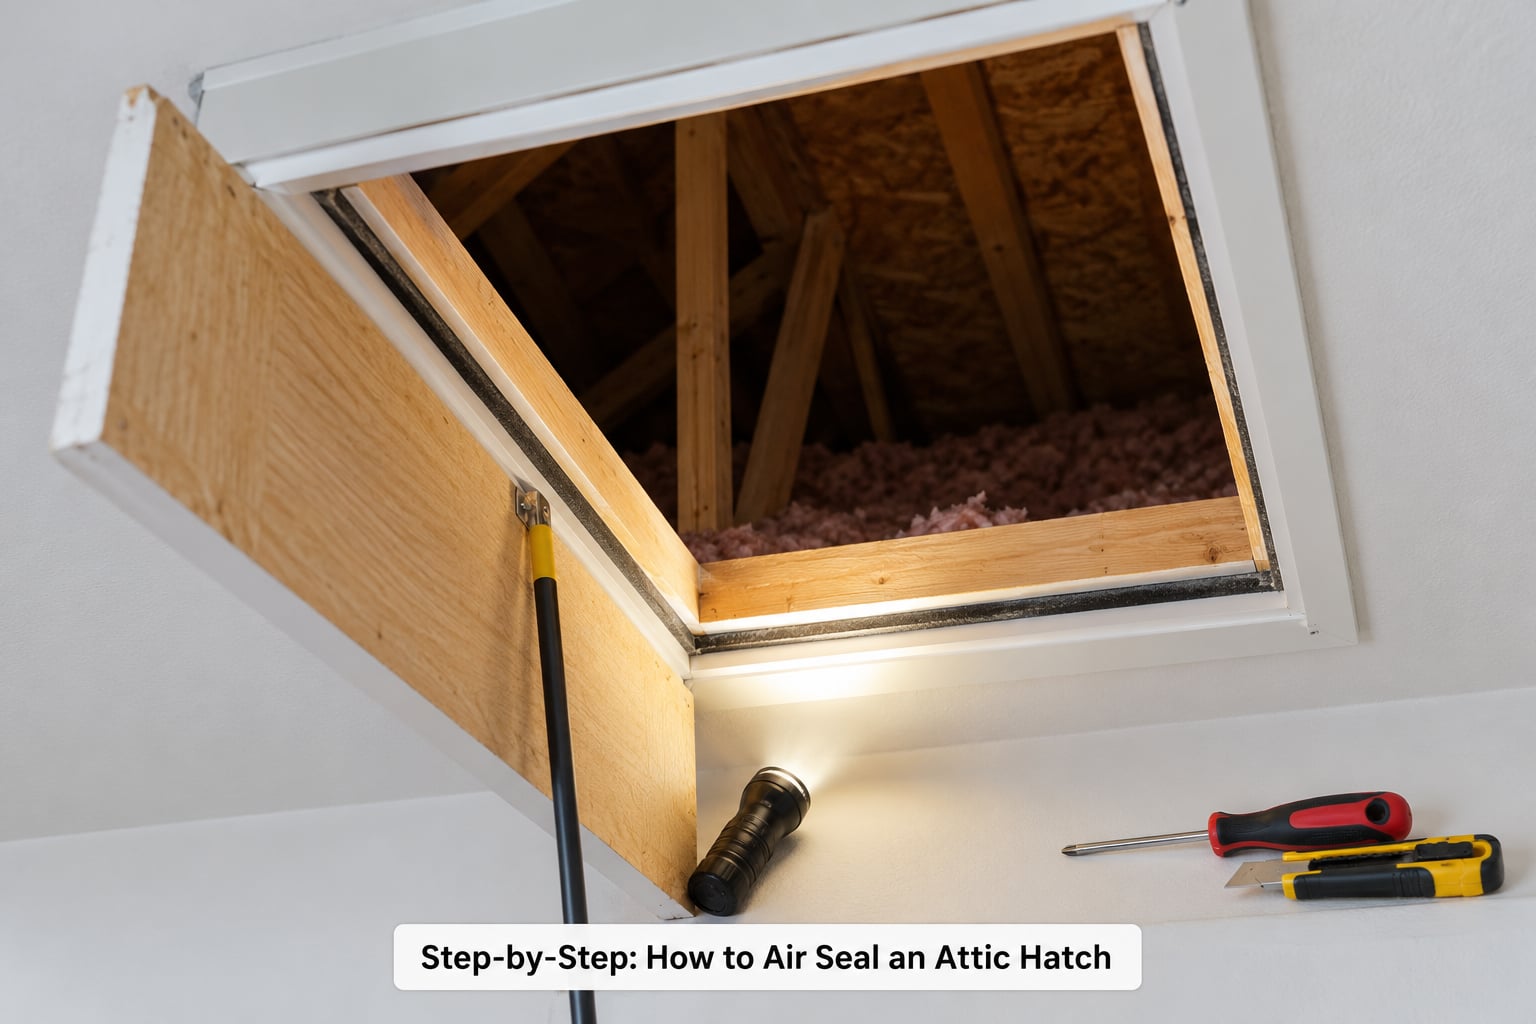
Open the hatch and examine the panel edge, the frame lip, the hinges, the latch, and the trim around the opening. You are looking for four things: gaps larger than a hairline, daylight or darkness visible past the frame, fasteners that back out by hand, and warped or split wood that stops the panel sitting flat.
Check the attic side too, with a flashlight and a bright work light. Push the closed panel and watch for light leaks that shift, since a moving line of light means the panel rocks rather than compressing. Success check: you have a clear list of which sides leak, because that tells you where the compression problem is.
2. Clean and Repair the Hatch
Scrape off old caulk, dried foam and loose paint from the panel edge and the frame lip. If the seal will have anything to bite into, the surface has to be clean and dry.
Pull any loose screws and re-drive them, then check that the panel sits square in the opening. A pre-1970 hatch in a house that has moved may need its hinges shimmed slightly, which is often all that separates a panel that never quite closes from one that compresses evenly.
Replace any split trim boards before you seal, not after. Success check: with the panel closed, the gap is even on all four sides and no daylight shows through from the attic side.
3. Install the Insulation
Cut the foam board to the size of the panel, cutting from the back face so the skin stays flat. Attach it on the attic side of the panel with foam-compatible construction adhesive, dotted in a zigzag pattern rather than laid in solid strips.
Keep a finger’s width of clearance around the panel edge and around any latch or handle so nothing interferes with closing. If you are stacking two layers, offset the seams between layers like a brick pattern so you do not create one straight thermal bridge across the whole panel.
Wrap the exposed edges with foil duct tape. Success check: the board is flush, taped on every edge, and the hatch still closes and latches with your hand pressing on the foam.
4. Add Weatherstripping Around the Frame
Pick the strip that matches the job. D-seal rubber is a hollow bulb that compresses well and recovers, which suits a panel that gets opened often. High-compression foam tape is flatter and cheaper, and it works well on a flat frame lip where you need a low profile. V-seal is a good option where the gap is narrow and consistent, and it is difficult to install badly.
Measure each side of the frame separately. Cut lengths with a little extra at each corner, miter the ends at 45 degrees so the strips meet without leaving a diamond-shaped hole, and stick them to the frame lip, right on the surface the panel actually rests against.
Attach the strip in short sections, pressing hard as you go. Success check: the closed panel compresses the strip evenly on all four sides and you cannot slide a sheet of paper between panel and frame with any force.
5. Seal Gaps and Add a Draft Guard
Weatherstripping handles the contact edge. Everything else, meaning the cracks where the trim meets the drywall, the corners of the frame, and gaps between the panel and the frame wall, gets sealant. Match the material to the size of the gap: acrylic latex caulk for cracks under a quarter inch, non-expanding foam for wider voids, and rigid board for anything above two inches.
Be careful with expanding spray foam here. It has enough pressure to bow a lightweight hollow-core panel until it will not latch, and that failure is annoying to undo. Use a low-expansion product if you go this route.
If the attic is finished or you store things next to the opening, add a removable draft guard under the hatch, a weighted fabric panel that sits on top of the frame. It stops air movement while still letting you open the access easily.
Success check: run a hand along the entire seam with the hatch closed and feel for any place where air moves, or where sealant sits proud of the surface.
6. Test the Finished Seal
Do not skip this part. Testing takes two minutes and tells you whether any of the previous five steps actually worked.
- The paper test. Close the hatch, then try to pull a sheet of copy paper out from between the panel and the frame. Any resistance means real compression. A paper that slides out freely means a gap.
- The light test. Turn off the room lights and close the hatch. Any visible daylight or a glow from the attic side means you have a leak you missed.
- The smoke test. A stick of incense or a smoke pencil held near the closed hatch shows you airflow direction in seconds. Thin wisps pulling toward the gap mark the leak. Do this on a still day and keep a fire extinguisher within reach, and never leave a smoldering stick unattended.
Success check: all three come back clean, and the panel opens and closes without you having to fight the weatherstripping.
Common Mistakes
Using expanding spray foam around the panel. The foam cures hard and pushes the panel out of flat, and now the latch will not catch. The fix is to cut the foam away with a utility knife and reseal the frame lip with a compression strip instead.
Installing weatherstripping on the wrong surface. It needs to sit where the panel rests against the frame, not on the top face of the trim or out on the drywall. Put it on the wrong plane and the panel closes without ever touching it.
Skipping the mechanical latch. Self-adhesive strips have real holding power, and they lose it in summer heat and winter cold. Two hook-and-eye latches, or a cam-action latch, keep steady pressure on the seal year round. Builders on GreenBuildingAdvisor use an eyebolt with a tension spring and a barn door hook to pull the panel down evenly, which is the same idea with hardware from a hardware store.
Leaving the corners open. Most failures happen where two strips meet. Butt the ends tightly or miter them, and run a bead of caulk around each corner.
Over-tightening the fasteners. Cranking down on screws to fix a gap bows the panel. Shim the high corner instead, then tighten normally.
Blocking the hatch with the insulation. Cut the board small enough that nothing interferes with the frame, and always leave the latch hardware clear.
Sealing the hatch before the rest of the envelope. If the top plates, penetrations and ductwork are still leaking, you have just moved the problem up a floor. Air sealing a home is one continuous air barrier, and a hatch is a small piece of it.
Creating a moisture trap. Sealing the hatch does not replace soffit and ridge ventilation, and in a hot-humid climate it can trap escaping vapor in an unventilated space. A whole-house check by a qualified contractor is worth it before you start.
Stay away from flues, chimneys and non-IC-rated recessed lights when you apply sealant. Around anything rated for heat, use a fire-rated product and keep the manufacturer’s clearances intact. Anything involving wiring, gas or structural framing belongs with a licensed pro.
Frequently Asked Questions
What is the best material for sealing an attic hatch?
Use two materials, because they solve different problems. Self-adhesive D-seal rubber or high-compression foam tape handles the moving air at the frame lip, and rigid foam board on the attic side of the panel adds R-value. Rigid board alone leaves a perimeter leak, and weatherstripping alone leaves you with an uninsulated door. A latch to hold compression is the third piece most people leave out.
Do I need to remove the existing attic hatch insulation before installing a new seal?
Usually yes, if the old insulation is a sagging batt stapled to the panel. You cannot flatten a board over it, and a compressed batt against a cold surface can stay damp. Pull it out, sanitize the area if you find any growth, then fit the rigid board. If the existing insulation is a foam board already secured to the panel and still in good shape, you can leave it and just add the weatherstripping.
Should I use caulk or foam around an attic hatch?
Use caulk for cracks under a quarter inch and low-expansion foam for wider voids, then close the contact edge with weatherstripping. Avoid high-expanding spray foam directly against the panel, since the pressure can bow a lightweight door until it will not latch. Near a flue or a non-IC recessed light, use only a fire-rated sealant and keep the listed clearances.
Can I paint over the weatherstripping on an attic hatch?
No. Paint and caulk on the contact face make the strip slick and stop it from gripping the panel, and a brittle painted rubber bulb cracks when it compresses. If the frame lip around the strip needs finishing, paint that area first and let it cure before you apply the weatherstripping. Replace a strip rather than painting over it.
How do I seal an attic hatch that opens inward?
The method is the same, with one change: the weatherstripping goes on the frame face the panel presses against when it swings inward, not on the frame lip you would normally use. Check the panel closes and compresses before you trim anything, and add a latch on the room side to hold it against the strip. Pull-down stair units and knee-wall doors follow the same principle on their own frames.
When should I call a professional instead of sealing the hatch myself?
Call a pro if the frame is out of square, the panel is warped or you would have to cut structural framing, or if the hatch sits over an unventilated space with ductwork or wiring nearby. A blower door test is worth ordering when the room stays two or three degrees warmer even after a careful seal, because that usually points at knee walls or ductwork rather than the hatch. Licensed pros handle anything touching electrical, gas or structure.
Conclusion: Check the Hatch for a Complete Seal
Start with the dark room and the closed hatch. Daylight around the edges tells you the problem is the seal, not the insulation, and that is a one-hour fix rather than a weekend project.
Then do it in the right order: clean the surfaces, fit the rigid foam board to the attic side of the panel, run the weatherstripping on the surface the panel actually rests against, seal the remaining cracks with the material that matches the gap, and add a latch so the seal stays compressed through the year.
Finish with the paper, light and smoke tests. If all three come back clean, the seal is complete. Check the hatch again each season, because trim moves, paint cracks and adhesive loses grip. Two minutes of light test in the fall can tell you whether you are heading into winter with a leak.