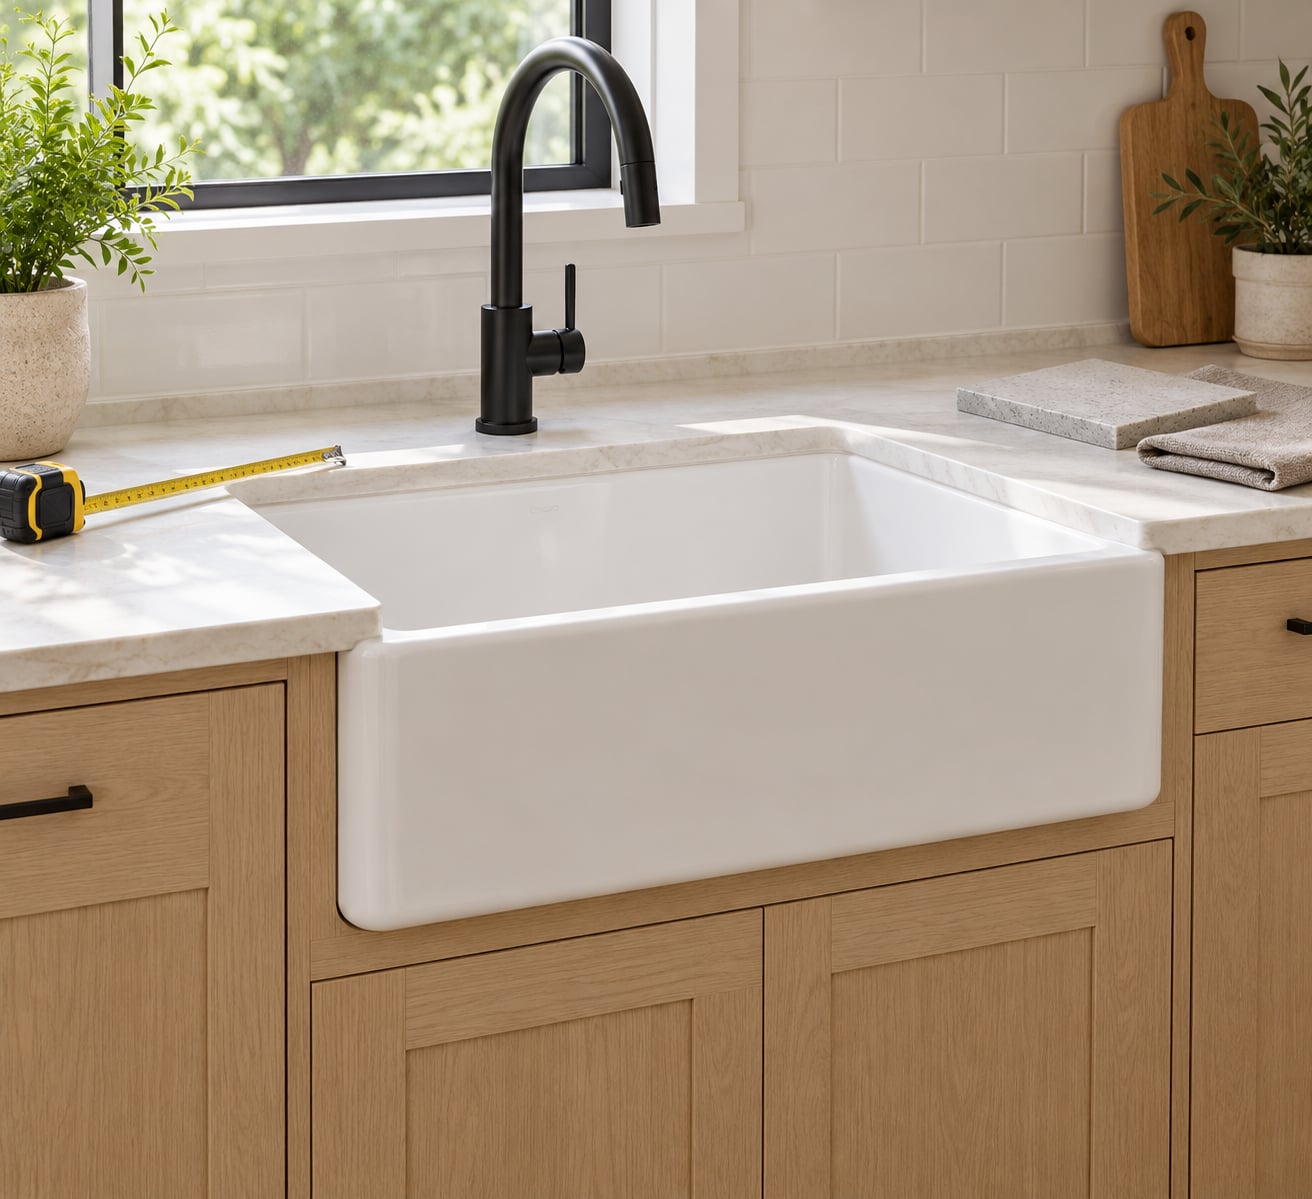
A farmhouse sink is not a drop-in swap. It is a structural change to your cabinet, countertop and plumbing, and a filled fireclay basin can weigh more than 300 pounds. The farmhouse sink installation considerations that matter most are weight, cabinet width, and the order of work: pick the sink first, set it and level it, then have the countertop templated around the unit that actually arrived.
I have watched homeowners learn this the expensive way, cutting a cabinet face for a 33 inch fireclay sink and discovering two weeks later that the delivered unit is nearly a quarter inch wider than the published spec. Everything below exists to make that a five-minute check instead of a rebuild.
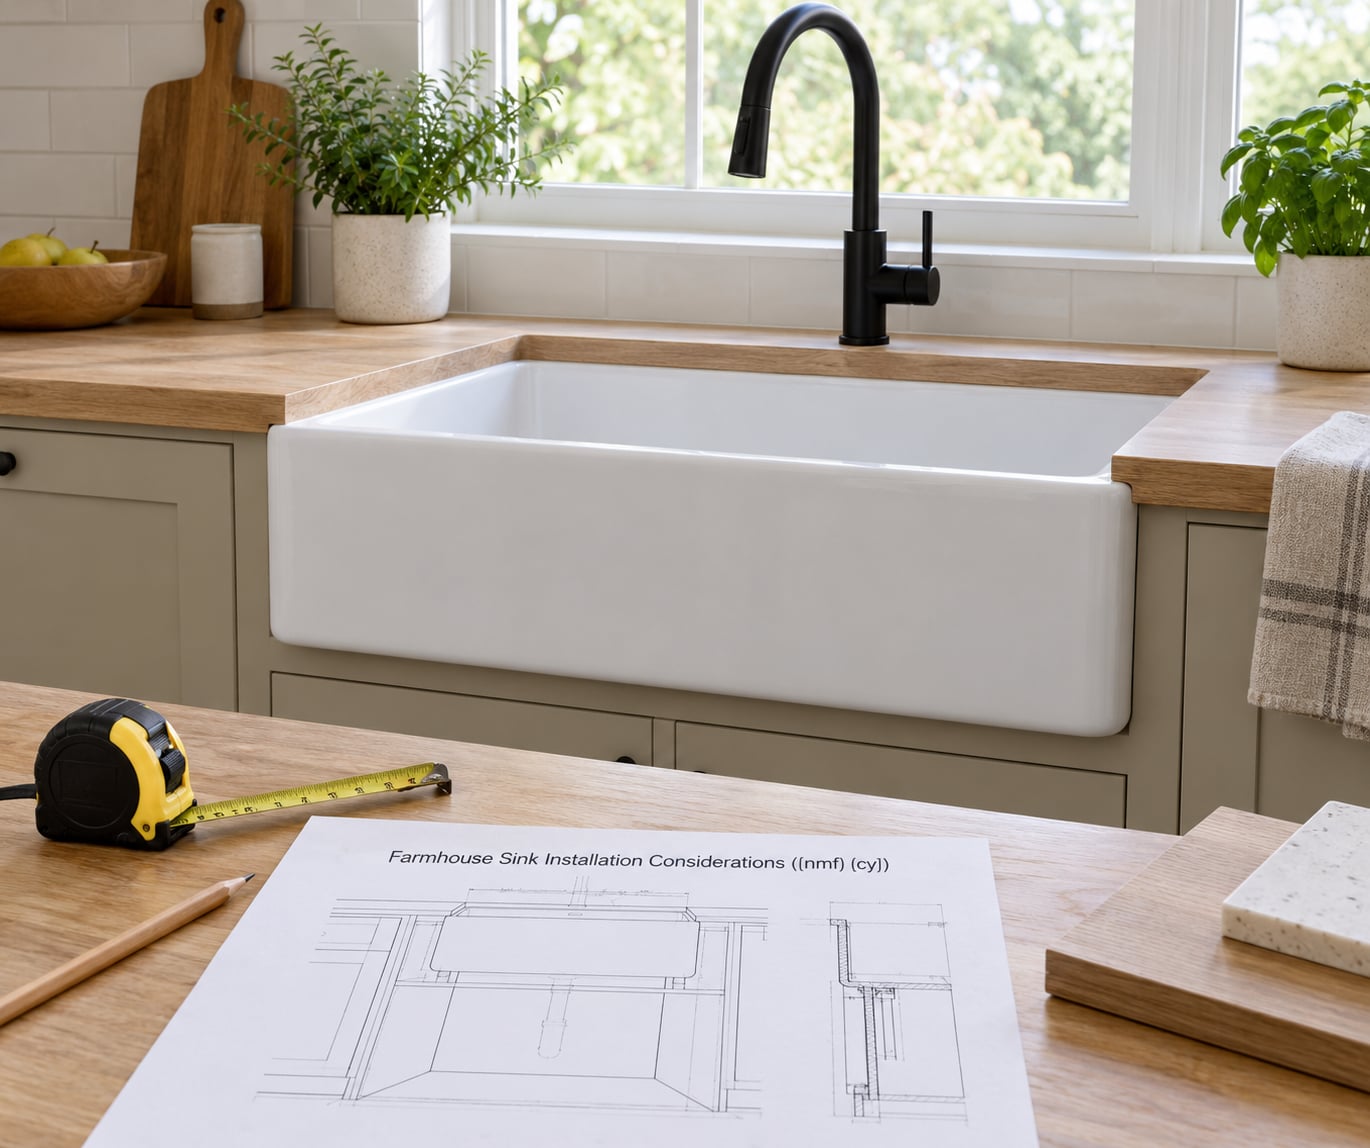
Table of Contents
- What to Check Before Choosing a Farmhouse Sink
- Weight decides the cabinet, not the style
- Order the sink before anyone templates the countertop
- Bowl configuration changes the cabinet you need
- Know which trade owns the install before demo day
- How to Measure the Cabinet, Countertop, and Sink Opening
- Sink width to minimum interior cabinet width
- Work out the frame height before you buy lumber
- Check the countertop material before you commit
- Fireclay, Stainless Steel, Copper, and Other Sink Materials Material changes the installation more than homeowners expect. It decides the empty weight you support, the dimensional tolerance you cut to, how the sink behaves around a disposal, and what maintenance it demands afterward. MaterialWeight and supportInstallation and care notes Fireclay200 to 300 pounds filled; a 33 by 20 by 10 example weighs about 105 pounds emptyBrittle at the edges during install; can vary up to 2 percent from published dimensions, so never cut before delivery; chip easily if you drop a tool on the rim Cast iron120 pounds or more empty, plus waterNeeds a very solid frame and careful handling; enamel can chip and rust if exposed; silent and stays warm Stainless steelLightest of the apron stylesSimplest retrofit over an existing cabinet; shows water spots; can dent; a garbage disposal fits more easily CopperModerate, and it changes with usePatinas over time; reacts to acidic cleaners; soldered or brazed connections only, never glued Stone and concreteHeavy, and unforgiving of point loadsMust rest evenly on the frame with no rocking; repair compounds handle chips; expect a 4 to 6 week lead time One more practical difference: a fireclay sink resists heat, stains and scratches better than stainless, while a stainless sink shrugs off dropped pans and a disposal. Noise is the reverse of weight. A heavy cast iron basin is nearly silent, a thin stainless one rattles. Undermount, Flush-Mount, and Apron-Front Installation Choices
- How far the apron should stick out
- Reveal styles come in three flavours
- Plumbing, Drain, Water, and Faucet Requirements
- Farmhouse Sink Installation Considerations That Turn Into Expensive Problems
- Frequently Asked Questions
- How should a farmhouse sink be installed?
- Can you install a farmhouse sink in a regular cabinet?
- What are the downsides of a farmhouse sink?
- Should a farmhouse sink be installed before or after the countertop?
- How far should an apron front sink stick out from the counter?
- Do I need a support frame for a farmhouse sink?
- What to Do Before Installation Begins
What to Check Before Choosing a Farmhouse Sink
The first decision is weight, because weight decides the cabinet, the support structure and whether your countertop can be removed and reinstalled at all. A farmhouse sink, also called an apron front sink, is a deep basin whose front wall extends past the cabinet face. The exposed apron is the design feature, and because the sink carries itself rather than hanging from the counter, its weight travels straight down into the cabinet box.
Here is the short version of what to confirm before you buy anything.
| Check | Why it matters | Where to confirm it |
|---|---|---|
| Empty and filled weight | Sets the support frame requirement and whether the existing cabinet can carry it | Manufacturer spec sheet |
| Overall width and depth | Has to clear the cabinet interior, the doors and the wall behind | Spec sheet plus your own tape measure |
| Mounting style | Undermount, flush mount and topmount sinks need different cabinet prep | Product page and install guide |
| Apron height and projection | Decides how much of the cabinet face gets cut away and how the reveal looks | Spec sheet, then confirm on the delivered unit |
| Lead time | Fireclay and stone commonly run 4 to 6 weeks, which sets your remodel schedule | Dealer or manufacturer |
| Drain and accessory fit | Disposals and workstation kits need clearance inside the cabinet | Spec sheet plus cabinet interior depth |
Weight decides the cabinet, not the style
Fireclay, stone and concrete farmhouse sinks reach 200 to 300 pounds filled. Cast iron farmhouse sinks are heavy empty, commonly 120 pounds or more before water. Stainless steel and copper farmhouse sinks are lighter, which makes a retrofit easier, but a light sink does not remove the need for a level support structure.
Order the sink before anyone templates the countertop
This is the single most common failure point. Home Depot’s own instructions say the sink has to be in place before the cabinets are measured for the countertop, and a commenter in a cabinet refinishing group repeated the same warning after their counter was measured early. A countertop cutout is not theoretical: once the slab is cut, the hole is the hole.
Bowl configuration changes the cabinet you need
Single bowl, double bowl and workstation sinks with front and back ledges all have different footprints. Double bowl units usually need a wider cabinet, and workstation ledges add accessories that need somewhere to sit. Reversible or handed basins also decide which side the drain lands on, which matters more than people expect when the plumbing is already roughed in.
Know which trade owns the install before demo day
Homeowners in kitchen remodel groups keep asking the same question: is the sink installed by the countertop company, the plumber, or the cabinet installer? Two different countertop companies told a homeowner in one Facebook group that it was not their job, while two others said it should be. Settle this in writing before anyone takes a saw to anything.
How to Measure the Cabinet, Countertop, and Sink Opening
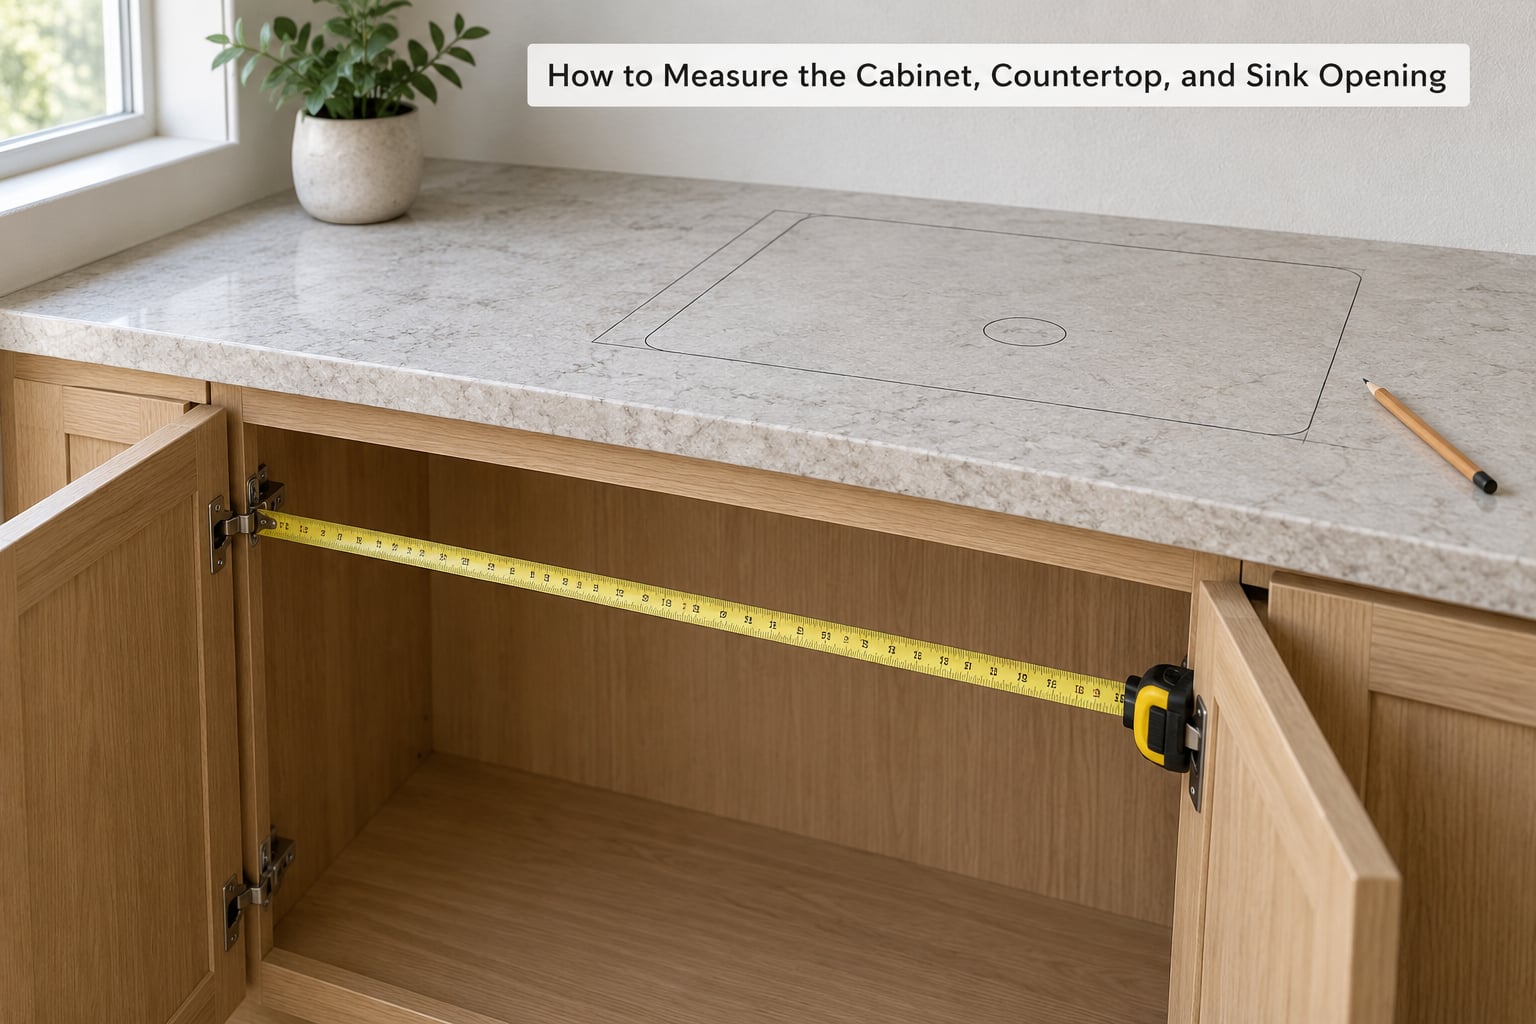
Measure the inside of the cabinet, not the outside of the box. Cabinet widths are nominal, and the interior of a 36 inch sink base is closer to 33 inches than to 36, which is why a 33 inch sink needs a purpose-built farmhouse sink base or a very careful retrofit.
Take these measurements and write them down before you order:
- Interior cabinet width, measured at the front rail and again at the back of the box
- Interior cabinet height from the bottom panel to the underside of the counter
- Countertop height from the finished floor
- Sink width, depth and height, taken from the delivered unit if one is available
- Apron height and how far the apron projects past the cabinet face
- Distance from the cabinet face to the wall, backsplash or window sill behind the sink
- Faucet hole location and whether the faucet deck reaches past the bowl
- The narrowest doorway, stairwell and corner between the delivery point and the kitchen
Sink width to minimum interior cabinet width
| Sink width | Minimum interior cabinet width to plan against | Note |
|---|---|---|
| 24 to 27 inch | 27 to 30 inch | Easiest retrofit; many standard sink bases work |
| 30 inch | 33 inch | Common fit in a 36 inch sink base |
| 33 inch | 36 inch | One published 33 by 20 by 10 fireclay example lists a 36 inch minimum cabinet |
| 36 inch and up | 39 inch and up | Plan a custom base cabinet or a new cabinet run |
You will hear the rule that the cabinet must be 3 inches wider than the sink. Some manufacturers require that, and some do not. A reader named Carl asked the same question in a retailer comment thread, and the honest answer is that the manufacturer’s minimum interior width governs, not the rule of thumb. Read the spec sheet, then measure your cabinet twice.
Work out the frame height before you buy lumber
The support frame height is the inside cabinet height minus the sink height minus about 1/8 inch. Build the frame to that number, then shim the sink until it is level. If your apron and frame heights are guessed rather than calculated, the sink will rock, and a rocking farmhouse sink is what cracks countertops.
Check the countertop material before you commit
| Countertop material | Cutout method | Watch for |
|---|---|---|
| Quartz | Template from the set sink, or factory cutout from the model drawing | Undermount reveal gaps are unforgiving; polished edges chip if you rework them |
| Granite | Template on site after the sink is set | Respirable crystalline silica when cutting; hand the cut to a fabricator |
| Laminate | Jigsaw or router with a fine blade | Core particle board swells if it gets wet; seal every cut edge |
| Butcher block | Jigsaw, clamped with a backing board | Movement over time, so plan for a flexible seal rather than a rigid joint |
Whatever the material, the cutout has to be templated from the physical sink. Fireclay can vary up to 2 percent from published dimensions, which is why cutting before delivery is a gamble.
Fireclay, Stainless Steel, Copper, and Other Sink Materials
Material changes the installation more than homeowners expect. It decides the empty weight you support, the dimensional tolerance you cut to, how the sink behaves around a disposal, and what maintenance it demands afterward.
| Material | Weight and support | Installation and care notes |
|---|---|---|
| Fireclay | 200 to 300 pounds filled; a 33 by 20 by 10 example weighs about 105 pounds empty | Brittle at the edges during install; can vary up to 2 percent from published dimensions, so never cut before delivery; chip easily if you drop a tool on the rim |
| Cast iron | 120 pounds or more empty, plus water | Needs a very solid frame and careful handling; enamel can chip and rust if exposed; silent and stays warm |
| Stainless steel | Lightest of the apron styles | Simplest retrofit over an existing cabinet; shows water spots; can dent; a garbage disposal fits more easily |
| Copper | Moderate, and it changes with use | Patinas over time; reacts to acidic cleaners; soldered or brazed connections only, never glued |
| Stone and concrete | Heavy, and unforgiving of point loads | Must rest evenly on the frame with no rocking; repair compounds handle chips; expect a 4 to 6 week lead time |
One more practical difference: a fireclay sink resists heat, stains and scratches better than stainless, while a stainless sink shrugs off dropped pans and a disposal. Noise is the reverse of weight. A heavy cast iron basin is nearly silent, a thin stainless one rattles.
Undermount, Flush-Mount, and Apron-Front Installation Choices
The mounting style decides how much cabinet you cut and whether the countertop edge is hidden or visible. Pick it before the cabinet work starts, because changing it later means redoing the front of the cabinet.
| Mounting style | What it means | What it changes for you |
|---|---|---|
| Undermount | Sink hangs below the cutout | Cleanest look, an about 1/8 inch perimeter gap that must be sealed, and the most demanding reveal |
| Flush mount | Sink rim sits level with the counter | No overhang, but the counter surface must be built up around the sink |
| Built-up apron mount | Counter surface is raised to meet the rim | Visible transition, common where a new sink meets an existing counter |
| Topmount or drop-in | Sink drops into a cutout from above | Easiest to install and the only style that leaves the cabinet face intact |
| Retrofit | An existing base cabinet is modified for an apron sink | Least expensive path, most cabinet cutting, and the most likely source of alignment problems |
How far the apron should stick out
Farmhouse sinks are commonly set about 3/4 inch extended past the front end of the countertop, so the apron reads as a deliberate face rather than a cabinet detail. One installer comment offers a useful workaround: some sinks have a recess between the basin body and the frontal overhang, and if that overhang measures 3/4 inch or more you may not need to remove the face frame at all.
Reveal styles come in three flavours
A positive reveal leaves the sink proud of the counter, a zero reveal lines the rim up flush, and a negative reveal sets the sink slightly below the surface. The choice is mostly visual, but a negative reveal on stone means a wider edge to support and a bigger silicone joint to keep clean.
Plumbing, Drain, Water, and Faucet Requirements
An apron sink takes away your cabinet doors and sometimes the cabinet itself, which turns every plumbing connection into a permanent access problem. Plan the plumbing while the cabinet is still open, because that is the only comfortable time to change it.
- Drain opening: match the sink’s drain to your existing tailpiece and trap, and confirm the required clearance above the cabinet floor before you order
- Trap and tailpiece alignment: the drain usually sits further back than a standard sink, and the tailpiece has to reach without forcing the joint
- Disposal fit: measure the disposal flange against the sink and the side walls of the cabinet, and check the swing clearance beneath the basin
- Workstation accessories: grids, colanders and cutting boards need storage and somewhere to sit without loading the rim
- Water supplies: decide whether the shutoff valves stay reachable through a false front or get relocated during the remodel
- Faucet holes: confirm the deck reaches the countertop and that faucet height clears a window above the sink
- Air gap and dishwasher connection: these usually need a hole in the counter, and a stone counter turns that into a fabricator job
The gap between a farmhouse sink and a standard kitchen is that there is no cabinet to hide a mistake. A misaligned tailpiece that you could have fixed in ten minutes on a drop-in sink now means pulling the apron forward or lifting the counter.
Farmhouse Sink Installation Considerations That Turn Into Expensive Problems
Almost every expensive farmhouse sink job traces back to a check that took two minutes. Here are the warning signs that the project in front of you is going wrong.
- Nobody owns the install. If the cabinet installer, the fabricator and the plumber all assume someone else sets the sink, the homeowner pays for the gap. A Houzz thread put it bluntly: the sink base cabinet has to be cut very well, and the install can cost more than the sink itself.
- The cabinet was measured before the sink existed. A Facebook commenter hit this exactly, quoting an app instruction that the farmhouse sink must be installed before cabinets are professionally measured.
- The cabinet is a flat-pack or IKEA unit with a particle board back. These are not engineered for 200 plus pounds. You can reinforce them, but decide that before the counter is templated.
- The cutout has already been enlarged by hand. Cutting stone or quartz in place puts you in the same room as respirable crystalline silica, which is a serious hazard that a fabricator is equipped to manage and a weekend remodel usually is not.
- The cabinet is being asked to hold the sink on silicone. In a kitchen remodel thread a homeowner asked whether a sink held only by adhesive silicone with no hangers was normal. The reply was that mechanical hangers should still have been used. Silicone seals, it does not carry 300 pounds.
- Doors and trim will not line up after the cut. Standard sink bases carry full-size doors that will not clear an apron. Purpose-built farmhouse sink bases use smaller doors, and trimming a raised-panel door without ruining its profile is finicky work.
- The delivery route is too tight. A 33 inch fireclay sink is a rigid object weighing well over 100 pounds. Measure the narrowest doorway and the turn at the stairs before the truck arrives.
- The countertop is already installed. The reverse-order retrofit is possible, but expect the counter to come off, the cabinet to be modified, and the seam to be redone.
Frequently Asked Questions
How should a farmhouse sink be installed?
Set the sink on a level support frame inside the cabinet, cut the cabinet face to match the apron with about a 1/4 inch gap per side, shim until the rim is level, then template the countertop from the sink that is actually in place. Reconnect the drain, seal the seam, and test for leaks. The weight goes down into the frame, never into the counter or the silicone.
Can you install a farmhouse sink in a regular cabinet?
Usually, yes, with modifications. A standard sink base works when its interior width clears the sink, the doors can be trimmed or replaced, and the back and sides can carry a built support frame. A purpose-built farmhouse sink base is easier because it already has smaller doors and a reinforced base. Check the manufacturer’s minimum interior width before assuming either cabinet works.
What are the downsides of a farmhouse sink?
The apron removes cabinet storage, the sink is heavy enough that the cabinet needs real support, and the front face gets cut, which is hard to reverse if you change your mind. Plumbing repairs mean reaching under the apron. Installation labor can exceed the cost of the sink itself, and a fireclay unit that chips cannot be repaired invisibly.
Should a farmhouse sink be installed before or after the countertop?
Before, if you can manage it. The sink has to be chosen, dry-positioned and levelled so the countertop can be templated around its actual dimensions. Fireclay can vary up to 2 percent from published sizes, so templating from a catalog drawing is a gamble. If the counter is already in, expect to remove it and redo the cutout and seam.
How far should an apron front sink stick out from the counter?
About 3/4 inch past the front edge of the countertop is the common look, so the apron reads as a feature of the room. Some sinks have a recessed apron where the basin body steps back from the front edge, and on those you may be able to keep the face frame in place. Measure the overhang on the actual unit rather than assuming.
Do I need a support frame for a farmhouse sink?
Yes for any fireclay, cast iron, stone or concrete sink, and a good idea for the lighter materials too. Build the frame from the inside cabinet height minus the sink height minus about 1/8 inch, level it, and shim the sink until it does not rock. Side-wall mounting kits exist, but a full frame spreads the load better across an older cabinet box.
What to Do Before Installation Begins
Do these five things, in this order, and most of the risk leaves the job. Measure the cabinet interior and the wall clearance, then find the manufacturer’s minimum cabinet width for the exact model you want. Photograph every existing plumbing connection before anything moves, so you know what you are reconnecting to. Read the sink’s spec sheet for empty weight, filled weight, mounting style, drain opening and lead time. Confirm in writing which trade sets the sink, cuts the cabinet face and templates the countertop.
Then, and only then, let anyone cut. The farmhouse sink installation considerations that decide whether this is a pleasant remodel or a six-week argument are all known before demo day: weight, cabinet width, mounting style, and the order of work. A filled fireclay sink is a small structure on your kitchen floor, and it deserves a plan that treats it like one.