How to organize deep kitchen cabinets: make the full depth usable by loading long clear bins front to back and pulling them out like drawers, or by adding slide-out pull-out shelves. Everything else — sorting, zones, labels — is support for those two moves. Budget about an hour per cabinet, and the whole run of cabinets takes a weekend.
Standard base cabinets are about 24 inches deep, which is roughly twice the depth of a wall cabinet. That extra room feels generous on installation day and turns into a problem within a month, because anything you push to the back becomes something you forget about.
Forgotten items get bought twice and thrown away twice. If you have ever stood in an open cabinet holding a pot lid, muttering that you know the big one is in there somewhere, you already know which cabinet is the problem.
Table of Contents
- What You Need
- Step-by-Step: How to Organize Deep Kitchen Cabinets
- 1. Empty the Cabinets and Create Sorting Piles
- 2. Measure the Usable Cabinet Space
- 3. Group Items by Task and Frequency
- 4. Choose Storage That Fits the Cabinet
- 5. Arrange Items From Front to Back
- 6. Label Zones and Containers
- 7. Maintain the System
- Common Mistakes
- Frequently Asked Questions
- What is the best organizer for deep kitchen cabinets?
- How do I keep items from getting lost at the back of a cabinet?
- Should I use pull-out drawers or tiered shelves in deep cabinets?
- How do I organize a deep cabinet with sliding shelves?
- How can I stop using kitchen cabinets as overflow pantry storage?
- Conclusion
What You Need
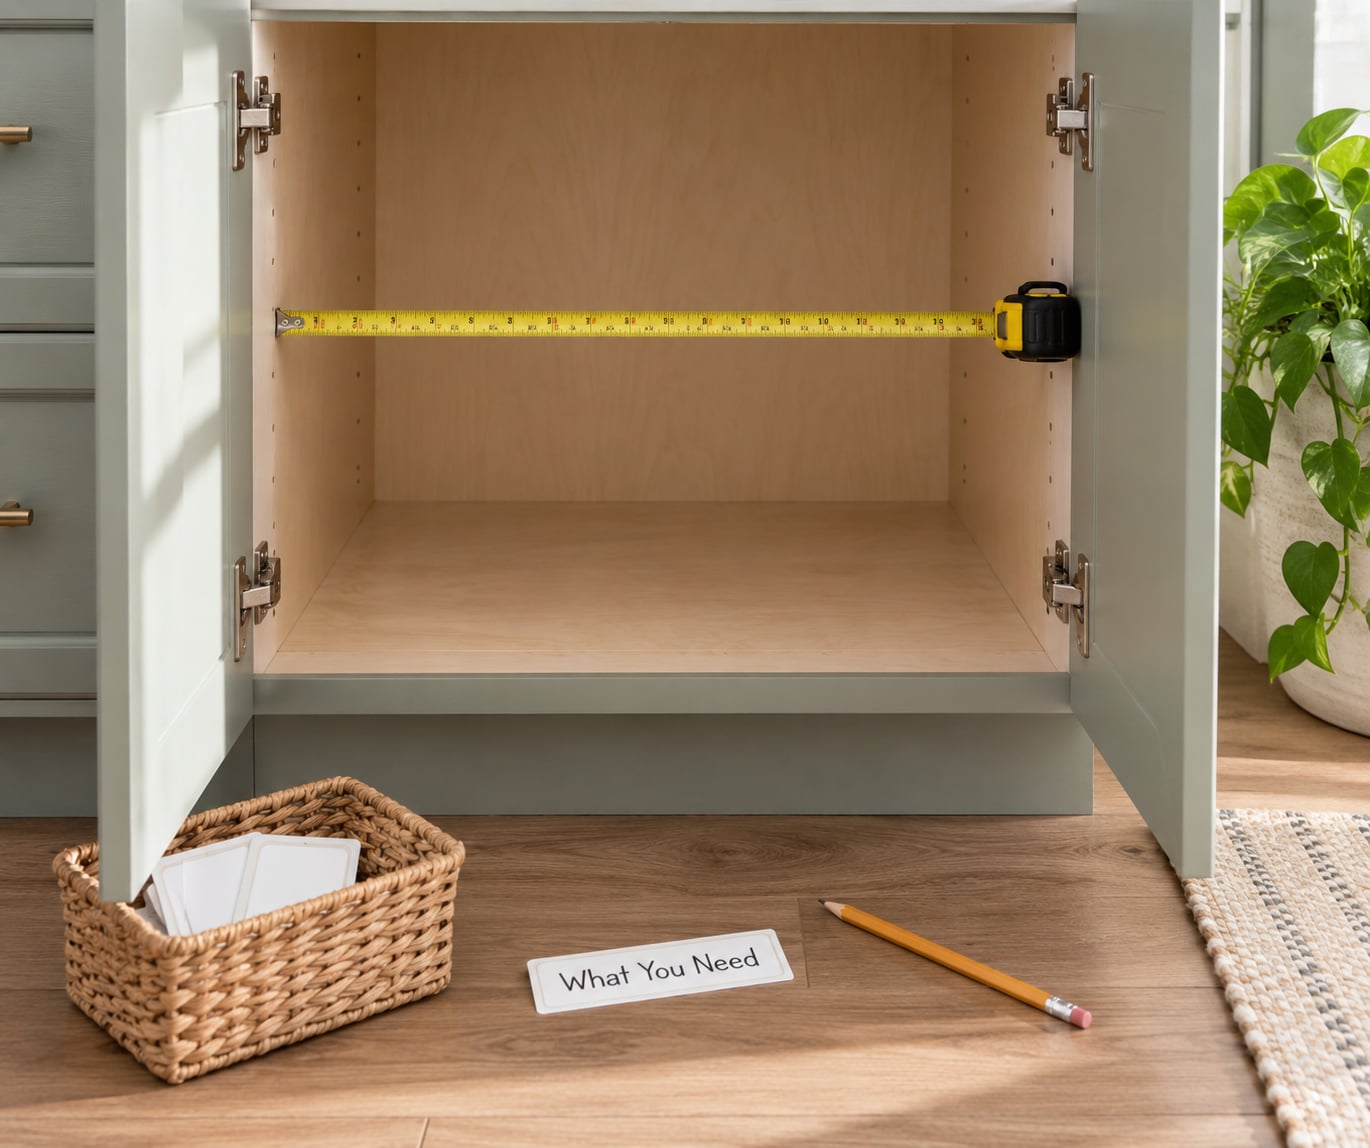
The short list matters because the goal is to solve a specific gap, not to outfit the cabinet with matching containers. Gather these before you start.
- A tape measure for interior width, usable depth, and the gap between the door and the interior.
- Battery or LED cabinet lighting so the back half is visible at all. A stick-on tap light on the interior side wall does the job without wiring.
- Painter’s tape or removable labels for naming zones and bins.
- Four boxes or laundry baskets to sort into as you empty each cabinet: keep, relocate, donate, discard.
- A marker and paper to sketch the layout before you buy anything.
- Trash bags for anything expired or broken. Set one out first so you are not carrying rubbish back into the kitchen.
Two optional tools earn their keep. A small step stool turns the top shelf of a tall pantry from a guess into a decision. A narrow rolling cart lets you bring the contents of a deep cabinet out to the counter instead of shifting them one shelf at a time.
What you do not need yet: any organizer. Bins, risers, and slide-out hardware should be chosen after you measure, because a kit that is 2 inches too deep will sit at the front of the cabinet doing nothing.
Step-by-Step: How to Organize Deep Kitchen Cabinets
Seven steps, done in this order, turn a deep cabinet into a space you will actually maintain. Skip ahead and you end up with prettier containers in the wrong places.
1. Empty the Cabinets and Create Sorting Piles
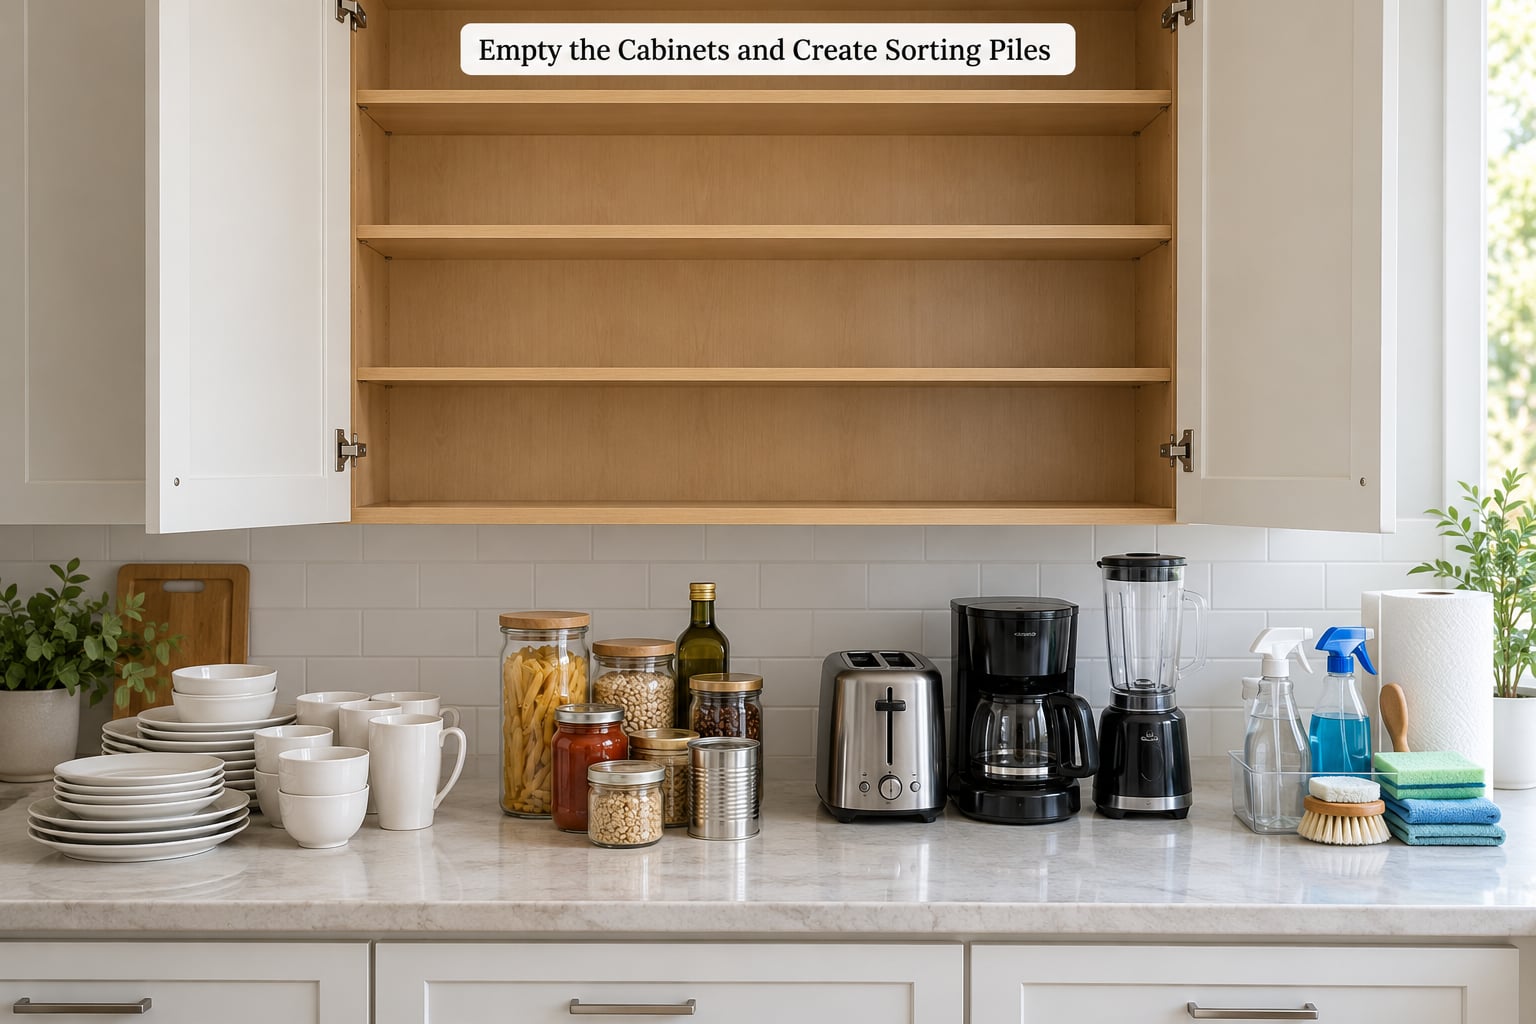
Work one cabinet at a time, and pull everything onto the counter or onto the floor in front of it. Move the piles out of the way before starting the next cabinet, or you will have two half-sorted cabinets and no clean surface.
Sort as you go into four groups. Keep means it lives in this cabinet. Relocate means it has a better home, such as a dining room hutch or a shelf that currently holds nothing. Donate means usable but unwanted. Discard means expired, chipped or broken.
Wipe the empty cabinet while the piles are out. Do the back panel and the shelf edges, which are usually the dusty parts people skip. Set aside anything that does not fit where you plan to put it — a tall stockpot in a corner cabinet is a decision, not an accident.
Owners of standard flat-pack kitchen cabinets frequently report that this single step is what makes the rest work, because sorting exposes how many duplicates of the same item were stacked three deep.
2. Measure the Usable Cabinet Space
Measure four numbers, then write them on the paper with your pencil. These decide which organizers will actually fit.
| Measurement | Where to measure | Why it matters |
|---|---|---|
| Interior width | Inside face to inside face, at the narrowest point | Sets the width of any bin, riser, or slide kit |
| Usable depth | Interior back wall to the door’s closed position, minus the door thickness | Tells you how far back a bin can go before the door hits it |
| Height between shelves | Top of the shelf below to underside of the shelf above | Shows whether a tall sheet pan fits flat or must go on its side |
| Clearance at the door | Gap between the interior and the door when closed | Kits deeper than this gap will not close |
Subtract about half an inch from the interior width for the fit. Cabinets are rarely square, and a bin that jams on the way in gets shoved to the back of the shelf and ignored.
Sketch the cabinet cross-section on your paper, marking the point roughly one third of the way back from the front. That is your reach limit. Anything stored behind it is stored once and then forgotten.
3. Group Items by Task and Frequency
Decide what each cabinet is for before deciding where things sit inside it. A cabinet with one job is easy to keep organized; a cabinet holding a mix of baking supplies and birthday candles is not.
Useful zones for deep storage: daily dishes and mugs, cooking ingredients you use weekly, baking supplies with the sheet pans, a drinks station, small appliances, and one controlled overflow shelf for reserve supplies.
Assign frequency to each zone. Anything used weekly sits near the front. Anything used monthly moves to the middle. Anything used once or twice a year belongs in the back or, better, out of the house.
Cleaning supplies go in the cabinet nearest the sink, not the one nearest the stove. Small appliances cluster together so you can unload one shelf rather than three when you want the blender.
4. Choose Storage That Fits the Cabinet
Pick one solution per problem you found while sorting. Here is what each one is actually good at, and how to organize deep kitchen cabinets without ending up with hardware you never touch.
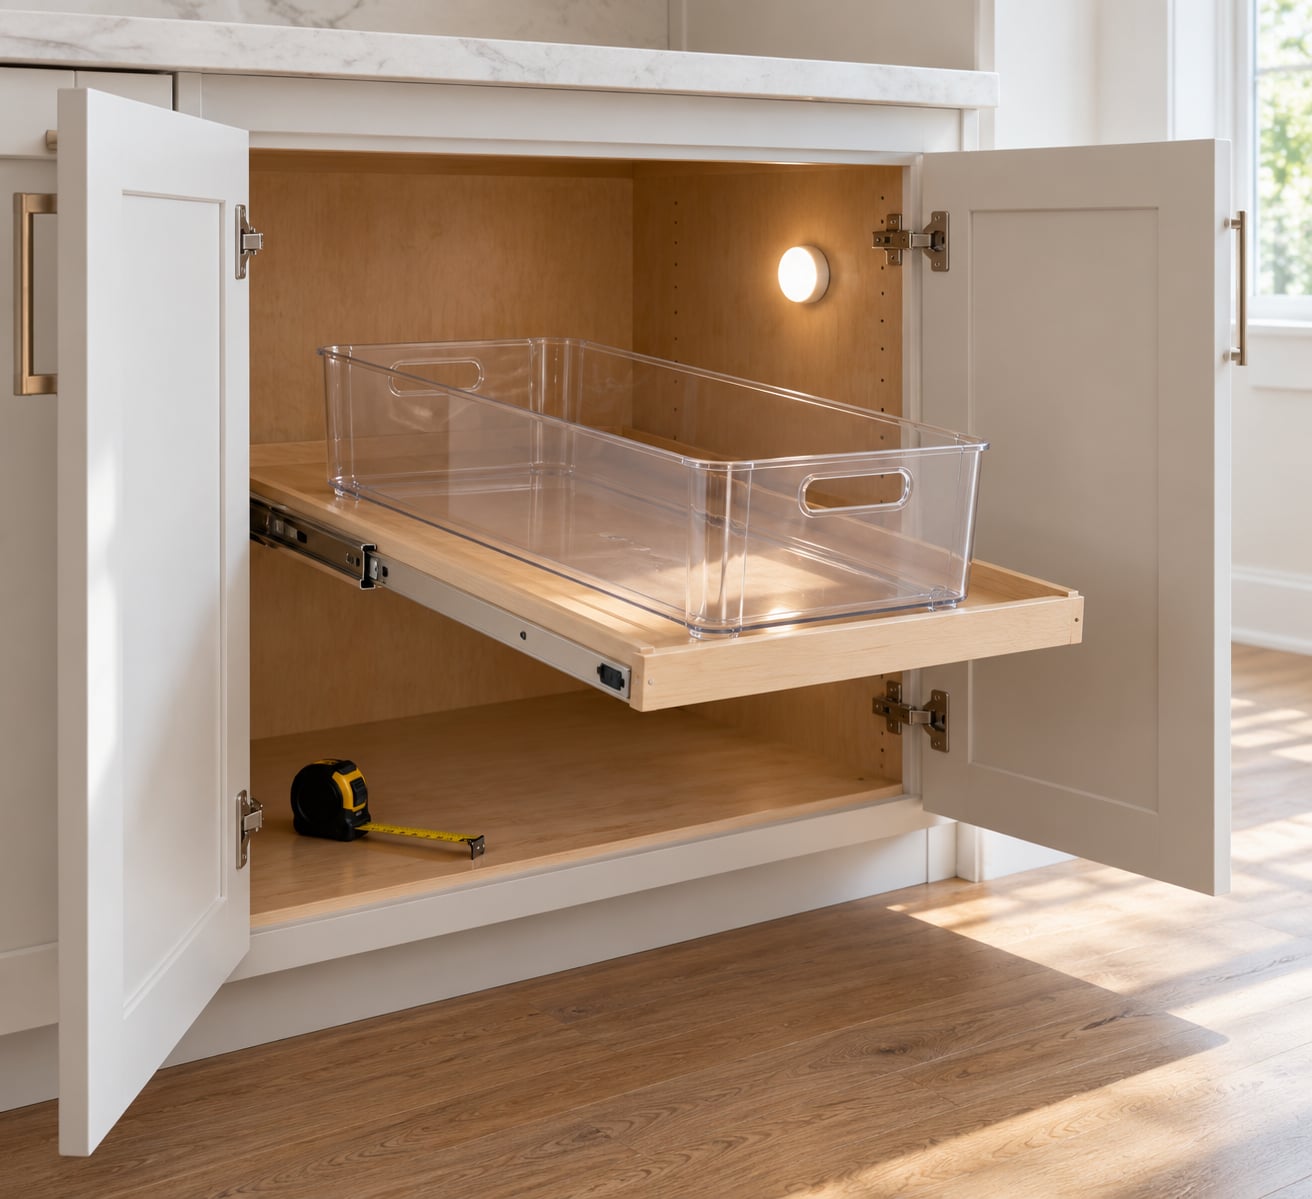
- Long clear bins placed front to back work in almost any deep cabinet and cost nothing to modify. Add a handle cut-out on the front lip so the bin slides out with one hand. This is the fix most often recommended by people who have already tried the alternatives.
- Pull-out shelves turn a fixed deep cabinet into a deep drawer. You reach the back by pulling, not by unloading. They suit dry goods, canned goods, and baking supplies in wide cabinets.
- Tiered shelf risers tilt the back row forward so a second row of cans or jars becomes visible without moving the front row.
- Vertical dividers hold sheet pans, cutting boards, and lid trays upright so one item does not bury the next.
- Under-shelf baskets hang from the shelf above and use the dead air underneath, which in a deep cabinet is substantial.
- Lazy Susans suit corner cabinets, not straight runs. Use a full-circle turntable in a true corner and a kidney-shaped one in a blind corner where a circle will not spin freely.
Skip anything that does not match your measurements, and skip anything you bought because the cabinet looked empty and empty cabinets feel wasteful.
5. Arrange Items From Front to Back
Place daily items within the first third of the cabinet depth. Back-row cans, unopened dry goods, and refills go behind them.
Duplicates get a controlled middle zone. Keep one open container in the front zone and the reserve units together at mid-depth on the same shelf line, so the count stays visible and you can restock without a scavenger hunt.
Weight gets its own rule: heavy items on the bottom shelf, mid-weight in the middle, light items above. A deep shelf loaded with reserve canned goods at the top is the usual cause of sagging cabinet shelves, and the fix is moving the weight down rather than adding a support.
Fill the back with tall, narrow, infrequent things — a stack of baking sheets on a riser, a slow cooker, a bag of pet food. Do not bury those behind loose packages. Stack the same type of item together instead of mixing rows.
6. Label Zones and Containers
Labeling works when it describes a location, not an inventory. “Breakfast” and “baking” are useful. “Flour 00, opened last spring” is useful for about two weeks and then needs rewriting.
Write labels on the front lip of each bin so you can read them while standing at the cabinet, and on the interior tape strip so you know what belongs in an empty space later. Handwritten labels in the same pen on the same strips hold together better than a mix of printed stickers.
Do the zone labels after everything is loaded and you know where it settled. Labeling a plan produces a label for a place that no longer exists.
7. Maintain the System
Two minutes per week keeps a deep cabinet honest. Put returned items in their zone on the way you unload groceries rather than on the way you need something.
Run a quick reset monthly: pull the front bin out, check the back row for duplicates, and remove anything you have not touched since the last reset. Deep cabinets drift toward holding loose cans at the back, and a monthly pass is cheaper than a full reset.
Set a rule for the overflow zone: if a zone exceeds its container capacity, the fix is to remove something, not to add a container.
Common Mistakes
Most disorganized deep cabinets repeat the same handful of failures. Each has a quick correction.
Buying organizers before measuring. Kits are sold in standard widths and depths that often assume a shallower interior. Measure first, and check the kit’s stated depth against your usable depth including door clearance.
Filling the back first. Storing reserve cans at the rear creates a second, unreachable pantry inside the first one. Put the reserve supply at mid-depth and the daily supply in front of it.
Storing heavy items high. Deep shelves carry more total weight than people expect. Lower shelves take the canned goods and cookware; upper shelves take light, bulky, rarely used items.
Mixing unrelated categories. A shelf of snacks, craft supplies, and cleaning refills is one shelf no system can organize. One cabinet, one job, one zone.
Using containers that flex. Thin plastic bins bow under weight and slide apart when pulled. Rigid-sided containers with a front handle grip hold their position.
Treating one cabinet as unlimited storage. Reserve canned goods and paper backstock multiply quietly. Cap the reserve zone with a specific count and review it at the monthly reset.
Two smaller habits help. Use vertical space for flat items so one sheet pan is not a stack hiding six more. And put a light inside the cabinet — a back corner you cannot see is a back corner you will not check.
Frequently Asked Questions
What is the best organizer for deep kitchen cabinets?
For most kitchens, long clear bins placed front to back and pulled out like drawers are the best first move, because they work in any cabinet and cost very little. Slide-out pull-out shelves are the better answer when the cabinet is wide, holds heavier items, and you can accept drilling and hardware inside the cabinet. Corner cabinets are a different case and need a kidney-shaped lazy Susan or a magic corner pull-out.
How do I keep items from getting lost at the back of a cabinet?
Stop treating the back as storage and treat it as a buffer. Keep everything you use monthly within the front third of the cabinet depth, hold duplicates together at mid-depth on one shelf line, and reserve the rear for tall, infrequent items such as sheet pans and small appliances. A battery tap light on the interior wall also helps, because you cannot audit a space you cannot see.
Should I use pull-out drawers or tiered shelves in deep cabinets?
Use pull-out drawers when the problem is reaching the back of a wide cabinet and the contents are heavy, since the slide carries the load. Use tiered shelves when the cabinet is already easy to reach but the front row hides the back row of cans or jars. In a 24-inch deep cabinet, tiered risers solve a visibility problem, and pull-outs solve an access problem.
How do I organize a deep cabinet with sliding shelves?
Measure interior width, usable depth, and the gap behind the door, then pick a kit whose depth fits inside that gap. Install the slides at the level holding the items you use most, and leave a level free for anything heavy. Load daily items at the front of each slide and reserve supplies behind them. A slim rolling cart is a good temporary stand-in while the kit is being fitted.
How can I stop using kitchen cabinets as overflow pantry storage?
Designate one shelf as the overflow zone and cap it with a count you are willing to maintain, such as two reserve cans per type. Everything else that arrives in a bulk purchase gets stored elsewhere or removed. Review the zone monthly and remove anything unused since the previous review. Without a cap and a review date, an overflow shelf quietly becomes the whole cabinet.
Conclusion
Start with one cabinet, not the whole wall. Empty it, sort into four piles, wipe it, and measure interior width, usable depth, and door clearance. Decide what the cabinet is for, then add exactly one solution — front-to-back clear bins for most kitchens, slide-out shelves if the cabinet is wide and heavy. How to organize deep kitchen cabinets comes down to that measure-first discipline, repeated one cabinet at a time, and an hour a week of putting things back where they belong.