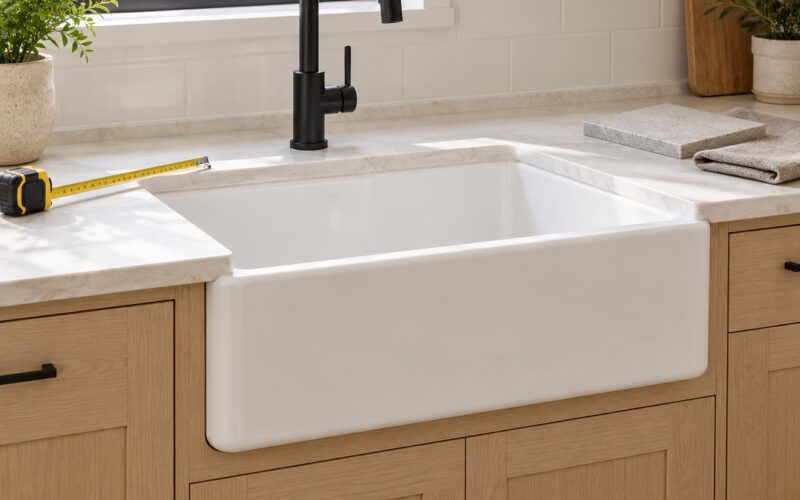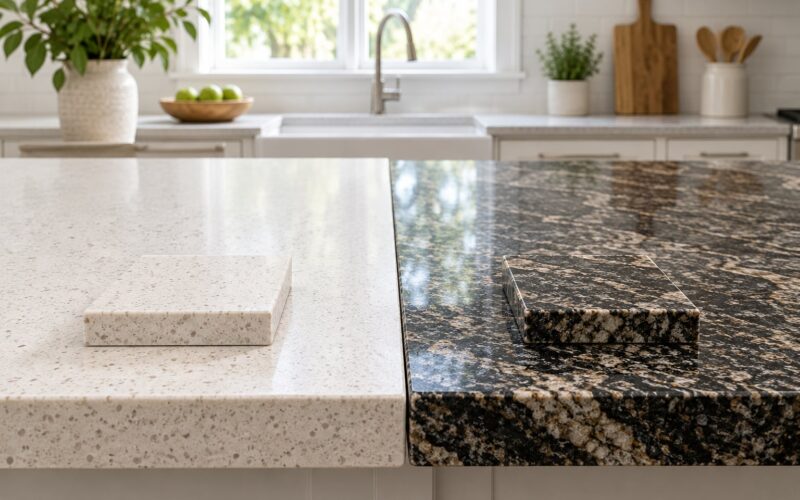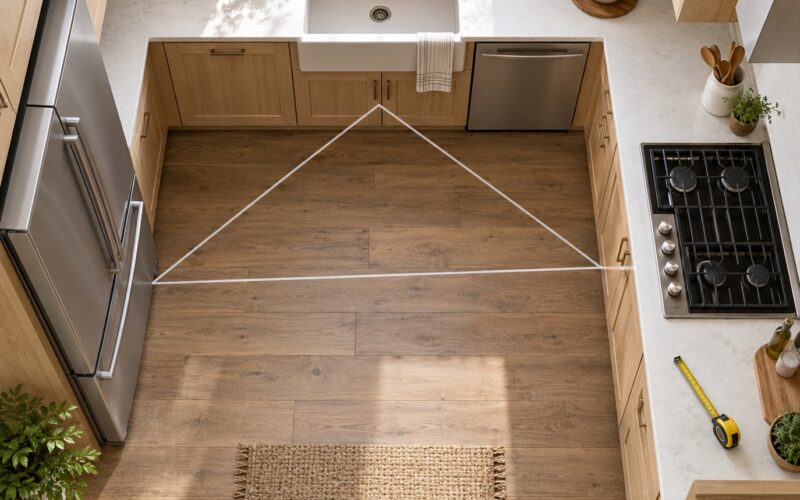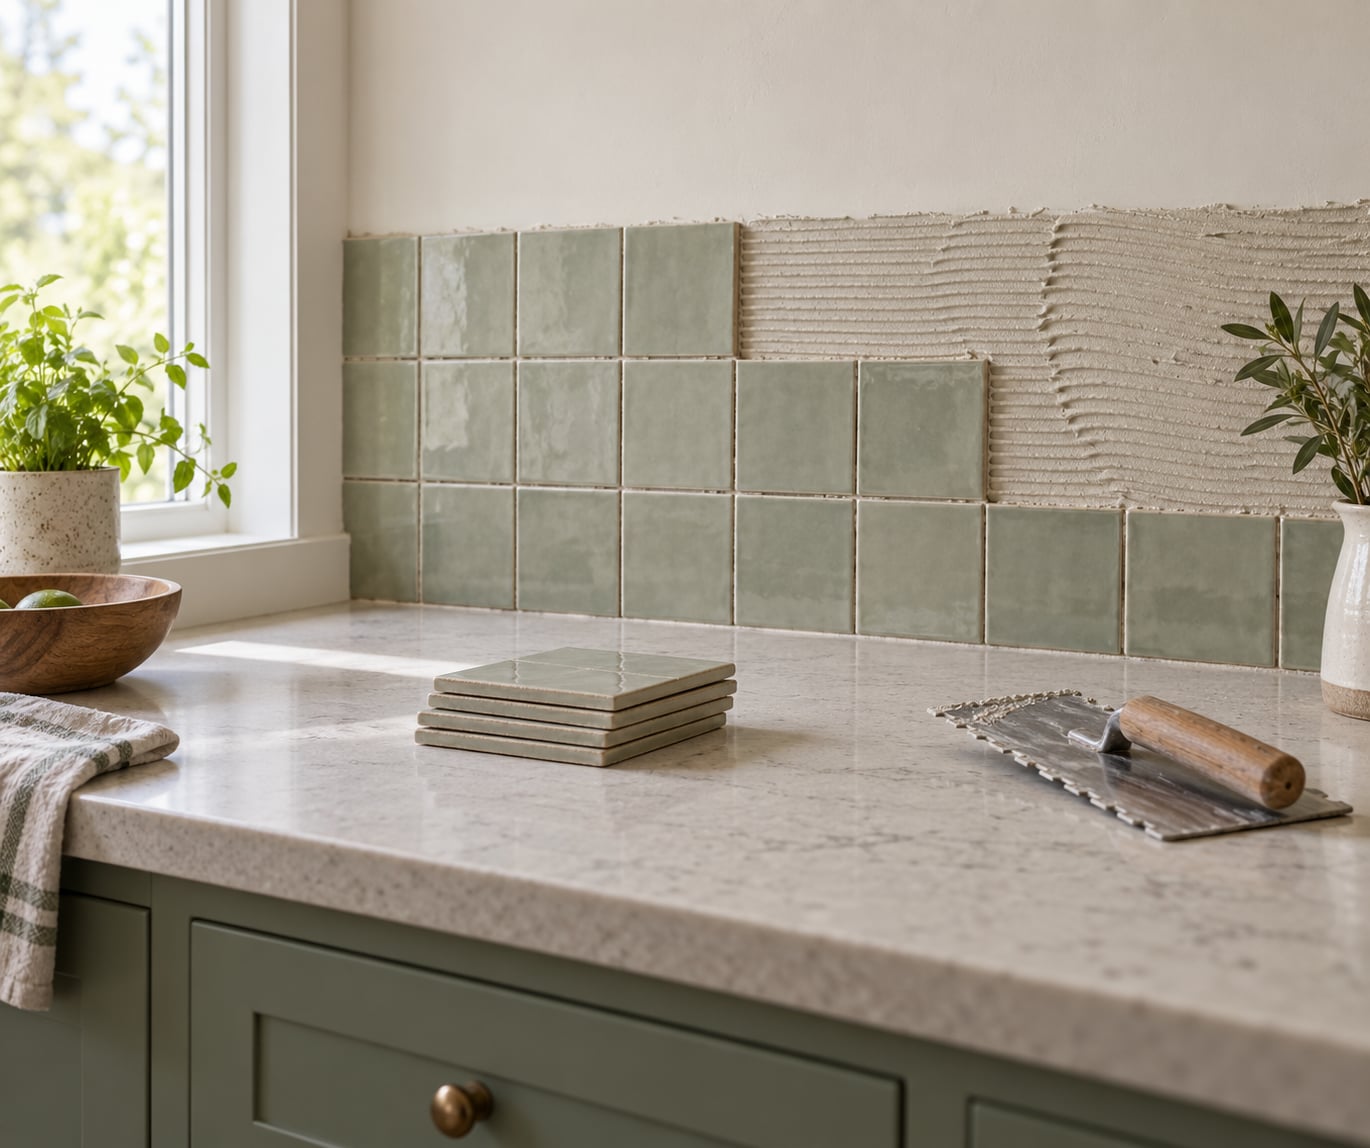
A backsplash is a band of tile on the wall behind a countertop, and yes, a beginner can install one in a weekend. Here is the whole method in one line: measure the wall, prepare the surface, mark a level layout, spread adhesive with a notched trowel, set the tile with spacers, then grout, caulk and seal once everything has cured.
Set aside roughly two days of work spread over three calendar days. Most of the active time is the measuring and the setting; the waiting is adhesive curing and grout drying, and rushing either one is why a first backsplash goes wrong.
One thing to decide before you buy anything, because it cannot be undone: properly installed tile does not come off drywall. If you install it well, the only way to remove it later is to cut the drywall and the tile out together. Plan the layout before you spread a single square of adhesive, and this job stays a weekend.
Table of Contents
- What You Need to Install a Tile Backsplash Yourself
- Step-by-Step
- 1. Measure the Wall and Inspect the Surface
- 2. Prepare the Wall and Mark the Layout
- 3. Choose the Tile Pattern and Set the First Row
- 4. Apply Adhesive and Set the Tiles
- 5. Cut Tiles for Edges and Obstacles
- 6. Grout, Seal and Clean the Backsplash
- Common Mistakes and How to Fix Them
- Frequently Asked Questions
- Can I install a tile backsplash directly on drywall?
- What do you put behind a tile backsplash?
- What are the most common backsplash tile mistakes?
- What is the easiest type of backsplash to install yourself?
- Should I use mastic or thinset for a backsplash?
- How long should tile dry before grouting?
- Conclusion
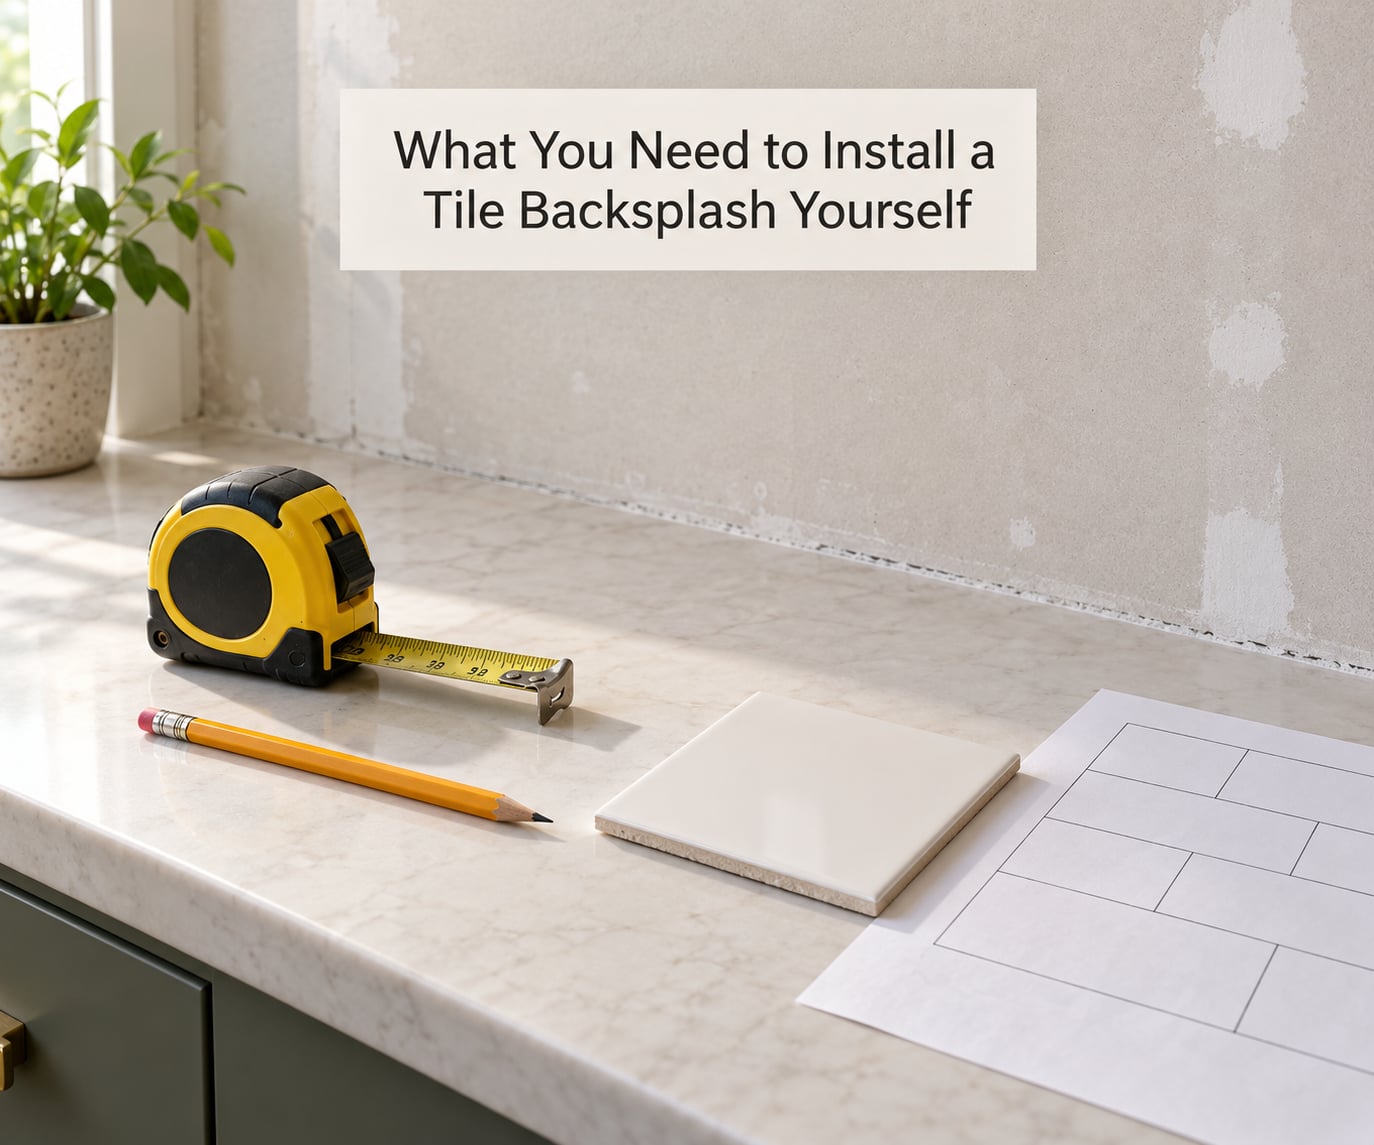
What You Need to Install a Tile Backsplash Yourself
Tools are the easy half of this list. Everything below marked required is genuinely needed; the rest buys you speed or a cleaner finish.
Tools
- Measuring tape and pencil (required) for the wall, the layout lines and every cut.
- Level, ideally a 24 inch or longer one (required). A short level will convince you a crooked wall is straight.
- Notched trowel (required) with a notch matched to the adhesive and tile size.
- Tile cutters (required) for straight lines: a score-and-snap cutter for ceramic, a wet saw for porcelain or natural stone.
- Tile spacers or leveling wedges (required). Skipping these is the reason grout joints look uneven.
- Grout float, two buckets, a mixing paddle, and a clean damp sponge (required) for the grout stage.
- Utility knife, straightedge or small square, and a paper or cardboard template (required) for outlet cuts.
- Safety glasses, cut-resistant gloves, knee pads and a dust mask (required when cutting).
- Wet/dry vacuum or shop vac (optional but nice) for dust from sanding and cutting.
- Laser level or chalk line (optional) makes a long reference line easier across a wide wall.
Materials
- Tile, plus bullnose or edge trim if the backsplash stops in open wall rather than running into a cabinet.
- Tile adhesive: premixed mastic for dry interior walls, thinset mortar when the wall gets splashy or the substrate is backer board, or a peel-and-stick adhesive mat for the fastest, least messy install.
- Grout, sanded for joints wider than an eighth of an inch and unsanded for narrow ones. Pre-mixed grout saves you cleanup time.
- Silicone tub-and-tile caulk in a color close to your grout, for the countertop line and inside corners. Transitions get caulk, never grout.
- Grout sealer if you use cement-based grout, applied once the grout has fully dried.
- Patch compound, 80-grit sandpaper or a sanding sponge, and a degreaser for wall prep.
To work out how much tile to buy, measure the height and width of each wall section, multiply to get the square footage, and add 10 percent for cuts, mistakes and the future repair piece. Beginners almost always underestimate, and running out mid-wall stops the project until you find a matching batch.
On tools, renting beats buying for a single job. A wet saw, a large trowel and a tile cutter are worth renting once; a level, tape measure and trowel notch size you can keep.
Step-by-Step
The order below matters more than any individual technique. Measure, inspect, prepare, lay out, set, then finish. Each step assumes the previous one is done properly, so a shortcut in step two shows up as crooked tile three days later.
Safety first, always. Shut off the breaker feeding the outlets in the work area and confirm it is dead with a non-contact circuit tester before you touch a single plate. Wear eye protection whenever you cut, cut outdoors or with a window open when you dry-cut, keep the room ventilated while mortar and grout cure, and pull a utility knife blade toward your body only. Any work that involves rewiring boxes, moving an outlet to a new location, or a load-bearing or structural change belongs to a licensed tradesperson.
1. Measure the Wall and Inspect the Surface
To install a tile backsplash yourself accurately, start with a real measurement and a real look at the wall. Measure each wall separately, note the finished height between countertop and upper cabinets, and write it down in whole courses of tile rather than a single measurement, so the pattern lands cleanly on top.
Now inspect. Look for moisture stains, soft or hollow-sounding drywall, screws popped proud of the surface, dents deeper than about 1/16 inch, and any movement around the window or corner. A straightedge held against the wall with a level will show the high spots; fill those with patch compound and sand smooth before you go further.
Mark the obstructions. Every outlet, switch and window return needs to be located and measured now, while the wall is bare. Discovering a box position halfway through setting tile is how beginners end up with a sliver strip two inches wide next to a switch.
Two decisions belong here too. If the wall is painted drywall in a dry interior area, tile can go straight onto it once the surface is degreased and scuffed. In a splash zone, or on a wall that flexes, set cement backer board first. And if this wall already has someone else’s tile on it, that is a separate project with its own removal problem.
2. Prepare the Wall and Mark the Layout
Clean the surface with a degreaser, let it dry, then sand with 80-grit paper or a sanding sponge. You are after a matte surface that dusts clean; a shiny painted wall is the single most common reason a backsplash peels off months later.
Patch any holes and let the compound dry completely, then sand it flush. Check the whole wall again with a straightedge. Tile bridges small hollows but it follows every ridge, so flatness matters more than pretty finish work underneath.
Snap a level reference line across the wall, and mark a centerline for the field of tile. The most useful beginner habit is to tape the layout out on the floor first: lay out full tiles in rows, note the cabinets, outlets and appliances as obstacles, and adjust until you have at least a third of a tile at each end. Narrow slivers at the edge are what make a DIY backsplash look cheap.
Where the backsplash stops in open wall, decide the height in whole courses here, not later. Plan to hide the bottom cut edge behind the countertop or finish it with an edge trim.
3. Choose the Tile Pattern and Set the First Row
The easiest type of backsplash to install by yourself is a large square or rectangular ceramic tile on a mesh-backed sheet, because the sheets arrive pre-spaced and cover a lot of wall with few cuts. Glass mosaic and natural stone are the hardest: hundreds of small cuts and brittle edges.
Four patterns cover almost everything. A stacked grid lines up in both directions and is the most forgiving, because the joints stack and any drift stays visible and fixable. A brick or subway pattern offsets every other row by half a tile and is the most common kitchen look. A running bond steps each row further, which hides a crooked wall. A herringbone or basketweave looks skilled but punishes mistakes, so save it for a second project.
Set the first row on a flat surface before adhesive goes anywhere. Lay out the full pattern, slide the sheets to check the fit, and mark where cuts land. Then mark the centerline and reference line on the wall and dry-fit a full tile at the corner, checking it against the level in both directions.
Cut tiles for the first row and set them without adhesive to confirm the fit. Take them down, carry them to the tub, and keep them in order. You now know exactly what goes where, and setting tile becomes assembly instead of math.
4. Apply Adhesive and Set the Tiles
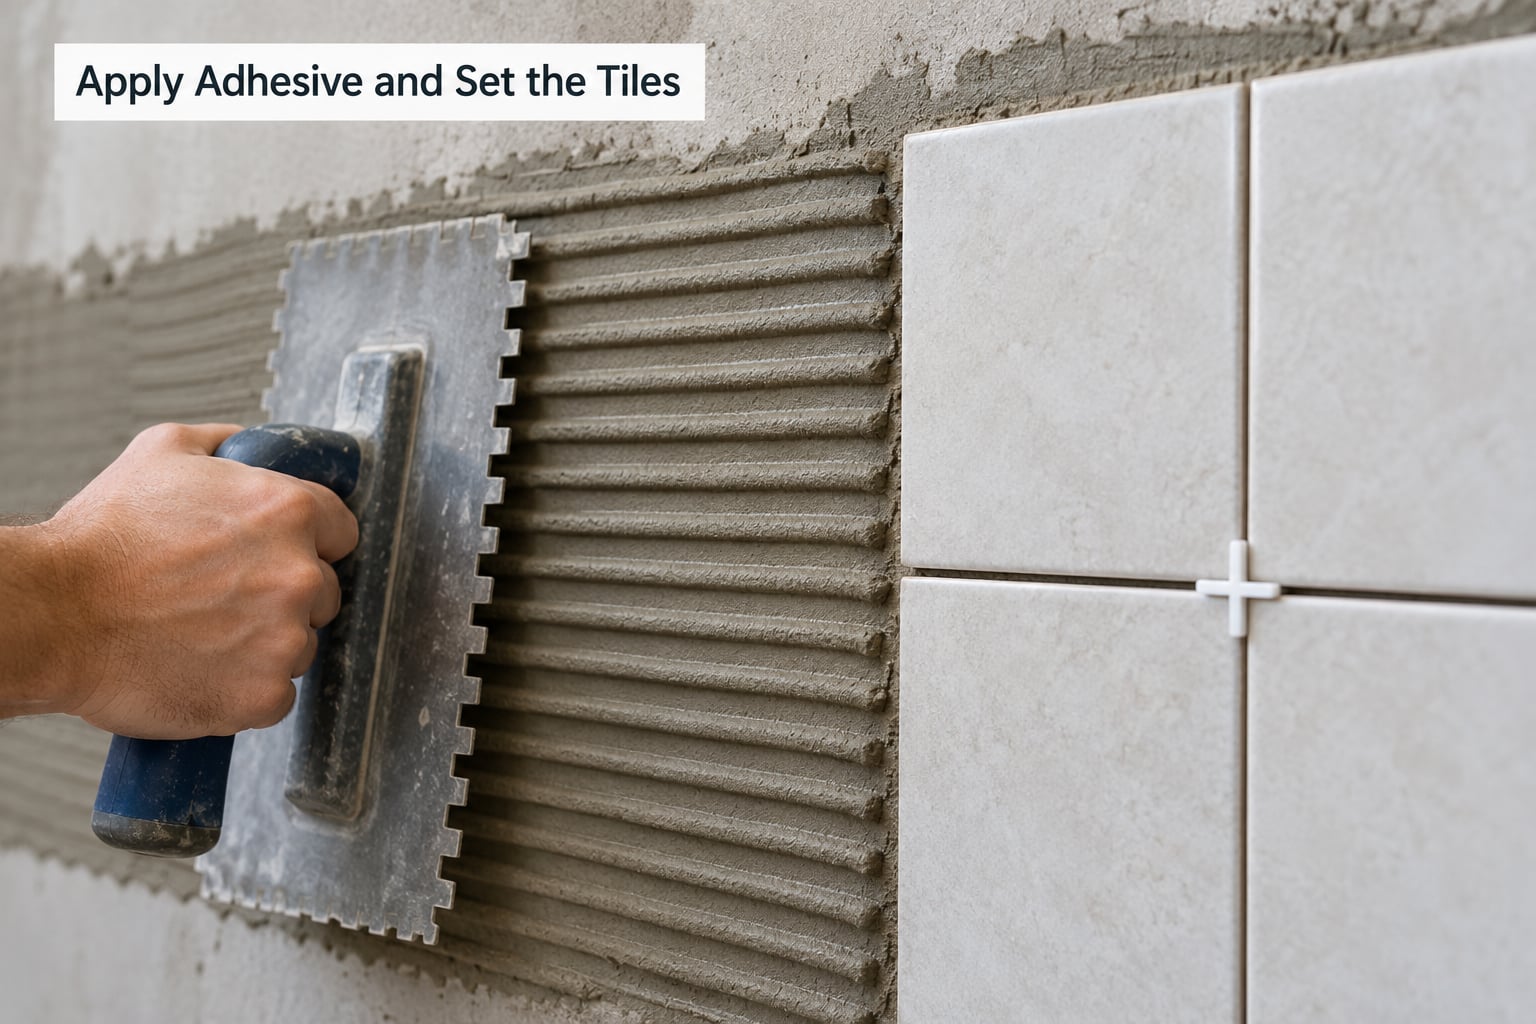
Mix thinset to the consistency the bag describes, then slake it for the manufacturer’s recommended time, usually around 10 minutes, and remix. Skipping the slake is a real cause of bond failure. Premixed mastic needs no mixing, but it skins over in roughly 10 minutes and gives you about 45 minutes of open time, so work in small areas.
Spread adhesive with the notch the product calls for: a notch sized to the tile, held at about a 45 degree angle, combed into even parallel ridges. Back-buttering each tile with a thin coat of adhesive improves the contact on the back of the tile, and it is what stops a wall tile from popping off later.
Press the tile into the bed and rock it slightly to settle it. Wipe adhesive from the face with a damp sponge before it skins, and push spacers into the joints. Check the level after every few tiles, not every ten, because drift accumulates quietly.
Do not use a rubber mallet. A bouncy head makes the tile move. Tap the face gently with a wooden block and a light hammer instead.
Work outward from your reference line rather than across the wall, and stay inside the open time. Anything that does not go down cleanly should be scraped off and re-buttered rather than forced.
Let the adhesive cure before you touch the joints. Follow the label, but expect roughly 24 hours for thinset and 12 to 24 hours for mastic. Tile that gets grouted before the adhesive is set will shift, and the lippage will show forever.
5. Cut Tiles for Edges and Obstacles
Measure every cut twice and mark it on the face of the tile with a pencil, not the edge. A snap cutter scores and breaks a straight line in ceramic and porcelain; a wet saw with a diamond blade handles stone, thick porcelain and anything that would chip a score-and-snap job. Natural stone has to be cut wet or it crumbles.
For a cut that lands in open field, support both sides of the score and snap it in one motion. Rushing the snap is what produces a crescent-shaped chip that shows under a light.
Outlets deserve their own method. With the breaker off and verified, tape a paper template of the box to the wall, trace the tile face over it, then remove the tile and make the cut. The angle grinder with a diamond blade is fastest for a tight square hole; a jigsaw with a carbide or diamond blade works if you are careful. Cut the opening about a quarter inch larger than the box so the plate sits flat instead of rocking, and test-fit with the outlet pulled forward before you set anything.
Replace the plate with a blank cover if you would rather not cut tile behind a box. It is faster, and it looks intentional if the box is in a corner where nobody will notice.
6. Grout, Seal and Clean the Backsplash
Pull the spacers once the adhesive has fully cured, and brush the joints out so dust does not end up in the grout. If your tile has a lippage, a 1/16 inch wedge held in place during setting keeps the faces flush.
Mix grout to the consistency of thick peanut butter, following the bag. Pre-mixed grout goes straight from the tub. Work in sections of about four square feet so you can finish wiping before a skin forms.
Force the grout into the joints with the float held at about a 45 degree angle, using diagonal strokes, then let the surface haze over and wait about 10 to 15 minutes. Wipe with a damp sponge in light circular motions, not back and forth, and keep the sponge clean, rinsing it often. Sponge too hard or too wet and you pull grout out of the joints, which is how beginners end up re-grouting a wall.
That first haze does not all come off. After it dries to a powder, wipe the remainder away with a dry towel or a lightly damp sponge, and buff a film of haze off with a dry cloth once it is fully dry. A haze left for days is much harder to remove than one you chase the same afternoon.
Run a bead of silicone caulk where the tile meets the countertop, at inside corners, and along any transition where the wall meets a different material. Those joints move, and grout cracks there. Match the caulk color to the grout so the line disappears. Let it cure the time printed on the tube.
Seal the grout only if it is cement-based, only after the grout has dried for the number of days the manufacturer lists, commonly 48 to 72 hours. Leave epoxy grout unsealed, and skip sealer on waterproof grout. Keep the leftover tile in a labeled box; matching a future repair is nearly impossible without it.
Common Mistakes and How to Fix Them
Almost every ugly first backsplash traces back to one of a handful of avoidable choices. Here they are in the order they tend to happen.
Buying too little tile. The wall is measured twice and the order still comes up short. Fix: add 10 percent, then round up to a full box or sheet. Tile is produced in batches, and a later box will not match perfectly.
Skipping the layout and ending with slivers. A two inch strip at the end of a row is the most visible flaw on the whole wall. Fix: tape the pattern on the floor first and adjust the centerline until both ends get at least a third of a tile.
Too much adhesive. Tile sinks, the joints close up, and the surface ends up uneven and hard to clean. Fix: use the notch the product specifies, comb the ridges evenly, and let the tile settle on its own instead of pressing it in hard.
Wrong trowel notch or too little adhesive. The wall has voids behind the tile and it pops off later, often above the sink. Fix: match the notch to tile size, comb the full area, and back-butter each tile.
Skipping the slake time. Thinset used straight from the mixer goes on too stiff, loses bond as it dries, and fails later. Fix: slake, remix, and follow the bag.
Not using spacers, or reusing one spacer on the next tile. Joints wander, and grout looks rushed. Fix: use fresh spacers every time, or a spacer system that self-levels.
Moving a tile after it is set. The bond breaks and the tile shifts as the adhesive cures. Fix: check alignment in the first few minutes, and let the rest set undisturbed.
Cutting from the wrong measurement. The piece is short by a quarter inch and you cannot shave a tile back. Fix: measure the wall, mark the cut on the tile face with a pencil, and dry-fit before setting.
Grouting too soon or wiping too hard. Early grout pulls adhesive dust into the joints; hard wiping rakes grout back out. Fix: wait the full cure, then wipe in soft circles with a clean sponge.
Leaving grout haze for days. The film turns cement-hard and needs a harsher product to lift. Fix: chase the haze the same afternoon, then buff dry.
Grouting a moving joint. The caulk line at the countertop or corner cracks along with the wall. Fix: silicone at every transition, grout only inside the field of tile.
Two finishing touches worth the small extra effort: a 1/16 inch or 1/8 inch shadow gap where the counter meets the tile makes a real difference, and a darker or sanded grout in a medium tone is more forgiving of small alignment errors than a bright white grout. If you want advice on a related surface job, our guide to kitchen and bath projects covers the prep work that shares most of these steps.
Frequently Asked Questions
Can I install a tile backsplash directly on drywall?
Yes, in a dry interior area, provided three conditions are met. The wall must be flat within about 1/16 inch, sound with no soft or hollow drywall, and properly prepared: degreased, sanded to a matte finish with 80-grit paper, and free of dust. In a splash zone such as behind a cooktop or sink, or on a wall that moves, set cement backer board first and use thinset rather than premixed mastic.
What do you put behind a tile backsplash?
Cement board or another tile backer board is the best substrate, and it is the right call in wet areas or over uneven walls. Moisture-resistant drywall in a dry interior zone is acceptable. Existing tile or laminate can be tiled over after cleaning and scoring, but that is a special case. Plain drywall inside a shower surround is not acceptable, because it will wick water behind the tile and fail.
What are the most common backsplash tile mistakes?
The usual ones are ordering too little tile, laying out without a pattern and ending up with slivers at the ends, using the wrong trowel notch or too little adhesive so tiles pop off later, skipping spacers, moving tile after it is set, and wiping grout too hard. Two more catch beginners: grouting before the adhesive has fully cured, and leaving grout haze on the tile for days before chasing it.
What is the easiest type of backsplash to install yourself?
Large square or rectangular ceramic tile sold on mesh-backed sheets is the easiest, because the sheets are pre-spaced and cover a lot of wall with very few cuts. A stacked grid pattern on those sheets, with premixed grout or a peel-and-stick adhesive mat, is the fastest combination. Glass mosaic and natural stone are hardest, with hundreds of small cuts and brittle edges, and stone needs a wet saw.
Should I use mastic or thinset for a backsplash?
Use premixed mastic for wall tile in a dry, interior backsplash area; it is forgiving, needs no mixing and gives you a long working time. Use thinset mortar when the wall gets splashy, when you are setting tile over cement board, or with large or heavy stone tiles. Thinset needs mixing and a slake time, but it will not re-wet or stain, which is why it is the standard answer for kitchen walls around a cooktop.
How long should tile dry before grouting?
Follow the product label, and expect about 24 hours for thinset and 12 to 24 hours for premixed mastic before you grout. Then let the grout haze dry and wipe it off the same day, seal cement-based grout after 48 to 72 hours, and keep the counter clear and heavy use off the wall while everything finishes curing. Grouting early shifts tile permanently.
Conclusion
To install a tile backsplash yourself, the sequence is simple and it holds: measure carefully and order 10 percent extra, prepare a wall that is clean and flat, lay out the pattern so no end cut is a sliver, set the tile with the right notch and fresh spacers, let the adhesive cure fully, then grout, wipe, caulk the moving joints and seal.
Your first move is the least glamorous one: measure the wall and tape the tile pattern out on the floor. Everything that goes wrong afterward traces back to a plan skipped at the start, and properly set tile has to be cut out with the drywall, so the thinking is cheaper than the repair.
Bring in a licensed pro for anything electrical beyond removing and replacing a faceplate, for structural or load-bearing changes, for extensive waterproofing such as a shower surround, and for natural stone that needs a wet saw. If you would rather not cut any of this yourself, a tile setter will also handle the layout decisions that take the longest to get right.
Updated for October 2026.