Thawing a frozen pipe is a patience job, not a speed job: apply slow, moving, indirect heat, keep the affected faucet wide open, and start at the faucet end of the run rather than at the ice. A hair dryer or warm running water clears most blockages in an hour or two. The moment the pipe is inside a wall, an attic or a crawl space you cannot reach, or water is already spraying, shut the main water supply valve and call a plumber.
Knowing how to thaw frozen pipes safely is mostly about what you avoid. Open flame, boiling water and blasting a heat gun on one spot are the three things that turn a frozen pipe into a burst pipe, and they cause most of the damage people regret. Everything below is ordered so you can stop at any point and still be safe.
One thing worth knowing before you start: pipes usually split later, not immediately. The crack often appears hours after the thaw, right where the ice plug was, which is why the last ten minutes of the job matter as much as the first ten.
Table of Contents
- What You Need Before You Start
- How to Thaw Frozen Pipes Safely: Step by Step
- 1. Locate the frozen pipe and turn on the affected faucet
- 2. Choose the safest thawing method for the pipe
- 3. Warm the pipe gradually with gentle heat
- 4. Use warm running water when the pipe allows it
- 5. Stop and call a plumber when the pipe is inaccessible or damaged
- Common Mistakes That Turn a Frozen Pipe Into a Burst Pipe
- Frequently Asked Questions
- How long does it take to thaw a frozen pipe?
- Can I use a hair dryer or heat gun to thaw a frozen pipe?
- Should I use hot water or boiling water to unfreeze a pipe?
- What should I do if a pipe bursts while thawing?
- Can I prevent frozen pipes in an unheated home?
- Do I need a plumber to thaw a frozen pipe?
What You Need Before You Start
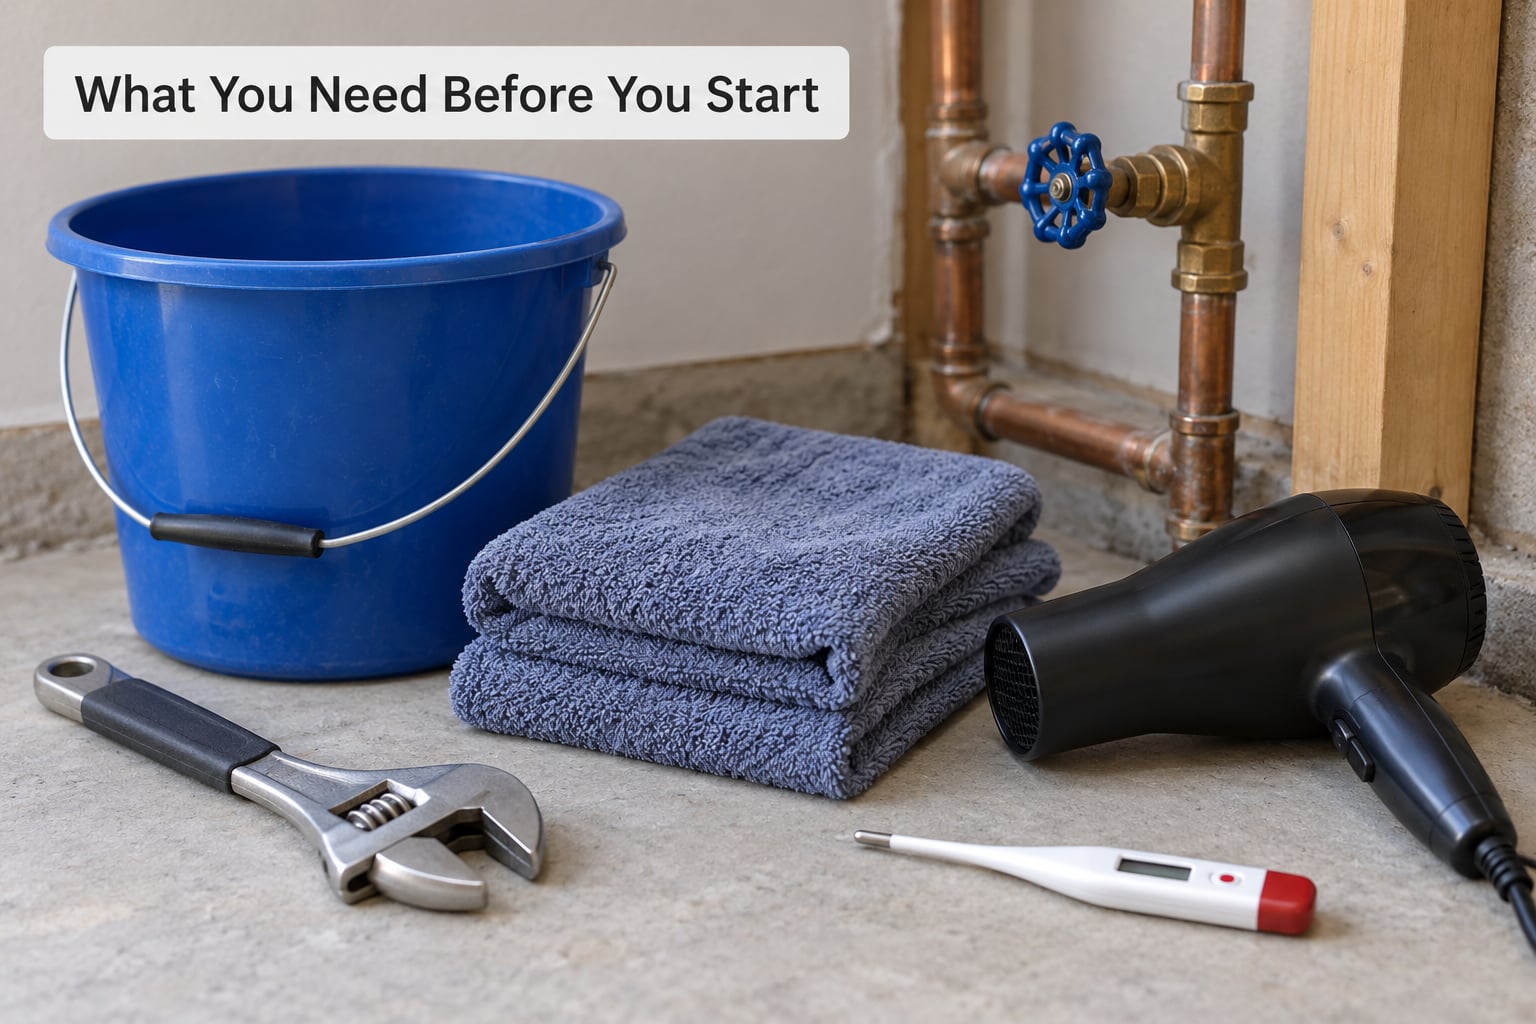
Most of what you need is already in a garage or a utility closet. The point of gathering it first is that a mid-thaw scramble for a dry cloth is how water gets into an electrical outlet.
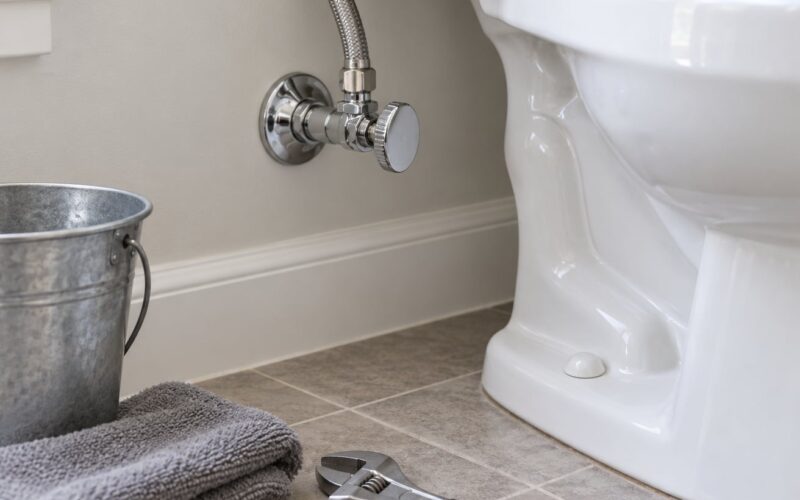
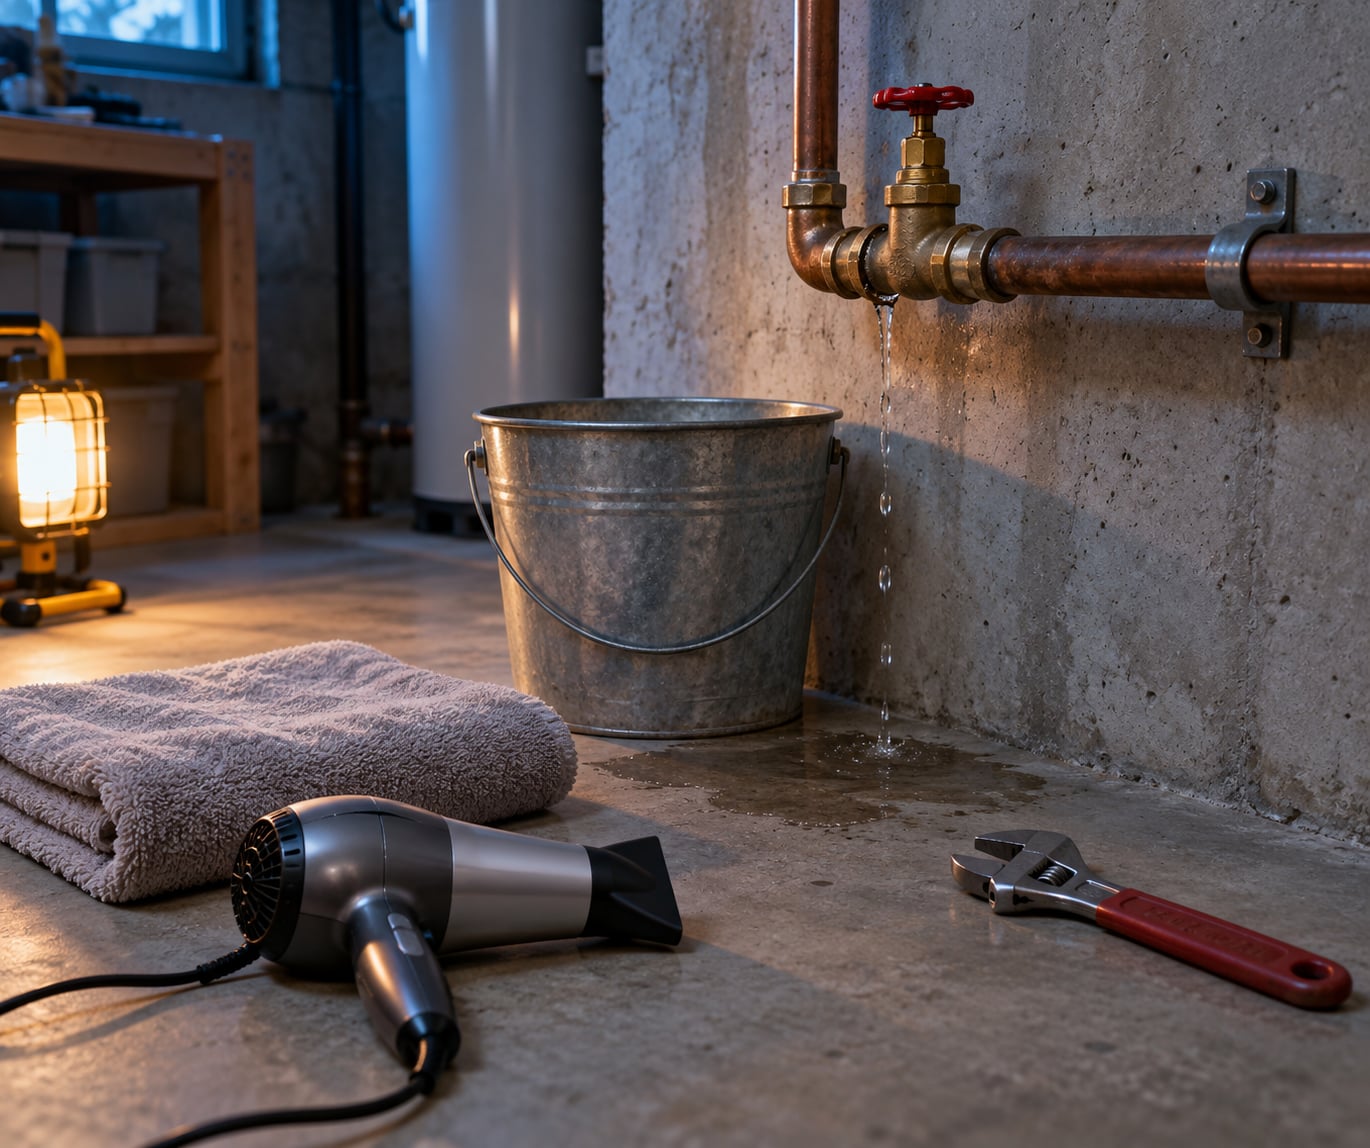
- Two or three old towels and a bucket to catch meltwater the moment it starts moving, which is sooner than you expect.
- A hair dryer on the low setting, or a heat lamp. A heat gun works only if you keep it moving and stand well back.
- Adjustable pliers for opening and closing angle stops under a sink or behind a toilet, plus a flashlight or headlamp.
- A GFCI-protected outlet within reach of where you will work, and a 12 or 14 AWG extension cord if the outlet is far. That cord gauge is the detail people skip and then regret.
- A wrench or key for the main water shutoff valve, and the knowledge of where it is. Test that it actually shuts the house off before you need it.
- A plumber’s phone number and your homeowner’s insurance claims line, saved in your phone.
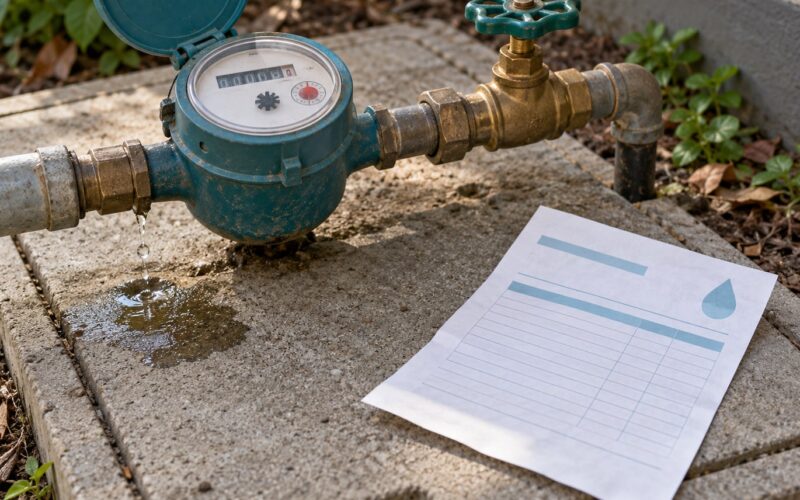
- Where your water meter is, so you can watch it later for a slow hidden leak.
Clear the area first. Get cardboard, insulation, rags, paint, cleaning products and stored plastics out from under and around the pipe run, and dry off any standing water before you plug in anything.
How to Thaw Frozen Pipes Safely: Step by Step
Work in this order. Each step assumes the one before it worked, and you can stop safely at any point because the water is either off or under control.
1. Locate the frozen pipe and turn on the affected faucet
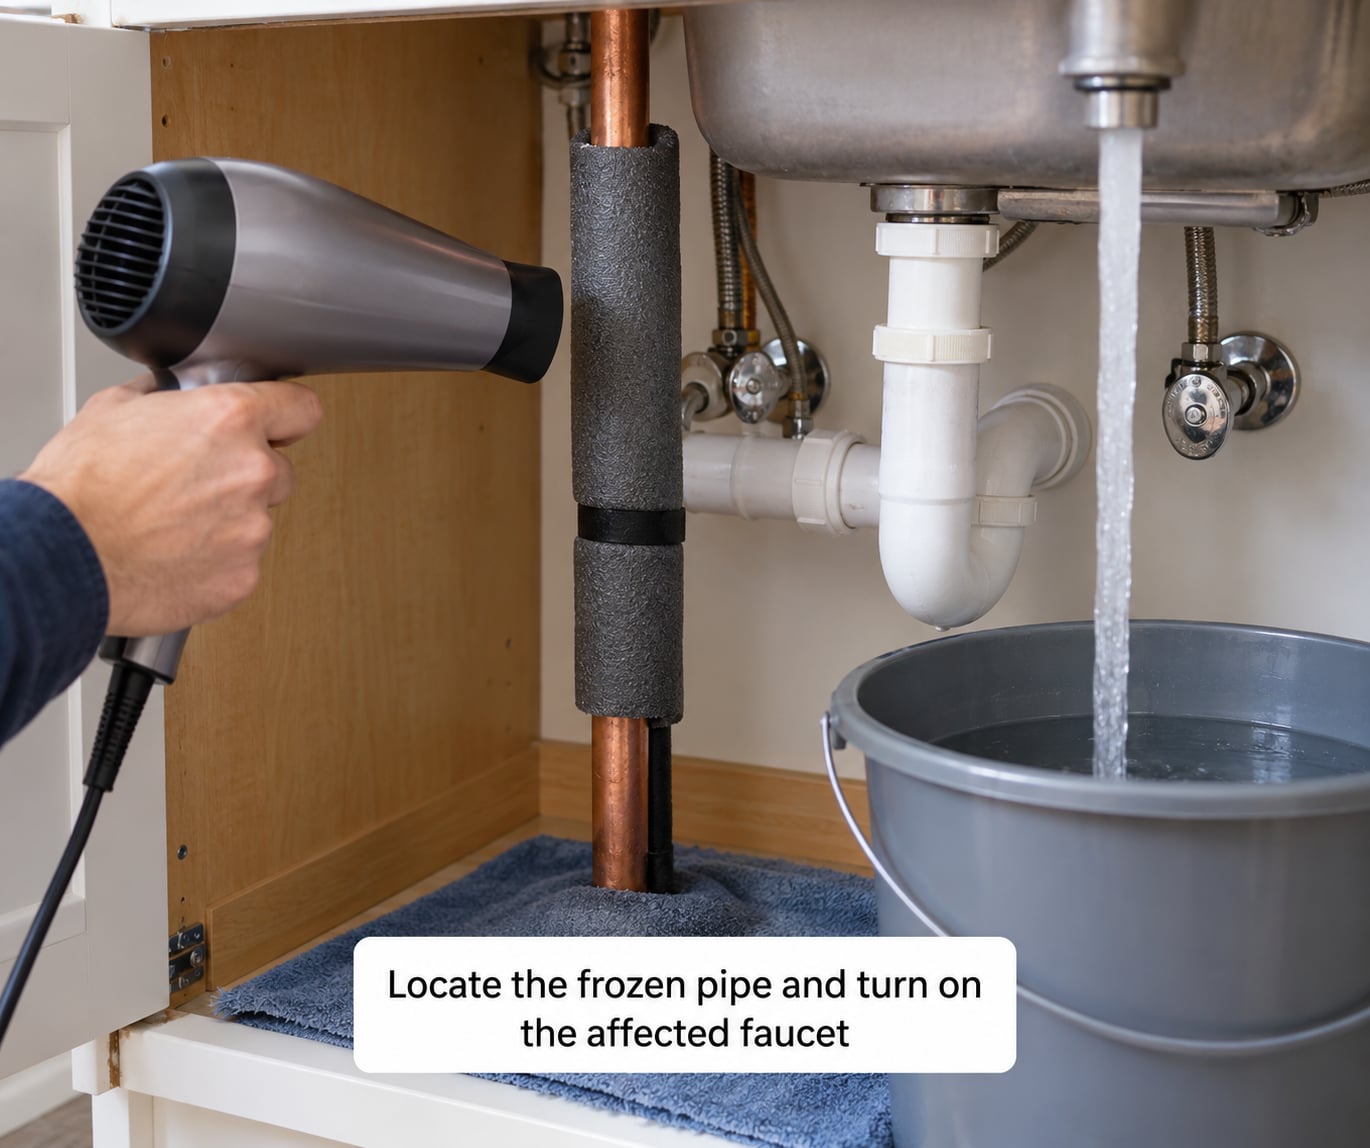
Frozen pipes announce themselves. A faucet that only manages a trickle, a line that goes silent when you open it, gurgling in the wall, or a white bloom of frost on a copper or PEX line in a basement, garage, crawl space or exterior wall will give the location away fast. If you have no idea where your pipes run, start at the lowest and most exterior point you can see and work inward.
Open the affected faucet all the way and leave it open the whole time you thaw. Open the hot and cold if both are affected. The open faucet lets meltwater drain out instead of building pressure behind the ice plug, and that pressure is what splits pipes. Start your heat at the faucet end of the run and work toward the frozen section, not the other way round.
If you suspect the blockage is behind a finished wall, above a ceiling or in a crawl space you cannot safely enter in the cold, stop here and go to step 5. Heating a wall from one side while the pipe is frozen somewhere else just wastes time and risks scorching drywall.
2. Choose the safest thawing method for the pipe
Match the method to the material and to how much room you have. The common thread is gentle, moving, indirect heat.
- Hair dryer, low heat, moving is the most controllable option on copper and PEX. Keep it 6 to 12 inches off the pipe and never park it on one spot.
- Warm running water works well when the pipe runs to a sink or tub and has not already split. Lukewarm, not hot.
- Heat lamp or infrared heater warms a whole section evenly. Keep it clear of insulation and drywall, and out of any water.
- Heating pad, hot water bottle or towels soaked in warm water and wrapped around the pipe is slow but forgiving, and a good choice for a pipe under a sink where a dryer is awkward.
- Heat tape rated for the pipe wraps around the section and switches itself on and off. Useful on a long run you can reach but cannot sit with a dryer.
Plumbers repeat one point constantly: heat the space, not the pipe surface. A small heater aimed hard at one spot is how fires start. If the whole room or crawl space is cold, raising that space to around 80°F is safer and more effective than scorching one section of pipe.
Pipe material changes the limit, too. Copper and PEX tolerate steady low heat well. PVC and CPVC are softer and can warp, soften or split under a heat gun, so use only a hair dryer on low, a heat lamp, or warm water on those. Cast iron is stubborn and mostly fine with moderate heat, but it is heavy and unforgiving if it does crack.
Never use a propane torch, a blowtorch, a lighter, a kerosene heater or any other open flame near pipe, insulation or drywall. Heat travels further than you think, and plenty of house fires started in a wall cavity with no visible flame nearby.
3. Warm the pipe gradually with gentle heat
Peel back or slit any insulation over the frozen section first, since trapped insulation conducts heat away and can scorch. Then move your heat source steadily along the pipe from the faucet toward the blockage, a few inches at a time, rather than holding it in one place.
You are looking for a slow change, not a fast one. Watch for the first sign of movement: a drop at the faucet, a widening drip, a change in the pipe’s surface from frosted to wet, or water running where nothing ran before. Once water moves, keep the heat on that section until the pipe feels evenly warm and has been for several more minutes.
Never walk away from a running hair dryer or heater. If a smell of scorched plastic or vinyl appears, kill the power at once and back the heat off; that is the pipe or its insulation cooking, not thawing.
4. Use warm running water when the pipe allows it
If the frozen section feeds a sink or tub you can reach, warm running water is the least fussy method. Start at a trickle of lukewarm water, then let it warm up. Sudden temperature change is what cracks pipe, so avoid pouring boiling water down the line or cranking a tap to full blast in the first minute.
Keep the water running until the pipe stays warm all the way from the wall to the fixture, then continue for another five or ten minutes. That extra time clears the slushy meltwater and confirms there is no smaller blockage behind the first one.
Skip this method if the pipe is hidden in a wall, if the line runs to an outdoor spigot, if it is a buried well line, or if you can see any swelling, splitting or a weeping joint. Water under pressure is exactly what you do not want pushing against a compromised section.
5. Stop and call a plumber when the pipe is inaccessible or damaged
Some freeze-ups are a plumber job on day one, and calling early is cheaper than the alternative. Stop DIY and book a licensed plumber if any of these apply.
- The pipe is already split, spraying or bulging at the ice plug.
- Water is running near an electrical outlet, a light fixture, a water heater or an appliance.
- The frozen section is inside a finished wall or above a ceiling, and the only way to reach it means opening drywall.
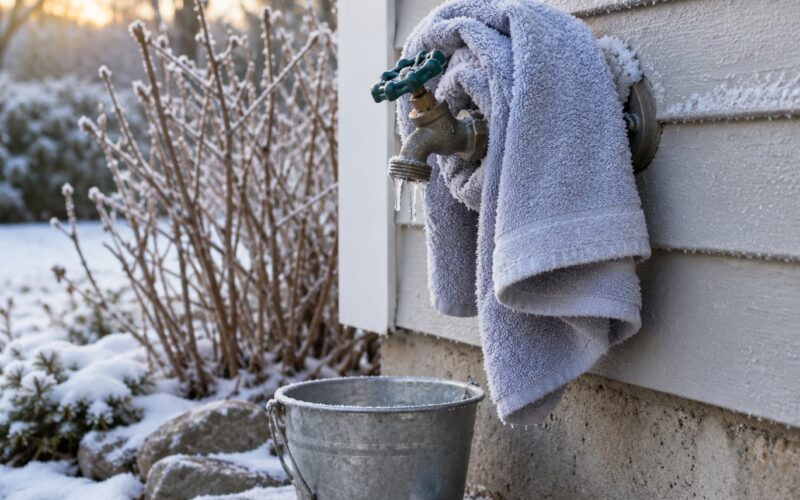
- It is an outdoor spigot, a buried supply line or a well line more than a few feet from the house.
- The crawl space is unheated, has exposed wiring, standing water or an unsafe floor, and you would have to work in near-freezing conditions.
- A leak continues after the pipe is fully warm and dry, or the faucet still trickles after a solid hour of steady gentle heat.
- The house was unheated or unattended through a hard freeze, which often means damage in several places at once.
Renters should call the landlord rather than cut into a wall or work in the crawl space. A plumber working a crawl space has insulation gear, a pump and the experience to find a supply line you cannot see.
Common Mistakes That Turn a Frozen Pipe Into a Burst Pipe
Almost every bad outcome traces back to one of these.
- Using an open flame. A torch on a pipe inside a wall can ignite framing or insulation you cannot see. There is no safe way to do this indoors.
- Pouring boiling water down the line. The thermal shock splits the pipe outright, and it adds pressure behind the blockage. Warm water is the only water you put down the pipe.
- Pouring anything else down the drain to unfreeze it. Nothing clears an ice blockage. Salt, chemical drain cleaner and de-icer do not work, and the cleaner sits in the trap while you wait. Packing the pipe with salt and flushing it with salt water is a common attempt that never moves the ice.
- Holding a heat gun still on one spot. It melts and weakens the pipe or its insulation long before the section thaws. Keep it moving, or use a hair dryer on low.
- Thawing too fast. Turning the thermostat up ten degrees at once, or blasting one section, creates uneven expansion. Raise the heat gradually and move it around the space.
- Forgetting to open the faucet. This is the mistake that bursts pipes. Meltwater has to go somewhere, and with the tap shut it pushes outward.
- Ignoring a small drip. A slow drip after the thaw can be a crack that has not opened fully. Keep the water off, dry the area and check again later.
- Waiting too long to shut off the main. Decide where your main water supply valve is before you start, not after you see water on the ceiling.
- Assuming the job is done when water flows once. A frozen pipe frequently splits hours later, right at the ice plug. Check it again overnight and after the next cold snap.
When the thaw is done and the pipe is dry, watch the water meter with everything else in the house closed. If the meter still creeps, you have a leak in a wall or under a slab, and that call goes in the same week.
Prevention is cheaper than any of this. Insulate supply lines in crawl spaces, attics, garages and exterior walls, add heat tape to the runs that never get warm, open cabinet doors on exterior walls during a freeze, leave a faucet dripping when temperatures drop hard, and if the house is empty, shut the water off and drain the lines. Do you need a plumber to thaw a frozen pipe? For a reachable supply line with no damage, no, but step 5 above lists the exceptions.
Frequently Asked Questions
How long does it take to thaw a frozen pipe?
A reachable supply pipe usually starts dripping within 20 to 40 minutes of steady gentle heat, and is fully thawed in about an hour to two. Pipes inside walls, attics or crawl spaces take longer because heat has to reach them at all. If nothing at all happens after a solid hour of gentle heat, stop and call a plumber rather than turning up the heat.
Can I use a hair dryer or heat gun to thaw a frozen pipe?
A hair dryer on the low setting is the safest common tool. Keep it moving, six to twelve inches from the pipe, and never leave it unattended. A heat gun works on copper and PEX only if you keep it moving and stand well back, and it can warp or split PVC and CPVC. Plug into a GFCI outlet and use a 12 or 14 AWG cord.
Should I use hot water or boiling water to unfreeze a pipe?
Use warm or lukewarm water, never boiling. Boiling water creates a sudden temperature change that splits pipe, and it pushes pressure against the ice plug. Start at a trickle and warm up gradually, keep the faucet fully open while the pipe thaws, and pour nothing else down the drain, including salt or chemical de-icer, because none of it clears ice.
What should I do if a pipe bursts while thawing?
Shut off the main water supply valve immediately, then open a faucet to relieve pressure. Kill power to the area if water is near outlets, lights or appliances. Move anything you can, open cabinet doors to let drywall dry from below, and photograph the damage for your insurer. Call a plumber the same day, because a burst line will not freeze shut on its own.
Can I prevent frozen pipes in an unheated home?
Shut off the main water supply and drain the lines before the house goes cold, then leave the water off. If you keep water on, leave a faucet dripping during hard freezes and keep the heat at a steady setting rather than turning it down. Insulate supply lines in crawl spaces, attics and garages, add heat tape to runs that never warm up, and open cabinet doors on exterior walls.
Do I need a plumber to thaw a frozen pipe?
Not when the pipe is reachable, intact and you have gentle heat available. You do need a plumber if the pipe is inside a finished wall, in an unsafe crawl space, part of a buried or well line, or already split, bulging or spraying. A plumber will also handle the common case where a thawed pipe fails hours later at the old ice plug, which is where most repairs actually start.
If you are standing in a cold house right now with a faucet that will not run, do the first two things in this order: locate the main water shutoff valve so you can close it the moment anything goes wrong, and open the affected faucet all the way. Then start at the faucet end with a hair dryer on low, moving constantly. Everything else is patience, and patience is what keeps a frozen pipe from becoming water damage in 2026.