Learning how to replace a kitchen faucet yourself is one of those jobs that looks harder than it is. Most people finish in two to four hours on their first attempt, using nothing more exotic than a basin wrench, an adjustable wrench and a roll of plumber’s tape. The trick is patience at the shutoff valves, not strength anywhere else.
This guide covers standard deck-mounted kitchen faucets: single-handle pull-down models, two-handle bridges, and side-spray faucets that mount through one, two or three holes in the sink or countertop. If your faucet comes down from the ceiling or your shutoff valves are buried in the wall, stop reading and call a plumber.
Budget a couple of hours for a straightforward swap and a lot longer if the old faucet is corroded in place or the nuts have been painted over. The physical work is maybe thirty minutes. The rest is setup, draining, and waiting while you test connections slowly.
Table of Contents
- What You Need
- How to Replace a Kitchen Faucet Yourself: Step-by-Step
- How to Replace a Kitchen Faucet Yourself: Prepare the Sink
- How to Replace a Kitchen Faucet Yourself: Remove the Old Faucet
- How to Replace a Kitchen Faucet Yourself: Install the New Faucet
- How to Replace a Kitchen Faucet Yourself: Connect Water and Check for Leaks
- Common Mistakes
- Frequently Asked Questions
- Can I replace a kitchen faucet without turning off the main water?
- Do I need any special tools to replace a kitchen faucet?
- How do I know if my new faucet will fit?
- Why is my newly installed kitchen faucet leaking?
- When should I call a plumber instead of replacing the faucet myself?
- Conclusion
What You Need
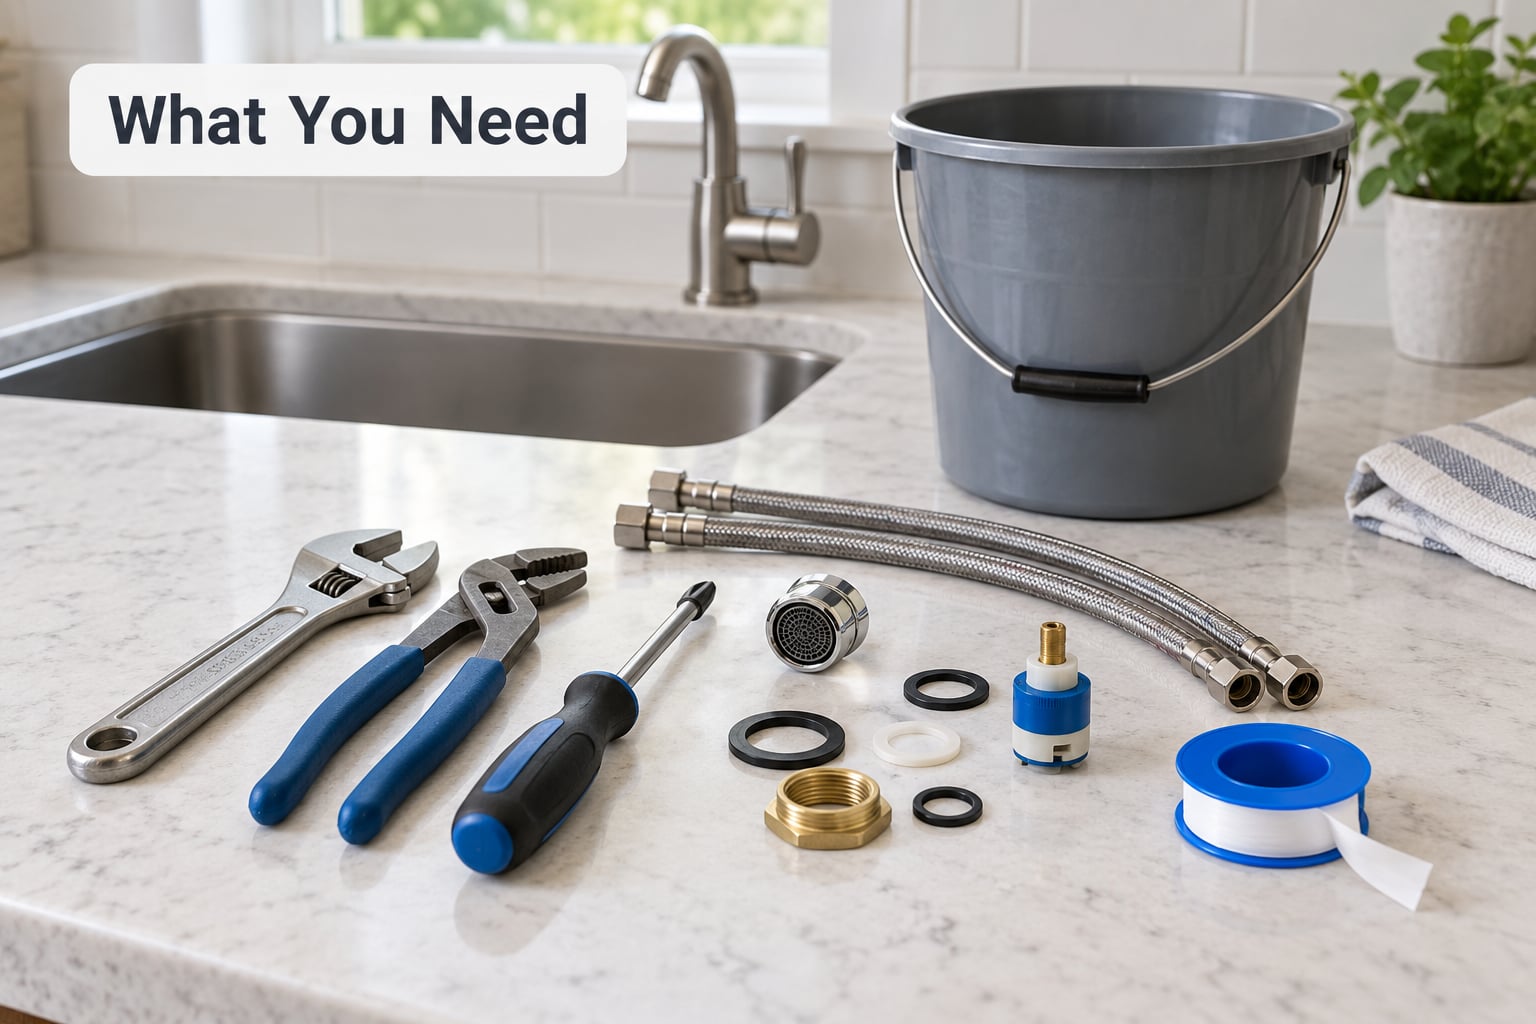
Start by clearing the entire cabinet under the sink. You need to reach the tailpieces and mounting nuts with a wrench, and you cannot do that through a shelf full of cleaners. Move everything to the floor or another room first, then put a towel down where you can kneel.
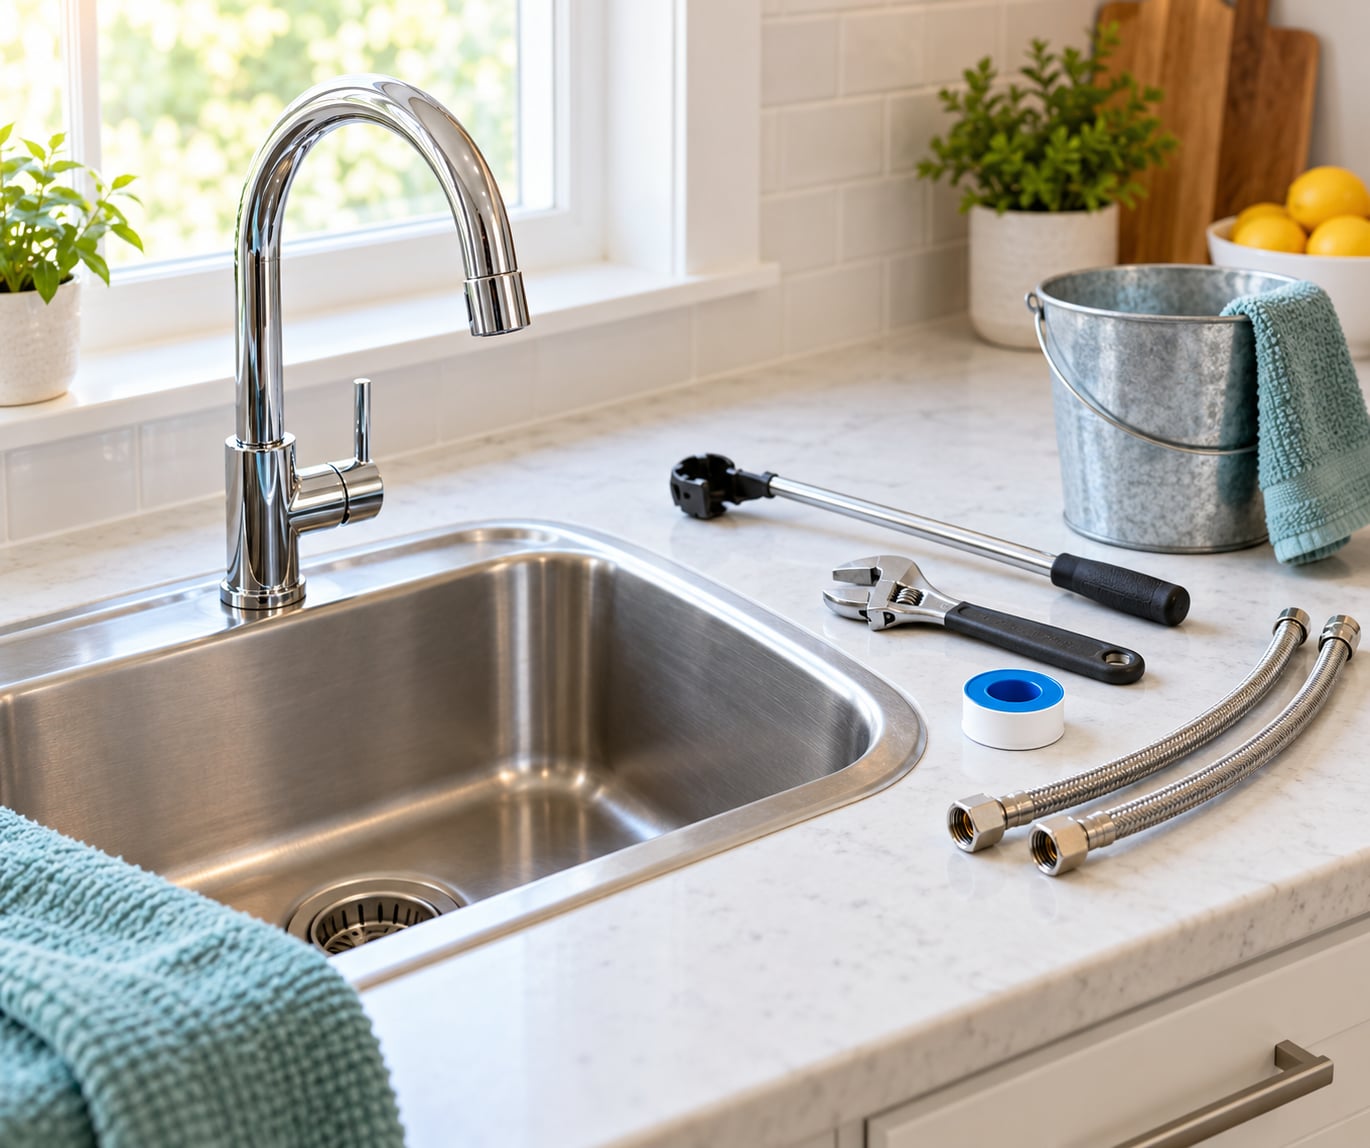
These are the tools and supplies for the job:
- Adjustable wrench — for the supply line nuts and any hex fittings. The one you already own is usually fine.
- Basin wrench — a jaw that reaches up into the cabinet and grips the mounting nut from underneath. A regular wrench will not fit in that space. This is the single most useful tool in the whole job.
- Pliers — needle-nose or groove-joint, for the sprayer hose connection and any clips.
- Screwdriver — a flat blade for removing handle set screws on two-handle faucets.
- Flashlight or headlamp — you will be looking up at the underside of the sink in a dark cabinet with your hands full.
- Bucket and old towels — there will be a small amount of water in the lines even after you drain them.
- New supply lines — two braided stainless steel hoses, usually 3/8 inch compression on one end and 1/2 inch female on the other.
- Plumber’s tape — for any threaded male connection you make.
- Plumber’s putty or silicone sealant — only if the faucet manufacturer specifies it. Many modern faucets are installed with no sealant at all.
- Magnetic tray or small bowl — so you do not lose the mounting nuts and screws behind the pipes.
Have a towel folded and a phone flashlight before you shut anything off. If you are renting, check your lease first — many landlords handle fixtures themselves and will not approve a faucet change without written permission.
How to Replace a Kitchen Faucet Yourself: Step-by-Step
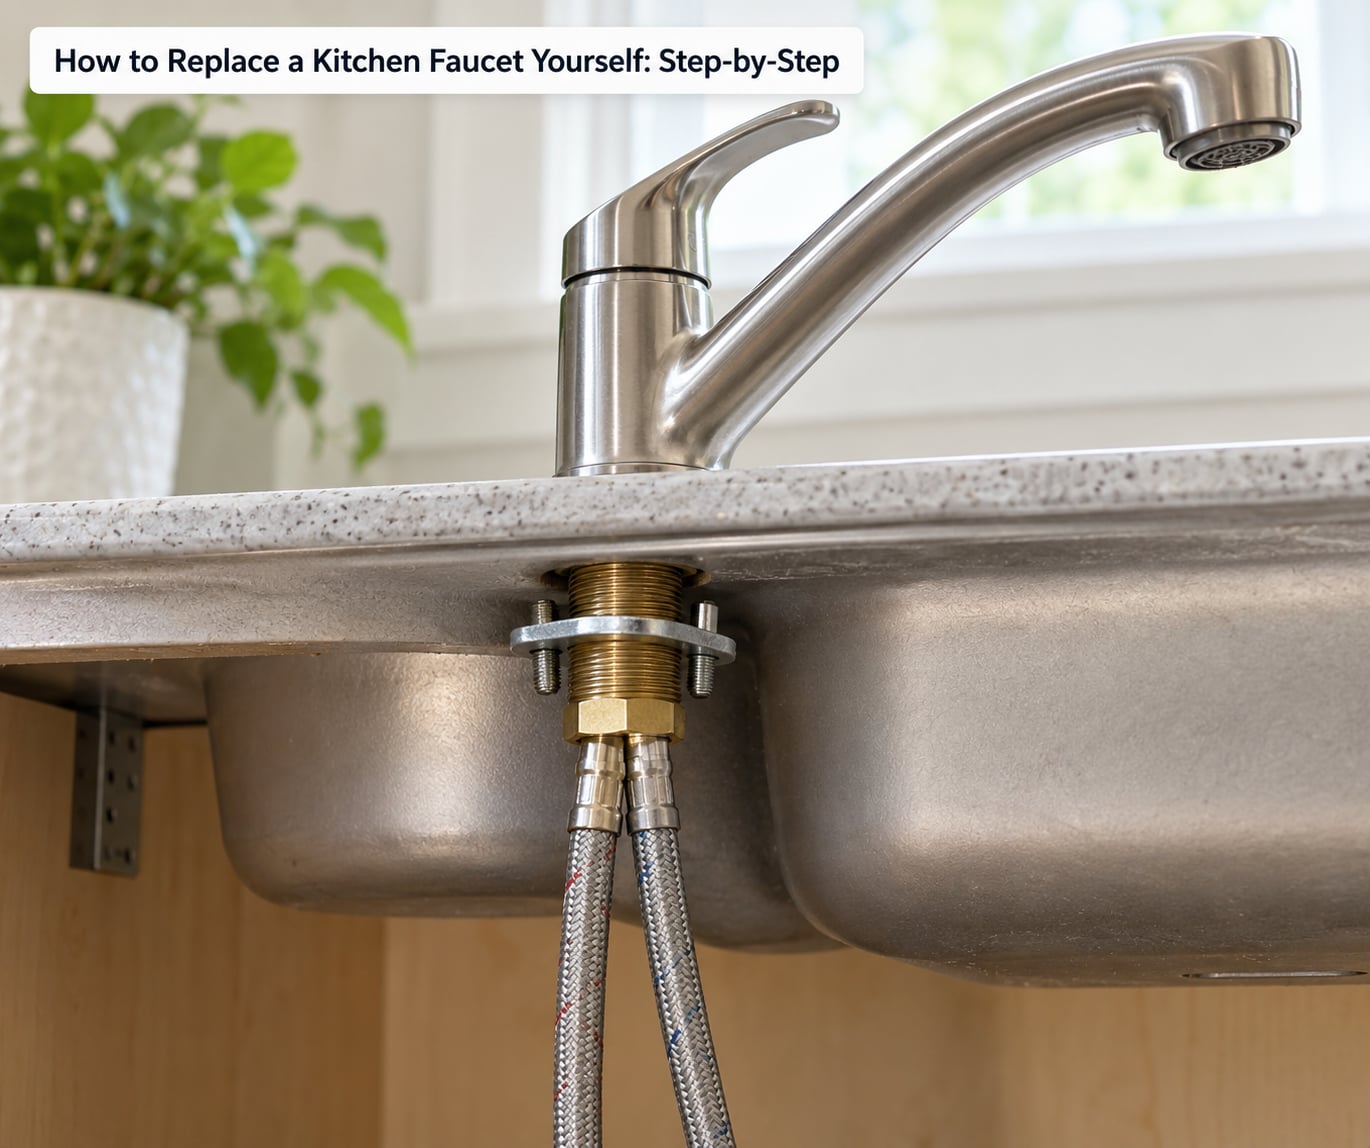
How to Replace a Kitchen Faucet Yourself: Prepare the Sink
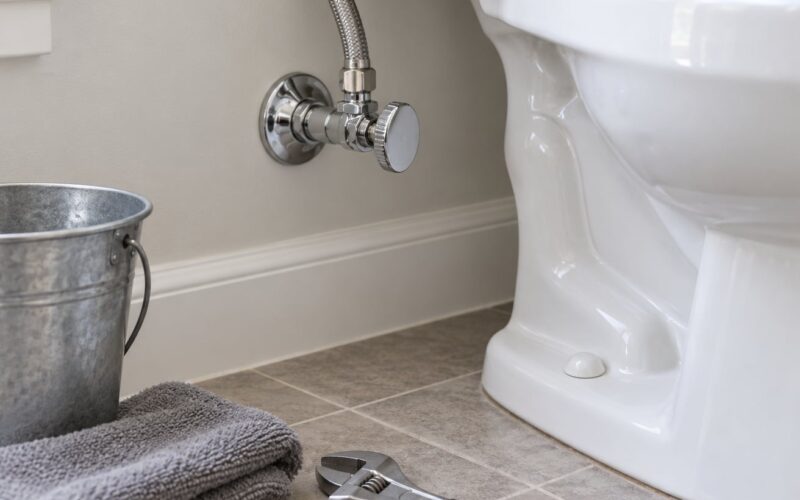
Open the cabinet doors and look for two angle stop valves on the wall or the floor behind the sink, one for hot and one for cold. Turn both handles clockwise until they stop. Open the old faucet and let it run until the water stops, which drains most of the pressure from the lines and the tank.
Now test that the valves actually closed. Close the faucet, then open it again and see whether water comes out steadily or merely sputters. If it runs clear, the valves are holding and you can proceed. If water keeps flowing, you have no functioning shutoff under this sink, and the main water supply has to be off for the duration of the job.
If you do need to shut off the whole house, find the main stop valve where the water line enters the building and turn it off. Open a faucet somewhere else in the house to relieve pressure and confirm the water is actually stopped. This is the moment to mention the garbage disposal, too: if a disposal is installed, switch off its power at the breaker before you put hands near the drain, and never rely on the wall switch alone.
Set the bucket under the supply connections and lay towels on the cabinet floor. Take a few photos of the existing plumbing from a couple of angles. It takes a minute and it saves real confusion when you need to see where a hose routes behind the tailpiece.
How to Replace a Kitchen Faucet Yourself: Remove the Old Faucet
Disconnect the supply lines at the shutoff valves rather than at the faucet. Hold the valve body with one adjustable wrench and turn the hose nut with the other, turning the nut counterclockwise. A second wrench here prevents you from twisting the valve stem and causing the leak you are trying to fix.
If a nut refuses to move, spray it with penetrating oil and wait about thirty minutes. Corrosion is the number one reason a faucet removal stalls, and the fix is more waiting and less force. If the old supply lines are stiff or bulged, let them go — you are replacing them anyway, and new ones cost almost nothing compared to a cracked shutoff valve.
Next, disconnect the sprayer hose if you have one. For a pull-down faucet, pull the spray head out of its guideway and unscrew the hose from the body of the faucet. Note the route it takes through the sink before you pull it free, because you will want to run the new hose along the same path.
Put the basin wrench on the mounting nut underneath and turn it counterclockwise. The jaws bite into the nut from below, which is why a normal wrench cannot help here. If the faucet is jammed against the underside of the sink, work the faucet back and forth gently as you turn the nut, rather than putting your whole weight on the wrench handle.
Lift the faucet straight up and out of the holes. If it does not move, the sealant underneath has hardened. Slide a thin plastic shim or a putty knife between the faucet base and the deck and twist carefully to break the seal. Scrape away any old plumber’s putty or silicone left on the surface — dried sealant is what causes the new faucet to sit crooked or leak from the base.
How to Replace a Kitchen Faucet Yourself: Install the New Faucet
Lay the new faucet on the deck without tightening anything. Check that the holes line up with the ones already in your sink, that the spout faces the right direction, and that the spout height clears your tallest pot. This is the moment to catch a mismatch — after the mounting hardware is on, changing your mind means starting over.
Push the faucet body down and thread the mounting hardware from underneath. Most single-handle faucets use a bolt and a washer or a plastic spacer; two-handle bridges use separate nuts for each handle. Turn the nut or bolt clockwise and tighten by hand first, then snug with the wrench. Snug is enough. Crank it down and you will crush the rubber washer or crack the sink itself.
If the faucet came with a spout and separate handle, assemble them now, following the paper instructions in the box. Manufacturers change these designs constantly, so the manual in the box is the correct source rather than anything you remember from a video. Tighten the handle set screws with a flat screwdriver, snug, then a quarter turn more.
Check the faucet for square in all four directions by looking from above and from the side. A faucet that is slightly off is far easier to correct now than after the supply lines are connected.
How to Replace a Kitchen Faucet Yourself: Connect Water and Check for Leaks
Wrap plumber’s tape around the threads of the new faucet’s tailpieces, two or three wraps in the direction of the thread. Hand-tighten the supply lines first, then finish with the adjustable wrench. Do not let the hose twist while you tighten — a twisted supply line puts strain on the connection and it will weep later even when the nut feels tight.
Hand-tighten is your target. If you can keep turning the nut with your bare fingers after the wrench is done, you are in the right zone. The same goes for the connection at the shutoff valve.
Open the shutoff valves slowly, one at a time, turning them counterclockwise. Then turn the faucet on and let it run for a minute. Air and debris come out of the new lines first, so the flow will sputter before it settles. Once it runs steady, turn the faucet off and let the pressure equalise, then wipe every connection completely dry with a paper towel.
Wait fifteen minutes and check again. Water shows up slowly, so a connection that looks dry at first can still be dripping. If a connection weeps, tighten that specific nut a quarter turn and retest. Tighten only the one that leaks — stacking wrench pressure on every fitting in the cabinet is how people create the second problem on the same afternoon.
If the faucet drips from the spout, the issue is usually the handle not being fully closed or the aerator sitting loose. If it drips from the base of the faucet onto the counter, the deck seal failed. Both are fixable; the base leak just needs the faucet reseated with the correct sealant.
Common Mistakes
Almost every failed faucet swap comes down to one of these. Each has a straightforward fix, and knowing them in advance saves an afternoon.
Not testing the shutoff valves before you start. Many older homes have angle stops that are seized open, or no valves under the sink at all. Open and close each valve with the water on and check whether it actually stops the flow. Discovering this halfway through with a half-removed faucet is a bad afternoon.
Overtightening. Supply line nuts are compression fittings. They seal because a sleeve is crushed slightly when tightened, not because of brute force. Snug plus a firm quarter turn is plenty. Too much torque cracks the nut, damages the shutoff valve, or splits a plastic supply line and gives you a cabinet full of water.
Cross-threading the connections. If a nut starts to bind before it is fully seated, back it off completely and start again. Never force a fitting that is turning on a slight angle. A stripped, cross-threaded connection is the hardest leak to fix and the easiest to avoid.
Tightening the supply line at the wrong end. The trick many people miss: hold the valve with one wrench while turning the nut with the other. If you only use one wrench, you are likely to twist the valve stem itself, and it will leak at the handle no matter how tight the nut is.
Reusing old supply lines. The braided hoses on a faucet are the cheapest part of the whole assembly. Old hoses are stiff, corroded, and often the actual source of the drip that started this project. Fit new ones every time.
Leaving the disposal powered. Before you put hands under the sink near the drain, switch off the disposal at its breaker, not the wall switch. This is a genuinely dangerous step that a lot of guides skip.
Skipping the deck seal or using the wrong one. Some faucets seal with a rubber gasket and must stay free of putty and silicone; others need plumber’s putty under the base; a few specify a kitchen-grade silicone. The manual in the box decides this. Sealant squeezing out from under the base and hardening there is a common cause of a slow leak at the deck.
Forgetting the pull-down counterweight. A pull-down sprayer retracts because it is weighted underneath the sink. If you leave the counterweight on the cabinet floor, the hose will not return and the sprayer head will droop forever. Slide it back onto the hose and secure it in its clip before you close the cabinet.
Frequently Asked Questions
Can I replace a kitchen faucet without turning off the main water?
Usually not. Nearly every kitchen sink has angle stop valves under the cabinet that shut off just that fixture, and if they work, you never touch the main. If the valves are absent, seized, or pass water when closed, you must shut off the main and leave it off for the whole job. Test the valves with the faucet running before you disconnect anything, because finding out mid-job is far worse than checking first.
Do I need any special tools to replace a kitchen faucet?
Just one that most people do not own: a basin wrench. It has upward-facing jaws that reach into the cabinet and grip the faucet mounting nut, which no ordinary wrench can do in that space. An adjustable wrench, needle-nose pliers, a flat screwdriver, plumber’s tape, a bucket and some new braided supply lines cover everything else. A headlamp and a magnetic tray for the nuts are nice extras.
How do I know if my new faucet will fit?
Count the holes in your sink or deck before you buy. A single-hole faucet fits one hole. A two-handle bridge needs three holes spaced 8 inches apart. A two-hole faucet covers a handle and a spout with a blank cover plate over the extra hole. A single-hole faucet can also sit in a three-hole sink using a cover plate. Check the maximum deck thickness and the spout clearance under your cabinets too.
Why is my newly installed kitchen faucet leaking?
Work out where the water appears. At the base of the faucet on the counter means the deck seal failed, usually from the wrong sealant or a crooked faucet body. At a supply line means the nut is loose, cross-threaded, or the old hose was reused. From the spout when the handle is closed means the handle is not fully off or the cartridge needs replacing. Tighten only the connection that is actually wet.
When should I call a plumber instead of replacing the faucet myself?
Call a plumber if your shutoff valves do not stop the water when closed, if the angle stops are soldered in place, if the supply pipes are corroded copper or galvanized, or if the mounting nuts are seized and will not move with a basin wrench. Hardened plumber’s putty locked under an old faucet and a leaking stop valve are the two situations where persistence turns a two-hour job into a repair job. Licensed work is also the right call in a rental.
Conclusion
Do these three things first, in order: count your sink holes so the new faucet actually fits, test the shutoff valves with the water running to be sure they hold, and buy two new braided supply lines plus a basin wrench. Everything else in the job is straightforward once those three are settled.
After the install, turn the water back on slowly and give every connection a fair test. Wipe the fittings dry, wait fifteen minutes, and look again. Connections that leak are almost always loose, and a quarter turn on the one wet nut fixes the problem. Overtightening everything instead is the fastest way to turn a small job into a cabinet full of water.
Reach for a plumber when the valves do not hold, the pipes are corroded, or the mounting nuts will not budge. Knowing the limit of a job is part of doing it well, and no sink faucet is worth a flood.