A roof inspection checklist for homeowners comes down to four things you can check without ever climbing onto the roof: the shingle surface, the flashing around penetrations, how water leaves the roof, and what the attic tells you about moisture. Most roof problems start as a small, fixable detail — a lifted shingle tab, a dried-out caulk bead, a clogged downspout — and turn into a full replacement only when they go unnoticed for a season or two.
Most people notice a roof problem when they see a stain on a ceiling. By then the water has usually already been moving through the deck for a while. Two walk-arounds a year, plus one after any serious storm, is enough to catch most of it early.
This guide is written for US homeowners doing their own roof check, whether you are maintaining a home you already own or standing in a driveway with a real estate contract in your hand. No tools you can’t borrow from a neighbor, and no climbing required for the first pass.
Last updated: October 2026
Table of Contents
- How to Prepare for a Roof Inspection
- When to run a roof inspection checklist for homeowners
- Tools and documents to have ready
- Know where your ladder rules stop
- What to Check on the Roof Exterior
- How to inspect roof shingles from the ground
- Watch the roof line for movement
- Check fascia, soffit, and the roof edge
- What to Look for Inside Your Attic
- How to Check Flashing, Drainage, and Roof Edges
- How to Document Roof Problems
- When to Call a Roofing Professional
- How to Turn Inspection Findings into Repairs
- Frequently Asked Questions
- How often should homeowners inspect their roof?
- Do I need to climb on the roof to inspect it?
- What are the warning signs of a roof leak?
- What should I check after a hail or wind storm?
- Should I inspect the roof before buying a house?
How to Prepare for a Roof Inspection
Preparation is what separates a useful roof inspection from a five-minute glance at the driveway. Decide what you are inspecting and why before you grab anything, because the reason changes the checklist.
When to run a roof inspection checklist for homeowners
Twice a year is the working baseline: once in spring after winter freeze-thaw cycles and once in fall before winter. Add an inspection after hail, a high-wind event, a tree limb coming down, or any prolonged rain that makes you suspect a leak.
Set aside 45 to 90 minutes for the exterior and attic pass on a normal two-story home. If you have a steep or tall roof, do the ground-level portion and skip the rest.
Tools and documents to have ready
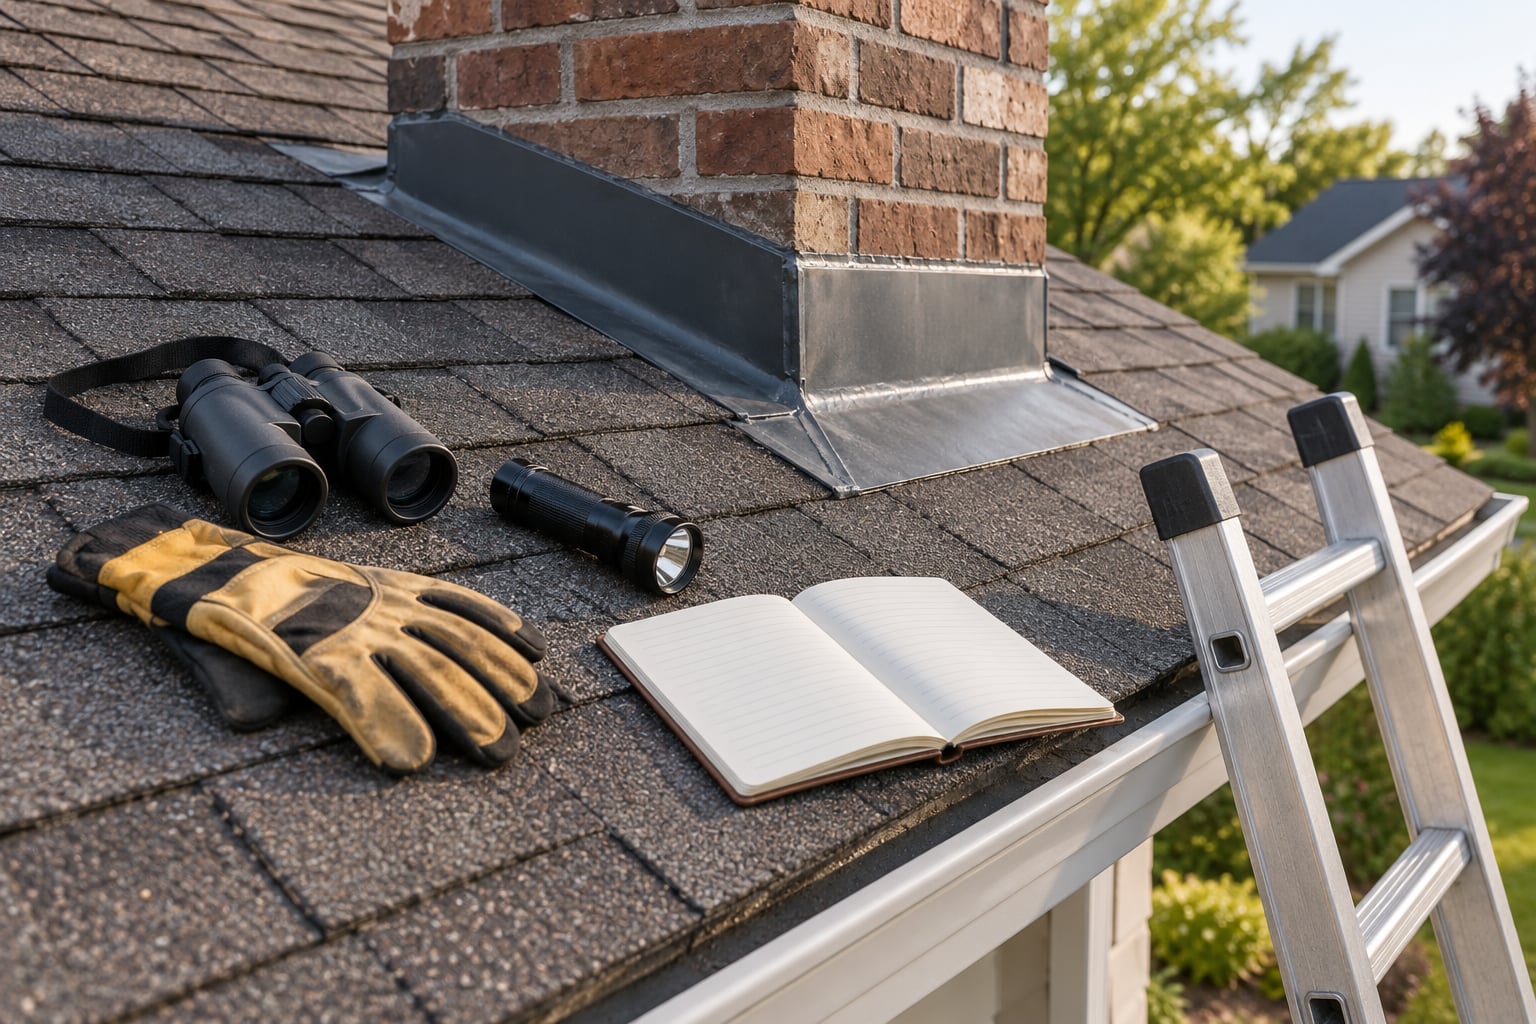
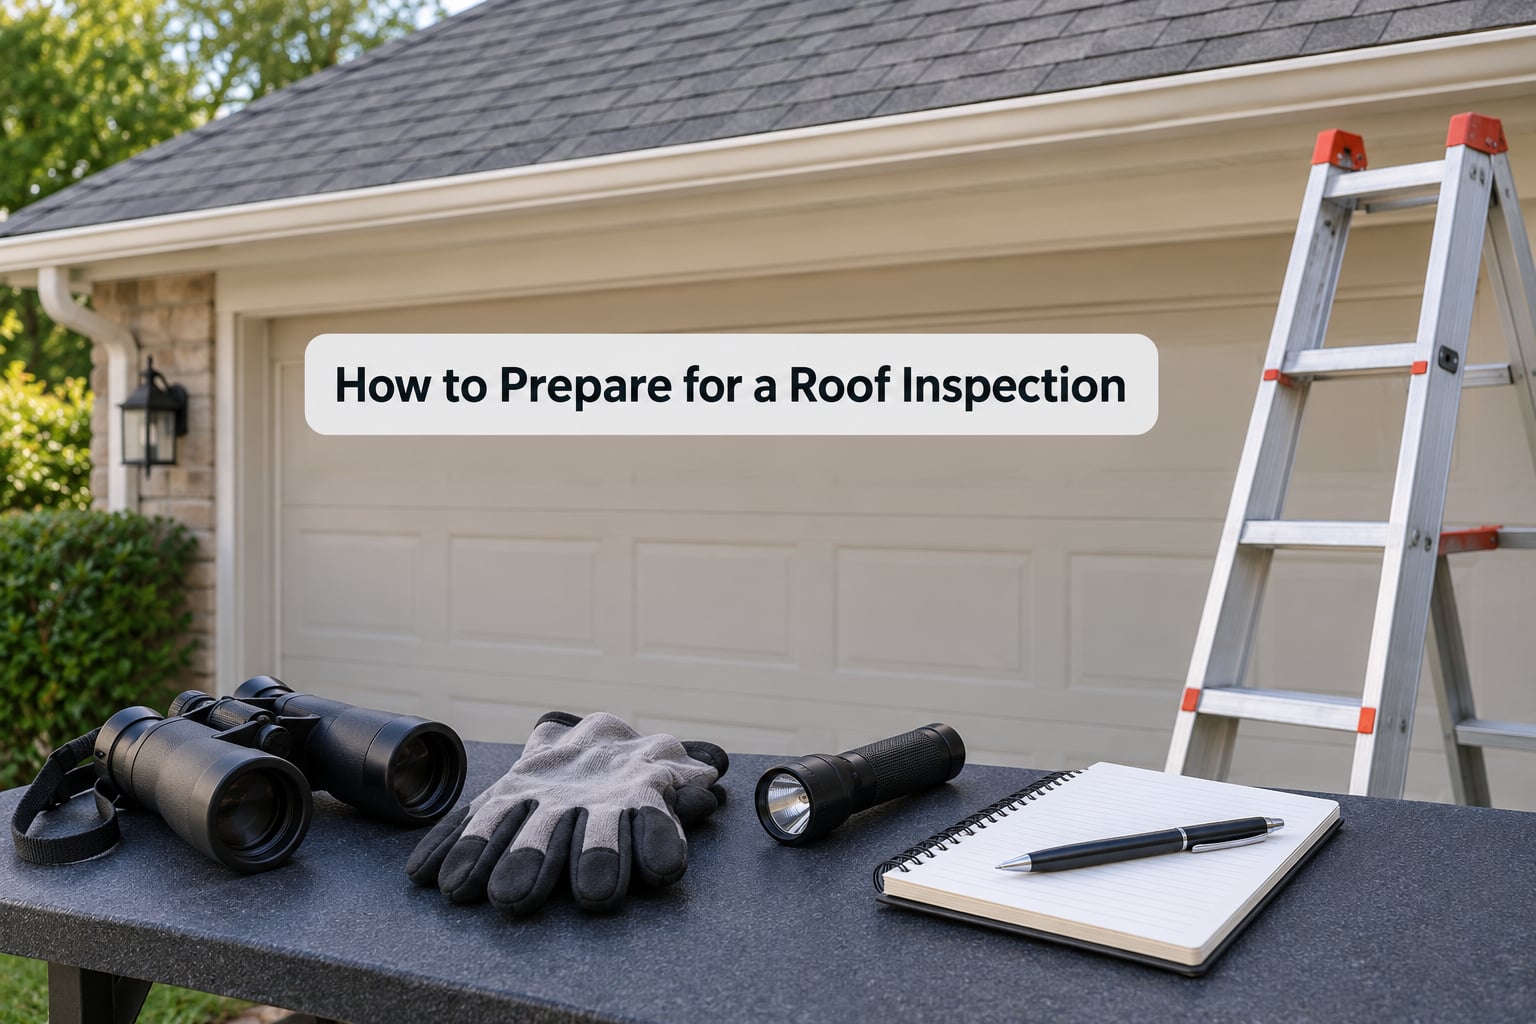
Binoculars are the single most useful item, because they let you read shingle condition from the yard. Add a flashlight, work gloves, a tape measure, a phone or camera, a notebook, and a hand mirror for tight soffit views.
Pull your paperwork before climbing anything: the year the roof was installed or last reroofed, the roofing contractor’s warranty, any previous inspection reports, and your homeowners insurance policy. The installation date tells you whether you are looking at a 6-year-old roof or a 22-year-old one, and that changes which findings matter.
Know where your ladder rules stop
If the roof pitch is steeper than about a 6-in-12 slope, or the eave is more than about 15 feet off the ground, stop at ground level. Most residential falls happen during the setup, not during the inspection itself.
Never walk a wet, frosted, or mossy surface, and never step on the ridge cap or near flashing edges. If a shingle moves under your weight, back off and call someone with proper equipment.
What to Check on the Roof Exterior
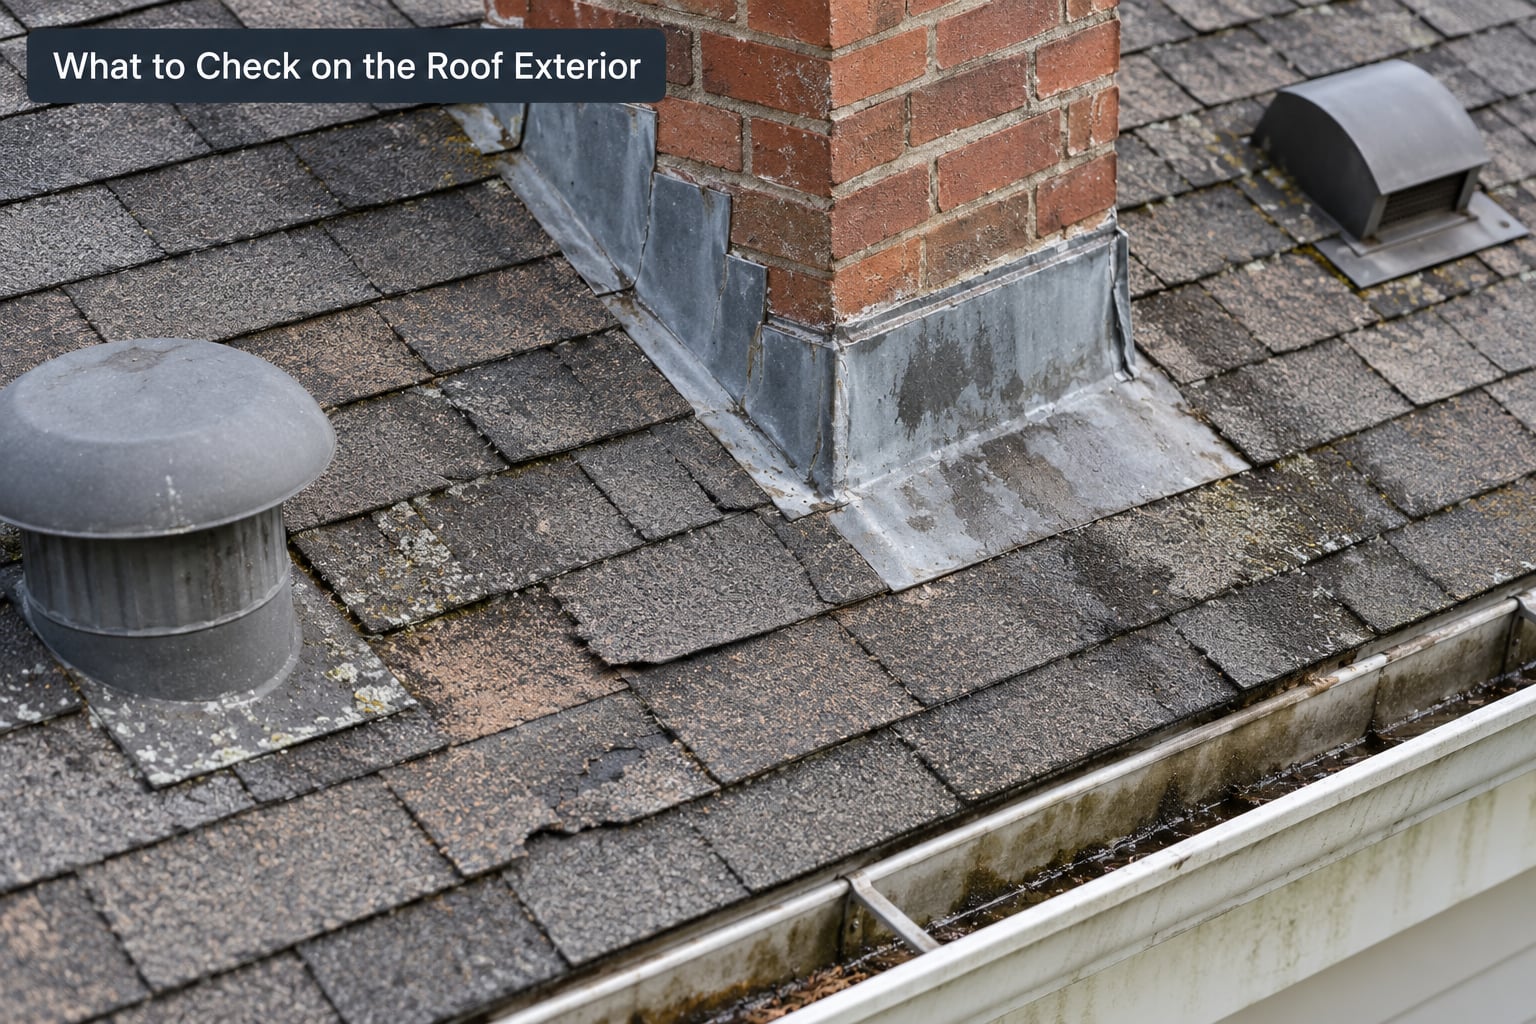
The exterior pass covers the roof field first, then the details. Start from the lowest visible vantage point and work upward so you are not leaning over the edge.
How to inspect roof shingles from the ground
Missing shingles read as dark rectangles where a lighter, uniform surface should be. Curled or buckled shingles have lifted edges that catch light differently than flat ones, and cracked shingles show as hairline splits running parallel or perpendicular to the course.
Look for shingle granule loss on the surface itself. Heavy granule loss looks like a bald, patchy gray area, and the same granules piling up in the gutter trough are a strong signal that the surface is wearing out rather than just dirty.
Dark streaks running down from valleys or from behind a chimney usually mean water is tracking behind the shingle layer rather than shedding off it. A blue-gray or black growth spread in patches, especially on the north side, is moss or algae, which holds moisture against the shingle and speeds up decay.
Watch the roof line for movement
Stand back far enough to see the whole slope and check whether the eave and ridge lines run straight. A dip in the middle of a run, a line that waves, or a section that sits lower than the one beside it suggests movement in the rafters or deck, which is a structural conversation, not a shingle conversation.
Check fascia, soffit, and the roof edge
The fascia board is the vertical trim at the roof edge and it takes the runoff. Soft spots, peeling paint, staining, or visible decay there usually mean water has been sitting behind the drip edge for a while.
Look into the soffits from a ladder or from the ground with binoculars. Look for a sagging panel, a gap where a soffit meets the wall, and dark staining below any vent. These are among the cheapest items on a roof to repair while still small, and the most expensive once the wood rots back toward the rafter tails.
What to Look for Inside Your Attic
The attic is where you confirm what the exterior only hints at. It shows you whether water is moving, where it enters, and how the roof is breathing.
Check conditions before you climb in: if the attic smells strongly of must or damp, or if you see standing water, do not go up. Look for active dripping, daylight coming through the deck, or visible standing water. Those are reasons to call a professional, not reasons to explore.
Walk only on the joists or on boards laid across them. Bare ceiling drywall is not a walkway, and the joists themselves may be spaced too far apart for your footing.
Turn off the lights and give your eyes a minute. Any pinprick of daylight through the roof deck is a hole, and daylight is the easiest leak detector you own.
Water stains, mold and mildew, wet or compressed insulation, and soft or stained sheathing or rafters are the four interior findings worth writing down. Check that insulation is even and dry, then confirm the attic has intake and exhaust vents in roughly equal proportion — soffit intake channels and a ridge or gable exhaust. An unbalanced system shows up as dampness near the eaves in winter.
One more seasonal note: if you see a thick ridge of ice along the eaves in winter, that is an ice dam forming, and it is caused by attic heat loss or air leakage rather than by snow alone.
How to Check Flashing, Drainage, and Roof Edges
Flashing, drainage, and edges are where most leaks actually start. The shingle field is designed to shed water; the details are where water is turned, and details fail first.
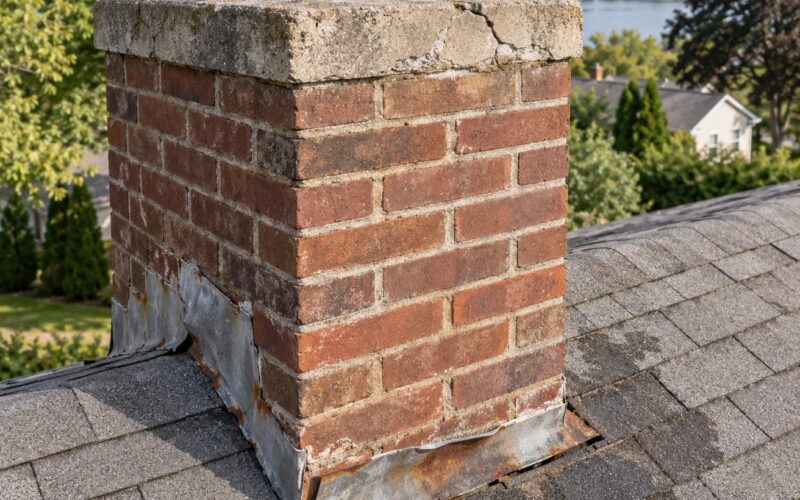
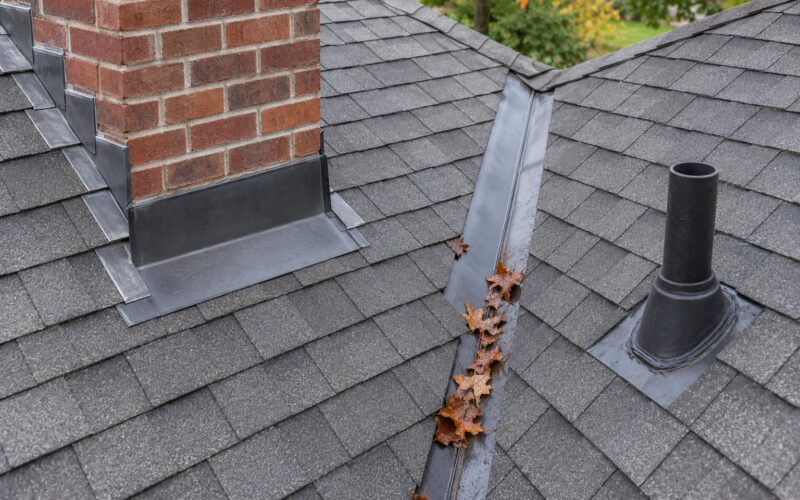
Check every penetration: chimney, skylight, plumbing vent, bathroom or kitchen exhaust, satellite mount, and any nail or spike you can find. Look for flashing that has lifted a corner, bent back, or is visibly separated from the surface it should be sealed to. Dried, cracked, or missing caulk and sealant is the cheapest defect on this whole list and one of the most common.
Look at roof valleys, where two slopes meet and concentrate water. Worn or missing material in a valley, dark staining below it, or visible granule accumulation at the bottom of the channel all mean the valley is not shedding water the way it should.
For drainage, confirm the gutters are clear and that downspouts discharge away from the foundation and end in an extension or splash block. An overflowing downspout during a moderate rain usually means a clog or a low spot, and water backing up behind the gutter can get behind the fascia and under the shingles.
Deteriorated masonry and mortar work around a chimney, and cracked stucco or brick above a flashing line, are worth noting too. Water travels through those surfaces and then finds the flashing behind it.
How to Document Roof Problems
Documentation is the difference between a vague worry and something a roofer, an adjuster, or a buyer can act on. It also makes it easy to tell whether a spot you found last spring has grown.
For each finding, record the date, the roof area or slope, and the weather conditions when you saw it. Then take photos: one wide shot showing where the area sits in relation to the whole roof, and one close-up of the defect itself.
Measure what you can. The number of missing shingles, the length of a lifted flashing edge, or the size of a stained ceiling patch gives a roofer something to work from and gives you a way to compare two estimates on equal terms.
Keep a running log: every finding, every repair, and every contractor opinion. When a roofer says a section needs replacing, ask them to mark it on a simple roof diagram and describe the material and the waste disposal cost separately, so you can compare line by line instead of comparing totals.
Photographs with dates attached also matter for insurance. Most carriers want evidence of the condition and of the damage pattern before work begins, and a file of dated images makes that conversation shorter.
When to Call a Roofing Professional
Some findings are beyond a ground-level check and need someone with proper fall protection, roof access, and diagnostic tools.
Call a qualified roofer when you see active leaking, water staining on a ceiling or exterior wall, or a wet attic floor. The same goes for a sagging roof line, soft or rotten sheathing, visible mold, or a large area of missing material rather than a few tabs.
Fire or impact damage, including scorched areas and punctures from a fallen branch, is an immediate call. So is any roof you cannot inspect safely, whether because of pitch, height, or a structural concern you spotted from below.
Ask for a written report rather than an opinion in the driveway. A useful professional report describes the roof material and age, covers the field and each detail area, photographs the findings, grades severity, and states whether the roof is maintainable, repairable, or a replacement candidate. If your roof is around 20 years old on asphalt shingles, ask for that same report with a life-expectancy estimate so you can plan rather than react.
How to Turn Inspection Findings into Repairs
Once findings are documented, sort them into four buckets and act in that order: emergency, this season, this year, and monitor.
Emergency means water is entering the house now, or someone could be hurt. This season means a loose flashing, a clogged downspout, or a handful of missing shingles that will get worse through winter. This year means a marginal material condition with months left in it. Monitor means an observation to re-check at the next seasonal inspection and log again.
Keep maintenance and repair apart. Clearing gutters, touching up sealant at a plumbing vent, and removing moss are maintenance items, and doing them yourself is reasonable. Replacing underlayment, decking, or a section of flashing is repair work, and that is licensed territory.
Get a second opinion when the estimate is large or the diagnosis is vague. If two roofers describe the work in different terms, ask each of them to walk you through why their fix differs, and ask what happens if you defer the work one year. That last question usually tells you more than the price comparison does.
Before you start, get two or three written estimates with the same line items, confirm the contractor carries liability and workers’ compensation coverage, and check whether your insurance requires a claim or simply a repair. Filing early tends to matter more than filing perfectly.
Frequently Asked Questions
How often should homeowners inspect their roof?
Most homeowners should look twice a year: once in spring after winter freeze-thaw cycles and once in fall before winter weather. Add an inspection after hail, a high-wind storm, a fallen limb, or heavy rain that makes you suspect a leak. Do the attic pass in the same visit, since attic moisture explains many exterior findings.
Do I need to climb on the roof to inspect it?
Usually not. Binoculars and a good pair of eyes from the yard cover most of the field, the flashing around chimneys and vents, and the roof edge. Climbing adds real risk and gives you little that a trained eye cannot see from a ladder at ground level. If your pitch is steeper than a 6-in-12 slope or the eave sits more than about 15 feet up, stay down.
What are the warning signs of a roof leak?
Inside, look for water stains on ceilings, bubbling or peeling paint, damp or musty odors, mold or mildew, and wet or compressed insulation in the attic. Outside, look for granules collecting in the gutters, dark streaks below a flashing detail, and damp or rotten sheathing around rafters. Any daylight through the roof deck is a hole, not a pinhole.
What should I check after a hail or wind storm?
From the ground, look for shingles lying in the yard or in the gutters, a line of shingles with a different texture where tabs lifted and reseated, and any area where the shingle mat shows through. After high wind, check the ridge cap, the hip and ridge lines, and the edges of every penetration for lifted material. Photograph what you find before you clean anything up.
Should I inspect the roof before buying a house?
Yes, and keep it low-key rather than intrusive. Walk the yard and check the shingle field, the roof line for dips, the chimney and skylight flashing, and the gutter and downspout discharge. Ask for the roof installation date, and look in the attic for stains, daylight, and wet insulation. Most local inspectors can add a roof-specific look for a modest fee, which is worth it on an older house.
Start at the roof line this weekend, with binoculars and your phone, and take about an hour. Walk the field, look at every penetration and the gutter run, then spend twenty minutes in the attic with the lights off. Whatever you find, photograph it with the date and log it in one page. That page is the start of this roof inspection checklist for homeowners, and it turns a once-a-year chore into a habit that catches small problems while they are still cheap.