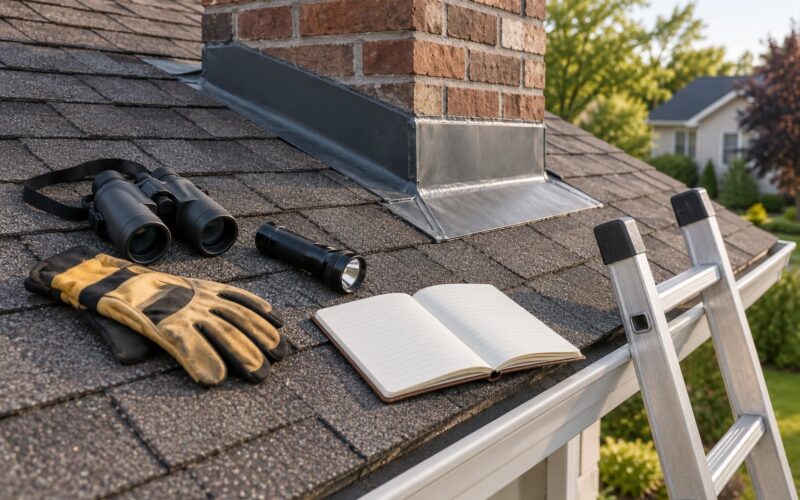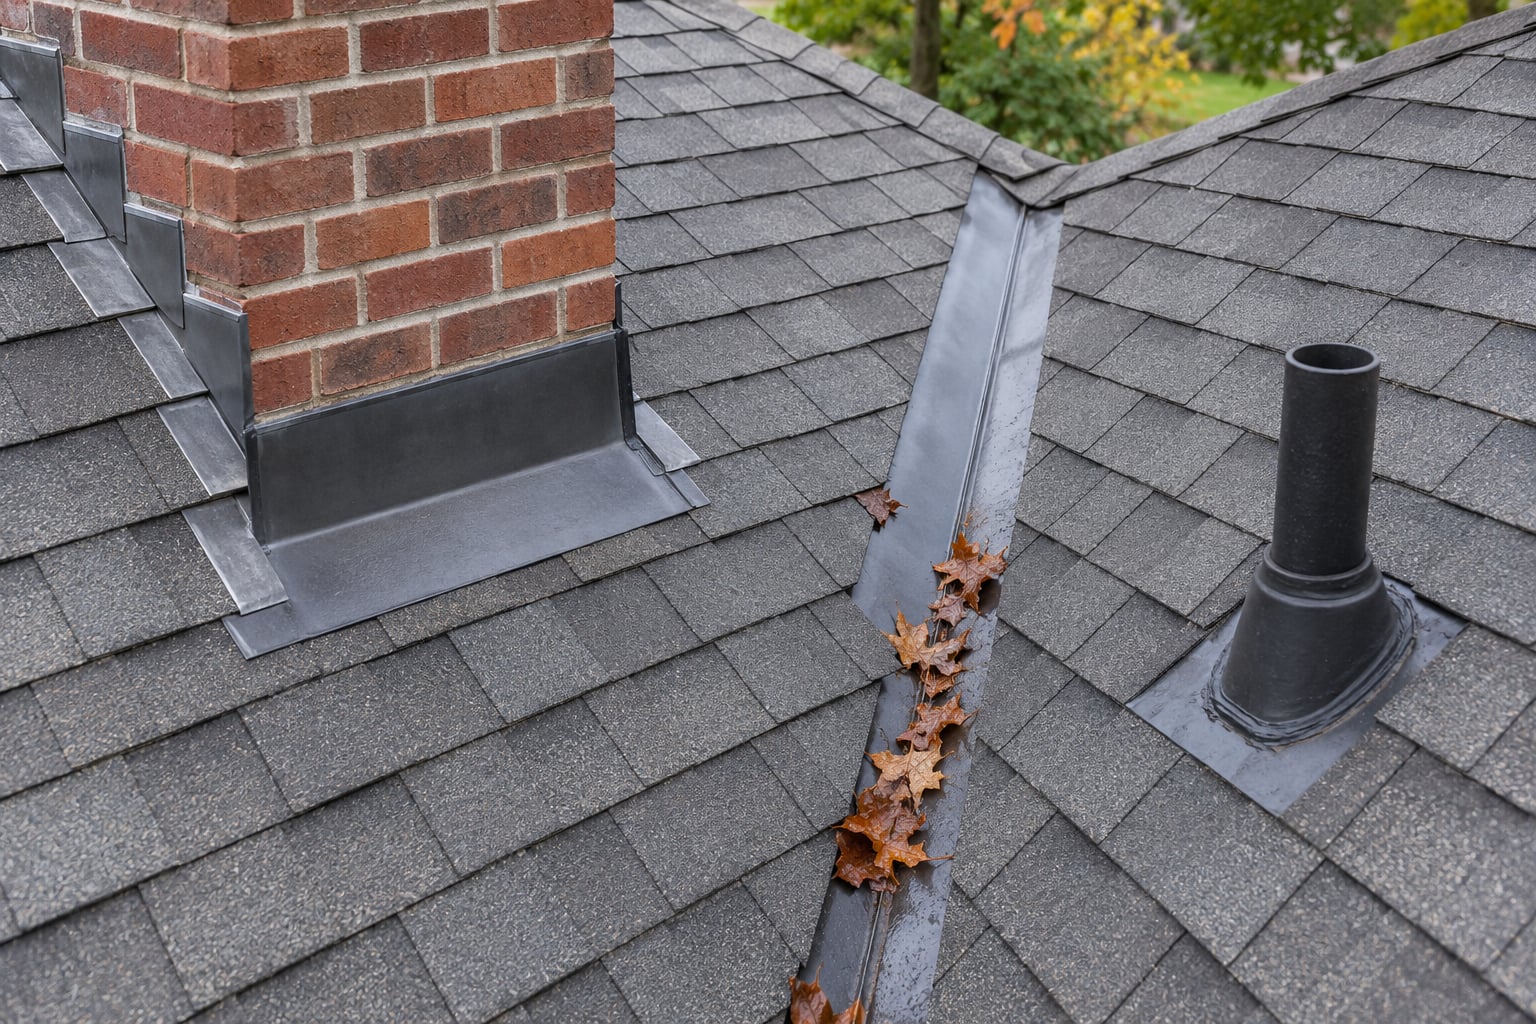
Roof flashing problems explained in plain terms: flashing is the metal or membrane detail that seals the joints where a roof meets a chimney, a wall, a skylight, a vent pipe, or another roof plane, and most roof leaks that look like a shingle problem start there instead. A flashing failure that seems cosmetic in 2026 can soak roof sheathing for months before you notice anything indoors, which is why it matters to identify it early.
Most flashing failures trace back to corrosion, a dried-out sealant bead, an ice dam, storm damage, or an installation shortcut made by whoever patched the roof last. The good news is that a small flashing repair is usually a short job, and the bad news is that the same repair turns expensive fast once the decking underneath starts to rot.
Table of Contents
- What Is Roof Flashing and Why Does It Matter?
- Where Roof Flashing Problems Usually Occur
- Roof Flashing Problems Explained by Location
- How to Recognize Roof Flashing Problems Explained by Warning Signs
- What Causes Roof Flashing to Fail?
- Can You Repair Roof Flashing Problems Yourself?
- How Roofers Repair or Replace Flashing
- How to Prevent Future Roof Flashing Problems
- Frequently Asked Questions
- How do I know if a roof leak is caused by flashing?
- Should I repair roof flashing myself or call a roofer?
- What is the most common type of roof flashing failure?
- Can roof flashing be repaired without replacing the shingles?
- Will a roof warranty cover damaged flashing?
- How often should roof flashing be inspected?
- Conclusion
What Is Roof Flashing and Why Does It Matter?
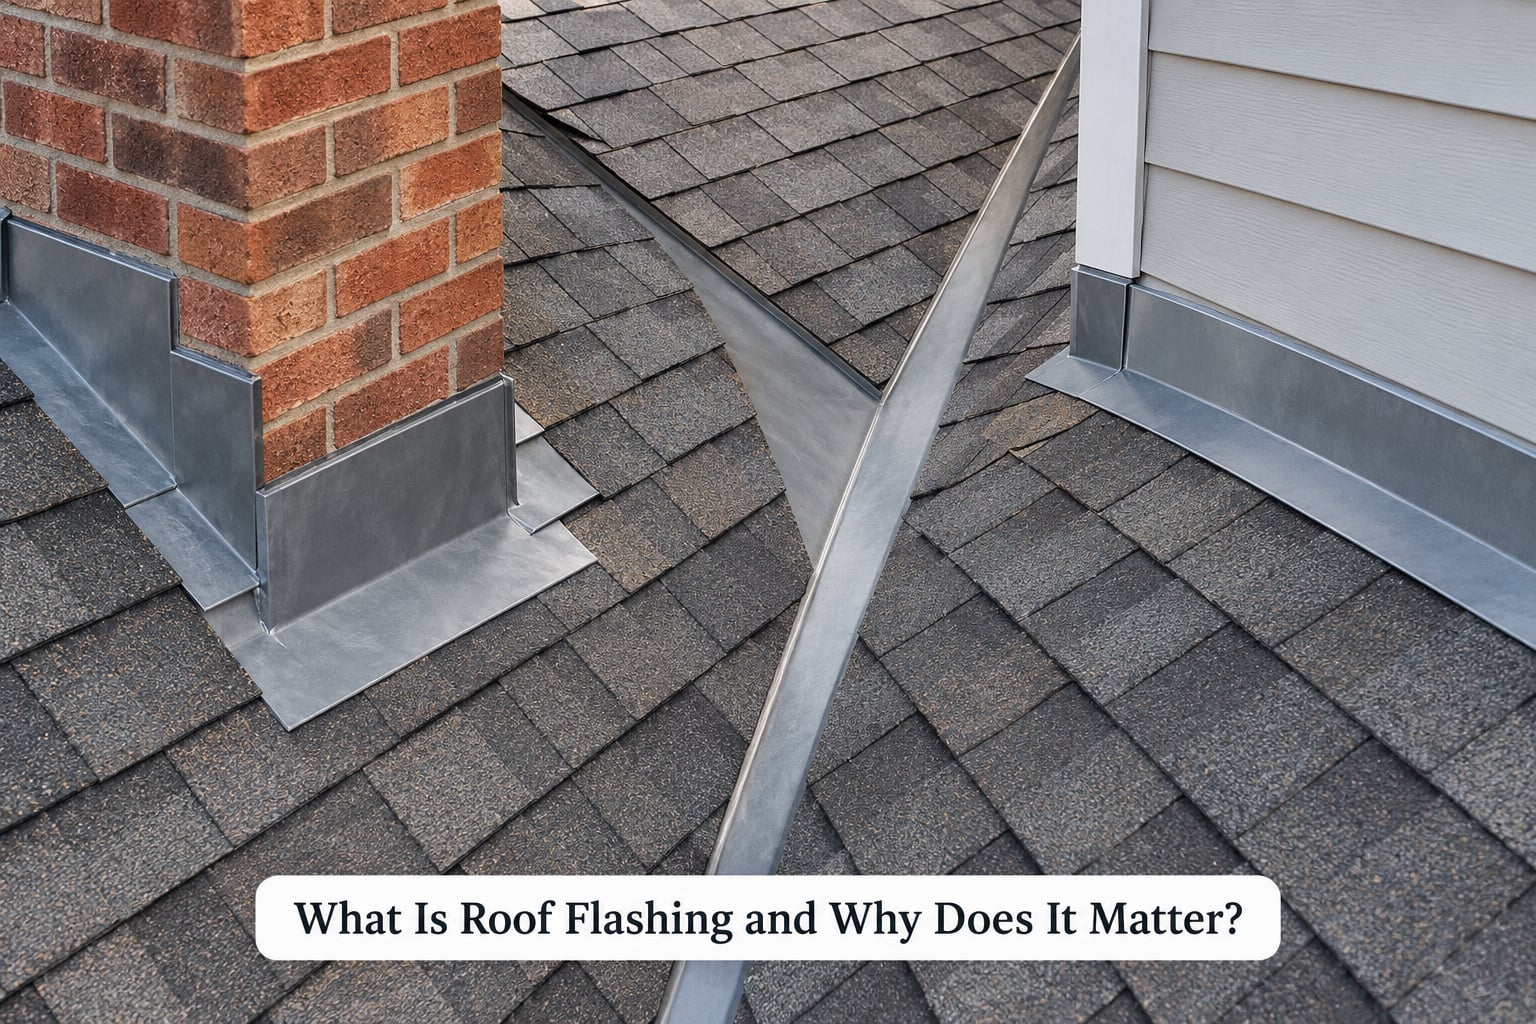
Roof flashing is a sheet of waterproof material, usually metal, installed wherever the roof surface changes direction or is interrupted. It directs water away from the joint and back down onto the covering below. Shingles are designed to shed water downslope, so any place a shingle field stops, starts, or bends needs flashing to do the work shingles cannot.
That single fact explains most of what you see on a roof. A chimney is a masonry structure pushing through a shingle field. A skylight is a hole in the field. A vent pipe is a pipe through the field. In each case the covering runs out of room, and the flashing takes over.
| Location | Flashing type | What it does |
|---|---|---|
| Chimney, where it meets the roof | Base and step flashing with counter flashing | Sends water down the sides of the chimney instead of into the joint |
| Chimney, uphill side | Cricket or saddle | Diverts water around the back of the chimney |
| Where a roof slope meets a wall | Step flashing, sometimes with kick-out flashing | Lets water cross the wall intersection and dump it clear of the siding |
| Inside corner of two roof slopes | Valley flashing | Concentrates runoff into one channel |
| Vent pipe or flue | Pipe boot with a neoprene collar | Seals a round penetration in a shingle field |
| Skylight curb | Built-up or metal curb flashing under a pan | Wraps the curb and sheds water down the slope |
| Roof edge over the eaves and fascia | Drip edge | Turns water off the deck and into the gutter |
Two terms come up constantly. Counter flashing is the cap piece that covers the base flashing and its fasteners, so no screw hole is exposed. Base flashing is the strip beneath it that goes up the chimney or wall and shingledges over the covering. When counter flashing is missing, or when the piece that should be cut into the mortar joint is just smeared with caulk against brick, that is the shortcut homeowners most often find years later.
Where Roof Flashing Problems Usually Occur
Chimneys are where I would look first when a stain shows up inside. The symptom is a brown or yellow stain on the ceiling or wall near the chimney, usually after driving rain, and a damp smell in the attic when it dries out.
Roof valleys are the next place to check. Look for a stain that runs down the slope rather than across it, sometimes with mineral staining streaked down the shingles below the valley.
Wall intersections and dormers come next on my list. A leak here often shows up as dampness or peeling paint several feet below the roofline, on siding or a window head, because water runs down the wall after it enters.
Pipe boots and vent collars are the quiet ones. You will see a dark halo of algae or staining on the shingles radiating out from the pipe, or a small drip line directly under it.
Skylights leak at the curb, not at the glass. A saturated head jamb, peeling paint around the frame, or a wet sill means the problem is the flashing detail under the pan.
Roof edges and kick-outs fail where water has nowhere to go. Fascia rot, rusted drip edge, or paint bubbling on the fascia board all point at the eave detail.
Roof Flashing Problems Explained by Location
Diagnosing by location is the fastest way to avoid tearing off sound shingles. Water follows gravity and then follows the path of least resistance, usually along the top of a rafter or along the underside of decking, so the stain on your ceiling tells you almost nothing about where the water entered.
Compare the interior clue against the roof feature nearest the stain, and check whether the same wall or ceiling area stayed dry through a heavy rain. A stain that spreads in a line down a wall usually points to a wall intersection or kick-out above it, not to the ceiling joist above it.
How to Recognize Roof Flashing Problems Explained by Warning Signs
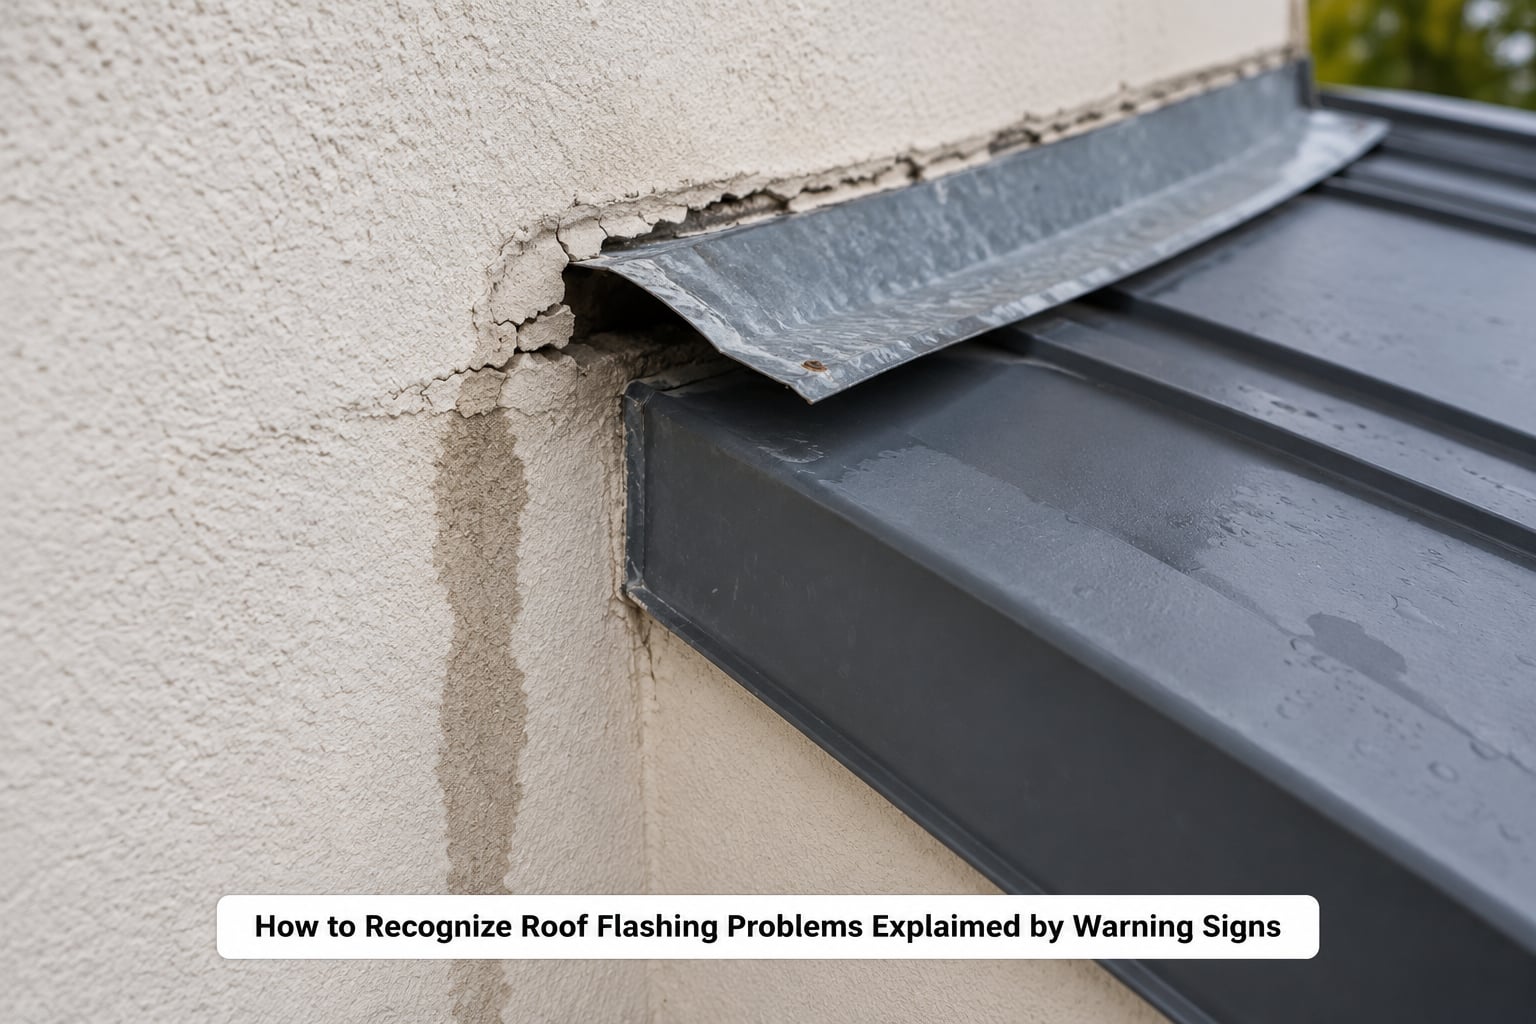
Early signs are small and easy to dismiss. Look for a dark or rust-colored streak running down siding below a roof edge, a lifted metal edge with an open gap under it, sealant that has hardened, cracked, or pulled away from the metal it was bridging, and rust bleeding where a fastener sits.
Advanced signs are harder to argue with. Water-stained or sagging ceiling drywall, black mold growth in the attic near a penetration, soft or crumbly roof decking when probed from the attic side, and rusted fascia along the eave.
One clue deserves its own warning: a leak that appears only during wind-driven rain. Light drizzle can miss a failed seam entirely while a storm pushes water sideways into it. If your ceiling only stains in a hard blow, assume flashing until proven otherwise.
Not every stain is flashing. Rafter stains that dry and disappear point to condensation or a bathroom exhaust vent terminating in the attic. Meltwater backup behind an ice dam arrives in warm weather on a cold roof. Roof covering failures show as granules in the gutter or a widespread field of lifted, curled, or missing shingles.
| Suspected source | Where the stain shows up | What to inspect |
|---|---|---|
| Flashing failure | Near a chimney, wall, skylight, vent, or roof edge, often displaced from the entry point | The joint itself: lifted metal, cracked sealant, corrosion, missing counter flashing |
| Shingle or covering failure | Below a broad area of the field, often after wind or hail | Granule loss, lifted or missing pieces, nail backs showing |
| Ice dam | Near the eaves, during or after a thaw in cold weather | Ice buildup at the gutter edge, water backing up under shingles, damaged drip edge |
| Condensation or ventilation | Stain that dries up and returns, often in winter | Attic ventilation, ductwork or bath exhausts venting into the attic |
What Causes Roof Flashing to Fail?
- Corrosion. Galvanized steel rusts through first at cut edges, fastener holes, and the fold lines where the metal is bent. Once a hole exists, water has a path.
- Thermal movement. Metal expands and contracts across a season by a measurable amount. Repeated movement works fasteners loose and opens seams that were sealed once and never revisited.
- Failed sealant. Roofing sealant and caulk harden, crack, and peel within a few years. A bead that looked fine at installation is often the first thing to go.
- Ice dams. In cold climates, water backing up behind a ridge of ice forces itself under shingles and behind flashing from the uphill side. This is the one cause that attacks otherwise sound detail.
- Wind and hail. Wind lifts the edge of a metal piece and drives rain underneath it. Hail dents and creases metal so it no longer sheds water correctly, even with no hole.
- Wrong installation sequence. Flashing must go under the covering where water flows downslope and over the top where it must shed. Reversed layers look finished and leak from the first storm.
- Previous quick fixes. Smear roofing tar or caulk over a joint and you have sealed the surface while leaving the path open. Worse, the tar traps moisture against the sheathing and makes the real repair harder later.
- Underlying roof deterioration. Flashing installed onto soft, rotten sheathing has nothing to fasten to. Once the deck is compromised, the flashing failure is a symptom rather than the cause.
Age still counts. Rubber pipe boots are the shortest-lived flashing on most roofs and often go first, and any sealant applied more than a few years ago should be assumed cracked until you look at it.
Can You Repair Roof Flashing Problems Yourself?
Some flashing work is fair game from a ladder or a low slope: clearing debris off a flashing detail, resealing an exposed seam on a walkable roof from the ground, and replacing a loose drip edge fastener you can reach without stepping on the deck.
Everything else is not. Step flashing, counter flashing, valley work, chimney base flashing, and skylight curbs all involve lifting the covering, cutting to the sheathing, and re-laying the water shed so it works in sequence. Get that sequence wrong and you have created a leak that was not there before.
Chimneys deserve their own caution. Counter flashing is cut into the mortar joint between bricks and resealed with mortar. That is masonry work, and a roofer without masonry skills will typically caulk onto brick instead, which is the shortcut homeowners keep finding years later.
Add the obvious physical limits. Roof work above a one-story height, on a steep slope, around a chimney you would have to straddle, or over a drop you cannot control is not worth the risk to save a small repair.
How Roofers Repair or Replace Flashing
A competent repair follows a fixed sequence, and it is worth asking your roofer to walk you through it.
- Find the entry point. Water on a rafter or in a bay usually has to be traced back to its origin, often with a hose test on a dry day or by inspection from the attic.
- Open the area. The covering is lifted back to expose the sheathing and the flashing underneath. How much comes off depends on how the original work was done.
- Check the substrate. Sound sheathing or you cannot fasten flashing to anything. Soft decking gets cut out and replaced before the new metal goes in.
- Install correctly sized flashing. The base piece extends up the penetration and laps over the covering; the counter flashing covers the laps and fasteners. Ice-and-water membrane goes under the whole detail in cold climates.
- Seal with the right product for the metal. Sealant that will not stick to, or will corrode, the flashing material makes the repair worse than nothing.
- Reset the covering. Underlayment is reinstated, nails are placed in the right zone, and the shingles go back down with proper overlap.
- Verify drainage. Water is run across the repaired detail to confirm it sheds and does not pond or run behind the covering.
A temporary patch is roofing cement or sealant smeared over a joint. It buys you a season or two in a pinch and it hides the evidence from the next roofer who looks. A permanent repair replaces the flashing and leaves the sheathing visible and dry.
How to Prevent Future Roof Flashing Problems
Walk the roof twice a year, in spring and after fall storms, and look at every penetration from the ground with binoculars. You are checking for lifted metal edges, open seams, rust, and sealant that has pulled away.
Keep valleys clear. Leaves and pine needles pile into a valley, hold water, and keep it sitting against metal that is meant to run dry. Clearing them is cheap and genuinely fixes some leaks outright.
After a severe storm, get up close to the details a roofer would check first: chimney flashing, kick-outs at dormers and wall intersections, and drip edge along the eaves. Look for freshly creased metal.
Do not spray sealant on a flashing detail you have not looked at. It masks the symptom and traps moisture against the deck.
Replace flashing when you replace the roof. Old flashing tied into old shingles rarely survives a new covering, and contractors who reuse detail are saving a small amount of labor at the cost of your new roof’s first leak.
Frequently Asked Questions
How do I know if a roof leak is caused by flashing?
Flashing leaks cluster around a feature: they appear near a chimney, skylight, vent pipe, wall intersection, or roof edge, and often stain a wall or ceiling some distance from the actual entry point because water runs along a rafter. A leak that only shows up during wind-driven rain points the same direction. Check the joint above the stain for lifted metal, cracked sealant, rust, or missing counter flashing before touching any shingles.
Should I repair roof flashing myself or call a roofer?
Resealing a small exposed seam on a low, walkable roof is reasonable if you are comfortable working at height. Anything involving lifting the covering, cutting sheathing, step or valley flashing, a skylight curb, or a chimney should go to an insured, licensed roofer. Chimney counter flashing in particular is masonry work, and caulking onto brick instead of cutting into the mortar joint is the most common shortcut.
What is the most common type of roof flashing failure?
Failed sealant and corrosion together account for most cases. Asphalt-based roofing sealant hardens and cracks within a few years, and galvanized steel rusts fastest at cut edges, fastener holes, and bend lines. Where flashing was caulked directly onto brick rather than fitted with proper counter flashing, the joint usually fails again no matter how many times it is resealed.
Can roof flashing be repaired without replacing the shingles?
Usually, yes. A flashing repair means lifting the covering back a few rows around the detail, replacing the flashing and the sealant, and resetting the same shingles. Shingles get replaced only if they tear when lifted, have lost their flexibility or grip, or the roofer finds decking damage underneath. Ask whether the covering will be reused and whether it is being nailed in the proper zone, because that detail decides whether the repair lasts.
Will a roof warranty cover damaged flashing?
It depends on which warranty and why the flashing failed. A manufacturer warranty generally covers defects in the flashing itself, not leaks caused by damage to something outside the material. A workmanship warranty from the installer should cover flashing that fails because it was installed incorrectly. Age and storm damage are usually excluded from both, so a leak showing up within the first few years of a new roof is worth raising as a workmanship claim while it is documented.
How often should roof flashing be inspected?
At minimum twice a year, in spring and after fall storms, plus any time you see staining or dripping. Look at every penetration with binoculars from the ground, keep valleys and drainage paths clear of debris, and get close to chimney flashing, dormer kick-outs, and drip edge after severe weather. If your roof is older than twenty years, have a roofer walk it in person, since sealant and rubber pipe boots have likely aged past their useful life.
Conclusion
Start by identifying the flashing location nearest your stain, not the shingles directly above it. Photograph what you find, note whether the problem only appears in wind-driven rain, and clear any debris sitting on the detail.
If the fix is a small sealant joint on a roof you can reach safely, do that. If access is hazardous, the sheathing underneath is soft, or the work runs past one seam into step, valley, or chimney flashing, call an insured, licensed roofer and ask them to show you the entry point before they start cutting.