Most sticking doors are a hinge problem, not a door problem. Tighten the hinge screws, swap at least one top-hinge screw for a 3-inch screw that bites into the wall framing, and the door usually swings freely again in about ten minutes. Sanding is the last resort, because wood you take off never goes back on.
Four things cause nearly every bind: loosened hinge screws, stripped screw holes, wood that swelled with humidity, and framing that has settled out of square. The seven steps below work through how to fix a door that sticks in that order, which keeps the repair small. Budget about half an hour for an interior door, most of it thinking rather than tool work.
Table of Contents
- What You Need
- How to Fix a Door That Sticks Step by Step
- 1. Diagnose the Door: How to Fix a Door That Sticks Without Guessing
- 2. Mark the Exact Rubbing Point
- 3. Fix Loose Hinges or Realign the Door
- 4. Remove Paint Buildup From Contact Areas
- 5. Ease a Swollen or Oversized Door Edge
- 6. Treat a Door That Swells With Humidity
- 7. Test, Rehang, and Protect the Finish
- Common Mistakes and Helpful Tips
- Frequently Asked Questions
- Why does my door stick only in the summer?
- How do I fix a door that sticks at the bottom without removing it?
- Should I sand a door that sticks after painting?
- Why does my door stick only when it is locked?
- Is it better to plane a sticking door or adjust the hinges?
- When should a sticking door be repaired by a professional?
- Conclusion: Start With a Quick Door-Fit Diagnosis
What You Need
You probably already own most of it. Gather the tools before you start so you are not stopping halfway through a diagnosis.
- Flat screwdriver for prying the hinge pin and lifting paint film
- Phillips screwdriver or drill with a bit that fits the hinge screws
- Pencil to mark the exact contact point
- Ruler and a strip of thin cardboard for measuring the reveal gap
- 180- to 220-grit sandpaper and a sanding block, plus 120-grit for the first pass on raw wood
- Fine block plane or file, optional, for a solid wood door
- Dry lubricant or graphite lock lubricant in a can with a straw
- Wood glue, wooden toothpicks and a wood dowel for stripped hinge holes
- Clean rags and a little rubbing alcohol for residue
- Safety glasses and a dust mask if you will be sanding indoors
The block plane, the dowel and the toothpick kit are optional. A pencil shim cut from cardboard does the same job as the dowel for a minor stripped hole, and a sanding block alone handles a hollow-core door just as well as a plane.
One note before you touch hardware: check the door and hardware manufacturer’s instructions, especially on an exterior or storm door. Some modern units use self-adjusting hinges and a hidden alignment screw, and forcing a standard adjustment can undo the mechanism.
How to Fix a Door That Sticks Step by Step
1. Diagnose the Door: How to Fix a Door That Sticks Without Guessing
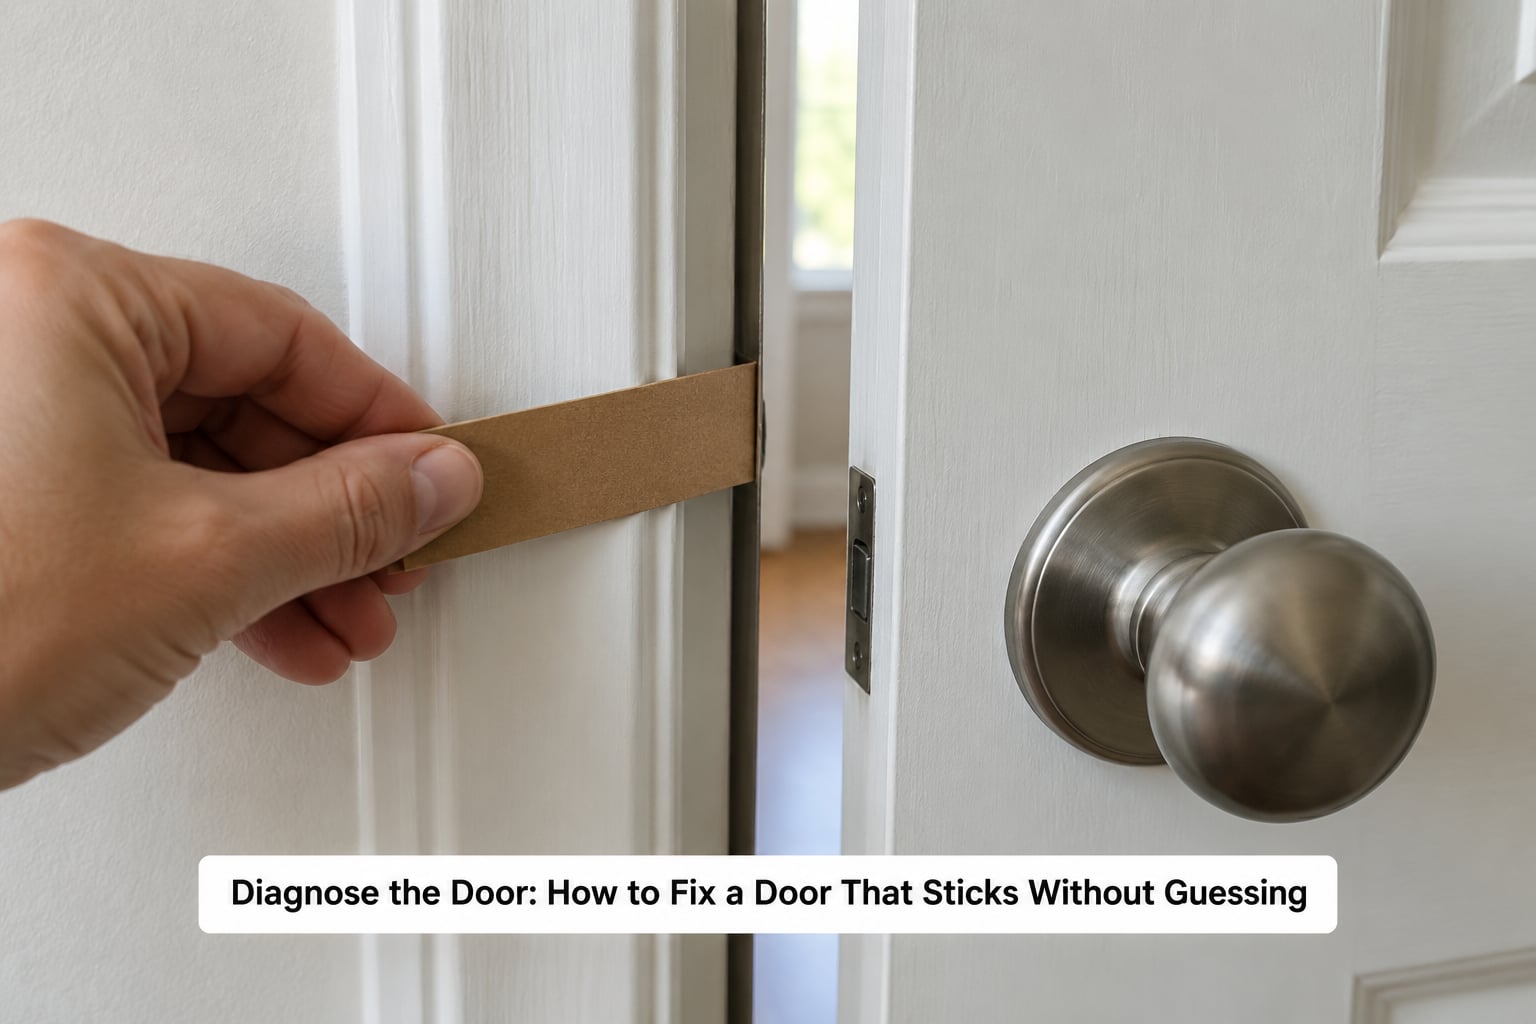
Watch the door close instead of pushing it. Where the door slows down, leans, or stops dead is where the work is. A door that swings open on its own usually has loose hinges; a door that hangs crooked on one side has settled framing or a hinge that has pulled away from the jamb.
Slide a strip of thin cardboard between the door edge and the frame as you close it. Where the cardboard drags or resists, that is your rubbing point. If it drags the whole way up, the whole door is off-square. If it drags in one spot, you have a single high point to deal with.
Listen as it closes. A dull scrape at one point means wood on wood. A gritty catch spread across the whole edge usually means paint film rather than swelling. A hollow thud from the latch end usually means the bolt is hitting the strike plate before the door has fully closed.
2. Mark the Exact Rubbing Point
Close the door slowly by hand until it touches something, then stop and mark that spot with a pencil. Check the top corner nearest the hinges, the bottom corner, the latch edge, and the hinge side in turn. One mark tells you which surface to work on.
Marking also tells you whether to remove the door. If the mark is on the hinge side or the latch edge, you can usually work in place with a sanding block. If the mark is on the hinge knuckle or deep in the jamb, take the door off its hinges so you can see and reach the contact area properly.
Lift a door off its hinges by tapping the top of the hinge pin upward with a screwdriver and a block of wood while supporting the door’s weight. Tap upward, never sideways, or the pin can bend. Now inspect the frame: look at the strike plate for a proud lip, at the stop molding for a paint ridge, and at each hinge for a gap opening up between the plate and the wood.
3. Fix Loose Hinges or Realign the Door
This is the least invasive repair and the one that works most often, so do it first. Work on the middle hinge, then the top hinge, then the bottom hinge. Tighten every screw you can reach, then look again at whether the door hangs square.
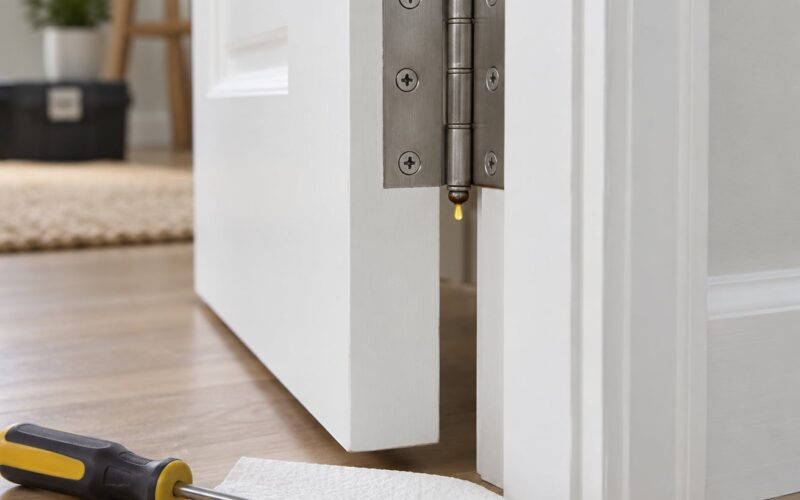
Now look at the screw length. A 1-inch screw driven into a 1-inch-thick jamb has nothing to grip behind it, so the hinge slowly pulls away and the door drops. Replace at least one screw on the top hinge with a 3-inch screw, or a 3-1/2 inch screw in solid-core doors. It should pass clean through the door jamb and bite into the solid wall framing behind it. Hold the door in its proper position while you drive the long screw so you do not pull the door out of alignment as you tighten.
The top hinge carries most of the door’s weight, which is why it loosens first and why long screws there fix the most problems. If a screw spins without tightening, the hole is stripped.
For a stripped hole, there are three repairs and they increase in effort. Smallest first: coat several wooden toothpicks in wood glue, push them into the hole, let it dry, break them off flush, then drive the screw into the packed hole. Next: cut a dowel slightly larger than the hole, glue it in, and sand it flush. Last: back out with a drill and re-hinge in fresh wood. The toothpick method handles almost every homeowner case and takes about ten minutes.
Cardboard shims work too. Slide a thin strip of cardboard behind a loose hinge screw before you tighten it. The screw bites the shim, the shim pushes the plate out slightly, and the door moves without removing the hardware. Fold two layers for twice the movement.
For a heavy solid-core door that still leans after longer screws, use the wrench trick. Pull the top hinge pin, set an adjustable wrench on the door-side hinge plate, and bend the plate very slightly away from the frame. A few degrees moves the door more than any amount of sanding. Nudge the middle hinge plate the opposite way, lift the door back onto the pins, and drop the pins in. Test after each turn, because the movement compounds across three hinges.
4. Remove Paint Buildup From Contact Areas
Painted doors stick in places the wood never touched. Paint collects in the reveal gap at the top corner, bridges the stop molding to the door edge, and fills the hinge knuckle so the door cannot swing through its arc. You can feel this as a gritty catch rather than a hard stop.
Slide a plastic card or the flat of a screwdriver wrapped in a rag down the reveal gap to shear the film. Rub the hinge knuckle with a cloth and a drop of dry lubricant, then work the door back and forth to break the bridge. For the stop molding, sand lightly along the contact line with 180-grit held flat, so you cut the paint ridge and not the wood underneath.
Keep a finger on the surrounding finish. Paint on a door edge can be a quarter inch thick in places, and that is a lot of material compared with the wood beneath it.
5. Ease a Swollen or Oversized Door Edge
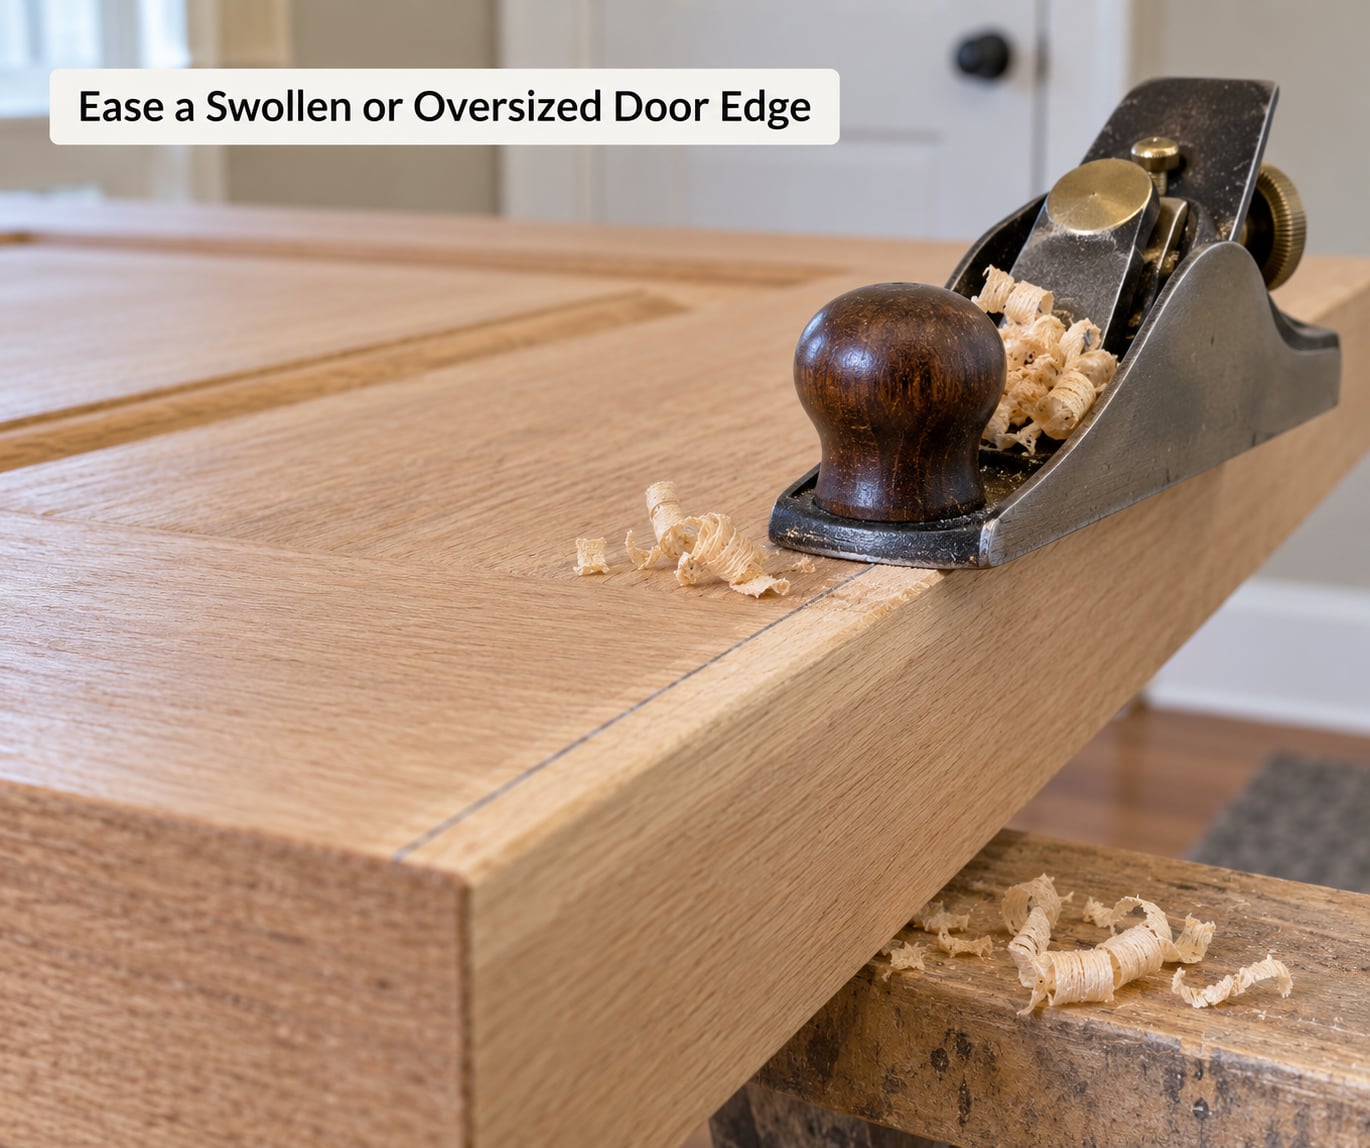
Measure before you remove anything. Hold a ruler across the reveal gap at the top, middle and bottom of the latch side. The gaps should match closely, and none should be closed. A gap narrower than a sheet of card at one point is the point to ease.
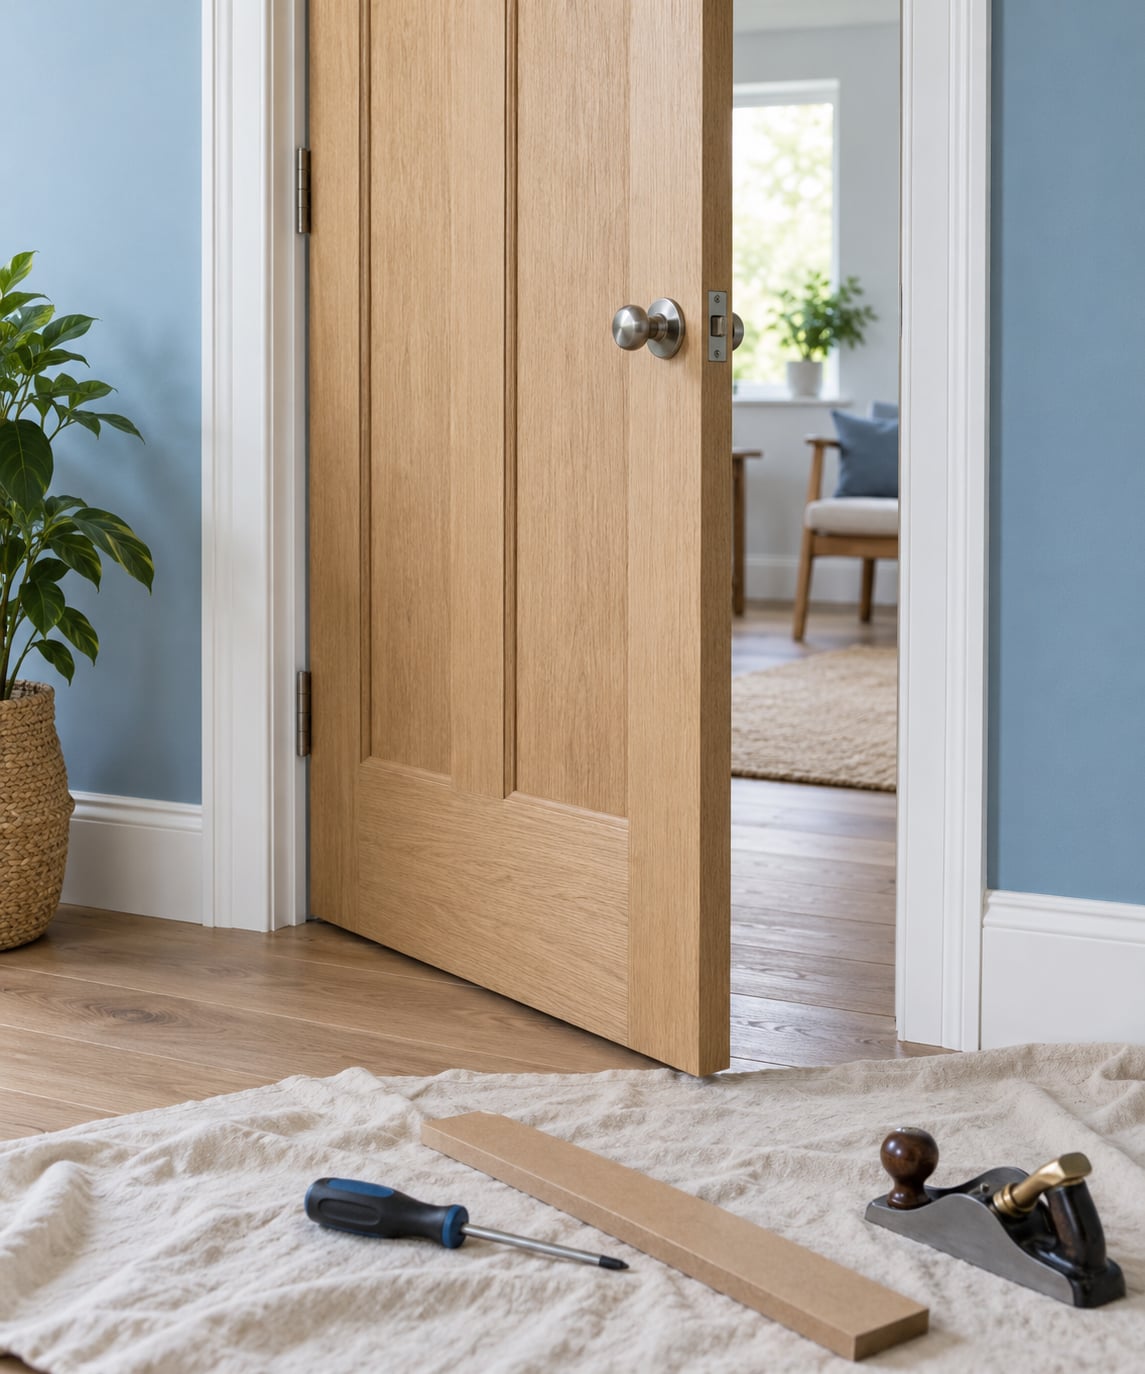
Work on the high spot only, and start coarse. Sand with 120-grit on a block, using light even strokes across the face of the edge rather than digging into one corner. Recheck the fit after every few passes by closing the door. Then move to 180- and 220-grit to remove the sanding scratches.
A block plane is faster and flatter than sandpaper on a solid wood door, but it is easy to take too much. Set the depth shallow and treat each pass as final until you test. Hollow-core and painted MDF doors have a thin hard skin over a soft or hollow core, and a plane will dive into the face if you lean on it. Sand those with a block and stop at the first sign of the core showing through.
Measure again when you finish. A consistent reveal of about an eighth inch top and bottom is enough for the door to swing and latch. If you have opened a gap wider than that, fill it before painting.
6. Treat a Door That Swells With Humidity
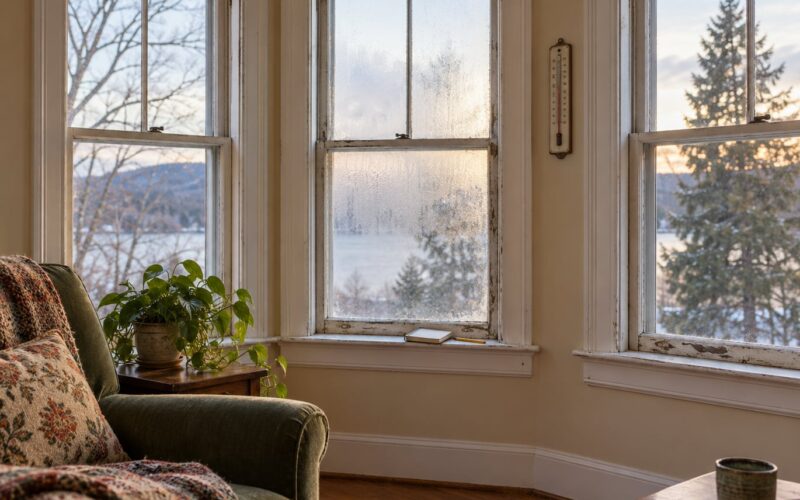
Wood doors take on moisture through the edges and faces and give it back when the air dries. Interior doors exposed to a wet entryway or a basement, and exterior doors on the sunny side of a house, will gain enough moisture to grow into the frame. That is the seasonal door that runs fine in February and jams in July.
Keeping indoor relative humidity steady does more than any repair. A humidifier in winter and a dehumidifier or ventilation in summer keeps the door the same size all year. If the door rubs only in damp months and returns to normal, treat it as a moisture problem rather than a fit problem.
Seal the door properly on all faces, including the top, bottom and both edges, with primer first and two coats of finish on top. Many doors are painted on the visible faces only, leaving the edges bare, and those are the faces that move most. An exterior-rated coating or a water-repellent sealer gives you more margin.
If the door binds every season regardless of humidity, swelling is not the cause. That points to alignment or the fit of the opening, and you should go back to step 3 rather than keep easing the edge.
7. Test, Rehang, and Protect the Finish
Hang the door back on its pins and run it through a full swing several times. Then close it firmly but without forcing it and check that the latch bolt enters the strike plate without you pulling the door to meet it. Any scraping in the last inch means you still have a high point to adjust.
Wipe down the area with a damp rag and a little rubbing alcohol to remove pencil marks, sanding dust and oil. Touch up bare wood with primer and finish matched to the surrounding coating, then let it cure fully before judging the fit. Fresh paint can feel tight for days and may change the fit slightly as it cures.
Put lubricant only where metal moves against metal, in the hinge knuckles, on the latch bolt and inside the strike plate. A dry lubricant or graphite product leaves a clean film. WD-40 is a fine penetrant for a seized pin, but as a hinge lubricant it stays wet, gathers dust and grit, and turns into a paste that makes the next swing worse.
Common Mistakes and Helpful Tips
Almost every avoidable second trip to this problem comes from one of five mistakes, and most of them announce themselves in the same six symptoms. Match what you hear and feel to the likely cause before you pick up a tool.
- Top corner, hinge side: the top hinge has pulled off the jamb. Start by tightening every screw, then run a 3-inch screw into the framing.
- Top corner, latch side: the door is sagging away from the frame. Shim behind the top hinge screw, or bend the plate slightly with a wrench.
- Latch edge, middle of the door: swelling or a build-up of paint. Shear the paint film first, then ease only the marked spot.
- Bottom edge: a sagging hinge or an out-of-square opening. Adjust the bottom hinge and check floor clearance.
- Whole edge, all year: the opening has settled. Shim and adjust the hinges, then check the jamb for plumb.
- Only when it is locked: a proud strike plate lip or a misaligned latch. Chase the strike plate and reposition it.
Sanding the entire door. Sand only the marked area. A door that needs all four edges eased is telling you the hinges need work, not that it needs to be thinner.
Removing too much wood. Take passes off, test, repeat. You cannot put the wood back, and a gap wider than an eighth inch at the latch side will let drafts and light through.
Forcing a swollen door. Forcing a bound door scrapes the finish, rounds the latch bolt and bends the hinge pin. Adjust the hinges or ease the edge instead, then close it by hand.
Tightening all three hinges equally. Equal tightening keeps a crooked door crooked and hides the fault. Move one hinge at a time and check the swing, so you can see which adjustment worked.
Assuming paint is the problem. Paint buildup explains a gritty catch, not a hard stop. If the door binds the same way after you clean it, the cause is wood or hardware.
A few practical notes. Put a drop cloth down before you work, because a stripped screw and a fresh paint touch-up is a mess. Wear eye protection when you pull hinge pins or sand. If you take the door off, support it with a wedge or a second pair of hands rather than letting it hang from one pin.
Know when to stop. A door in an opening that is visibly out of square, a jamb that is soft or rotted at the hinges, or a heavy solid-core door that stays crooked after careful adjustment is a framing problem, not a hardware problem. Those are carpenter work, and forcing a surface fix on them makes the damage harder to see later.
Frequently Asked Questions
Why does my door stick only in the summer?
Wood takes on moisture through its edges and faces and gives it back when the air dries, so a door can grow into its frame during humid months and fit perfectly in winter. Keeping indoor relative humidity steady with a dehumidifier or better ventilation prevents the seasonal swing. Sealing the top, bottom and both edges with primer and finish slows the movement, since many doors are painted on the visible faces only.
How do I fix a door that sticks at the bottom without removing it?
Almost always start at the bottom hinge. Tighten both screws and replace one with a 3-inch screw that reaches past the jamb into the wall framing, which lifts the hinge side and swings the bottom corner away from the threshold. Check the floor covering too, since a swollen plank or added carpet can close the gap in seconds. Only ease the bottom edge once the hinges are square.
Should I sand a door that sticks after painting?
Remove the paint first, not the wood. Slide a plastic card down the reveal gap and rub the hinge knuckle with a dry lubricant to shear the film, then test the door. If it still binds, the paint was hiding a fit problem and you sand only the marked high spot, moving from 120-grit to 220-grit and checking the reveal gap as you go.
Why does my door stick only when it is locked?
That pattern means the door closes but the bolt has trouble entering the strike plate, usually because the plate lip is proud of the frame or the latch has worn out of square with the jamb. Mark the bolt contact point with chalk, open the door, and enlarge the strike plate hole a little so the bolt enters at the same angle it travels. A long-shank or adjustable latch fixes a bolt that is worn short.
Is it better to plane a sticking door or adjust the hinges?
Adjust the hinges first, every time. A door that hangs square usually needs nothing removed at all, and hinge work costs nothing and takes minutes. Sanding or planing is the fix for a genuinely oversized or swollen door after the hardware is square. If the reveal gap is uneven and the door rubs in one spot only, easing that single high spot is enough.
When should a sticking door be repaired by a professional?
Call a carpenter when the problem is the structure rather than the door: an opening that is visibly out of square, a jamb that is soft or rotted around the hinges, framing that has settled and pushed the casing out of plumb, or a door that stays crooked after careful hinge adjustment. Also worth a pro if the door is historic, glass-paneled or fitted with a security system you would rather not disturb.
Conclusion: Start With a Quick Door-Fit Diagnosis
Watch the door close, find the single point where it stops, and work outward from there. Hinges first, then paint film, then the edge. Most doors need nothing more than a tightened screw and one 3-inch screw reaching into the framing, and the ones that do need easing only need a few passes on the marked spot.
If the opening is out of square, the jamb is soft, or the door stays crooked after careful adjustment, stop and get a carpenter. That is a framing problem, and a surface fix will only hide it for a season.