Choose a curtain rod that runs 6 to 12 inches wider than the window frame on each side, and mount it 4 to 6 inches above the frame. On an 8-foot ceiling, mount it at the ceiling instead. That single rule fixes the two things people get wrong most: rods that are too short, so panels never look full, and rods hung too low, which shortens the room.
Width and height work together. A longer rod makes the window look wider, and a higher mounting point makes the ceiling look taller. Get both right and the same window reads completely differently, no matter how ordinary the frame is.
Here is the whole process, starting from a tape measure and ending with brackets screwed into studs.
Table of Contents
- What You Need to Measure Before You Buy
- How to Choose Curtain Rod Length and Height, Step by Step
- Measure the Window or Curtain Area
- How to Choose a Curtain Rod Length That Makes Panels Look Full
- Choose the Curtain Rod Height for the Mounting Location
- Check Clearance, Proportion, and Hardware
- Common Mistakes and How to Fix Them
- Frequently Asked Questions
- How wide should a curtain rod be for a window?
- How high should a curtain rod be above a window?
- What is the best curtain rod height for a low ceiling?
- How do I choose a rod for a narrow or unusual window?
- How much wider should curtain panels be than the window?
- Do curtain rods have to be centered over the window?
What You Need to Measure Before You Buy
You need fewer tools than people expect. Most of the work is arithmetic you can do in your head once you know the four numbers.
- A tape measure, ideally a steel-bladed one that stays straight across a wide span. A fabric tape sags and gives you a wrong reading.
- A notepad or your phone. You will be juggling three numbers at the window.
- A pencil for marking bracket positions on the wall.
- A level, for the mark that tells you where the brackets go.
- A step ladder or a second person. Optional, but it makes the difference between a clean job and a scuffed wall.
Four numbers to record at each window: the width of the frame, the width of the casing or trim if you want the rod to clear it, the height from the top of the frame to the ceiling, and the total wall width available on each side of the window.
Safety note worth being blunt about: use a stable ladder on a flat floor, or get someone to hold the rod while you mark. Do not stand on a chair, a desk, or the top of a step stool to reach an 8-foot ceiling. Falls from improvised heights cause most of the injuries people report during this job, and the measurement is not worth it.
If you are working around a radiator, a ceiling fan, or a soffit, note that too. It changes how high the rod can physically sit and how deep the brackets have to be.
How to Choose Curtain Rod Length and Height, Step by Step
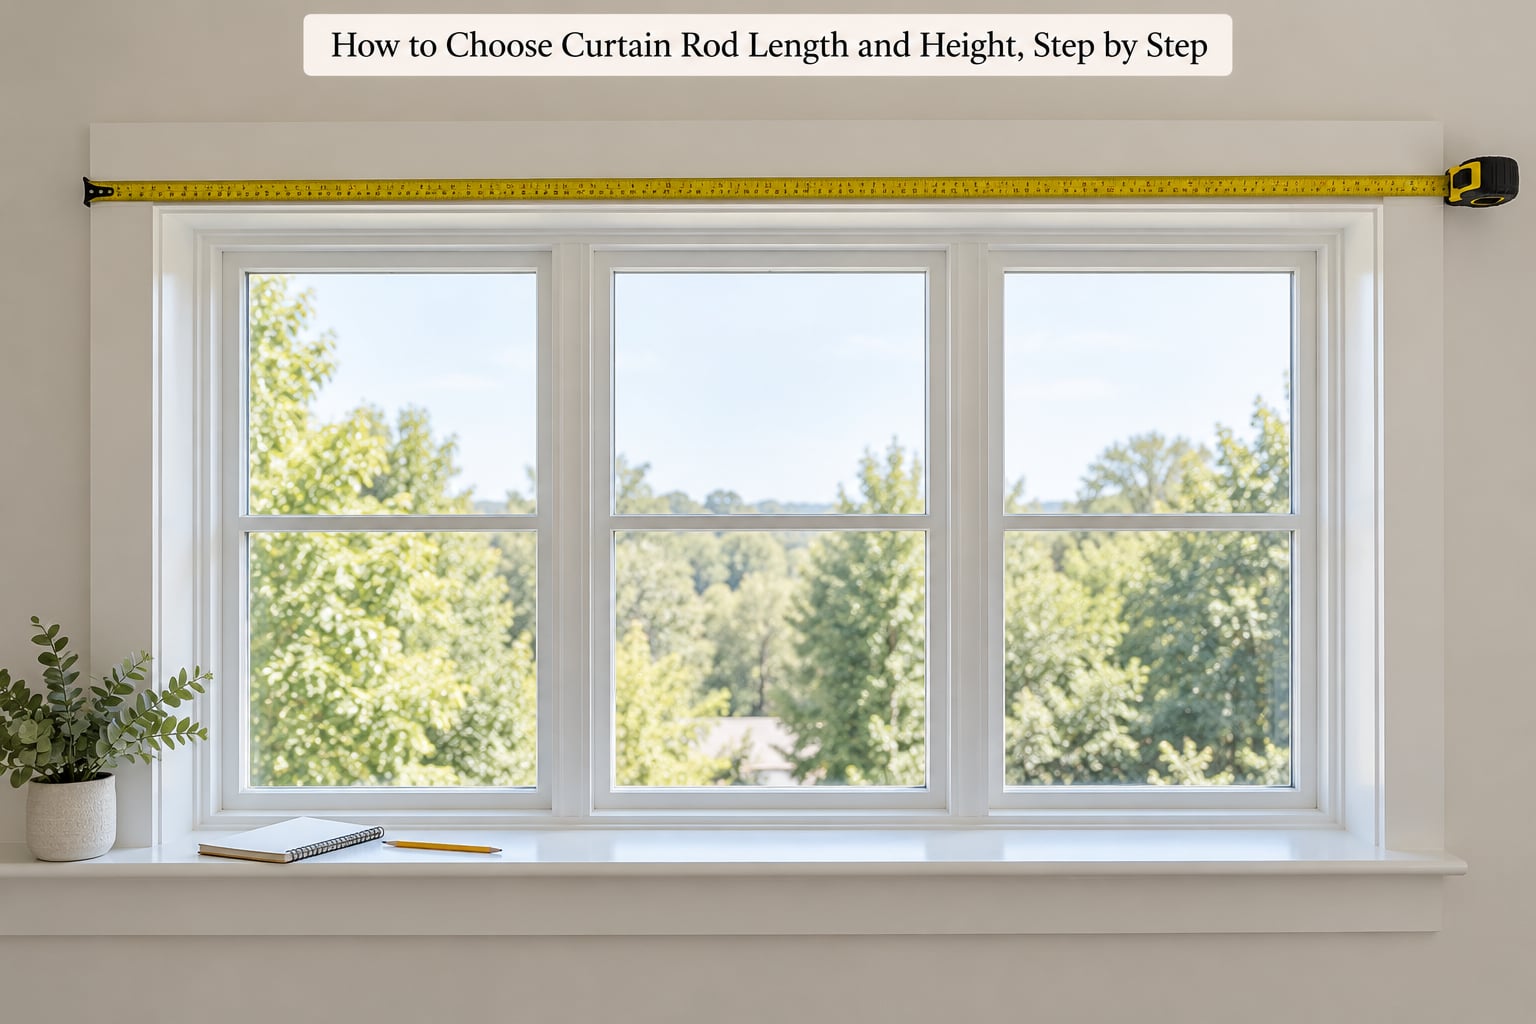
Four steps: measure the area, set the rod length, set the rod height, then confirm the hardware will actually work. The first step is where most mistakes start, because people measure the window when they needed the rod’s span.
Measure the Window or Curtain Area
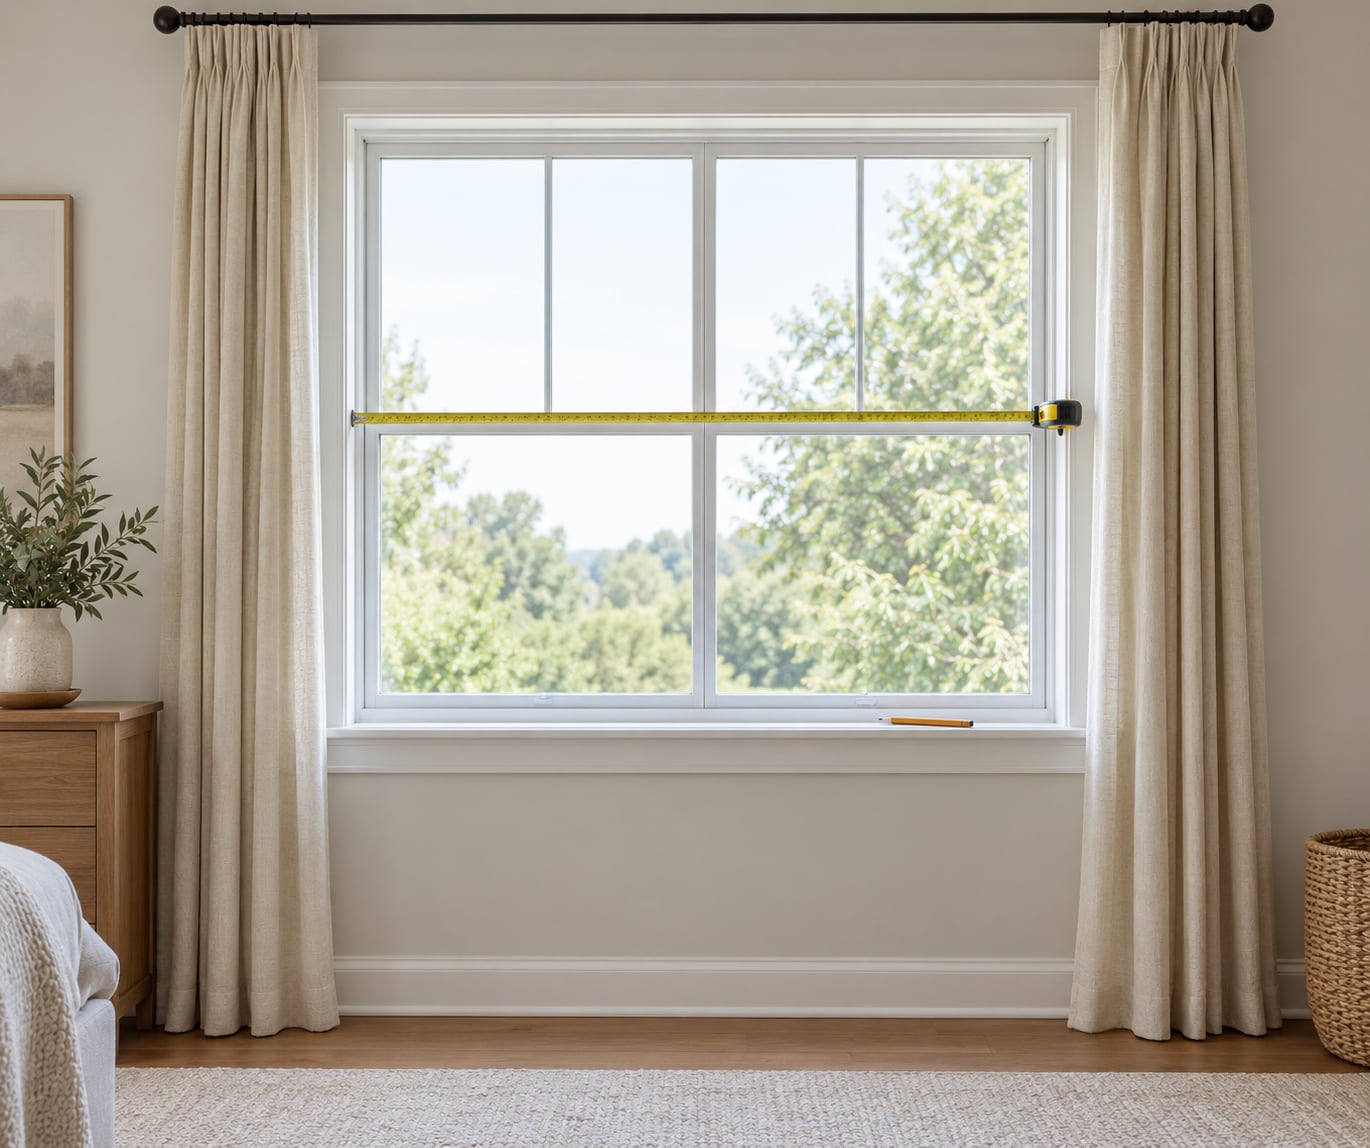
Measure the window frame from outer casing edge to outer casing edge, and write it down. That number is the frame width, and it is the basis for everything else.
Then measure again a few inches wider on each side to find out how much wall you actually have. If there is only 4 inches between the casing and a bookshelf or a tall dresser, you have an outside-mount rod with a hard limit. Know that before you shop, not at the checkout.
Decide how the rod will mount, because it changes what you measure:
- Outside mount means the brackets sit on the wall beside and above the frame. Measure the width of the wall space available and plan for 6 to 12 inches on each side of the casing.
- Inside mount means the rod sits within the window recess, between the casing and the sash. Here you measure the recess itself, and you have far less room to work with, so the panels will look thinner no matter what.
- Ceiling mount means the rod screws into the ceiling above the window, running parallel to it. Measure the ceiling height as well as the ceiling depth from wall to wall.
Record three numbers before you leave that window: frame width, height from the top of the frame to the ceiling, and ceiling height. Also note anything in the way: crown molding, a light fixture, a vent, a cabinet, a bed headboard.
A word on molding. Crown molding eats the space above the window, and a rod installed into it looks like an accident. Measure to the bottom edge of the molding, not to the ceiling, and treat that lower number as your ceiling line.
How to Choose a Curtain Rod Length That Makes Panels Look Full
The direct rule: add 6 to 12 inches to the frame width on each side, and that total is your rod length. If your frame is 48 inches wide, a 60- to 72-inch rod is the range that looks right. Roughly 15 to 30 cm of overhang per side.
Many people use a percentage instead: rod length equals frame width plus about 20 percent. On a 60-inch frame that gives 72 inches, which lands inside the 6-12-inch-per-side range anyway.
Two worked examples:
- 72-inch window. Add 6 to 12 inches per side and you land on a rod between 84 and 96 inches. A 96-inch rod is the common choice because the panels stack back clear of the glass.
- 144-inch picture window. Add 6 to 12 inches per side and you need a rod from 156 to 168 inches. Buy one, and plan for support in the middle.
Why the overhang matters: when two panels open, they stack into a pile roughly one third the width of the window. With no overhang, that pile sits on top of the glass and blocks light. With 8 to 12 inches of overhang per side, the panels park on bare wall and the window reads as its full width.
Panel width is a separate number from rod length, and this is where people go wrong in the other direction. A curtain panel should be two to three times the width of the space it covers. That ratio is called fullness, and it is what turns a flat sheet of fabric into folds.
Worked example: a 48-inch window covered by two panels needs 96 to 144 inches of fabric total, so each panel is 48 to 72 inches wide. Rod length and panel width are linked but not the same thing, and ordering both from the rod measurement is a common source of short panels.
For extra-wide windows, two things change. First, spans beyond roughly 79 inches (200 cm) want a center support bracket so the rod does not sag in the middle. Second, spans beyond about 98 inches (250 cm) usually get built from two sections joined with a connector, because single rods that long are hard to find and awkward to ship.
Corners and bay windows need their own plan. Two windows sharing a corner get one continuous rod that turns the corner, an L-shaped rod, or two rods meeting at a corner post with a finial. A bay window with three angled faces usually takes three separate rods at a shared height, or a single long rod across the center face only if the sightlines allow it.
Choose the Curtain Rod Height for the Mounting Location
The second rule: mount the rod 4 to 6 inches above the top of the window frame, roughly 10 to 15 cm. The exception is a standard 8-foot ceiling, where you mount at the ceiling instead of at a fixed offset.
Here is how height changes by room, working from standard up to unusual:
- Standard 8-foot ceiling. Mount at the ceiling, 6 to 8 inches above the frame. This is the single biggest visual upgrade you can make in a normal-height room.
- Ceiling 9 feet and up. Mount 6 to 12 inches above the frame, or set a rod at the ceiling line plus a foot. People with 9-foot ceilings and 84-inch windows usually end up with 96- to 108-inch panels.
- Vaulted or sloped ceiling. Follow the slope and mount high on the down-slope wall, which keeps the rod from dropping into the walking path and stops the panels from stacking on the incline.
- Low ceiling, under 8 feet. Mount 4 to 6 inches above the frame, no higher. A rod at the ceiling in a low room looks pressed and crowded.
The halfway rule exists for windows that break the pattern: mount the rod about halfway between the top of the frame and the ceiling. This suits tall ceilings with average-height windows, where hanging at the ceiling strands a huge drop of fabric above the glass, and it suits the reverse case, a small window under a very tall wall, where mounting near the ceiling leaves the rod floating alone.
The rule people argue about most is short windows in tall rooms. One answer that satisfies both camps: hang high and buy long panels, then use a tieback or holdback so the extra fabric reads as deliberate. The window gets the height you want, and the fabric is not dragging in a puddle by accident.
Mounting high also changes the panel length, so choose the drop before you order. Four common finishes:
- Kiss. Panels stop just at the floor or 1 inch short. Clean, but shows dust and gets caught underfoot.
- Float. The hem rests about 3/8 to 1/2 inch off the floor. The most forgiving option and the one most people end up with.
- Break puddle. A 1/2 to 1 inch break onto the floor. Softer look, and still cleanable.
- Puddle. 6 to 16 inches of fabric pooled on the floor. Dramatic, and a magnet for pet hair and dust.
Standard panel lengths are 63, 84, 96, 108, and 120 inches. Because a higher rod means a longer drop, moving the rod from 6 inches above the frame to the ceiling on an 8-foot ceiling adds about 8 to 10 inches to the panel you need. Measure after the brackets are marked, not before.
The header style changes that number again, and it catches people out:
- Grommet or eyelet. Add the header height, usually 1 to 2 inches, so the top of the fabric sits above the rod as intended.
- Rod pocket. Measure from the very top of the pocket, not from the rod, because the panel drops several inches below it.
- Tab top. Tabs usually sit at or just above the rod, so measure from the top of the fabric and expect the panels to hang slightly lower than a grommet style.
- Pleated heading. Set hooks or clips 4 to 6 inches down from the top edge, since the pleat eats that length.
Check Clearance, Proportion, and Hardware
Before drilling, stand at each end of the proposed rod span and swing a panel open and closed. If it catches on the casing, a finial, a light fixture, or the edge of a cabinet, the rod is in the wrong place.
Bracket projection decides how much clearance you get. Shallow brackets around 4 cm suit a flush wall. Medium projection near 8 cm is the standard wall-mount choice. Deep brackets around 12 cm are what you want over a radiator, under a deep reveal, or with grommet panels that have to clear a fat rod as they slide.
Rod diameter is a function of fabric weight. A slim rod around 5/8 inch handles sheers and lightweight voile. Once you are hanging lined blackout or heavy drape, move to about 1 inch, and heavier material needs a rod with a reinforced core. Thin rods bow under heavy panels, and that bow is very obvious once the curtains are closed.
Check what is behind the wall too. A standard bracket needs a screw into a stud or a suitable anchor for hollow walls. The anchor has to be rated for the load, and on plaster or older lath walls that is a job for someone who knows what is behind the surface.
Renters have workable options. No-drill brackets and tension-mounted rods can hold light panels, and they are a good fit for a room you plan to leave. They will not hold heavy drapes on a wide span, so keep the fabric light if you go that route.
Two more checks before you commit. Rod height should stay clear of heaters, vents, and ceiling fans, and it should not line up with an architectural feature like a door casing or a window head, because a rod that echoes an existing line splits the wall awkwardly.
Finally, read the manufacturer’s instructions for the rod you picked. Bracket spacing requirements, ceiling-mount screw spacing, and load ratings vary by design, and the instructions are specific to your rod.
Common Mistakes and How to Fix Them
Most disappointing curtain jobs come down to six fixable errors.
Measuring the window instead of the rod span. If you only record frame width, you cannot choose a rod. Measure the frame, then add 6 to 12 inches per side before you look at any rod.
Hanging the rod too low. This is the most common complaint in homeowner forums, and it is also the hardest to undo later, because the panels look short. Move the mark up to 4 to 6 inches above the frame, or to the ceiling on an 8-foot ceiling, and lengthen the panels to match.
Ignoring stack back. Panels bunched on top of the glass block daylight. Extend the rod so each stack lands on the wall, roughly 8 to 12 inches past the frame on that side.
Skipping fullness. Panels sized equal to the window look like flat sheets. Buy fabric two to three times the covered width so it gathers.
Forgetting that header style changes length. A rod-pocket panel hung to the same finished length as a grommet panel ends up short. Measure each header type from its own top edge.
Not checking the hardware. A 5/8-inch rod under heavy drapes bows, and a shallow bracket over a radiator leaves no clearance. Match the diameter to the fabric and the projection to the obstruction.
Two situations deserve their own fix. A bulkhead or soffit above the window means the ceiling is not an option, so mount 4 to 6 inches above the frame and accept a shorter drop. Windows at different heights in the same room should share one rod height, set to the highest window plus 4 to 6 inches, so the panels line up.
Once the measurements are right, match the hardware to the room. Rod finish, finial shape, and bracket style read as one design, so a matte black rod with round finials and square brackets looks assembled from three catalogs. Keep the finish consistent, keep the finials in proportion to the rod diameter, and repeat a shape you already have in the room, such as matching the rod bracket to a cabinet pull.
Frequently Asked Questions
How wide should a curtain rod be for a window?
Most window treatments look best with a rod 6 to 12 inches wider than the frame on each side, or about 20 percent wider overall. A 48-inch frame usually takes a 60- to 72-inch rod. The overhang lets the panels stack back onto bare wall when open, so they stop blocking the glass. Standard rod sizes are 48, 60, 72, 84, 96, 120 and 144 inches.
How high should a curtain rod be above a window?
Mount the rod 4 to 6 inches above the top of the window frame, which is roughly 10 to 15 cm. On a standard 8-foot ceiling, mount at the ceiling instead of using a fixed offset. In rooms with 9-foot ceilings or higher, 6 to 12 inches above the frame keeps the panels from looking stranded. Measure to the bottom of any crown molding, not to the ceiling.
What is the best curtain rod height for a low ceiling?
On a ceiling under 8 feet, stay with the 4- to 6-inch gap above the frame rather than mounting at the ceiling. A ceiling-mounted rod in a low room presses the whole wall downward and makes the space feel tighter. Keep the drop simple too: a float or break-puddle finish at the floor reads cleaner in a low room than a deep puddle.
How do I choose a rod for a narrow or unusual window?
Measure the wall space you have, not just the window. In a narrow gap between a casing and a piece of furniture, an inside mount may be your only option, and panels there will look thin, so buy two to three times the covered width in fabric. For bulkheads above the window, mount 4 to 6 inches above the frame and shorten the panels to match.
How much wider should curtain panels be than the window?
Panels should be two to three times the width of the space they cover, and that ratio is what creates folds. A 48-inch window covered by two panels needs 96 to 144 inches of fabric in total. Panel width and rod length are separate numbers, so work out both before ordering. Rod length covers the window plus overhang, while panel width creates the fullness.
Do curtain rods have to be centered over the window?
Centering is the usual rule because a rod centered on the window reads balanced, but it is not a requirement. When two windows sit close together, one continuous rod across both often looks better than two separate ones. For windows at different heights in the same room, use one shared rod height based on the tallest window so the panels line up.
Start at the window today. Measure the frame width, measure the space from frame top to the ceiling or the bottom of the molding, and add 6 to 12 inches per side to get your rod length. Those three numbers take about five minutes and they settle every other decision.
This guide was written in 2026 and reflects the measurements homeowners on decorating and home improvement forums actually use, including the awkward cases with bulkheads and mixed window heights that most sizing charts skip.