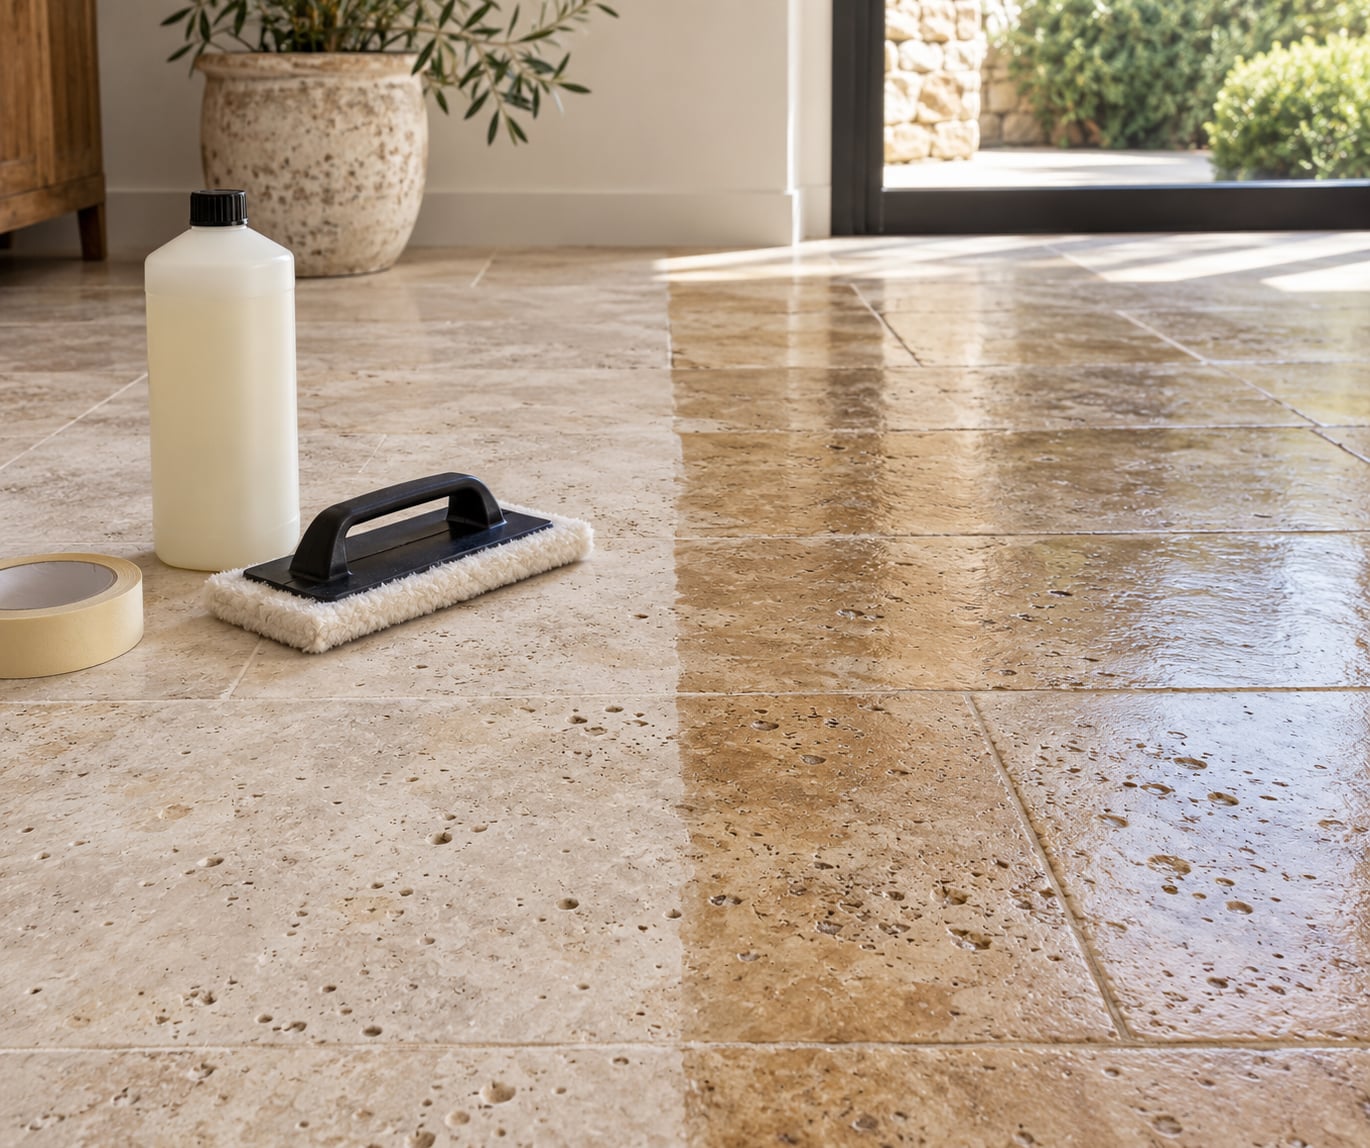
Sealing a natural stone floor means applying a liquid sealer that soaks into the pores or forms a thin film on top, so water, oil and wine stop soaking into the tile and staining it for good. The whole job is seven steps: identify your stone, pick a sealer that suits its porosity, test it in a hidden spot, clean the floor, let it dry, roll on thin even coats, then leave it alone long enough to cure. For a 300 square foot kitchen floor, budget most of a weekend, and expect around 24 hours before anyone walks on it.
The reason it matters is simple. Marble, travertine, limestone, slate and sandstone are all porous stone, and unsealed pores drink up anything you spill. Seal too soon and the sealer traps moisture; seal the wrong type and you get a glossy, slippery film that peels in a year. Both mistakes are easy to avoid once you know what to look for.
Table of Contents
- What You Need
- Step-by-Step: How to Seal Natural Stone Floors
- 1. Identify the Stone and Choose a Compatible Sealer
- 2. Test the Sealer in a Hidden Area
- 3. Clean the Floor Thoroughly
- 4. Repair Cracks and Let the Stone Dry Completely
- 5. Mask Off Walls, Baseboards, and Fixtures
- 6. Apply Thin, Even Coats
- 7. Allow the Sealer to Cure and Inspect the Floor
- Common Mistakes
- Frequently Asked Questions
- Can I seal marble or travertine floors?
- What type of sealer is best for natural stone floors?
- How many coats of stone sealer should I apply?
- How long does a sealed natural stone floor take to dry?
- How often should natural stone floors be resealed?
- Should I hire a professional to seal a natural stone floor?
- Conclusion
What You Need
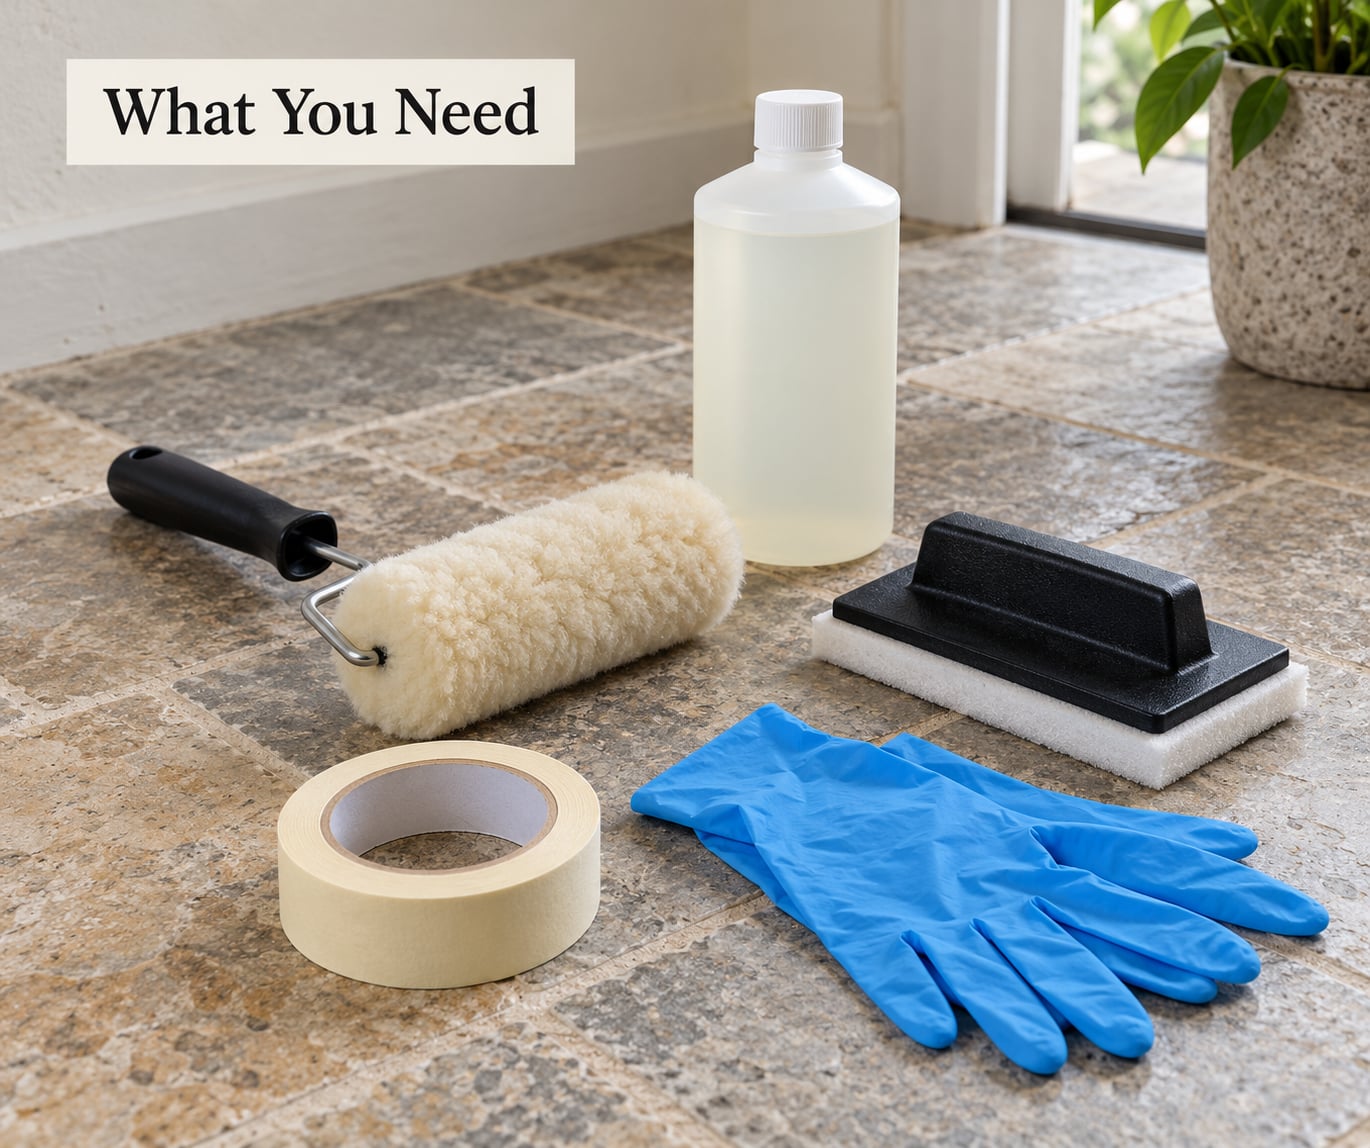
Gather everything before you open the sealer. Rushing the setup is how sealer ends up drying in the pan before you get to the far corner of the room.
- Stone-compatible penetrating sealer. Look for one labelled for natural stone, and match it to the porosity of your floor rather than to the stone name. Pre-mixed is easier; concentrate costs less per square foot if you are covering a large area.
- Applicators. A lamb’s wool applicator or a microfiber roller lays it down evenly on honed stone. A foam brush or small nylon brush handles grout lines and edges. Have a second identical applicator ready, because a used one stops spreading evenly halfway through.
- pH-neutral stone cleaner or an acid substitute cleaner, plus a stiff nylon brush and two mop buckets. One bucket for clean solution, one for rinse water.
- Vacuum and dust mop. Not optional. Dust left under a penetrating sealer becomes permanently trapped grit that dulls the finish.
- Masking tape and plastic sheeting for baseboards, cabinets, thresholds and fixtures, plus painter’s plastic or a drop cloth to keep drips off anything you cannot tape.
- Stripper and scraping gear if the floor carries an old wax or acrylic finish. Sealers do not bond reliably over those films, so a floor squeegee or wet vac earns its place here.
- Safety gear: nitrile gloves and a respirator cartridge rated for organic vapours if you are using a solvent-based sealer. Open every window and run fans, even with a water-based product.
- A small cup and a timer so you can keep coats consistent instead of guessing at them.
Step-by-Step: How to Seal Natural Stone Floors
1. Identify the Stone and Choose a Compatible Sealer
Start by working out what you actually have, because the stone decides both the sealer type and how many coats it needs. If you have leftover tile or a sample from the original purchase, that beats guessing from colour alone. Dark grey with fine speckles is usually granite; veined and glossy is usually marble; honey-coloured with visible pits is travertine.
Penetrating sealers, also called impregnating sealers, sink into the pore structure and harden inside the stone, leaving a matte, natural look. Topical sealers sit on the surface as a film and add sheen, but that film wears off and can turn a floor slippery when wet.
| Sealer type | Look it leaves | Slip resistance | Best for |
|---|---|---|---|
| Penetrating (impregnating) | Natural matte, no film | Unchanged | Most natural stone floors, wet areas, kitchens |
| Topical (film-forming) | Added gloss or polish | Can reduce grip when wet | Honed limestone or slate where extra gloss is wanted |
| Stone enhancer | Deeper, richer colour | Unchanged | Worn stone that has lost its depth, not for sealing alone |
Most experienced installers steer new work toward penetrating sealers and away from shiny film-forming coatings, because the film tends to peel and has to be stripped and redone. That matches how the stone ages: a penetrating sealer leaves the floor looking like stone, and it stays that way longer.
Porosity varies more within one stone than between stones, so use this matrix as a starting point rather than a verdict.
| Stone | Porosity | Needs sealing | Typical reseal interval |
|---|---|---|---|
| Marble (honed) | Low to medium | Yes, to resist acid etching and stains | 1 to 3 years |
| Travertine | Medium to high, pitted | Strongly recommended | 1 to 2 years |
| Limestone | Medium | Yes | 1 to 3 years |
| Slate | Medium to high, cleft surface | Yes, use a high-porosity sealer | 1 to 2 years |
| Sandstone | High | Strongly recommended, often 2 coats | Every 1 to 2 years |
| Granite | Low | Optional, mainly for stain protection | 3 to 5 years |
| Basalt | Low | Optional | 3 to 5 years |
Polished marble and granite have very little open porosity, so sealing them mostly buys stain protection rather than sealing out moisture. Water-based sealers are low odour and easy to clean up; solvent-based sealers penetrate faster and deeper but need real ventilation and respirator use. Most DIY jobs should use the water-based option.
2. Test the Sealer in a Hidden Area
Before a single drop goes on the open floor, find a spot nobody sees. Behind a door, under a baseboard, behind the toilet or in a closet corner will do. Test both the sealer and the stone.
First, the water test for porosity. Pour a small amount of plain water on the stone and let it sit for ten minutes. If it beads on the surface, the stone is well sealed already or very dense. If it darkens the stone and soaks in, the floor needs sealing. The darker patch also tells you exactly how much the sealer will change the colour, which answers the biggest worry people have about sealing making stone look wet.
Second, apply the sealer to the hidden patch with the same applicator you will use on the floor. Wait the full drying time printed on the label, then compare the treated area with the untreated floor next to it. Check three things: does the colour darken evenly, does the sheen change, and does the finish haze or stay clear? Give it 24 hours and see whether it still looks matte.
On a honed travertine test patch, a penetrating sealer usually darkens the stone slightly and stays matte after a day. That is the natural look most people are after, and it is the patch that tells you whether your particular product behaves the same way.
3. Clean the Floor Thoroughly
Sealer locks in whatever is on the surface, including fine dust, old sealer residue, wax and cleaners. Vacuum first, then mop with a pH-neutral stone cleaner diluted as directed, keeping the floor wet for two to three minutes before rinsing with a clean mop. Never let it dry on the surface.
Stay away from vinegar, lemon, acidic substitutes you do not know, bleach, ammonia and abrasive pads such as green Scotch-Brite. On marble and limestone these etch the surface, and an etched floor holds sealer unevenly and shows the marks forever. Work in sections of roughly 200 square feet so you are not chasing a floor that has already dried.
On grout lines, scrub the same solution in with a nylon brush. If the grout has gone dark or brittle, it will not hold a sealer properly and needs replacing before you seal the tile.
4. Repair Cracks and Let the Stone Dry Completely
Fill chips, hairline cracks and pinholes with a stone-coloured repair compound or epoxy putty matched to the floor, then let it harden and sand flush. Any gap left open will drink sealer and show up later as a lighter mark.
Now check dryness. Press the back of your hand firmly onto the floor for a full minute. If it feels cool or damp, there is still moisture in the stone and you need to wait. This is the step most people rush, and it is the number one cause of sealer that never cures properly.
Water-based sealers usually need a dry stone plus 2 to 4 hours of air drying. If the floor was wet-mopped, an outdoor patio, or a basement, give it 24 to 48 hours. Check the back of a spare tile left behind during installation with the same hand test.
5. Mask Off Walls, Baseboards, and Fixtures
Tape the baseboards, lay plastic sheeting over cabinets, door frames and thresholds, and cover anything you cannot tape. Keep the tape a fraction off the tile so it does not lift the stone edge when you pull it.
Ventilate properly. Open windows on two sides, run a fan to move air across the floor and another to exhaust it, and keep pets, food and foot traffic out of the room until the sealer has fully dried.
Masking tape residue on stone is a real risk, so pull the tape while the sealer is still slightly damp rather than hours later, and if residue does stick, lift it gently with a plastic scraper and a little warm water. Do not dig at it with metal.
6. Apply Thin, Even Coats
Pour sealer into a clean bucket, never back into the original container. A thin coat that dries properly beats a thick coat that stays tacky, because trapped sealer at the surface never fully cures and peels in patches later.
Load your lamb’s wool applicator or microfiber roller rather than dripping it. Work in even overlapping strokes from the middle of the room outward toward the baseboards, so you are not reaching over a wet edge to finish the perimeter. Start in the middle and work your way out, as most installers do, and keep the applicator wet but not dripping.
Maintain a wet edge. Apply one section before the previous one flashes off, otherwise you get lap marks that show up as hazy streaks once the floor dries. Coverage is roughly 150 to 250 square feet per quart for a first coat on porous stone, less on dense stone such as polished granite.
Let each coat dry fully before the next. Water-based products usually flash in 30 to 60 minutes and can take 2 to 4 hours before the second coat; high-porosity stone such as travertine or sandstone drinks the first coat and needs a third pass to get even coverage. Follow the label rather than the clock, because humidity on a bathroom floor or a warm afternoon changes the timing.
7. Allow the Sealer to Cure and Inspect the Floor
Drying is not curing. Dry means you can touch the surface; cured means the sealer has hardened all the way through, and only then does it resist stains properly. Most penetrating sealers need 24 hours before foot traffic and 48 to 72 hours before you put furniture, rugs or pets back.
No shoes, no work boots for a few days if you can help it. Grit dragged across a freshly cured floor is the fastest way to scratch it, and moving furniture back too soon leaves permanent scuffs in the sealer.
Once cured, do a water test again. Pour water on a few spots and watch whether it beads up. Beading means the sealer is doing its job. If it soaks in and leaves a dark mark, apply another coat after stripping the uneven one, rather than stacking a second coat on top of a blotchy film.
Give the floor a day or two before putting an area rug back. A rug over a floor that has not fully ventilated can trap moisture and leave a clean outline when you lift it.
Common Mistakes
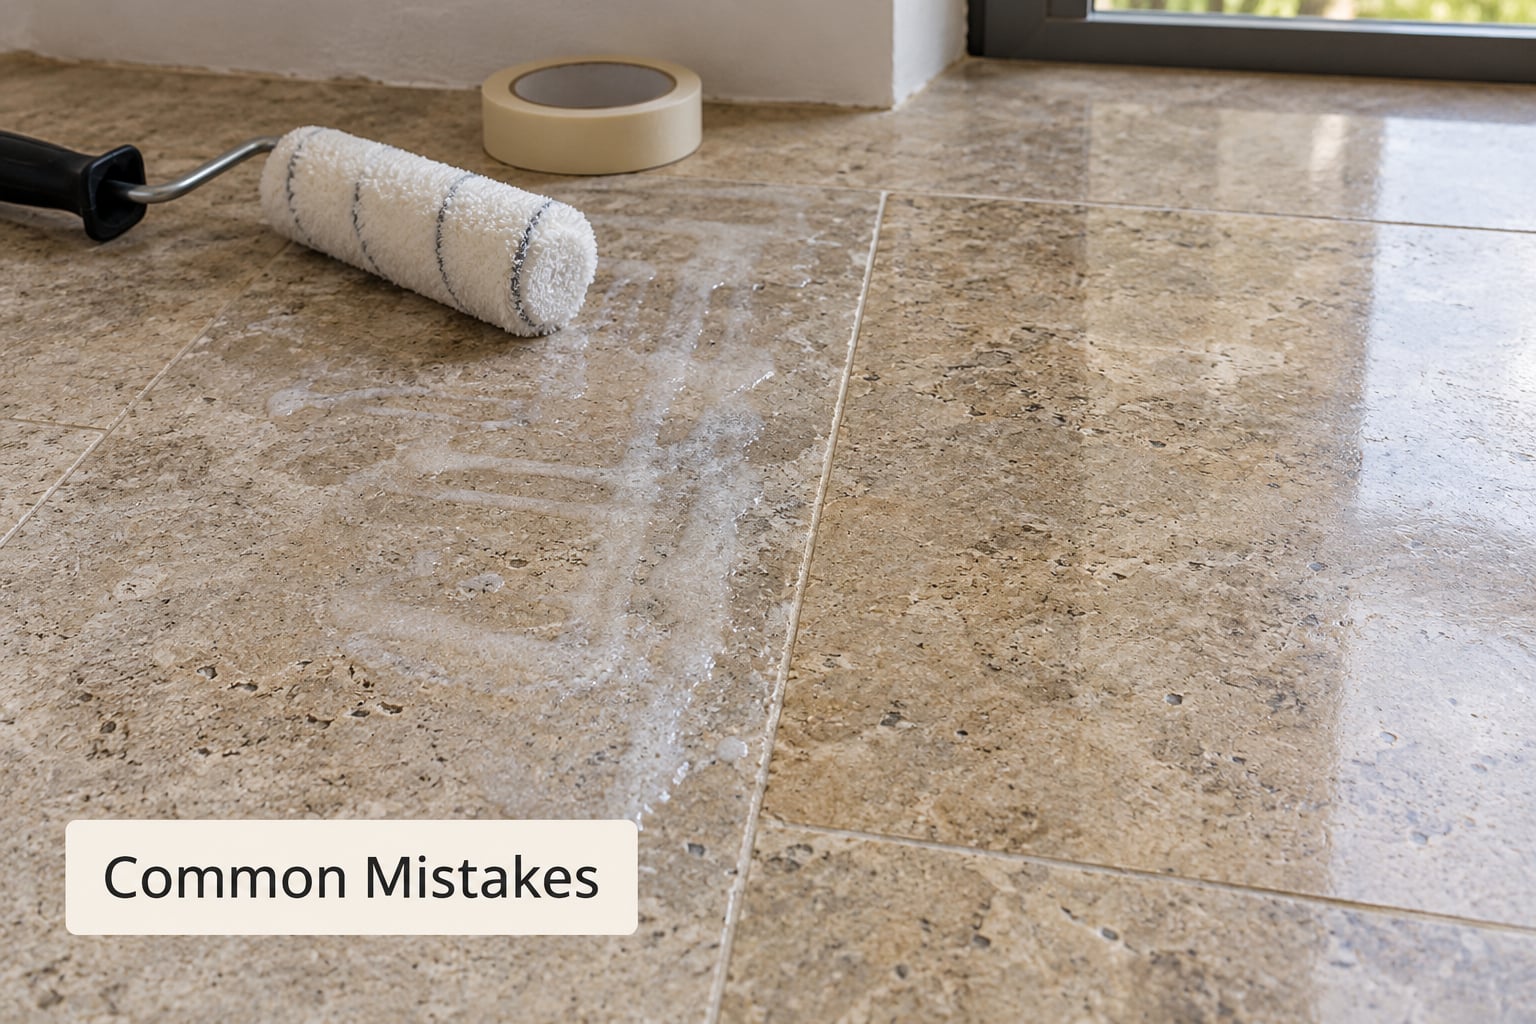
Most bad sealer jobs come down to one of six things, and all of them are fixable before you start rather than after.
- Sealing over old sealer. A new coat over a dirty, waxy or peeling film bonds to the film, not the stone, and comes off in sheets. Fix: strip the old finish with a stone-specific stripper and scrub residue off fully before anything else.
- Sealing a damp floor. Trapped moisture stops the sealer curing, leaving a cloudy or sticky floor that never hardens. Fix: run the palm test, then wait a full extra day.
- Applying too much. Puddles and heavy coats dry unevenly and leave blotches. Fix: load the applicator rather than dripping it, and keep moving.
- Skipping the test patch. A sealer that darkens the stone more than you like cannot be undone. Fix: always test behind a door and compare after 24 hours.
- Using an acidic or generic floor cleaner first. Vinegar, bleach and all-purpose citrus cleaners etch marble and limestone, and an etched surface holds sealer patchily. Fix: pH-neutral stone cleaner only.
- Walking on it too early. Foot traffic and furniture before full cure leave permanent scuffs. Fix: 24 hours minimum for feet, 48 to 72 hours for furniture.
If the floor has already gone blotchy or hazy, do not panic and do not add another coat. Most haze from water-based sealer buffs off with a dry white pad after full cure. True blotchiness usually means the first coat was too heavy or the floor had residue in it, and the fix is to strip back to bare stone and start again. Peeling film is always the same root cause, an unclean or uneven surface.
For upkeep, sweep or vacuum weekly and mop with a pH-neutral cleaner, never anything acidic. Wipe spills within a few minutes instead of scrubbing them later. Re-test with the water bead test once a year, and reseal when water stops beading, usually every one to three years depending on the stone and how much traffic the floor sees.
Frequently Asked Questions
Can I seal marble or travertine floors?
Yes. Travertine needs sealing more than almost any other stone because its pits absorb water quickly, usually with two coats of a penetrating sealer. Marble is less porous, so one coat is often enough for honed floors, and sealing helps it resist staining and etching rather than soaking. Never use an acidic cleaner on either stone before or after sealing.
What type of sealer is best for natural stone floors?
A penetrating, or impregnating, stone sealer is the right default. It soaks into the pores, leaves the stone looking matte and natural, and does not reduce grip on a wet floor. Topical sealers add gloss but form a surface film that wears faster and can peel. Always match the sealer to the stone’s porosity rather than to the stone name alone.
How many coats of stone sealer should I apply?
One coat is enough on dense stone such as granite or polished marble. Porous stone, meaning travertine, limestone and slate, usually needs two, and pitted travertine or sandstone can take three. Always let each coat dry fully before the next, and add a coat if water still soaks in during the final water bead test rather than committing to a fixed number up front.
How long does a sealed natural stone floor take to dry?
Water-based penetrating sealers flash off in 30 to 60 minutes and are touch dry in 2 to 4 hours, but full cure takes 24 hours before foot traffic and 48 to 72 hours before furniture or rugs go back. Solvent-based sealers dry faster to the touch but still need the same cure window. Humid rooms and thick coats add hours.
How often should natural stone floors be resealed?
Every one to three years for travertine, limestone, marble and slate, and every three to five years for dense granite and basalt, depending on traffic and exposure to water. Test rather than guess: pour water on the floor and see if it beads. If it soaks in and leaves a dark mark, it is time to reseal. Clean floors last longer between coats.
Should I hire a professional to seal a natural stone floor?
A professional is worth it for polished marble with etching, large floors where a blotchy finish would be obvious, an outdoor patio, or a floor carrying a heavy wax or acrylic finish that has to be stripped first. A straightforward honed travertine or slate floor in a normal room is a realistic weekend DIY, as long as you test first and follow the product label.
Conclusion
Sealing natural stone floors comes down to three things done properly: work out what the stone is, test the sealer where nobody will see the result, and let the floor dry properly before a thin coat goes on. Everything else, the rolling technique, the number of coats and the cure wait, follows from those three.
If you remember one rule, make it this: thin coats, full cure time, and never an acidic cleaner. A penetrating sealer matched to your stone’s porosity, applied to a clean and bone-dry floor, will protect it for years without changing the way the stone looks.