Installing a storm door takes one to three hours for most homeowners and needs only basic carpentry tools: a power drill, tape measure, level, screwdriver and a hacksaw. You measure the rough opening, cut the frame to fit your sill angle, set the door, shim and plumb it, then hang the hardware and seal the gaps.
The hard part is not the door itself. It is the opening. Most failed storm door installs trace back to a measurement taken in one spot instead of three, or a frame that got screwed down before anyone checked it for plumb. Get those two things right and the rest is repetitive.
Homeowners posting install questions on Reddit say the same thing over and over: preparation is where people get stuck, not hardware. Swapping an existing storm door for a new one is usually easier than a first-time install because the opening is already sized and shimmed. This guide covers both cases, plus the awkward openings — narrow brickmould, shallow jambs, out-of-square frames — that trip people up on older homes.
Table of Contents
- What You Need
- Step-by-Step: How to Install a Storm Door
- 1. Measure the Opening and Check the Condition of the Frame
- 2. Protect the Opening and Remove the Existing Door
- 3. Install the Door Frame and Seal Gaps
- 4. Hang the Storm Door and Attach the Hardware
- 5. Adjust the Door and Test the Seal
- 6. Finish the Exterior Trim and Clean Up
- Common Mistakes
- Frequently Asked Questions
- Is it easy to install a storm door yourself?
- Can one person install a storm door?
- What size storm door do I need?
- How do I remove an old storm door?
- How do I stop drafts and light leaks around a new storm door?
- When should I hire a pro instead of doing it myself?
- Conclusion
What You Need
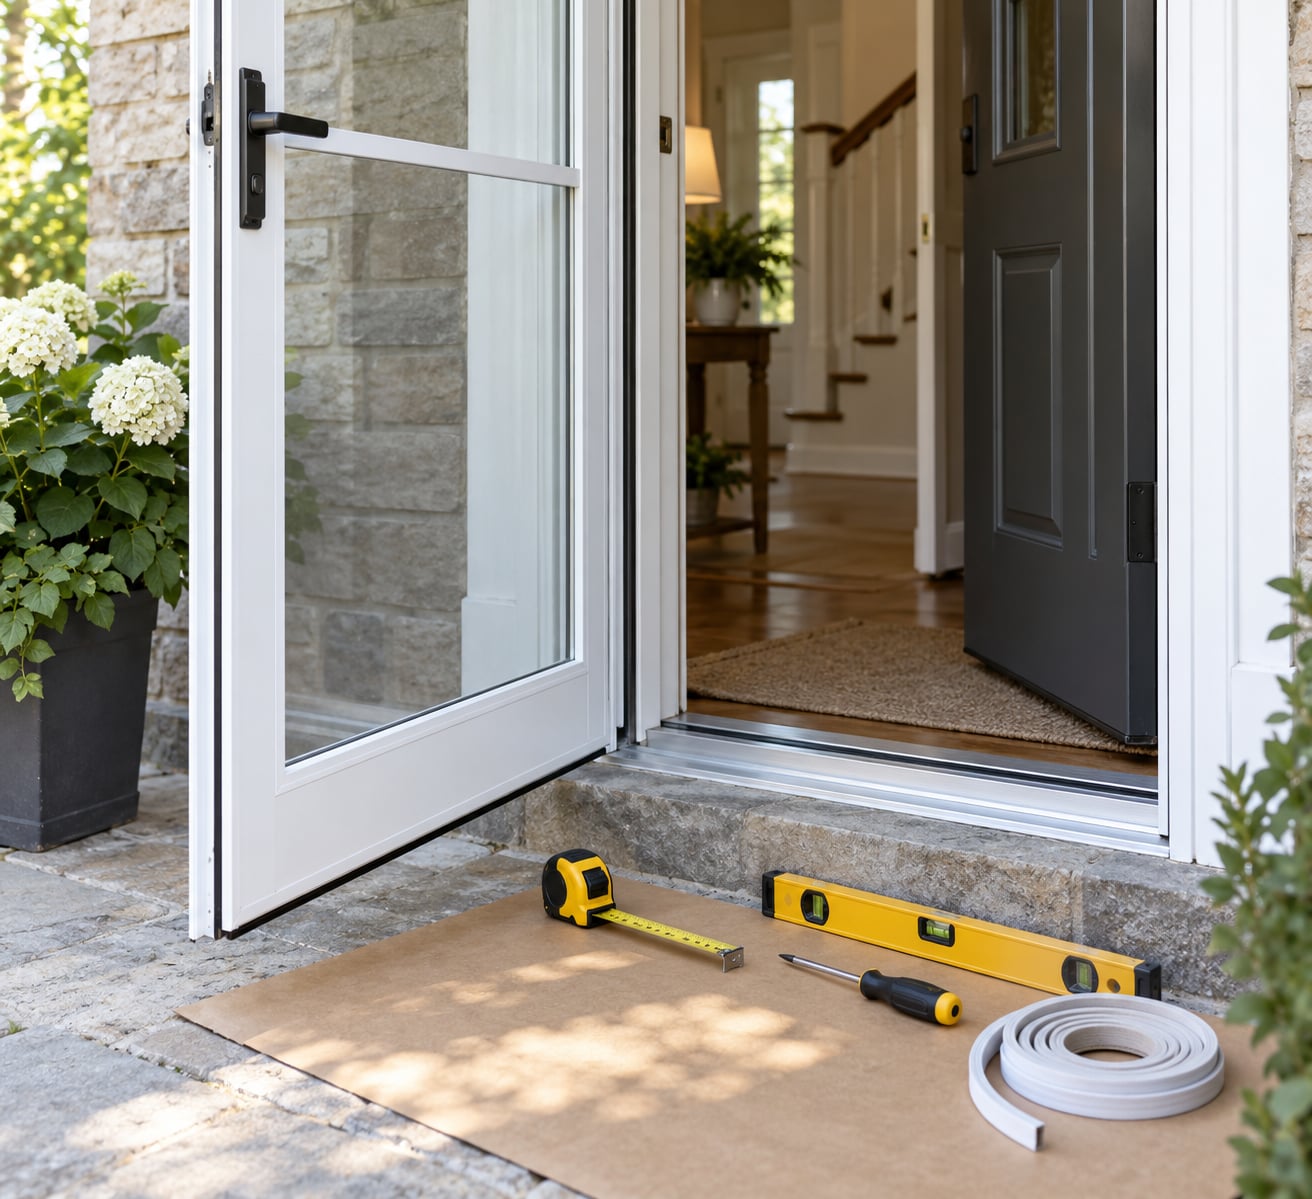
Gather everything before you touch the door. A missing shim pack halfway through an install is a trip to the hardware store, and the opening is open to the weather while you are gone.
- Power drill with a bit that matches your screws. Most storm doors ship with #8 or #10 screws.
- Tape measure — a 25-foot tape handles wide openings and is easier to read than a short one.
- Level — a 6-foot or 24-inch level. A short one is easier to control in a doorway.
- Hacksaw with a fresh blade, or a miter saw if you have one. The sill angle gets transferred and cut on site.
- Sliding T-bevel square — this is the tool most people do not know they need. It locks to the angle of your existing sill and transfers it to the hinge-side frame.
- Shims — cedar or vinyl shims in a few lengths. Buy more than you think you need.
- Weatherstripping or sealant — exterior-grade silicone or polyurethane caulk, plus a sill or sweep seal.
- 4-inch filler strips — for thin jambs and casings. See the section on padding below.
- Safety gear — safety glasses, work gloves, and a dust mask if you are removing an old door.
- Cardboard or a drop cloth to protect the interior floor and the main door behind it.
- Utility knife and pry bar for removing old trim, closer arms and shims.
- The manufacturer’s printed instructions, which ship in the box. Cross-check every step against them; the general sequence below follows most manuals.
Reading the manual first takes five minutes and saves an afternoon. Manufacturer guides warn repeatedly not to overtighten screws, and that warning exists for a reason — aluminum frames strip easily and a stripped hole means new hardware.
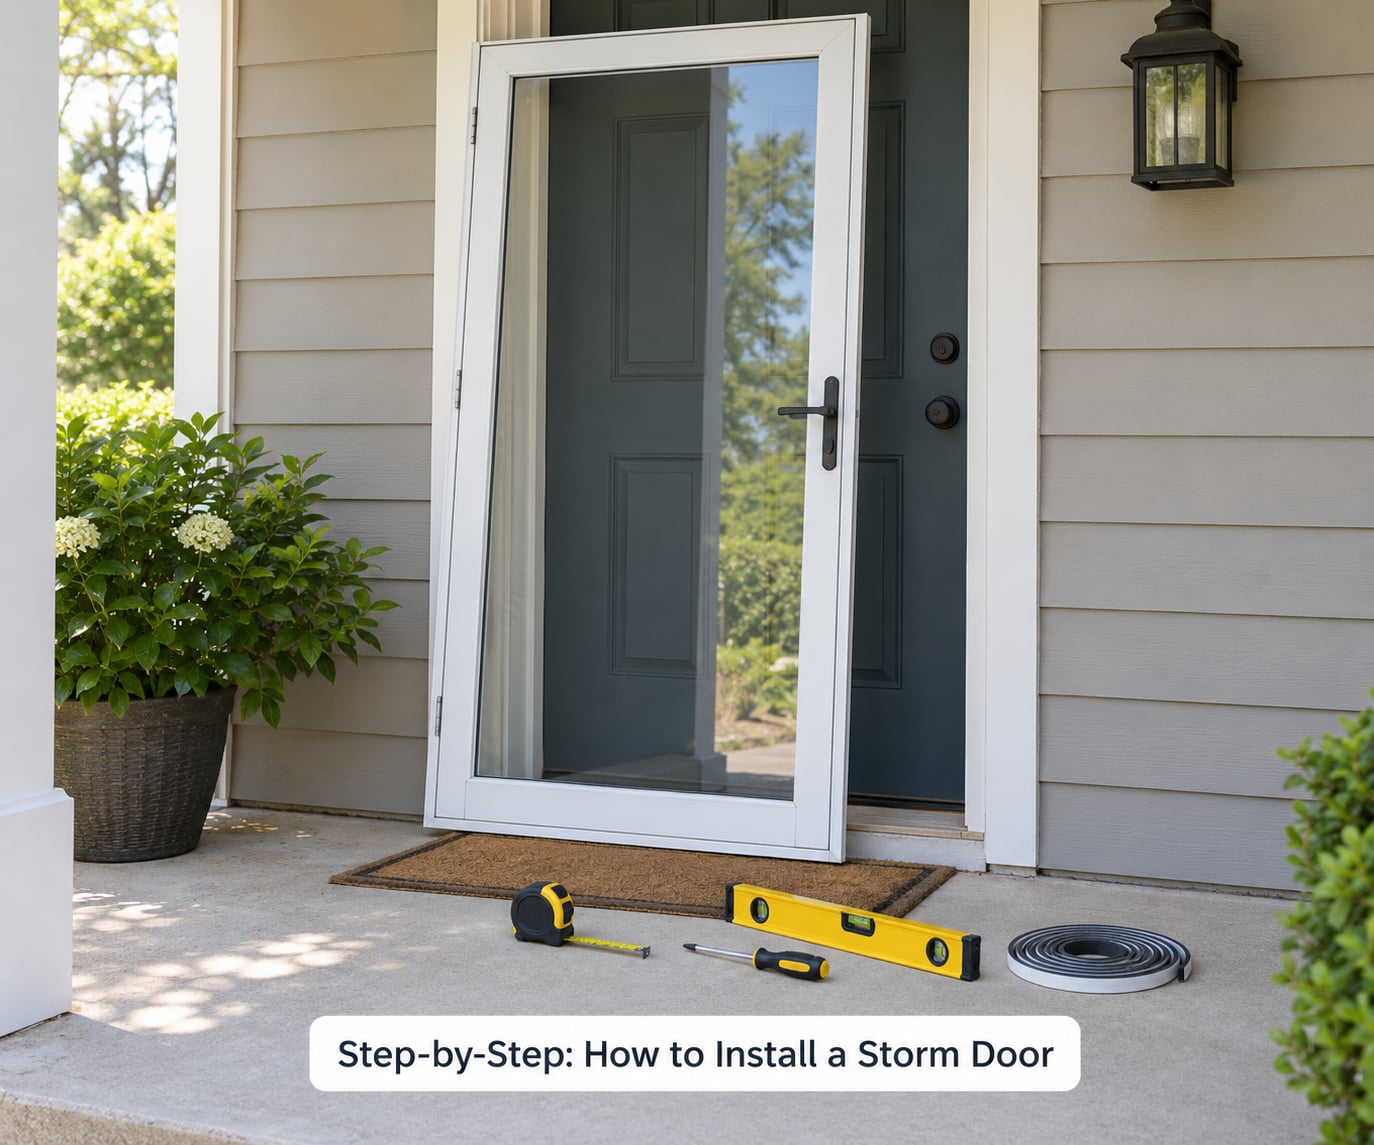
Step-by-Step: How to Install a Storm Door
1. Measure the Opening and Check the Condition of the Frame
Measure the rough opening at the top, the middle and the bottom. The shortest of the three measurements is your real width, because that is the number the door has to fit through.
Measure the height from the finished floor or deck to the top of the opening on both sides, and take the smaller one. Then check squareness: measure from the top corner on the hinge side to the opposite bottom corner, then swap corners and compare. If the two diagonal measurements differ by more than a quarter inch, the frame is out of square and you will need to pack that corner with shims as you build the frame.
Also measure the brickmould — the flat trim strip around the opening — and the jamb depth. Modern storm door frames need roughly 2-1/2 inches of jamb thickness and 1 inch of casing clearance for the handle to swing clear. On older homes with 2 to 2-1/4 inch door thicknesses, you will likely need 4-inch filler strips.
Before anything else, inspect the frame. Press firmly into the jamb at several points — soft wood means rot. Look for water stains on the sill and check that the sill angles slightly outward, not inward. Rotten jambs get replaced first, and a new storm door bolted to a rotted frame just traps the moisture.
2. Protect the Opening and Remove the Existing Door
Cover the interior floor and the main door behind the opening. A storm door swinging outward takes a full swing’s worth of clearance — check for obstructions, low eaves and porch lights.
Removing an existing storm door runs in reverse order of installation. Close and latch the door, then remove the closer arm from the jamb and the closer body from the door. Take the screws out of the hinge-side and latch-side frame pieces, lift the door off its hinges by tapping the hinge pins out from the bottom with a punch and a hammer.
Then remove the sill and side casing, and pull the head casing last. Pry gently at the nail heads rather than levering against the face of the trim. Bag and bin the debris as you go so you are not carrying fasteners across your deck at the end.
If you are installing into a bare opening with no existing storm door, skip straight to step 3.
3. Install the Door Frame and Seal Gaps
Most entry sills slope slightly to the outdoors to shed water. Set your sliding T-bevel square against the existing sill angle, lock the slider, then transfer that angle to the hinge-side frame piece and cut it with the hacksaw. Skip this and the frame sits flat while the sill slopes through it, which is how water gets behind the door.
Set the sill piece in the bottom of the opening first, then stand the hinge-side and latch-side pieces on top of it. Push the assembly into the opening until the sill sits flush with the top of the existing sill.
Shim behind the frame at the top corners and at the lock strike side. Tighten the screws gradually, a few turns at a time, checking plumb and level as you go. Hand-tight is enough for most screws; drive them with the drill until snug and stop. Overtightening crushes the shims and bows the frame.
Run a bead of exterior sealant along the top and both sides where the mounting flange meets the jamb, and add a cap of sealant over each screw head. Sealant is what stops wind-driven rain from tracking into the wall behind the frame.
4. Hang the Storm Door and Attach the Hardware
Set the door into the frame with the hinge side against the jamb that carries the hinges. Sit it on the shims you placed earlier. Screw the hinge-side frame piece to the door through the holes provided with the screws that came in the kit.
Attach the latch-side frame piece the same way, then fit the top frame piece across and fasten it to both side pieces. The top piece squares the whole assembly — if it will not sit flush, something below is out of alignment, and forcing it will bind the door later.
Install the handle and any deadbolt or multi-point lock through the door per the manual. Fit the closer on the door and connect its arm to the jamb, then add the safety chain if your model has one.
A word on hinge placement. Hinges on new doors are not standardized between manufacturers, which is why installing a used storm door is harder than a new one — the screw holes do not always line up with your jamb. With a new door, follow the manual’s hole positions rather than guessing.
5. Adjust the Door and Test the Seal
Close the door and look down the hinge side. If the gap widens toward the top, add a shim behind the top hinge. Keep adjusting in small amounts and re-check the level each time.
Latch the door. If the latch does not engage without lifting the door, the strike plate is too high or too low — move it a sixteenth of an inch at a time, or deepen the strike hole. A self-closing door will find every gap you leave.
Most closers have two adjustment screws. Turn the speed screw counterclockwise to slow the door down, clockwise to speed it up. Turn the latch speed screw to control how quickly the last few inches close. A door that slams hard on a wood main door will wear it out.
Now test the seal. Close the door and hold a flashlight behind it to spot light leaks, or run a hand along the top and both sides feeling for air. Look at the sweep along the bottom — it should contact the sill across its full width with no daylight underneath. For winter, many sweeps are set a fraction high; loosen the screws, let the sweep drop onto the sill and retighten.
6. Finish the Exterior Trim and Clean Up
Reinstall or replace the casing, head casing and brickmould, making sure the trim clears the door on both sides and on top. Seal every joint where trim meets siding with exterior sealant, and caulk the flat case sides the same way.
Sweep up the debris inside and out, then do a final walk-through. Open and close the door three times, watching the closer from inside. Check the seal in daylight. Then look at the frame from the yard after rain has had a chance to hit it, because water finds the top corner first.
Common Mistakes
Almost every storm door problem traces back to one of these. They are all avoidable, and all of them are cheaper to prevent than to fix.
Measuring in one spot. Frames settle and openings are rarely perfect rectangles. Measure top, middle and bottom and buy to the shortest width. Add the manufacturer allowance on top of that.
Screwing the frame down before checking plumb. A frame that is out of plumb will not hold a door that closes properly, and no amount of closer adjustment fixes it. Shim and plumb first, fasten last.
Overtightening screws. Manufacturer instructions repeat this warning for a reason. Drive screws until snug, not until the drill stalls.
Ignoring a thin jamb. If your jamb is under about 2-1/2 inches thick or your casing is under 1 inch, the handle will hit the trim and the frame will not sit right. Nail 4-inch filler strips to the jamb and casing before you start.
Skipping the sill angle. Cut the hinge-side frame to match the existing sill slope. A flat frame on a sloped sill leaks.
Testing the seal in a hurry. Check for light gaps and drafts with the door closed before you call it done. Adjusting later means removing the trim again.
One more thing worth knowing: if you replace a door with a dog door insert, or go from a plain slab to a unit with a retractable screen, confirm the frame hardware matches before you buy. Those components are not interchangeable across brands.
Frequently Asked Questions
Is it easy to install a storm door yourself?
Yes, for most homeowners with basic carpentry experience. The mechanical steps are straightforward, but the difficulty sits in the opening: squareness, plumb and sealing. If your frame is level and the opening is within a quarter inch of square, one to three hours is a realistic estimate.
Can one person install a storm door?
Yes for most installations, though a helper makes the frame and top piece far easier to hold while you fasten them. If you have a wide or heavy unit, a tall opening or a stepped sill, recruit someone. Being able to see both the level and the hinge side at once is worth a second pair of hands.
What size storm door do I need?
Measure the rough opening at the top, middle and bottom and use the shortest width, then measure height on both sides and use the smaller one. Add the clearance allowance listed in the manufacturer instructions. Also check brickmould width and jamb depth, since a narrow brickmould can block the standard frame entirely.
How do I remove an old storm door?
Work in reverse order. Disconnect the closer arm from the jamb and lift it off the door, then tap out the hinge pins and lift the door free. After that pry off the sill and side casing, then the head casing last. Bag the debris as you go so you are not carrying loose fasteners across the deck.
How do I stop drafts and light leaks around a new storm door?
Shim until the level and plumb checks hold with the door closed, then look for daylight with a flashlight behind the door. Adjust the strike plate in sixteenths until the latch engages freely, and lower the sweep onto the sill for winter. A bead of exterior sealant at the mounting flange stops wind-driven rain behind the frame.
When should I hire a pro instead of doing it myself?
Hire someone if the jamb is rotted and needs structural repair, the opening is badly out of square, the doorway is wider or taller than a standard storm door, or you are dealing with an unusual brickmould or historic frame. Also worth hiring if you cannot get a level hold on the door alone. Otherwise the install is well within a careful beginner’s range.
Conclusion
Start with the opening, not the door. Measure at three points, take the shortest, check for rot, and confirm the jamb and brickmould will accept the frame you want before you buy anything.
From there the work is predictable: cut the sill angle, shim and plumb before you fasten, attach the hardware per the manufacturer’s instructions, and test the seal with the door closed before you call it finished. Do those checks in the right order and the install usually takes a single afternoon.
Once it is up, the parts that need attention first are the closer, the sweep and the screen. Keep an eye on the seal each season and you will get years of quiet drafts-free entries.