Downspout drainage away from your foundation is mostly about distance and fall: carry roof runoff at least 6 to 10 feet out from the wall and land it on ground that slopes away, so water never sits against the foundation. A homeowner can do most of this in an afternoon with an extension, a shovel, and a tape measure.
The work matters more than it sounds. One inch of rain on a 2,000 square foot roof sends roughly 1,250 gallons of water off the roof, and if that water lands beside the foundation it saturates the soil right where your basement wall meets the ground. Repeated saturation is what leads to seepage, mold, and settlement cracks.
Below is the process I walk homeowners through: find out where the water actually goes, choose a discharge point that will not cause a new problem, hold a steady downhill slope, then test the whole route with a hose.
Table of Contents
- What You Need
- Step-by-Step: How to Move Downspout Drainage Away From the Foundation
- 1. Inspect Where the Downspout Currently Discharges
- 2. Choose a Safe Discharge Point
- 3. Measure the Existing Slope and Plan the Route
- 4. Install the Downspout Extension
- 5. Improve the Ground and Test the Drainage
- 6. Maintain the Drainage System
- Common Mistakes
- Frequently Asked Questions
- How far should a downspout drain away from a foundation?
- Can a downspout extension be buried underground?
- What is the best way to drain water away from a house foundation?
- How do I fix a downspout that drains toward the foundation?
- Should a downspout discharge into a French drain or rain garden?
- When should I hire a plumber or drainage professional?
- Conclusion
What You Need

You will not need much, but a few things make the difference between a fix that holds and one that fails the first winter.
- A tape measure and a 2-foot level or a torpedo level with a bubble vial
- A screwdriver, a pair of pliers, and a drill with bits
- A shovel and a rake for reshaping the soil
- A rigid or flexible downspout extension, or 4-inch corrugated pipe if you are running it underground
- A splash block or a piece of rubber matting for the discharge point
- A garden hose to test the finished route
- Topsoil and compost for filling low spots, plus a tamping foot or brick to compact it
If you are digging more than a few inches, call 811 first. Buried lines and irrigation wires are the one thing on this list that can hurt somebody.
Step-by-Step: How to Move Downspout Drainage Away From the Foundation
1. Inspect Where the Downspout Currently Discharges
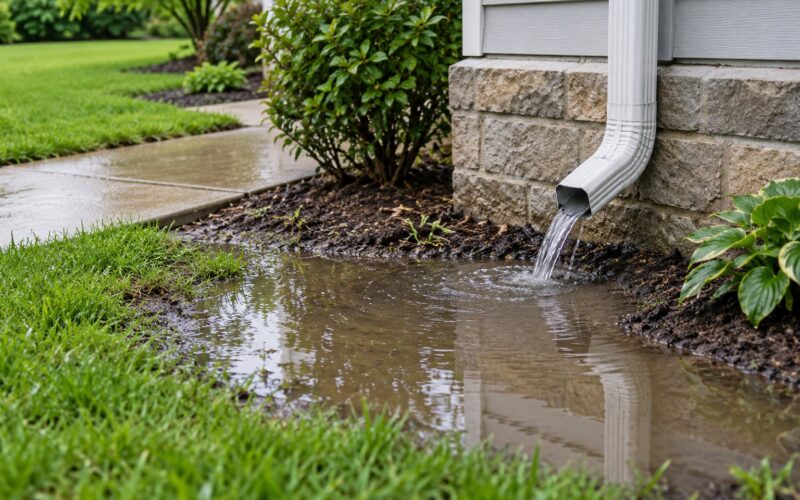
Start by watching it in real weather, not guessing. Stand outside during or right after a decent rain and see where the water lands, how far from the wall, and whether it pools or runs sideways along the foundation.
Any of these means the drainage needs work: water exits less than about 5 feet from the wall, a puddle remains more than an hour after the rain stops, the soil right at the base is bare or washed out, or the flow travels toward a neighbor’s wall or your own walkway. Downspouts that simply end at the base of the siding, with no extension at all, are the single most common problem I see.
2. Choose a Safe Discharge Point
Pick the outlet before you buy anything, because the outlet decides the hardware. A splash block or short rigid extension suits a wide lawn where water can soak in. A flexible extension works on a short run across a bed. A buried pipe makes sense when the route crosses a path, a patio, or a play area.
Avoid discharging anywhere within roughly 10 feet of a neighboring foundation, near a wellhead, or across a walkway where water would run over it. Also stay clear of low spots that stay wet, and think about where the water goes in a storm cloudburst, not only in a light drizzle.
3. Measure the Existing Slope and Plan the Route
Set the level on the ground along the route you plan to use and see how far the bubble drifts. You are looking for a fall of at least a quarter inch per foot, which is a gentle, steady downhill.
If the ground rises toward where you want the water to go, raise the end of the extension slightly or raise the downspout elbow with a small block. If it falls faster than an inch per foot, that is fine as long as the soil does not erode. Flat ground is the hard case: there you usually need to add fall to the extension itself.
4. Install the Downspout Extension
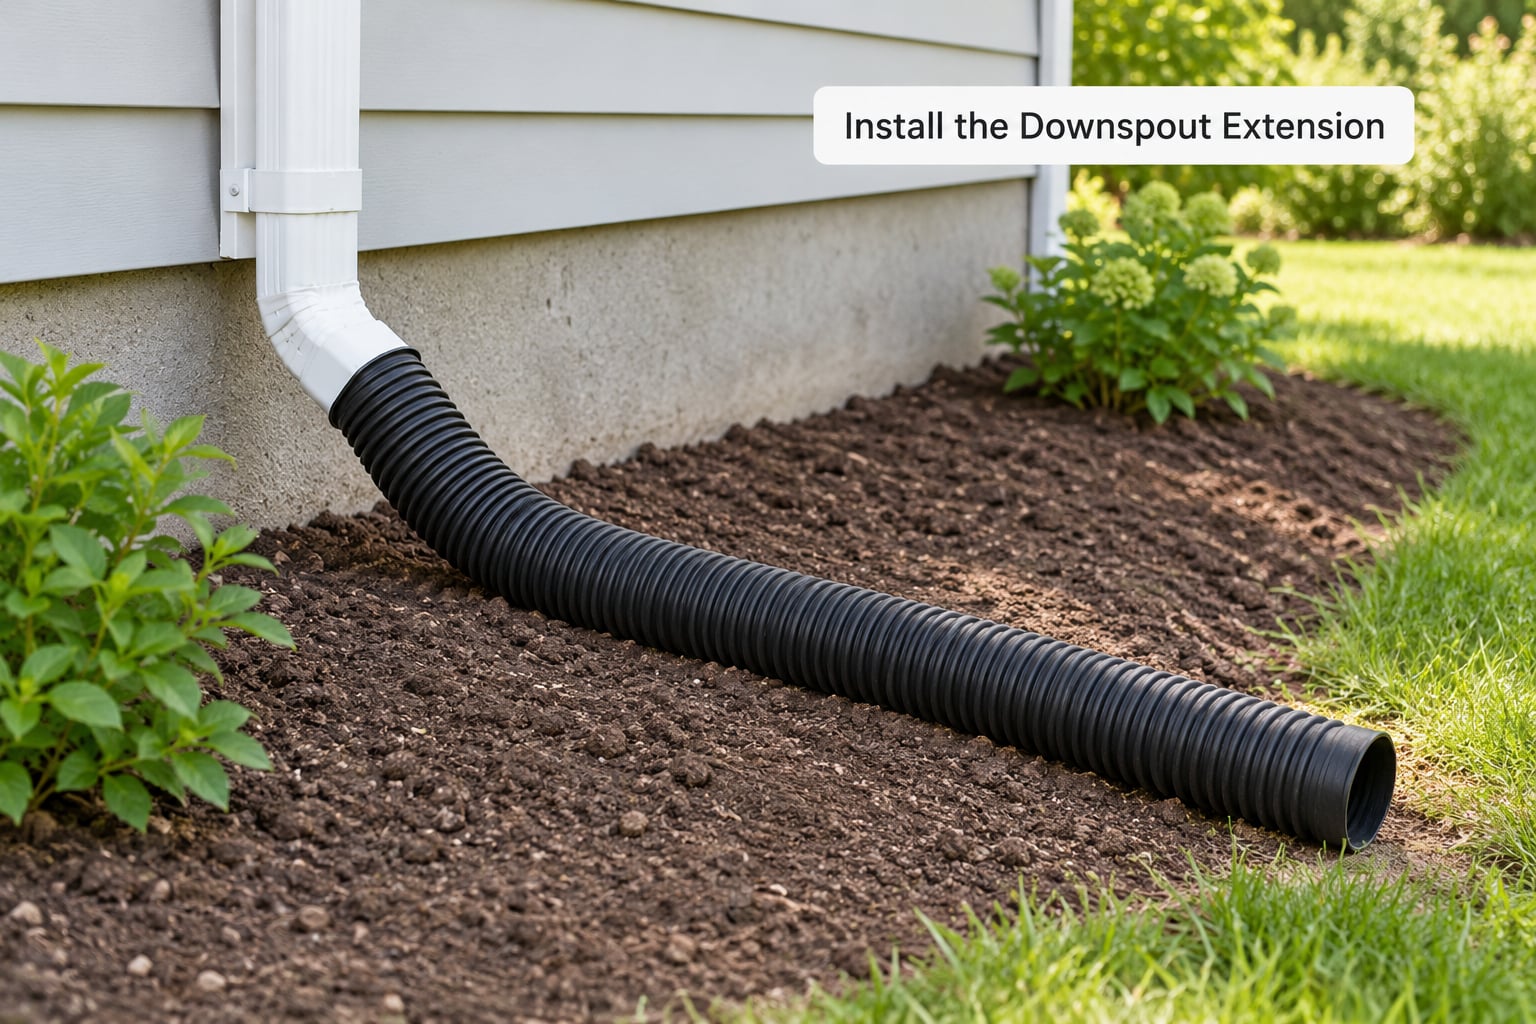
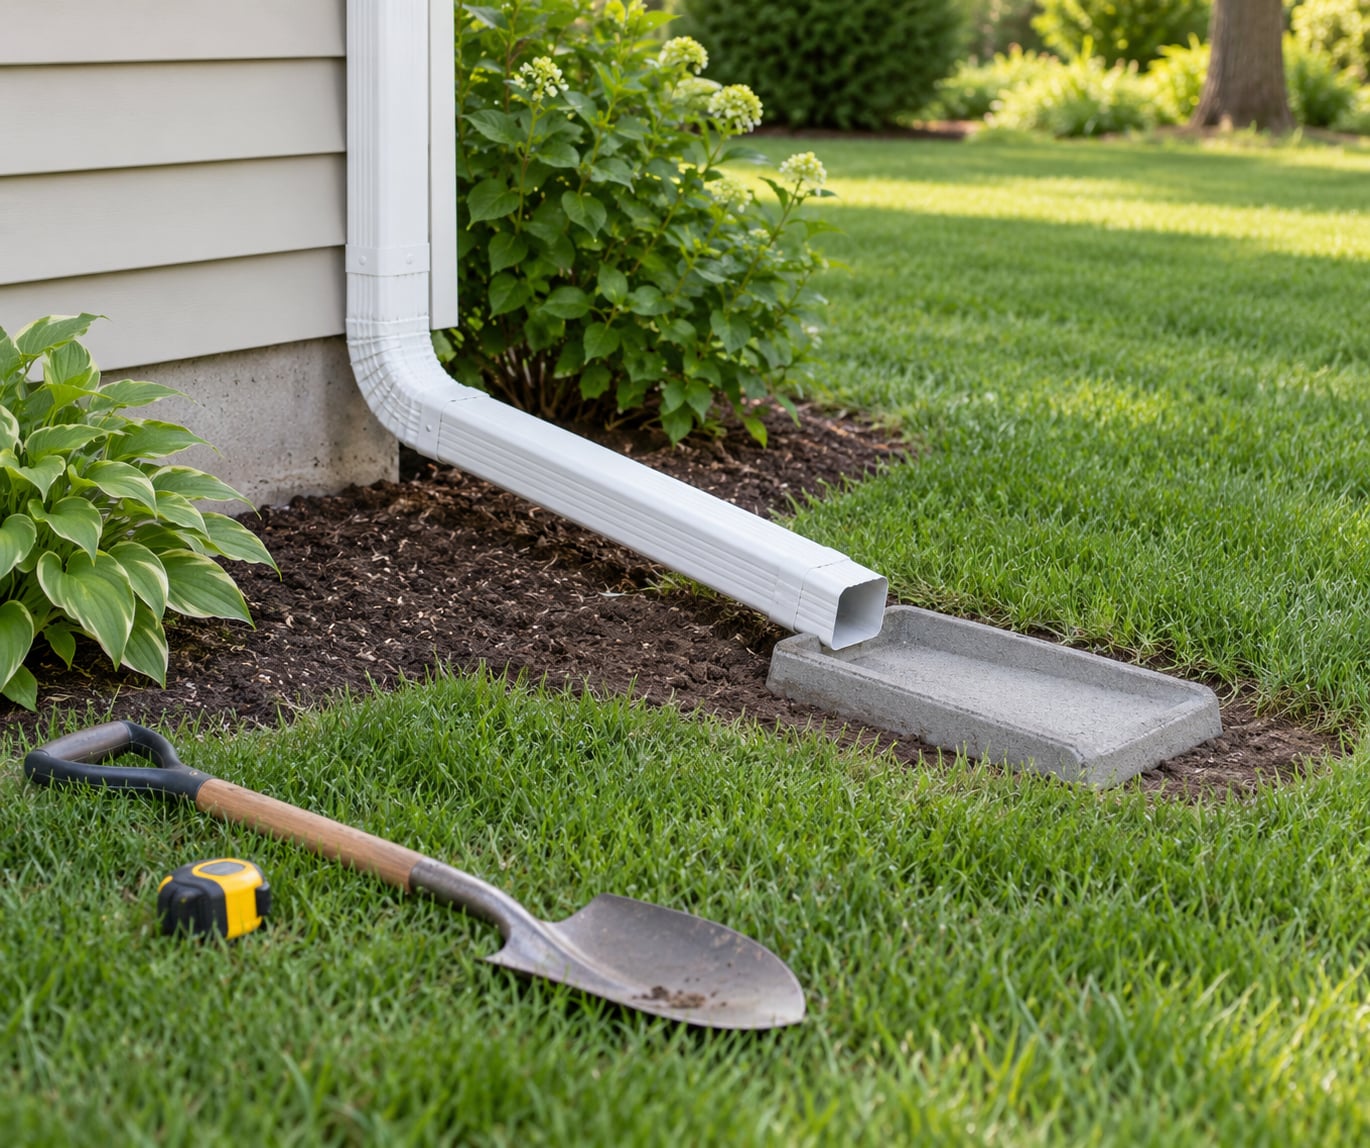
Measure the run, add about a foot for the bend into the discharge point, and cut. Rigid extensions screw into the downspout elbow and stay where you put them; flexible ones are easier to route around a corner but can flatten under a mower, so pin them with a spike or a stake near the outlet.
Keep continuous downward fall from the elbow to the outlet, no sagging belly where water can sit. Secure every joint with a screw or a hose clamp, add a shallow screw-on filter at the top of the run if trees hang over the gutter, and check that the outlet sits on firm ground rather than loose fill.
5. Improve the Ground and Test the Drainage
Water follows the low spot. Rake away mulch that has built into a berm at the foundation, cut a shallow channel from the outlet toward the low corner of the yard, and backfill around the extension with compacted topsoil so the soil slopes away rather than toward the house.
Mix a little compost into sandy soil to slow the runoff, since sand drains fast at the surface but resists sideways movement. Then run the hose into the gutter for a few minutes and walk the route. The water should travel away without ponding, cutting a channel, or kicking soil out of the outlet. If it does not, add fall or move the discharge point before you finish.
6. Maintain the Drainage System
A working system still needs attention twice a year. In spring, check that each extension is connected, that the outlet is clear of leaves and gravel, and that the soil around it has not washed out.
In fall, before the rains, walk the foundation line after a storm and look for new puddles, damp mulch, or a washed-out outlet. Clear the gutters at the same time, since a backed-up gutter overflows at the same weak point the extension was meant to protect. Reseat any popped-off couplings, and re-compact soil that settled over the winter.
Common Mistakes
These come up again and again, and each one turns a small job into a recurring repair.
- Discharging against the wall. An elbow pointed at the siding puts water straight into the foundation. Always add an outlet that moves water parallel to or away from the house.
- A flat or uphill extension. If the end sits level with or above the outlet, water sits in the pipe and finds the low seam later. Re-cut or re-seat it until the fall is steady.
- Four feet and hope for the best. Short extensions work on a sandy lot with good slope and fail on flat clay ground. Judge the distance by what your soil does after a heavy storm.
- Running water across a walkway or patio. A buried pipe with a discharge past the hardscape solves this, and it keeps ice and salt off the surface.
- Burying pipe without confirming the grade. Once it is underground you cannot see a dip. Dig the whole run before you cover it, or the pipe will hold water and back up.
- Ignoring where the water ends up. Moving a problem to your neighbor’s side is a fast way to turn a drainage fix into a dispute. Check the property line before you dig.
- Skipping a cleanout or access point. Without one, the first clog becomes a dig-up job rather than a five-minute clearing job.
Frequently Asked Questions
How far should a downspout drain away from a foundation?
Aim for at least 6 to 10 feet from the wall as a practical target, with 10 to 20 feet on flat ground, clay soil, or anywhere the water pools. The distance is less important than the behavior: after a heavy storm, the water should reach the low point of the yard and not linger against the foundation. Measure from the finished grade at the wall, not from the siding.
Can a downspout extension be buried underground?
Yes, and it is usually the better choice when water has to cross a path, patio, or play area. Dig a trench deep enough to keep the pipe below your frost line, lay it at a steady fall of about a quarter inch per foot, and place a cleanout or riser near the house so you can clear it later. Do not backfill until the whole run is tested with a hose.
What is the best way to drain water away from a house foundation?
Start simple: an extension that carries water 6 to 10 feet out and ends on soil sloping away. Add a splash block at the outlet to stop erosion. If that still leaves pooling, improve the grade, then consider a buried pipe to a dry well, a rain garden, or a swale that carries water along the property line. Layers of solutions cost more than fixing the grade properly first.
How do I fix a downspout that drains toward the foundation?
Remove the elbow aimed at the wall and fit an extension that runs along the wall and then away from it. Confirm the ground falls at least a quarter inch per foot along the whole route, reshaping the soil with a shovel if it does not. Finish with a splash block on compacted soil, then run the hose for several minutes and watch where the water goes.
Should a downspout discharge into a French drain or rain garden?
A rain garden is a good fit if you have open yard space, since it slows and absorbs runoff while filtering it before it soaks down. A French drain is designed to carry water away rather than absorb it, which makes it a useful outlet pipe or a good choice on sites with a high water table where infiltration is slow. Both need room and a clear path for water to reach them.
When should I hire a plumber or drainage professional?
Call in a pro when water reaches a finished basement, when the foundation shows new cracks or stepped movement, or when the yard is flat and buried to the water table. Buried pipe crossing a structure, a pop-up emitter system, or anything requiring a permit also belongs with a contractor. They can also assess whether you need a drainage layer on the foundation itself rather than surface fixes.
Conclusion
The first move is to watch your downspout during a real rain, measure how far the water lands from the wall, and check whether that ground slopes away. Then install the simplest safe extension that carries water 6 to 10 feet out onto firm, falling ground, and test the whole route with a hose before you call it done.
If the water still lingers near the foundation after that, the problem is the grade or the soil, not the hardware. Re-cut the slope or move the discharge point rather than stacking another layer of pipe on top of it.