
Vetting a contractor means checking, independently and on paper, that a company is legally licensed, insured and financially sound before you sign anything or hand over a deposit. Most homeowners do this badly, and usually with a slow trickle of solicitations arriving the same week they announce a project. Here is the repeatable version, and it takes about an afternoon per contractor once you have the paperwork ready.
If you have never hired a trade professional before, or you moved recently and know nobody to ask, the screening below is your substitute for a referral network. Knowing how to vet a contractor before hiring is mostly paperwork and a few phone calls: where I have seen homeowners get burned, the problem was visible in the paperwork weeks before the first hammer swing.
Table of Contents
- What You Need to Vet a Contractor
- Step-by-Step: Vetting a Contractor From Scope to Signature
- Step 1: Define the Project and Get Written Quotes
- Step 2: Verify Licensing, Insurance, and Legal Standing
- How to vet a contractor license in your state database
- Step 3: Check Experience and Project Fit
- Step 4: Contact References and Review Completed Work
- Step 5: Compare Bids, Payment Terms, and Change Policies
- Step 6: Get Everything in Writing Before Signing
- Common Mistakes That Cost Homeowners Money
- Frequently Asked Questions
- What should I do before hiring a contractor?
- Should I pay a contractor 50% upfront?
- What are red flags when hiring a contractor?
- What should I ask a contractor before hiring?
- What not to say to a contractor?
- What is the 30% rule in remodeling?
- Start With One Document, Not One Signature
What You Need to Vet a Contractor
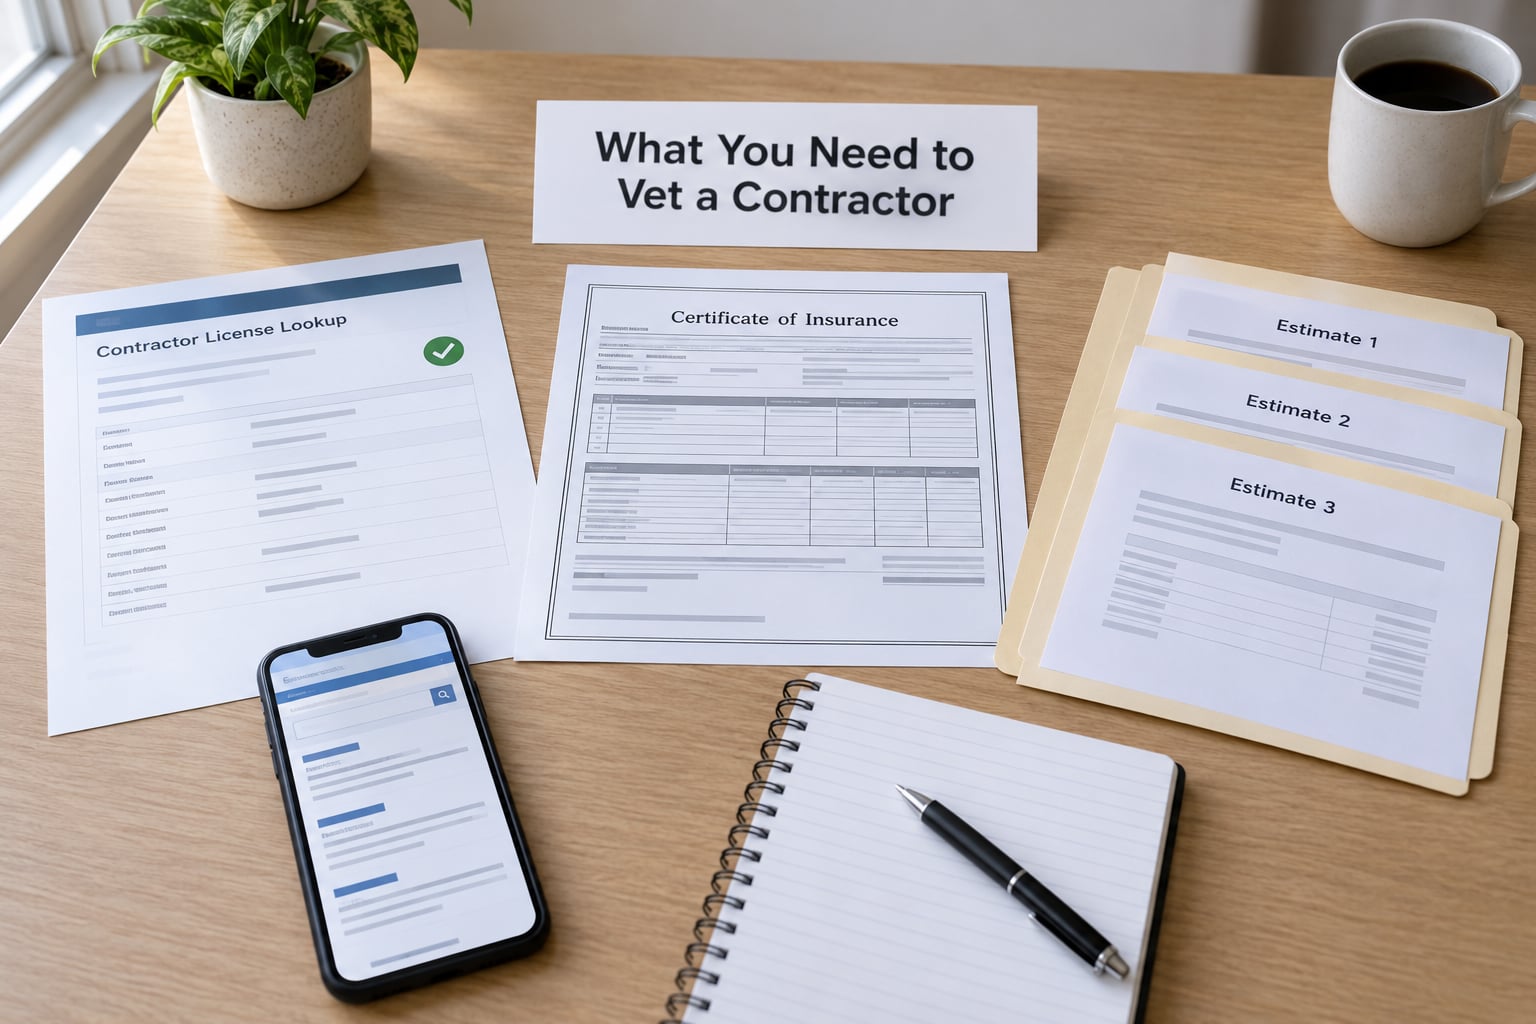
Assemble this file before the first estimate arrives, not after. The point is to compare contractors against the same information, which is nearly impossible when each one hands you a different set of papers.
- The project’s written scope. Dimensions, materials by brand and model, what gets removed, what stays, and the finish you expect. Vague in, vague out.
- Your state’s licensing board search page. Most states run a public license lookup, and the URL is usually one search away from your state government site.
- A request list for insurance certificates. Ask for a certificate of insurance showing general liability and, where the state requires it, workers’ compensation coverage.
- Reference names. Ideally three, including one client from the last 12 months and one whose job looks like yours.
- A spreadsheet. One column per bid, one row per line item, so you can normalize scope instead of comparing headline totals.
- A W-9 request. A legitimate company can produce a tax identification form in minutes. Hesitation here is a signal.
Step-by-Step: Vetting a Contractor From Scope to Signature
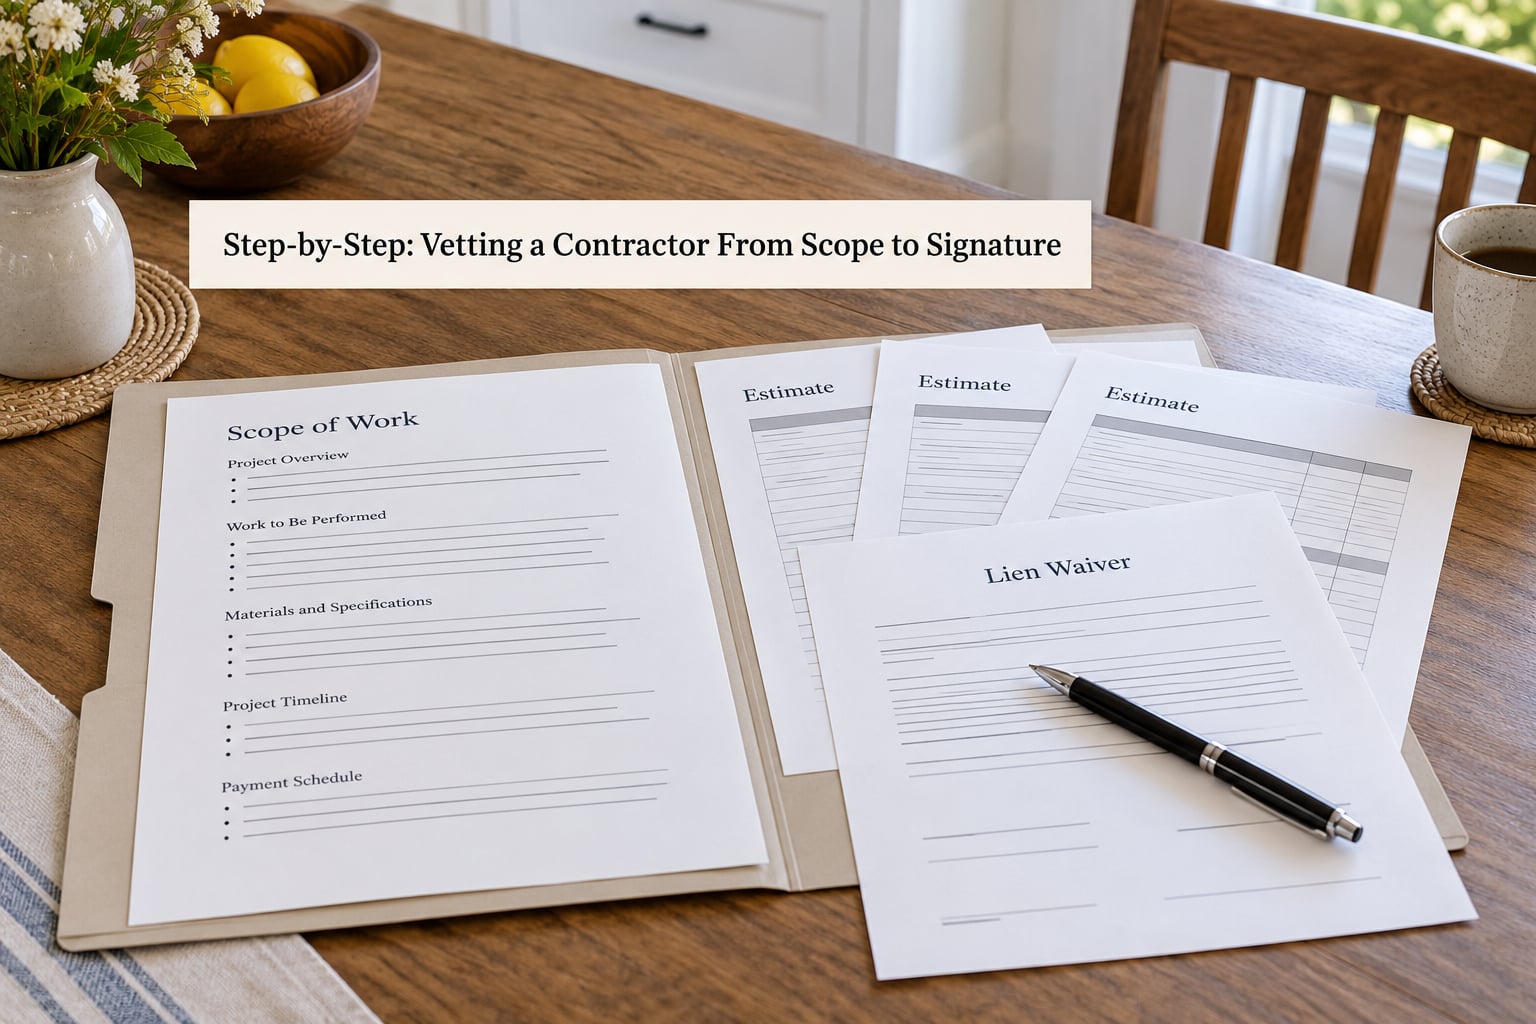
Step 1: Define the Project and Get Written Quotes
Write the scope once and hand the identical document to every contractor you invite to bid. This is where how to vet a contractor before hiring usually goes sideways, because the comparison has to start before anyone has cut anything. If each one is measuring a different job, the bids are not comparable and the cheapest number on the table tells you nothing.
Ask for an itemized written proposal that separates labor, materials, permits, and disposal fees. Mark the allowance for any material you have not chosen yet, so you can see how much of the price is a guess.
Three written bids is the working minimum on a remodel. On a small repair, two is enough, and on a large or complex job, five is not excessive.
Step 2: Verify Licensing, Insurance, and Legal Standing
Get the license number, then look it up yourself rather than trusting a screenshot. Match the name on the license to the name on the contract and to the business entity on the check, because those three should agree.
How to vet a contractor license in your state database
Search your state contractor licensing board by name, then confirm four things: the license is active rather than expired or surrendered, the class or category covers the work you are buying, the qualifying individual is named, and no disciplinary action is listed. In California that is the Contractors State License Board; other states use similarly named boards under a consumer or business agency.
If your state does not license general contractors, the burden shifts to you. Check county and city registration, business registration, and any trade-specific licenses the work actually requires, then lean harder on insurance and references.
For insurance, ask for a certificate of insurance and confirm it with the carrier using the policy number on the document. Certificates expire, so ask for a fresh one at contract signing and again before work starts.
Then run the reputation searches. A state attorney general complaint database, county court records, and a bankruptcy check in the district where the company is based all take a few minutes. A judgment against a contractor is not automatically disqualifying, but a pattern of unpaid judgments is.
For projects in the high tens of thousands of dollars or more, pay a local attorney a few hundred dollars for a proper judgment and lien search. It is the cheapest insurance you will buy on the job.
Step 3: Check Experience and Project Fit
Ask whether they regularly perform this specific scope, not whether they do construction generally. A roofer quoting a kitchen remodel is learning on your house.
Work out who actually does the work. Some firms carry a crew, others dispatch subcontractors. If subs are involved, ask whether the general contractor carries a subs policy covering injury to those workers, because that gap is how uninsured claims reach your homeowner policy.
Note the tenure signal: a company that has traded under the same name for many years has survived downturns, and one that keeps changing its DBA name is usually starting over after something.
Step 4: Contact References and Review Completed Work
Call the references and ask questions that a satisfied customer would not volunteer. Did the final invoice match the signed contract without extras? What happened when something broke six months later? Would they use this crew again, and would they hire the same company for a different scope?
Owners in r/homeowners make a consistent point about this: a phone number is not a reference, a visit is. Ask to see a completed job similar to yours, ideally one still within the warranty period.
Read online reviews as evidence, not as proof. Incentivized reviews cluster in time, run long, mention a company by name in a way real customers rarely bother to, and pair glowing five-star language with vague or missing detail. A business with hundreds of reviews that are all recent tells you less than six detailed reviews spread across five years.
Step 5: Compare Bids, Payment Terms, and Change Policies
Normalize before you compare. Line up identical rows across the bids: labor hours, material list, permit fee, disposal, finish coats, and each allowance. A bid that is low because it leaves out a line the others include is not the better price.
Bid gaps of roughly 20 percent or more usually mean scope differences, not savings. Ask the low bidder, in writing, to confirm in detail what is included.
On payment, the widely used structure in remodeling is the 30/30/40 split, where a deposit covers materials and initial labor, a second payment lands at the mechanical or mid-project milestone, and the final 40 percent is withheld until substantial completion and the punch list is closed. Deposits in the range of 10 to 15 percent are common on smaller jobs. Anything at 50 percent or more upfront is a walk-away signal, and paying the entire job in cash up front is worse.
Ask how changes get priced and approved, who writes them, and how delays are handled. The contract should require a written change order signed before the work happens.
Step 6: Get Everything in Writing Before Signing
The contract is where vetting either paid off or did not. If the scope, payment schedule, and change-order terms were never nailed down in the proposals, the contract should contain them before you sign or pay a deposit.
Confirm these terms are written down:
- Scope of work with materials, brands, and the exclusions.
- Start date, substantial completion date, and who owns the schedule.
- A payment schedule tied to milestones, with no payment ahead of the work.
- Who pulls each permit, and who pays for it.
- Change-order procedure: written, priced, and signed before work begins.
- Lien waivers exchanged at each payment, conditional on payment and unconditional on final payment.
- Workmanship warranty in years, plus manufacturer warranties on materials.
- Dispute resolution terms, such as mediation before arbitration or litigation.
- Cancellation terms and how either party exits the agreement.
The contractor should pull the permits. When a contractor asks the homeowner to pull the permit, it shifts inspection responsibility and legal exposure onto you, and it is a documented red flag in consumer protection guidance.
Common Mistakes That Cost Homeowners Money
Hiring from a referral you did not verify. A referral is a starting point, not a vetting step. Run the same license and insurance checks on the friend who recommended them; the friend checked nothing.
Comparing estimates that describe different jobs. Normalize the line items before you look at totals, or you will pick a bid for missing work.
Paying a large cash deposit. Cash payments leave no paper trail for a dispute and are a classic marker of a contractor who cannot pass an insurance check.
Skipping references because the portfolio photos looked good. Photos show the best 30 seconds of a job. Ask to visit one, and ask the questions that reveal what went wrong.
Accepting verbal promises. Timeline, inclusions, warranty, and cleanup all belong in the contract. If it was said in your kitchen and not in writing, it did not happen.
Failing to confirm permits and insurance. Unpermitted work can complicate a future sale, and uninsured work leaves your own policy exposed.
Treating a Better Business Bureau rating as the verdict. Profile ratings reflect complaint volume and responsiveness, not workmanship. Read the written complaints and then check court records yourself.
One habit closes most of these gaps: keep a photo log of the job site, dated, from day one. It settles scope disputes faster than any contract clause.
Frequently Asked Questions
What should I do before hiring a contractor?
Write your scope in writing first, then collect at least three itemized written proposals that describe the same work. Verify each license number on your state board, confirm insurance certificates with the carriers, run a court and bankruptcy search, and call references before signing anything. Doing the paperwork first keeps the comparison fair and gives you leverage if something later looks wrong.
Should I pay a contractor 50% upfront?
No. A deposit at or above 50 percent is a strong warning sign, and paying the full job price before work begins is worse. Deposits in the 10 to 15 percent range are typical on small jobs, and larger projects usually follow a 30/30/40 milestone schedule. Withhold the final portion until substantial completion and the punch list items are closed.
What are red flags when hiring a contractor?
Watch for pressure to sign today, a demand for cash or a very large deposit, refusal to provide a license number or proof of insurance, no written contract, and asking you to pull the permit. Unexplained business name changes, a long run of identical recent reviews, and vague verbal promises on scope and timing are all reasons to pause. Any one of them deserves a conversation; several together mean walking away.
What should I ask a contractor before hiring?
Ask who actually performs the work, how many similar jobs they did in the last two years, whether subcontractors are used, and how that is insured. Ask for the license number, insurance certificates, three references, their payment schedule, their change-order process, their warranty terms, and who pulls permits. Write the answers down, because the real test is what lands in the contract.
What not to say to a contractor?
Do not commit to a start date during a sales visit, do not agree to a price without asking for an itemized breakdown, and do not say yes to work that needs a permit without knowing who pulls it. Avoid naming a firm budget ceiling, because it ends negotiation early. Also skip insults about their price or prior reviews; you want a contractor who works with you for months, not one performing a recovery.
What is the 30% rule in remodeling?
It is a common payment structure, not a legal requirement: 30 percent at signing or start, another 30 percent at the mid-project milestone, and 40 percent held back until substantial completion and the punch list is finished. The logic is simple, because you should always owe more than the contractor has already billed. Adjust the milestones to match your job rather than forcing the schedule onto it.
Start With One Document, Not One Signature
The whole process gets easier if you begin with the written scope rather than with a contractor. That is the practical answer to how to vet a contractor before hiring: write the scope once, send it to everyone, and let the license, insurance, reference, and contract checks fall into place behind it. The first thing to do this week is pull your own license board lookup page and confirm you know what a valid license actually looks like for your trade.