To learn how to prepare your home for an inspection, clear every access point, test what the inspector will test, fix the small safety items, and keep your records in one folder. The heavy lifting takes a weekend, and the last pass takes about an hour the night before.
This guide works for a home sale, a pre-listing review, a rental walkthrough or a routine look at your own house. None of it requires an electrician or a contractor, and none of it means hiding anything.
Table of Contents
- What You Need
- How to Prepare Your Home for an Inspection Step by Step
- 1. Confirm What Type of Inspection You Are Having
- 2. Assemble Documents and Inspection Records
- 3. Make Every Area Accessible
- 4. Check Safety Hazards and Utility Systems
- 5. How to Prepare Your Home for an Inspection: Exterior and Grounds
- 6. Clean and Organize the Interior Room by Room
- 7. Address Repairs and Maintenance Problems
- 8. Do a Final Walkthrough Before the Inspector Arrives
- Common Mistakes
- Frequently Asked Questions
- How far in advance should I prepare my home for an inspection?
- Does a home need to be perfectly clean before an inspection?
- Should I turn on every utility before the inspector arrives?
- Can I make repairs before a home inspection?
- What should I do if I find a problem during the inspection?
- Conclusion
What You Need
Start with information. Ask your agent or inspector exactly what the visit covers and how long it usually runs. A standard whole-home inspection on a typical house takes two to four hours, and specialty inspections such as a sewer scope or a radon test are scheduled separately.
Gather these before you start moving furniture:
- Any written scope, report sample or list of systems the inspector covers
- Building permits, certificates of occupancy and renovation records
- HVAC service history, water heater and roofing records, warranties
- Receipts for repairs, appliances and roof work
- Survey, elevation certificate, termite or pest report, disclosures you have already signed
- A maintenance log, even an informal one in a notebook
Then gather the supplies. A step ladder that fits your attic hatch, a flashlight, a replacement bulb and battery pack, caulk and a caulk gun, a clean furnace filter sized to your equipment, plumber’s tape, and a few rags for testing fixtures.
Finally, prepare access. Find the keys to the attic hatch, the crawl space hatch, the shed, the side gate and any closet or cabinet you have locked. Inspectors are not going to move a chest of drawers to see behind it.
How to Prepare Your Home for an Inspection Step by Step
1. Confirm What Type of Inspection You Are Having
A pre-listing review and a buyer’s inspection are not the same event. The pre-listing version is yours, on your timeline, and it is the one where you decide what gets fixed.
- Pre-listing review: a full walkthrough before you go on the market, so nothing surprises you on the report.
- Buyer’s inspection: performed by the buyer’s inspector while the house is under contract, with a short contingency window.
- Rental walkthrough: a move-in or move-out condition record, where every scratch and stain gets written down.
- Routine maintenance check: your own annual look at the roof, drain lines, smoke alarms and panel.
- Specialty inspections: sewer scope, radon, termite, pool, chimney, septic or well testing, each ordered separately.
You are ready for this step when you can say which systems are being examined and which are explicitly excluded. A general home inspection is a visual, non-invasive assessment; it is not a guarantee and it does not open walls.
2. Assemble Documents and Inspection Records
Put every record in one folder, on a laptop or in a labeled binder you can carry from room to room. When an inspector asks about a repair, you want an answer in seconds rather than a promise to look it up later.
Include permits and inspection sign-offs for any added square footage, electrical work, plumbing or HVAC changes. Add service invoices, warranty documents, appliance manuals, and the dates of the last filter change, dryer vent cleaning and gutter cleaning.
Digital files work fine. A folder on your phone with photos of receipts beats a shoebox every time, and dated photos of completed work are more persuasive than a description of it.
Test your system by picking three random items in the house and finding their paperwork in under a minute. If you cannot, the folder needs work before the visit.
3. Make Every Area Accessible
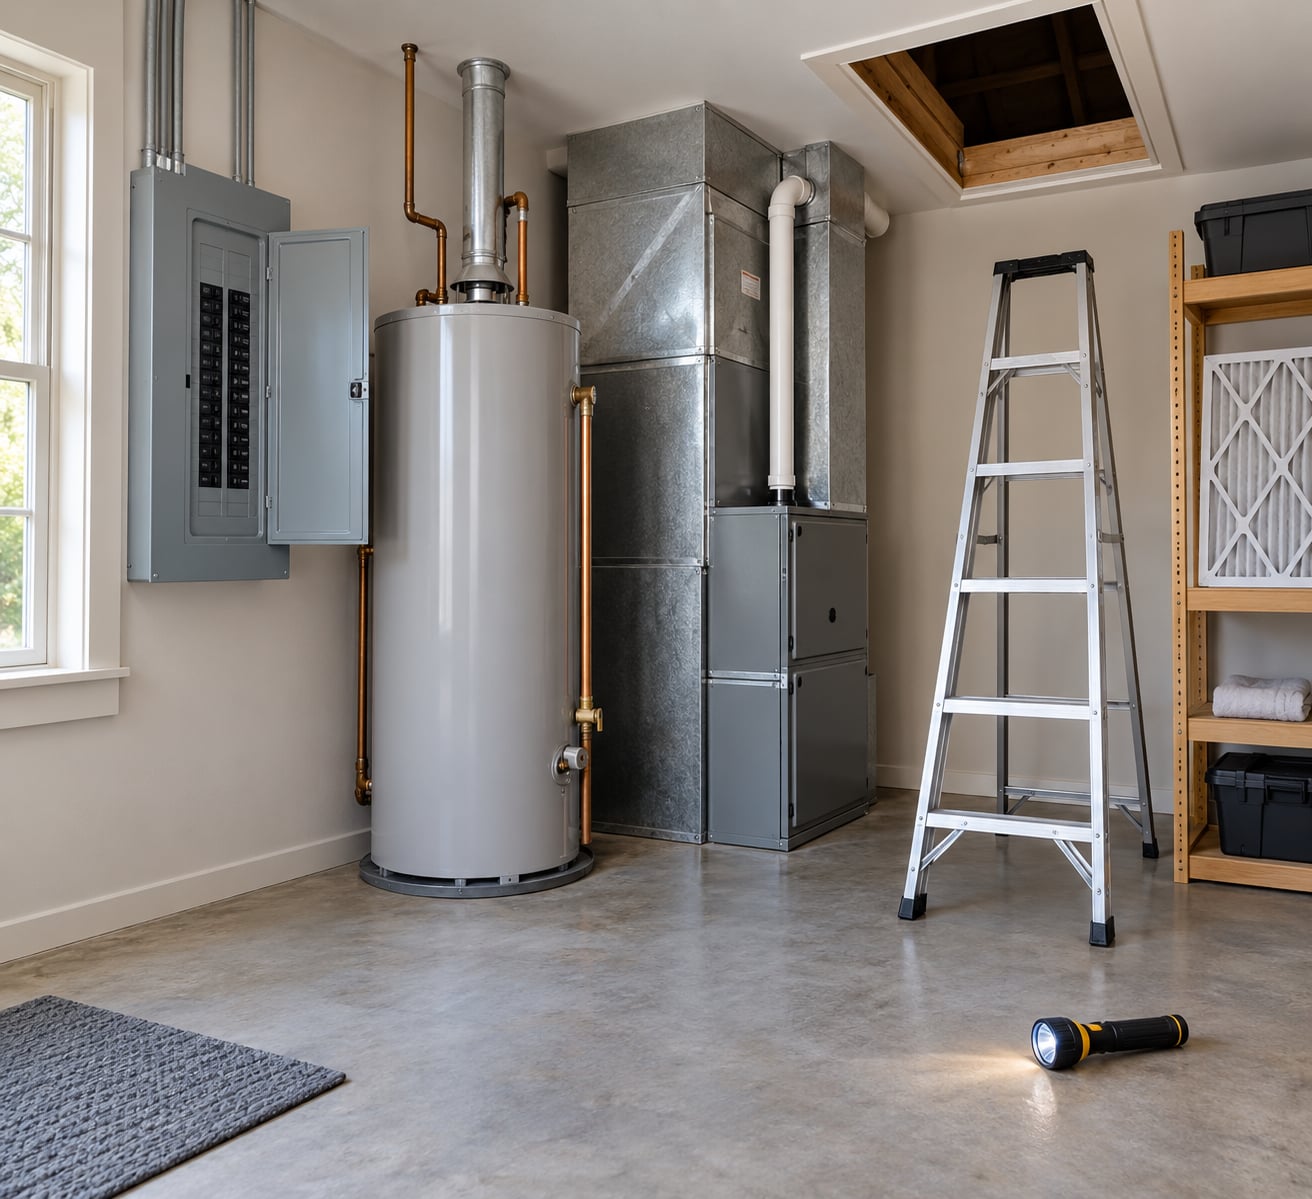
Access is the single most common reason a portion of an inspection gets skipped. Clear a working path, roughly three feet wide, to each of these locations:
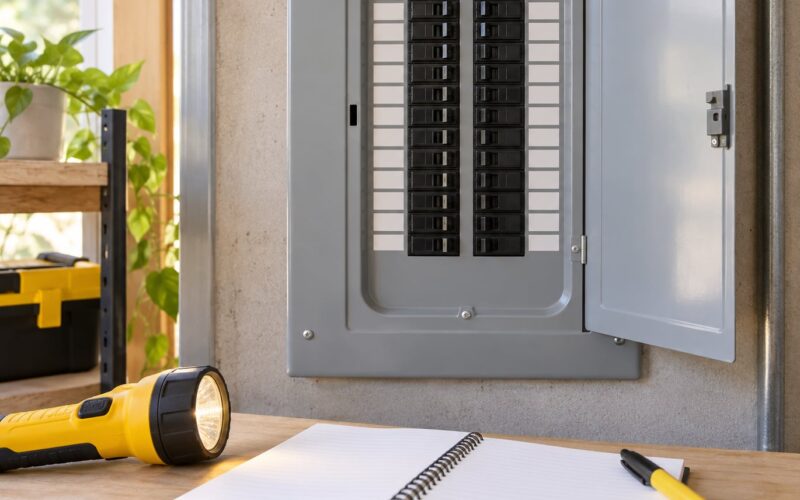
- The electrical panel, with nothing stored on top of it or leaning against it
- Water heater and the main plumbing shutoffs
- The HVAC unit, furnace and air handler, plus the thermostat
- The attic hatch or pull-down stairs
- The crawl space or basement entrance
- The garage, including the garage door opener and any wall-mounted controls
- Under-sink cabinets, closets, linen closets and pantry shelves
- The well, septic or meter area if the house has one
Move vehicles, boxes, stored furniture and seasonal items out of the garage and off the path. In the attic, clear the decking around the hatch and give the inspector room to stand.
Verify the route yourself the night before by walking it with a flashlight. If you had to lift or drag something to get through, so will the inspector, and the inspection will move at their pace instead of yours.
4. Check Safety Hazards and Utility Systems
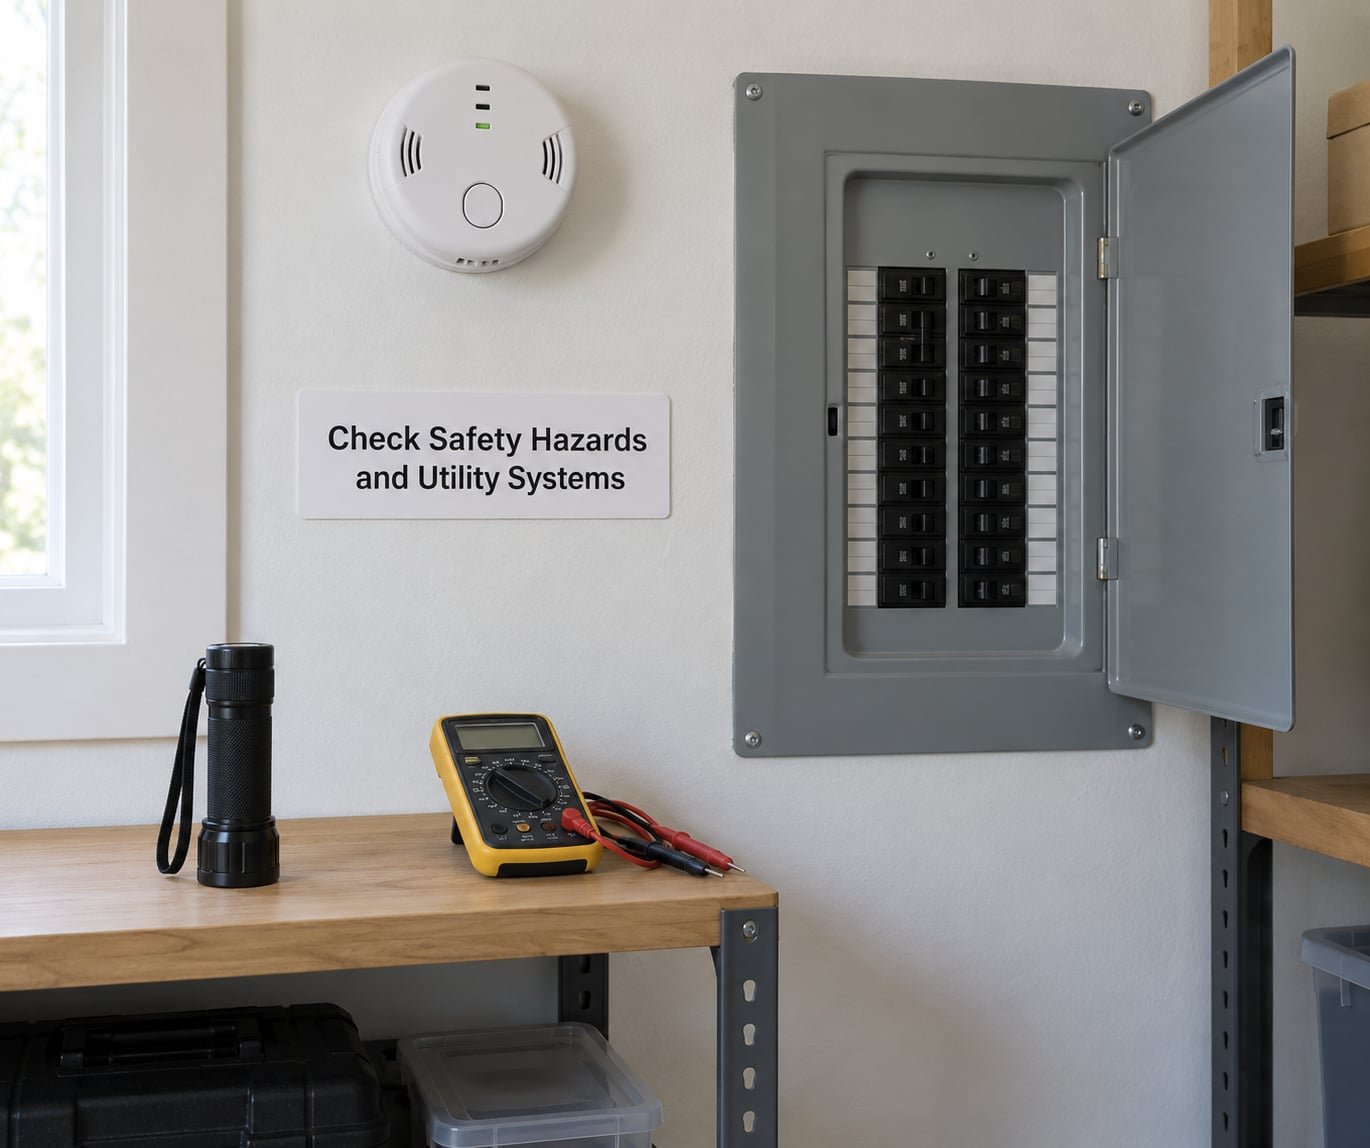
Safety items are cheap to fix and expensive to be flagged. Test every smoke and carbon monoxide alarm by pressing the test button and listening for the full pattern, and replace any unit that chirps or fails the test.
Walk through these specific checks:
- Every smoke and carbon monoxide detector sounds on test and sits within sight of the bedrooms
- A fire extinguisher is mounted near the kitchen, not sitting in a cabinet nobody opens
- No frayed extension cords, no overloaded adapters, no warm or buzzing outlets
- Loose area rugs have non-slip pads, and stair handrails are firm and grabbable
- Combustibles are kept away from the fireplace, stove and space heater
- The garage door reverses when it meets an obstruction under its force setting
Keep a fire extinguisher serviceable and know where your gas and water shutoffs are. If you smell gas, leave the property and call the utility or emergency services from outside. Do not operate switches inside.
Anything involving wiring, breakers, gas lines, a gas appliance or the structure itself belongs with a licensed professional. If a repair requires a permit, do not do it yourself the week before an inspection. A documented professional repair reads far better on a report than a hurried DIY patch.
5. How to Prepare Your Home for an Inspection: Exterior and Grounds

The exterior is where inspectors look first because the roof, grading and drainage explain a lot about what happens inside. Walk the property the way a stranger would, and fix what you would trip over.
- Clear walkways, steps and the path to the side gate of leaves, hoses and toys
- Check that handrails are secure and that steps have no loose treads
- Empty the gutters and confirm each downspout discharges away from the foundation
- Trim branches that touch the roof and clear debris off the roof from a ladder or with a ground-based tool, never by climbing up
- Look for soil that slopes toward the house instead of away, and note where water sits after rain
- Clear vegetation and debris away from the air conditioner or heat pump condenser so it can be inspected
- Close and latch all exterior doors, test every window and lock from inside, and confirm screens are in place
- Check that caulking around windows, doors and penetrations through the siding is intact
Do not pressure wash or repaint the night before. Fresh paint can mask a defect, and a wet surface makes the inspection slower for everyone.
6. Clean and Organize the Interior Room by Room
Clean enough to see, not clean enough to hide. You want walls, floors, ceilings, window sills, plumbing fixtures and appliances visible, and you want nothing concealed behind a packed closet.
Kitchen: empty the sink, clean the inside of the oven and range hood, wipe down the counters and pull the refrigerator forward so the inspector can check the water line and the coils behind it.
Bathrooms: clear the tops of counters and vanities, remove shower curtain liner clutter, make sure the exhaust fan runs, and leave the under-sink cabinet empty.
Living areas and bedrooms: push furniture toward the walls and out of the way of windows and outlets. Ceiling fans, light fixtures, window operation and wall surfaces all need to be visible from a normal walking position.
Closets, cabinets and storage: the goal is roughly knee-to-shoulder height in walk-in closets. If a walk-in closet is packed to the ceiling, clear the middle so the inspector can check the walls, floor and any vent or access panel.
Watch for open cans of paint, pet food bags and stored items that smell strongly of moisture. Inspectors will note an odor, and a scented candle does not help your case.
7. Address Repairs and Maintenance Problems
Sort every issue you know about into one of three buckets: fix it, document it, or hand it to a professional. Write the list down, because the ones you remember are never the ones that show up on the report.
Safe cosmetic fixes usually include replacing bulbs and batteries, tightening a loose handrail, caulking a tub edge, patching a small drywall blemish, replacing a stretched screen, tightening a loose outlet or switch cover, and clearing a downspout.
Things to document rather than rush include a roof older than its expected life, an aging water heater, aging electrical panels, deferred foundation work, and any repair already completed. A dated invoice with a company name and scope of work is evidence, and it works in negotiation.
Things to hand off are anything structural, anything gas, most electrical work, anything on the roof, and anything involving mold, radon or pests. These need licensed trades, and several require permits or a specialist report.
Never conceal damage, and never remove evidence such as a stain, a warped board or a filled foundation crack before the inspection. Concealment changes the conversation from condition into negotiating over a misrepresentation, and it is the fastest way to lose a buyer who was ready to move.
8. Do a Final Walkthrough Before the Inspector Arrives
The night before, walk the house with this list and nothing else on your mind:
- Every light bulb works and every switch operates, including outside and garage lights
- Water runs at every fixture, drains are clear, and hot water reaches the farthest tap
- All interior and exterior doors open, latch and lock; windows slide, tilt and lock; blinds and shades raise
- Appliances run: stove burners, oven, dishwasher, refrigerator, washer, dryer, disposal, range hood, bathroom fan
- Smoke and carbon monoxide alarms sound on test
- Thermostat is set and the system responds; the furnace filter is clean and the right size
- Outlets and GFCI protection in the kitchen, bathrooms, garage and outdoors are present and functional
- Your document folder, pen and flashlight are by the door
- The exterior route, gates and attic hatch are unlocked and clear
- Pets are secured, and any access code or key information is sent ahead of time
Decide in advance whether you will stay or leave. Many sellers leave the property, which keeps the visit moving and avoids a series of interruptions while someone works. Either choice is fine as long as it is deliberate.
Leave water and electricity on, and confirm that gas service is active if the home has gas appliances. If the utility account will be in someone else’s name on inspection day, let the inspector know before they arrive rather than after.
Common Mistakes
Most preparation failures are well intentioned. These are the ones that cost time or money:
- Cleaning without fixing. A spotless kitchen does nothing about a slow drain, a loose handrail or a dead smoke alarm. Correctness matters more than appearance.
- Hiding known problems. Moving a box in front of a defect, painting over a water stain or storing items in the attic to hide damage. Inspectors see through this, and it changes the tone of the whole transaction.
- Overpacking rooms. Filling every closet to the ceiling removes the access you were trying to create.
- Unpermitted or hurried repairs. A quick fix without a permit can become the inspector’s finding instead of the previous owner’s mistake.
- Testing systems you do not understand. Resetting a water heater, relighting a pilot or toggling breakers to see what happens is how small problems become large ones. Follow the label or the manual, and ask when you are unsure.
- Skipping the paperwork. Completed work with no receipt reads as an unverified claim. Photograph the repair, keep the invoice, and note the date.
- Spending money on the wrong fixes. A fresh coat of paint on the exterior rarely pays for itself, while a documented roof repair and a working water heater usually do. Prioritize function, safety and paperwork over appearance.
One habit prevents most of these: walk the house with a notebook the week before and write down everything you would want a buyer to know. Fix, document or disclose each line.
Frequently Asked Questions
How far in advance should I prepare my home for an inspection?
Start the serious work two to three weeks ahead, which gives you time to schedule trades, chase permits and get documentation together. One week before, clear access points and finish repairs. The night before, do the final test walkthrough and light cleanup. If your contract window is short, prioritize access, safety items and paperwork, since those cost nothing and prevent skipped parts of the inspection.
Does a home need to be perfectly clean before an inspection?
No. Inspectors are looking for condition, not presentation. Clean enough that walls, floors, ceilings, windows, fixtures and appliances are visible, and empty enough that closets, cabinets and under-sink areas can be opened. Skip deep cleaning, carpet washing and painting. Moving clutter out of the way matters far more than scrubbing a surface, and a house that smells of strong fragrance or damp can raise questions on its own.
Should I turn on every utility before the inspector arrives?
Yes, keep water, electricity and gas service active through the visit, and make sure the water heater is not set to vacation or away mode. Confirm the electrical panel has its main breaker on and that breakers are not labeled in a way that would confuse a routine walkthrough. If a utility will be off that day, tell the inspector in advance so the affected system can be rescheduled instead of written up as a defect.
Can I make repairs before a home inspection?
Yes, and you should fix the small safety and function items. Replace dead bulbs and alarm batteries, secure loose handrails, caulk gaps, replace window screens and clear clogged downspouts. Avoid last-minute work on wiring, gas, plumbing, the roof or anything structural, since that needs a licensed professional and often a permit. Keep every invoice and dated photo, because documented work reads far better than an unexplained fresh repair.
What should I do if I find a problem during the inspection?
Stay calm and take notes. Write down what the inspector says and take photos with permission, since details are easy to forget hours later. Do not argue on the spot or offer to fix something immediately. If it is urgent and safety related, such as an active leak, address it right away and keep the paperwork. Everything else waits until you have the full written report, which usually arrives the same day or within a day.
Conclusion
Preparation that works follows one rule: make it easy to see, and make it easy to prove. Clear the path to the panel, the water heater, the attic and the crawl space, test what the inspector will test, fix the cheap safety items and keep the paperwork in one folder.
Begin in this order. Confirm what kind of inspection you are having, organize your records, clear access to every system and address safety concerns, then do your cleaning and final walkthrough. Electrical, gas and structural work stays with licensed professionals, and nothing gets concealed.