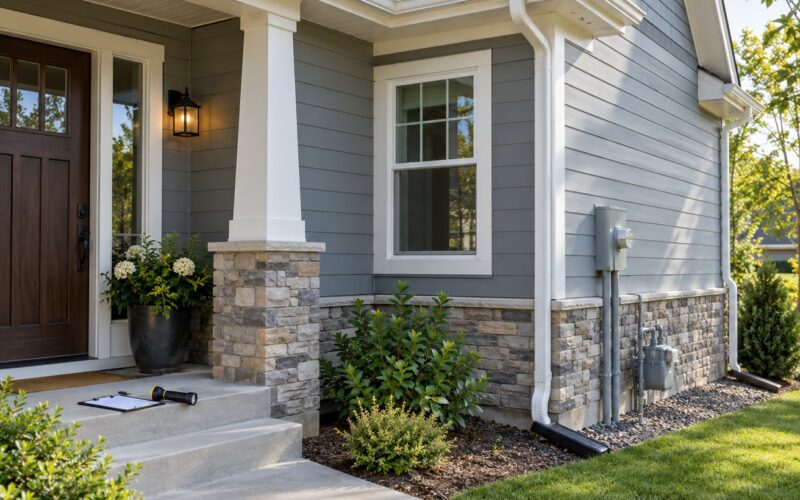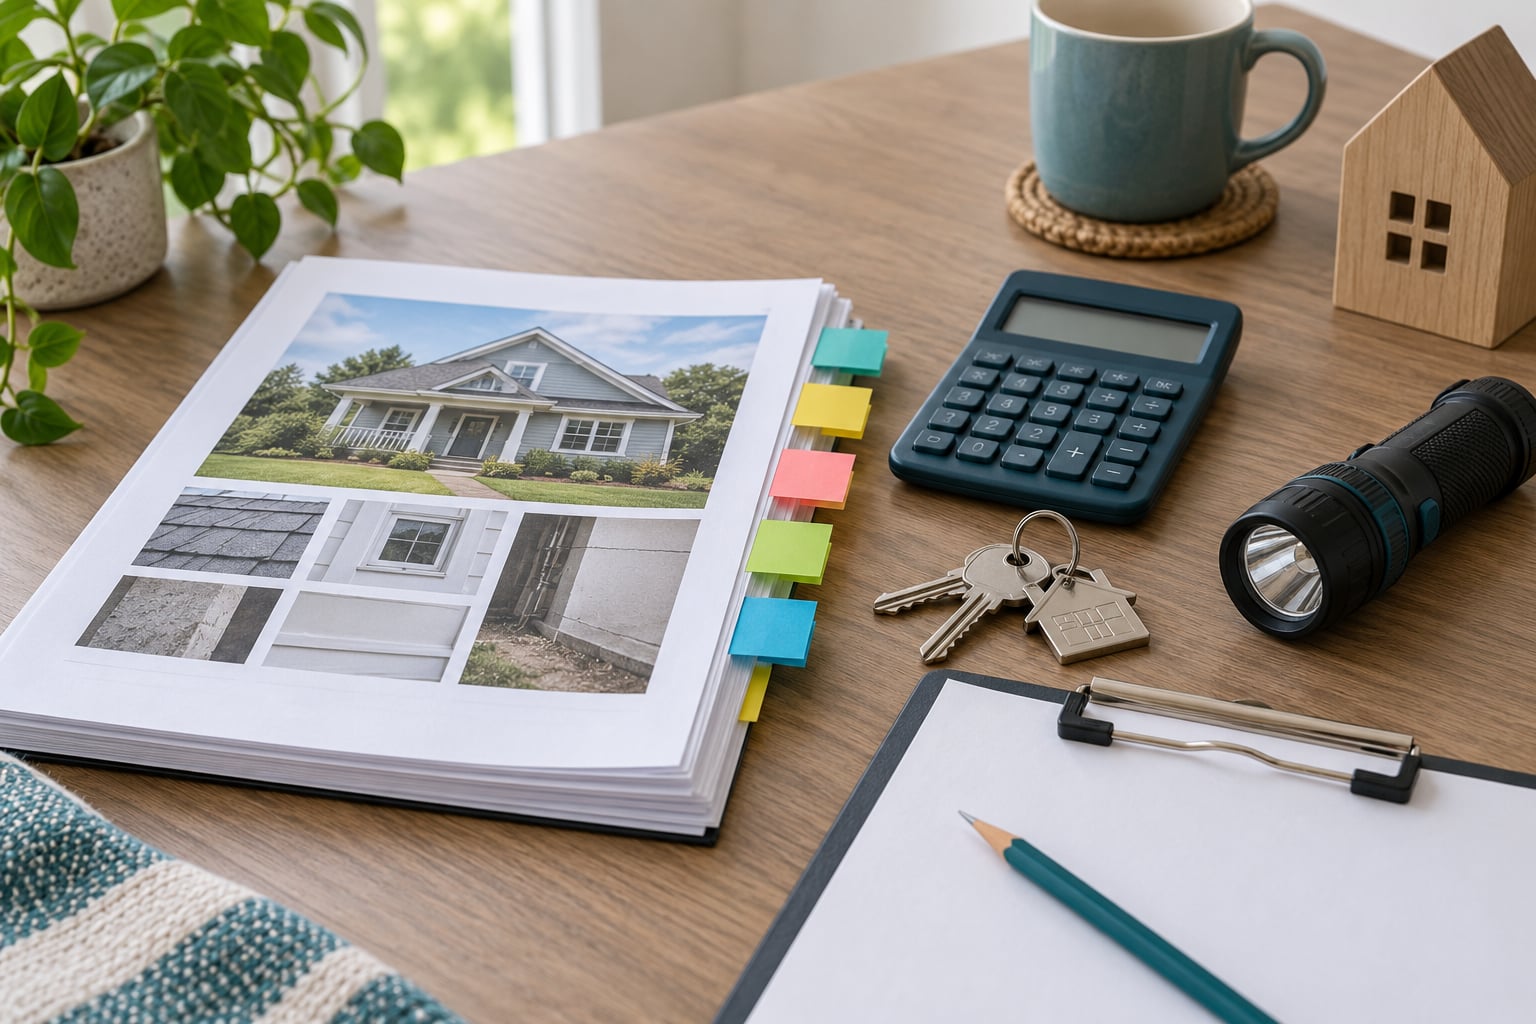
Start by sorting every finding on your report into four tiers: safety hazards, structural and envelope problems, systems that keep the house working, then cosmetic items. Then work down the list in that order, because that is how to prioritize repairs after a home inspection without wasting your negotiating leverage on a scuffed floor while a gas line sits open behind the wall.
A typical report runs 30 to 60 pages and lists things in inspection order, not importance order. Buyers who read it top to bottom tend to chase the cheapest items first and leave the expensive ones unaddressed until after closing, when their options are much thinner.
The sequence below takes maybe an afternoon to work through and gives you a defensible order of operations. Building codes and inspection expectations shift over time, so treat the framing here as 2026 practice and confirm anything local with your building department.
Table of Contents
- What You Need
- Step-by-Step: How to Prioritize Repairs After a Home Inspection
- 1. Read the Report and Separate Findings by Severity
- 2. Address Immediate Safety Hazards First
- 3. Stop Active Water and Weather Damage
- 4. Protect Critical Systems and Structural Elements
- 5. Plan the Remaining Repairs by Consequence and Urgency
- 6. Get Bids and Build a Repair Budget
- 7. Schedule Work and Verify the Results
- Common Mistakes
- Frequently Asked Questions
- How soon should I repair issues found during a home inspection?
- Which home inspection problems are considered urgent?
- Do I have to repair everything listed in a home inspection report?
- Should I get several estimates before prioritizing repairs?
- Can I fix home inspection findings myself?
- Will home insurance pay for repairs caused by an inspection?
- How to Start Your Repair Plan
What You Need
Gather the paperwork before you talk to anyone about money. Decisions made without documents turn into arguments later.
- The full inspection report, including every addendum. Inspectors often write separate pages for the electrical, plumbing, HVAC and structural portions.
- The inspector’s photographs. Most reports attach images, and they carry more weight in a negotiation than your description of a problem does.
- Disclosures and the seller statement on defects, permits and any work the previous owner had done.
- A rough budget and a contingency set aside separately, ideally in an account you do not raid for moving costs.
- Emergency contacts: a licensed plumber, roofer, electrician and your gas utility’s emergency line, saved in your phone.
- Your inspector’s number, for the follow-up walkthrough where you ask what each finding actually means.
Keep the report in one place, digital if you can. When the negotiation heats up, being able to point at a specific line item saves hours.
Step-by-Step: How to Prioritize Repairs After a Home Inspection
1. Read the Report and Separate Findings by Severity
Go through the report once and mark each item with a tier number. Do not evaluate cost during this pass. Ranking by price first is how buyers end up negotiating over a cheap gutter instead of a compromised foundation, and the arithmetic is worth doing properly later, once you know which findings actually matter.
For each finding, write down three things: the system it belongs to, where it is in the house, and whether it is getting worse right now. Active growth is the single most useful signal for ranking. A slow drip under a sink outranks a standing puddle in the yard every time.
You should finish this pass with a short ranked list, not a legal document. Twelve to fifteen real items is normal. Everything else on the report is usually a note, a recommendation or normal wear that the inspector flagged out of thoroughness.
2. Address Immediate Safety Hazards First
Some findings are not repairs, they are emergencies. A gas odor, exposed or hot wiring, a sewage backup inside the living area, a carbon monoxide alarm that will not silence, a bulging or scorched outlet, a ceiling that has visibly sagged: leave the area, get people and pets out, and call the utility or emergency services before you call a contractor.
Do not troubleshoot these yourself while you wait. Switching a breaker, tightening a fitting or resetting a furnace to see what happens can turn a contained problem into a fire or a gas incident.
Once the house is safe, these items sit at the top of your request list. They are also the items a seller cannot reasonably argue with, because most of them touch life safety or code compliance.
3. Stop Active Water and Weather Damage
Water is the fastest destroyer of a house and the cheapest to stop. An active leak, water coming through the roof, a failed supply line or a washing machine hose that has already let go will damage framing, drywall, flooring and cabinets while you deliberate.
Shut off the water at the main if a line is open. For roof intrusion, cover what you can safely reach from the ground and call a roofer for a tarp and an assessment.
These findings belong near the top of the negotiation because they are easy to prove and the cost is easy for a seller to predict. Mold appearing behind a wet wall is the expensive version of the same finding.
4. Protect Critical Systems and Structural Elements
Structural movement, widespread roof damage, faulty service panels and unsafe wiring are not emergencies, and they are not cosmetic either. They determine whether the house is safe to live in for the next twenty years and whether it will be insurable and sellable later.
Specific items worth ranking high: step or stair settlement, cracks that have widened or moved, roof flashing failures and missing shingles across a slope, knob-and-tube or aluminum branch wiring, a panel with no legible labeling or one missing breaker covers, missing GFCI or AFCI protection where required, and a failed or long-suppressed crawlspace encapsulation.
Ask a licensed engineer or contractor to confirm these before you build a request around them. An inspector’s opinion from the crawlspace is a strong flag, and an engineer’s written evaluation makes it unarguable.
5. Plan the Remaining Repairs by Consequence and Urgency
Everything left in tier four or five gets ranked by what happens if you ignore it. Ask four questions about each item: what does it damage, does it affect health, how much disruption does the fix cause, and does timing make it worse?
A failed HVAC system in July is a different problem from the same failed system in October, because the difference is whether the house is habitable while you shop and install. Water heater issues sit here too: a unit that leaks or has a failed tank can flood a room, while one that is merely aging is a scheduled expense.
Group the survivors by trade. Roof work, electrical work, plumbing work and bathroom work often share access points, and doing them together is usually less destructive and sometimes less expensive than four separate mobilizations.
This is where buyers argue about strategy, and the honest answer is that there are three ways to handle a finding: ask the seller to repair it, ask for a credit at closing, or ask for a reduction in price. They are not interchangeable.
Asking for a repair suits life-safety items, anything structural, anything a licensed trade must do, and anything you cannot afford to handle yourself. Buyers often prefer this anyway, since contractor quality stays out of their hands.
Asking for a credit suits items where you already know you will hire your own contractor, or where the seller might patch something rather than fix it. You control the work and the timeline. A credit is not free money; sellers usually only give closing credits if the item is minor, cosmetic or hard to price precisely.
Asking for a price reduction suits deferred items you plan to handle in the first year anyway. It works best in a market with plenty of comparable homes and inventory time on your side.
Pick one approach per item and stay consistent. Switching between the three mid-negotiation is how buyers lose ground.
6. Get Bids and Build a Repair Budget
Get a written estimate for the items you intend to request, not a mental number. Licensed contractor quotes carry far more weight with a seller than a buyer’s guess, and they tell you which findings are real problems and which are just notes in a report.
Get two or three bids for anything substantial, and compare scope rather than just the bottom line. One contractor may be pricing a patch and another a full replacement. Check licenses, insurance and references, and ask each to itemize labor, materials and permits.
Build the budget in three buckets: money the seller will spend, money you will spend before move-in, and money you will spend in the first year. Add a contingency to each. Roofs hide rot, and opening a wall for a plumbing repair regularly reveals something nobody priced.
Skip upgrades you did not ask for. If the electrical panel needs replacing, a panel is the request, not a full rewire and a smart panel at the same time.
7. Schedule Work and Verify the Results
Order the work so nothing gets finished twice. Roof and exterior first, then structural and framing work, then plumbing, then electrical, then drywall and paint, then finishes and trim.
Check permit requirements in your jurisdiction. Replacing a panel, redoing a circuit or replacing a water heater usually requires a permit and a final inspection, and unpermitted work can complicate insurance and resale.
After each job, photograph the finished work, keep the invoice and warranty paperwork, and note who did what and when. Confirm that any failed item was actually corrected rather than patched over.
Call your inspector back before closing if you have questions about a finding, ideally while you are still under contract. Walk the house with the inspector if you can, and bring your contractor to ask technical questions directly.
Keep every message about the request in writing, sent through the parties your contract names. Verbal agreements about repairs have a poor survival rate.
Common Mistakes
Fixing the cheapest item first. It feels like progress and it is not. Work the tiers in order.
Waiting on safety items because they are inconvenient. A scorched outlet or a gas smell is not a scheduling problem.
Treating the inspection as a repair contract. Your report is a general snapshot, not a warranty and not a code certification. Verify anything you rely on.
Hiring without written estimates. A verbal number changes the moment the contractor opens the wall, and you have nothing to show the seller.
Doing cosmetic work before damage prevention. New paint over a damp wall is money burned.
Skipping permits to save time. Unpermitted work creates insurance and resale problems that cost far more than the permit.
Attempting dangerous work yourself. Electrical, gas, structural and roof work belongs to licensed professionals, and most contracts require it.
Letting the contingency window run out while you deliberate. Deadlines in the inspection contingency period are contractual, and missing one can put your earnest money at risk. Write the deadline down the day you sign.
Sending a 20-item demand. Sellers with nine real issues stop reading by item three. Bring the tier-one and tier-two items and let the rest go, or trade them for concessions.
Frequently Asked Questions
How soon should I repair issues found during a home inspection?
Life-safety items and active leaks go first, often the same week. Structural findings and failed critical systems should be resolved before or right after closing, before they cause secondary damage. Cosmetic items can wait months or years. Your inspection contingency period sets the deadline for requesting work from the seller, and that window is usually short, so move quickly even on the bigger decisions.
Which home inspection problems are considered urgent?
Treat as urgent any gas odor or leak, exposed or overheated wiring, active water intrusion, sewage backup, visible structural movement, a sagging ceiling, carbon monoxide concerns, and fire damage. These threaten life or destroy the house quickly, and they carry the most weight in a repair request because a seller has little room to argue. Leave the area first, then call the utility, emergency services or a licensed trade.
Do I have to repair everything listed in a home inspection report?
No. Most findings are informational notes, maintenance reminders or normal wear, and a report often runs dozens of pages. You are responsible for items you agreed to address in writing, plus anything that affects safety or your insurance. Cosmetic items such as cracked caulk, minor drywall cracks, worn gaskets and cosmetic foundation cracks are commonly deferred, negotiated as credits, or simply accepted.
Should I get several estimates before prioritizing repairs?
Yes, for anything substantial. Two or three written estimates from licensed and insured contractors tell you which findings are real and give you itemized pricing a seller can respond to. Compare scope, not just the total, and make sure each bid prices the same work. For small items, one estimate is usually enough to justify the request.
Can I fix home inspection findings myself?
Cosmetic items, caulk, painting, minor drywall repair and some fixture swaps are reasonable DIY work, especially after closing. Electrical panels, branch wiring, gas work, structural changes, roof repairs and anything requiring a permit are not. Check what your contract and local code require before starting, and get a licensed professional for hazardous materials or anything touching structural load.
Will home insurance pay for repairs caused by an inspection?
Usually not. An inspection surfaces pre-existing defects, and policies respond to sudden, accidental damage rather than gradual wear, failed systems or deferred maintenance. What a policy usually does cover is damage that follows a covered loss, such as a burst pipe. Ask your insurer directly in writing about a specific finding, and consider a home warranty plan for major systems once you close.
How to Start Your Repair Plan
Mark the safety items first, on the report itself. Then handle anything actively leaking or taking on water, and stop there until the house is stable.
Photograph each finding as you go, and gather the reports, addenda and disclosures in one folder. Call your inspector with the questions you cannot answer yourself, ideally before your contingency deadline passes.
Get written estimates for the top findings, split the rest into pre-move-in and first-year buckets with a contingency attached, and send one written request that leads with safety and structure. Everything cosmetic can wait until you know your real budget. That order is the whole answer to how to prioritize repairs after a home inspection, and it costs nothing but an afternoon.