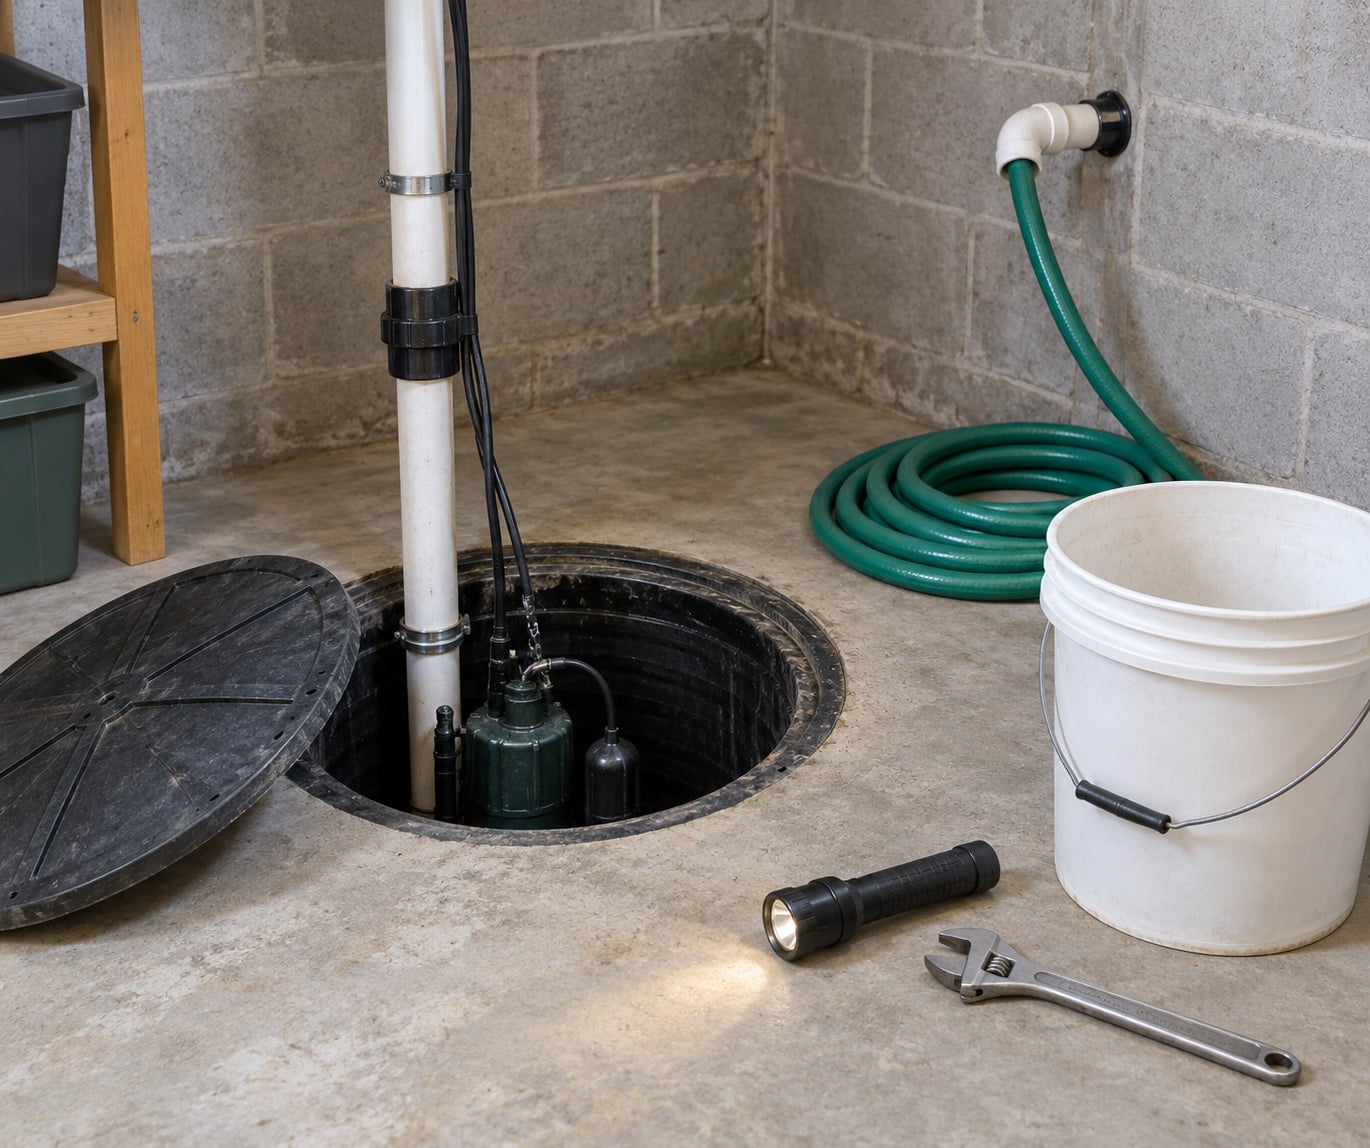
Learning how to test a sump pump before storm season takes about 20 minutes and almost nothing else: a five-gallon bucket, a flashlight, and a clear path to wherever your discharge pipe exits the house. You pour water into the sump pit, watch the float rise, and confirm the pump starts on its own, pulls the level down, and actually pushes water outside. Pumps rarely fail loudly. They sit through a dry summer, quietly seize or gum up, and get their first real workout during the heaviest storm of the year, which is usually the same storm that cuts your power.
That is the whole argument for testing ahead of time. You find out about a dead check valve while the ground is dry. You do not find out during a downpour with a finished basement below you.
Table of Contents
- What You Need
- Step-by-Step: Test Your Sump Pump Before Storm Season
- 1. Prepare the Pit and Disconnect Power Safely
- 2. Inspect the Pump, Float, and Discharge Pipe
- 3. Restore Power and Let the Float Activate the Pump
- 4. Check Water Flow and Drainage Performance
- 5. Test the Float or Test Switch
- 6. Shut Down the Test and Leave the Pit Ready
- Pass or Fail: What Each Test Should Tell You
- What a Healthy Sump Pump Sounds Like
- Check the Discharge Line and the Outlet Outside
- Test Your Battery Backup Too
- If the Pump Runs Constantly, Fix the Drainage First
- Common Mistakes and What to Do Instead
- Frequently Asked Questions
- When should I test my sump pump before storm season?
- How do I test a sump pump with a float switch?
- Why is my sump pump running but not draining water?
- Can I test a sump pump without pouring water into the pit?
- What should I do if my sump pump makes a grinding noise?
- How often should sump pumps be tested?
- Conclusion
What You Need
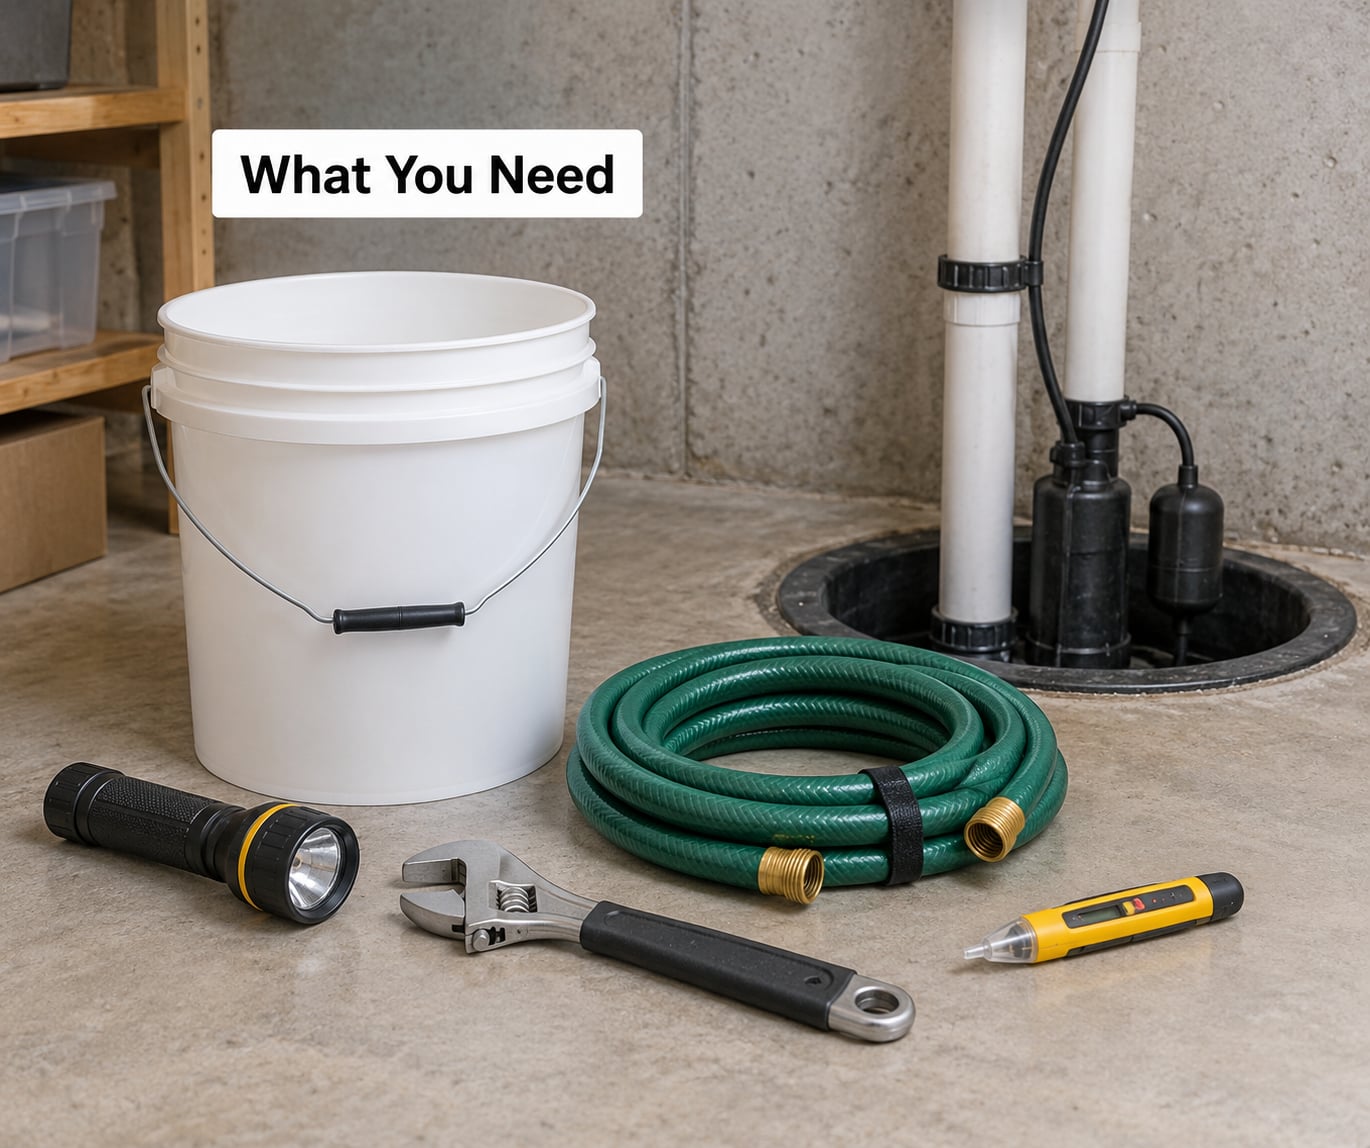
A five-gallon bucket and about fifteen gallons of clean water, a flashlight or headlamp, and a flat-head screwdriver are the core kit. Add a pair of rubber gloves and a small hand pump or wet vac if your pit holds standing water, since that has to come out before you touch anything.
What you also need is a way to watch the outside discharge. If you have a second person, hand them the flashlight and send them to the outlet. Otherwise, run a garden hose from the discharge outlet to a safe drainage area or into a bucket, so you can see flow without standing in the rain.
Before starting, find the outlet or breaker feeding the pump and confirm it is a GFCI-protected receptacle. A test is meaningless if the pump never received power, and a tripped GFCI is the first thing to rule out before assuming the motor is dead.
Keep the owner’s manual nearby if you have it. Float switches, test buttons, and alarm units all differ by model, and the manual is the only reliable source for how your particular unit is meant to be tested.
Step-by-Step: Test Your Sump Pump Before Storm Season
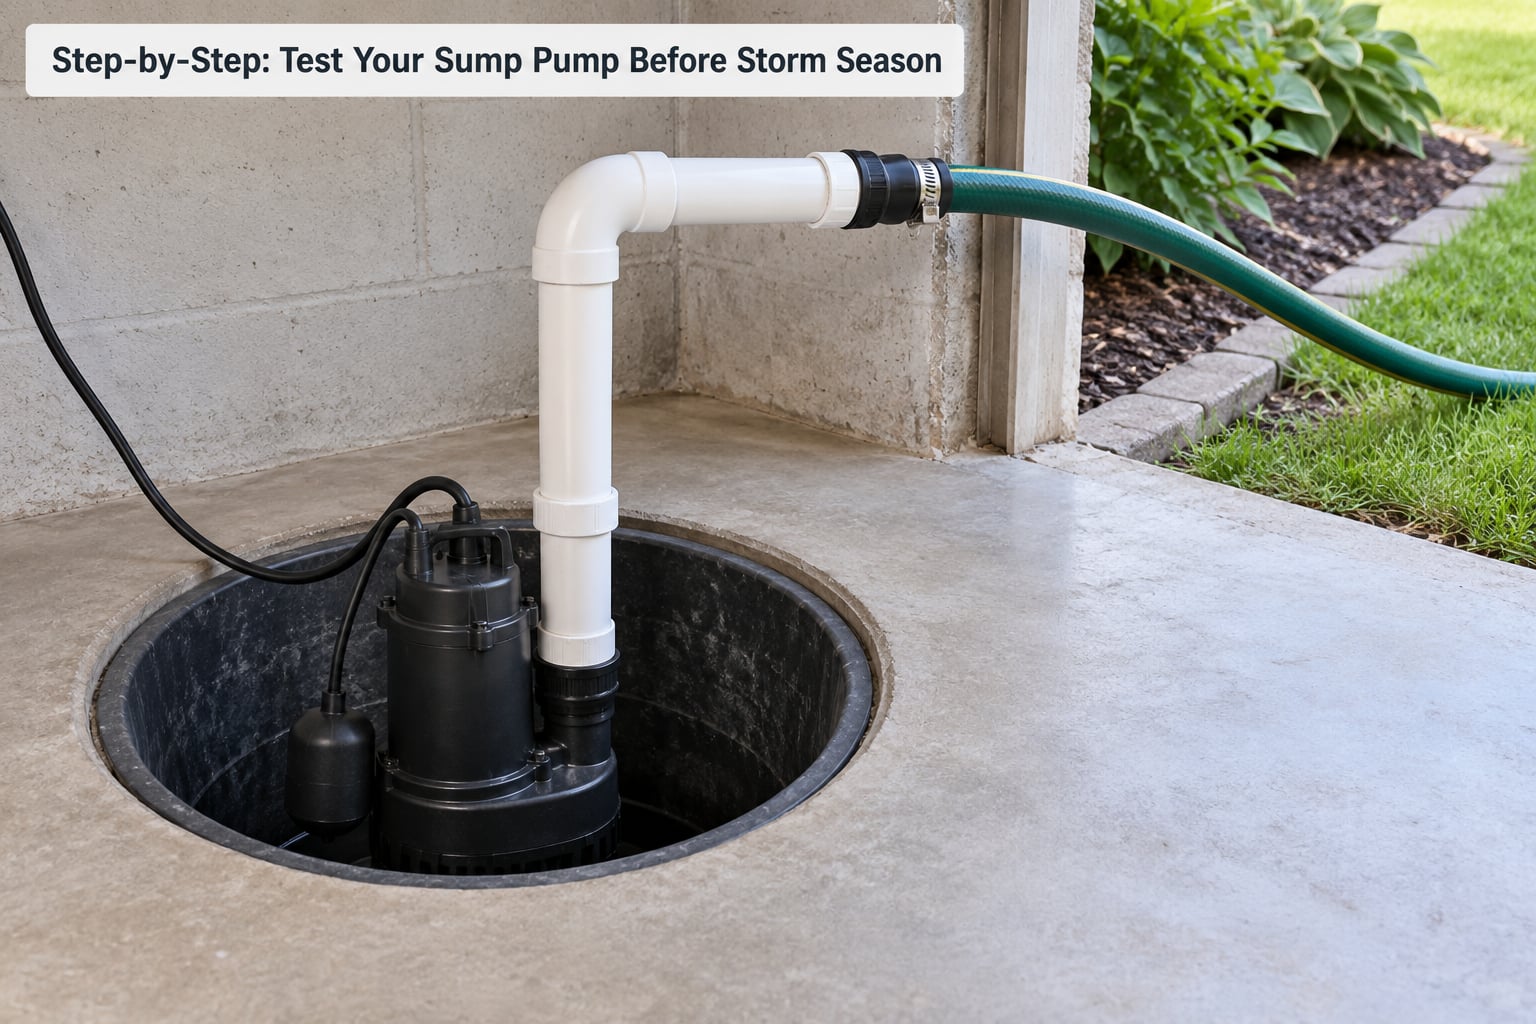
Work through these six steps in order and you will know whether the pump, the float, and the discharge line are all doing their jobs. Each step ends with what a pass looks like, so you are not guessing.
1. Prepare the Pit and Disconnect Power Safely
Unplug the pump, or switch off the breaker feeding it, before you put a hand anywhere near the pit. Water and mains voltage do not mix, and a flooded pit with a live cord is the one real hazard in this job.
Then pull out standing water and scoop out debris. Gravel, silt, drywall dust, and pieces of insulation settle on the pit floor over the years, and a clogged intake screen will make a healthy pump look broken. Lift the float by its housing or lever, never by its cord, since a tugging cord can break the switch inside and strand the pump off permanently.
A pass here means the pit bottom is visible, the water is pumped out, and the float hangs free rather than resting against the pump housing or the discharge pipe.
2. Inspect the Pump, Float, and Discharge Pipe
Look at the pump housing for cracks and check that the discharge pipe is firmly glued or threaded into the port. Follow the discharge line as far as you can reach: a fitting weeping at the pit rim, a section that has slipped down into the water, or a pipe that kinks against the basin wall will all restrict flow.
Look at the intake screen and, where it is accessible without disassembly, the impeller. Grit packed around the impeller is the classic cause of a pump that hums and moves no water. Do not take apart a sealed motor housing or any electrical component; that is appliance work, not a bucket test.
A pass means a dry basin floor, a tight discharge joint at the pump, an unobstructed path upward, and a float that swings freely through its full range of travel.
3. Restore Power and Let the Float Activate the Pump
Plug the pump back in, or restore the breaker, and stay out of the pit. Confirm power at the receptacle with a voltage tester if you want a definitive answer, then pour the first bucket of water into the pit slowly and steadily.
The float should rise and the pump should start before the water reaches the top of the basin, well before it reaches the float switch set height minus an inch. If nothing happens at all, the pump is not receiving power or the float switch has failed. Do not put your hand or a tool into a wet pit to check whether it is spinning.
A pass means the pump starts on its own within a few seconds of the float lifting, with an audible hum and no need for you to touch anything.
4. Check Water Flow and Drainage Performance
Watch the pit level while you keep pouring. On a healthy pump the water goes down as fast as you can add it, the pump hums steadily, and the flow at the outside outlet is strong enough to see from several feet away.
Pour the rest of your water in and keep watching. At shutoff you should hear a single clear clunk as the check valve closes, and you should not hear water rushing back into the pit. A pump that stops and starts repeatedly every few minutes is short cycling, which usually means the check valve is leaking rather than the pump being too small.
A pass means a steady hum with no rattle or chatter, a fast level drop, visible flow outside, one clean shutoff, and no water coming back down the pipe.
5. Test the Float or Test Switch
On a pump with a piggyback plug, the pump cord plugs into the outlet on the float cord. To test the float electrically, unplug the pump cord from the piggyback receptacle and plug it straight into the wall outlet, then listen for a hum at the pump. That isolates the motor from the switch and tells you which half of the system is dead. Put it back the way you found it afterward.
On a unit with a test button or a test float, use the button or lift the float as the manual describes. A mechanical float should reach its shutoff height within a few seconds and click off cleanly. If the float rises and nothing happens, the switch is the failure. If the pump runs when the float is lifted but never runs from rising water, the same is true.
A pass means the pump responds when the float is raised manually and shuts off when you lower it, every time you try.
6. Shut Down the Test and Leave the Pit Ready
Disconnect power again before the level drops enough to expose the pump. Pull the garden hose, wipe the basin rim, reseat the pit cover, and confirm the discharge outlet is aimed away from the foundation and clear of leaves or mulch.
Write the date and the result somewhere you will actually see it, a note on the fridge or a photo on your phone. If the pump failed, that record tells the plumber when the problem started, which saves diagnostic time.
Pass or Fail: What Each Test Should Tell You
Most of what goes wrong with this job is not doing the test, it is not knowing what a pass looks like. Use this table as your scorecard while you work.
| Test | Expected result | Warning sign | What to do |
|---|---|---|---|
| Power and plug | Pump hums on a direct plug test | No hum at all | Check the GFCI, breaker, and piggyback plug before blaming the motor |
| Float activation | Pump starts before the water nears the top of the pit | Nothing happens, or it starts very late | Replace the float switch or reset the float height on its housing |
| Level drop | Water falls as fast as you pour | Level barely changes | Clear the intake screen and check the impeller for packed grit |
| Outside discharge | Strong visible flow at the outlet | Weak dribble or no flow | Check for a kinked, frozen, or buried discharge line |
| Shutoff | One clean clunk and silence | Chattering or repeated starts | Replace the check valve; short cycling wears the motor out fast |
| Battery backup | Takes over when the primary is unplugged | Nothing happens on backup | Recharge or replace the battery, typically on a five-year interval |
What a Healthy Sump Pump Sounds Like
A healthy pump gives you a steady, even hum with no rattle, and one firm clunk when it shuts off. That hum is the baseline homeowners use, and listening for it is genuinely the fastest diagnosis there is. A sound that was fine in April and gone by late summer is a pump that failed during inactivity, which is common with pumps that sat through a dry spell without ever cycling.
Grinding or a sound like it is pumping gravel means grit has reached the impeller. Rattling usually means a loose housing or a float cord snagging on something. Chattering on and off every two to five minutes is short cycling, and the usual culprit is a failed check valve letting pumped water rush back and trigger the float again. A loud clunk on shutoff can mean the same thing, or a waterlogged float. A motor that hums with no water moving at all is the case I check first, because it usually means a blocked discharge line or a clogged intake, not a dead motor.
If your pump runs constantly and never settles, do not go shopping for a bigger pump. A pump manages water that already reached the pit, so a constant run usually means too much water is arriving. Gutters, downspout extensions, grading, and a French drain or dry well are upstream problems, and fixing those beats a larger pump every time.
Check the Discharge Line and the Outlet Outside
The discharge line is where a perfectly good pump still fails the house. It should exit at least six to ten feet from the foundation, with ground sloping away so discharged water cannot flow back toward the wall. Confirm the outlet is clear of mulch, grass clippings, and leaves, and that the pipe runs with a continuous downward slope.
In cold climates, look for a low spot where water can sit and freeze, and check whether a freeze-relief fitting or air gap is installed where the pipe leaves the house. A frozen or blocked discharge line can burn out a pump in minutes, because the motor works harder and hotter against a closed pipe.
Test Your Battery Backup Too
If you have a battery backup pump, test it as a separate step: pour water in as before, then unplug the primary pump so the backup float takes over. Backup floats usually sit a little higher than the primary, so you may need a second bucket to reach the trigger.
Runtime depends heavily on cycle frequency, and the cycle rate does the damage. A 40 amp-hour battery might run roughly fifty hours if the pump cycles every five minutes, but closer to twelve hours if it cycles every minute. Replace backup batteries about every five years, and treat a weak battery as worse than no backup because it gives you a false sense of security.
A high-water alarm that chimes or sends a phone alert is the cheap addition worth making, especially if your pit is in a finished basement where you would not hear a pump over a dehumidifier.
If the Pump Runs Constantly, Fix the Drainage First
Persistent running is a drainage symptom. Extending downspouts away from the foundation, regrading the slope, and adding exterior drainage reduce how much water reaches the pit in the first place, and they also lower your risk of water backup no matter what pump you own.
One more triage worth doing: if the pit fills with clean water and your water meter is still moving with every fixture in the house shut off, you have a supply line or water heater leak, not storm runoff. No sump pump setting fixes that one.
Common Mistakes and What to Do Instead
Reaching into a wet pit with the power on. Unplug the pump or kill the breaker first, every time, no matter how little water you think is in there. Wet hands and a live outlet is the only mistake in this list with a genuinely dangerous outcome.
Testing with an extension cord. A sump pump belongs on a dedicated grounded circuit, usually with a GFCI receptacle nearby. An extension cord in a damp pit is a shock risk and can trip the pump mid-cycle.
Lifting the float by its cord. Grab the float housing or the lever. The cord is the weakest part of the assembly and a broken switch leaves you with a pump that will never turn on again.
Assuming the pump is dead when it is only dirty. Before you price a replacement, clear the pit, rinse the intake screen, and check the impeller for packed grit. A clogged intake mimics a burned-out motor almost perfectly.
Running the pump dry. If you test by lifting the float and holding it, give it only a few seconds. Submersible pumps cool with the water around them, and a dry run can warp the shaft or burn the windings in under a minute.
Testing without watching the outside outlet. A pump that runs and clears the pit can still be discharging into a frozen line, a buried pipe, or a foundation wall. Send water somewhere visible before you call the test passed.
Waiting a full season to replace a failed pump. Once a pump fails the bucket test, order the replacement before storm season rather than during it. Pump motors commonly last seven to ten years, so a unit past that age deserves a replacement plan even if it passes this year.
One more note worth making before you start: standard homeowners policies often exclude sump pump failure and the water damage it causes, unless you carry an endorsement. It is a quick phone call to your agent, and far cheaper than discovering the gap after a flood.
Frequently Asked Questions
When should I test my sump pump before storm season?
Test it two to four weeks before your fall storm season starts, while the ground is still dry, so you have time to order parts or book a plumber. Test again in spring before the rains, and any time after a long dry stretch, a power outage, or a basement remodel.
How do I test a sump pump with a float switch?
Disconnect power, clear the pit, and free the float so it is not resting on the pump housing or discharge pipe. Restore power and pour about five gallons in slowly. The float should rise, the pump should start before water reaches the top of the pit, and it should shut off cleanly once the level drops.
Why is my sump pump running but not draining water?
Three causes cover most cases: grit packed around the impeller, a clogged intake screen, or a blocked, frozen, or kinked discharge line. Muffle the hum by gripping the discharge pipe while the pump runs. If you feel a strong vibration but see no flow outside, the line is blocked; if you feel little vibration, the pump is moving no water at all.
Can I test a sump pump without pouring water into the pit?
Partly. Lifting the float by its housing tests the float switch and the motor, but it does not confirm that water actually reaches the outside discharge. Most pits need roughly five gallons for the level to rise far enough to trigger the float, so the pour is the only complete test.
What should I do if my sump pump makes a grinding noise?
Stop running it and unplug it. Grinding usually means grit has reached the impeller, and continued running can strip the shaft. Clear the pit and rinse the intake screen, then run a short bucket test. If the grinding continues with a clean pit, the pump has internal damage and needs replacement.
How often should sump pumps be tested?
Twice a year, before the spring rains and before the fall storm season, plus after any long dry period when the pump has sat unused. A twenty-minute bucket test twice a year catches a hung float, a clogged screen, and a dead check valve long before the water is standing in your basement.
Conclusion
Put twenty minutes on the calendar now, while the weather is still cooperative. Clear the pit, pour about five gallons, and confirm three things: the pump starts on its own, the water level drops quickly, and water shows up at the outside discharge. Slow operation, a chattering start, or no visible flow outside all mean a call to a plumber before the first storm, not after.