Yes, you can seal a basement wall from the inside, and for hairline cracks, seepage through mortar joints, and general dampness it holds up well. You clean the masonry, fill the cracks with hydraulic cement, masonry caulk, or epoxy, then roll on a waterproof coating matched to your wall type. Most of this takes a weekend for a typical 200 square foot wall, and the messy part is surface prep, not the coating.
The catch is that interior work manages water instead of stopping it at the source. It works when water moves through the wall by capillary action or light seepage, which is most of what homeowners deal with. It loses to hydrostatic pressure, a bowed wall, or a foundation that is actually moving. Find out which one you have before you buy a bucket of anything.
Table of Contents
- What You Need
- Step-by-Step: How to Seal a Basement Wall from the Inside
- How to Seal a Basement Wall from the Inside: Inspect the Cause First
- Clean and Prepare the Wall
- Patch Cracks, Joints, and Small Holes
- Apply a Compatible Interior Waterproofing Sealant
- Address Persistent Basement Moisture
- Check the Repair and Finish the Surface
- Common Mistakes
- Frequently Asked Questions
- Can I seal a basement wall from the inside if water is already coming through?
- What is the best sealant for a painted concrete basement wall?
- Do I need to remove paint before waterproofing a basement wall?
- Will Flex Seal or a similar product stop water leaks in a basement?
- Which is better for basement walls, KILZ or Drylok?
- When should I hire a professional instead of sealing a basement wall myself?
- Conclusion
What You Need
Gather everything before you start, because stopping halfway through a coating job means a lap mark and a re-prep. Most owners already own the diagnostic half of this list.
- Safety gear: safety glasses with a side shield, nitrile gloves, a N95 or P2 respirator for the grinding and acid-cleaning steps, knee pads, and a headlamp or work light. A basement with a wet floor and no light is where people get hurt.
- Diagnostic tools: a stiff chalk or pencil for marking stains, a hygrometer or cheap moisture meter, a garden hose with a nozzle, a bucket, paper towels, and your phone camera to timestamp the wall before you disturb it.
- Masonry tools: a stiff wire hand brush, a wire cup brush or angle grinder with a cup wheel, a masonry chisel and hammer, a putty knife, a mortar hawk, and a shop vacuum.
- Repair materials: hydraulic cement for static hairline cracks, polyurethane or flexible masonry caulk for moving joints, two-part epoxy for wide cracks and tie rod holes, and masonry patching compound for spalled or missing concrete.
- Sealing materials: a cementitious crystalline coating for seepage through poured concrete or block, an elastomeric acrylic coating for dampness and movement, a silane-siloxane water repellent for damp-proofing only, plus a roller, a stiff brush, masking tape, and a drop cloth.
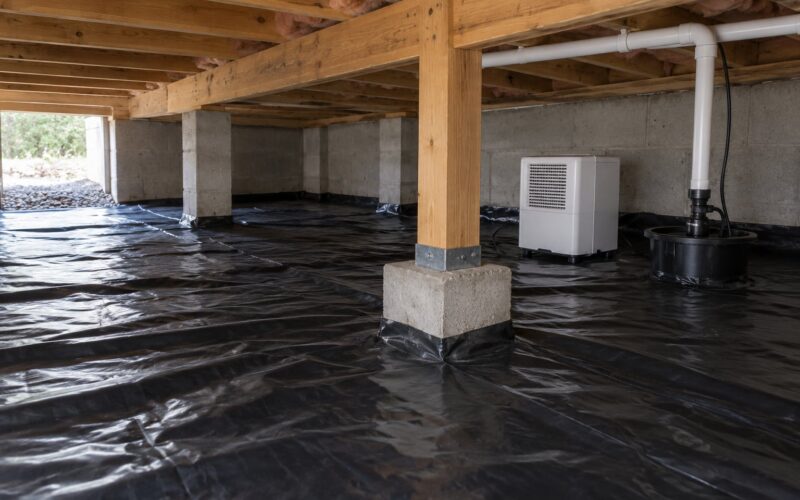
- Drainage and humidity gear: a dimple drainage membrane or an interior drainage channel, a sump pit and pump, and a dehumidifier with a drain hose. You cannot cure a coating in a basement sitting at 70 percent relative humidity.
Step-by-Step: How to Seal a Basement Wall from the Inside
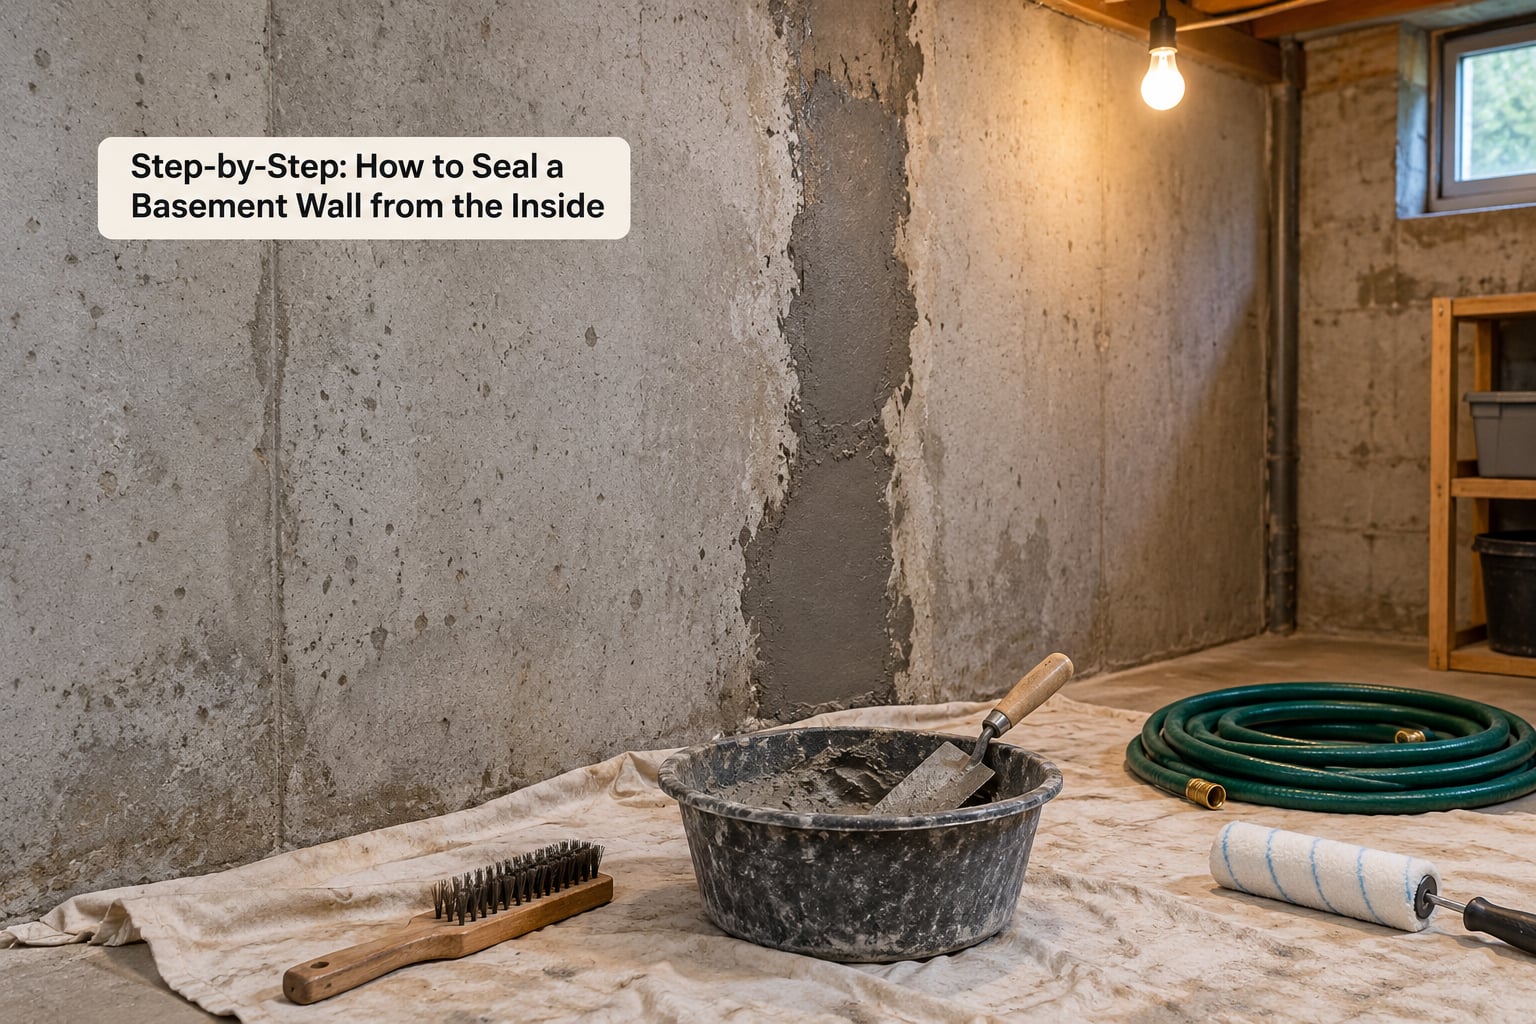
How to Seal a Basement Wall from the Inside: Inspect the Cause First
Every failed interior waterproofing job I have looked at started as a sealing job that should have been a diagnosis job. Before you clean anything, spend a weekend learning where the water comes from.
Start with the pattern. A vertical stain running down from a single mortar joint on a block wall is seepage. A horizontal stain along the wall-to-floor cove, or water that appears at the base of the wall after heavy rain with no stain above it, usually points to water coming up under hydrostatic pressure. Dampness that shows up on the wall behind stored boxes when the dehumidifier runs off is condensation, and sealing it does almost nothing.
Efflorescence is the giveaway: white powdery mineral deposits that brush off, then come back. It is not a stain, it is dissolved calcium and sulfate traveling with water through the concrete and evaporating at the surface. Blot it with a paper towel. If the wall is wet to the touch in dry weather with no rain for a week, you have a plumbing or drain leak, not a foundation leak.
Then run two tests. Attach a garden hose to a downspout or the exterior wall and leave it running for ten minutes, checking the interior every few minutes. For a plumbing source, drop a dye tablet into the floor drain or the nearest suspect fixture and watch for color at the base of the wall. Finally, note how the wall behaves: leak only after rain means groundwater, leak that tracks the storm drain means sewer backup and that is a plumber or a city, not a sealant.
Stop and call a structural engineer or a waterproofing contractor before you touch anything if you see any of these: a wide horizontal crack, a crack that stair-steps through the mortar joints of a block wall, a wall that leans or bows inward, a crack that widens month over month, standing water that rises without rain, or a sewer odor with water at the floor. Those are not cracks to fill.
Clean and Prepare the Wall
Dry first, always. Run a fan and a dehumidifier until the wall reads dry to a moisture meter across its whole height, which usually takes 24 to 48 hours after the last rain or dehumidifier run. Coating a damp wall is the number one reason interior sealers peel off later.
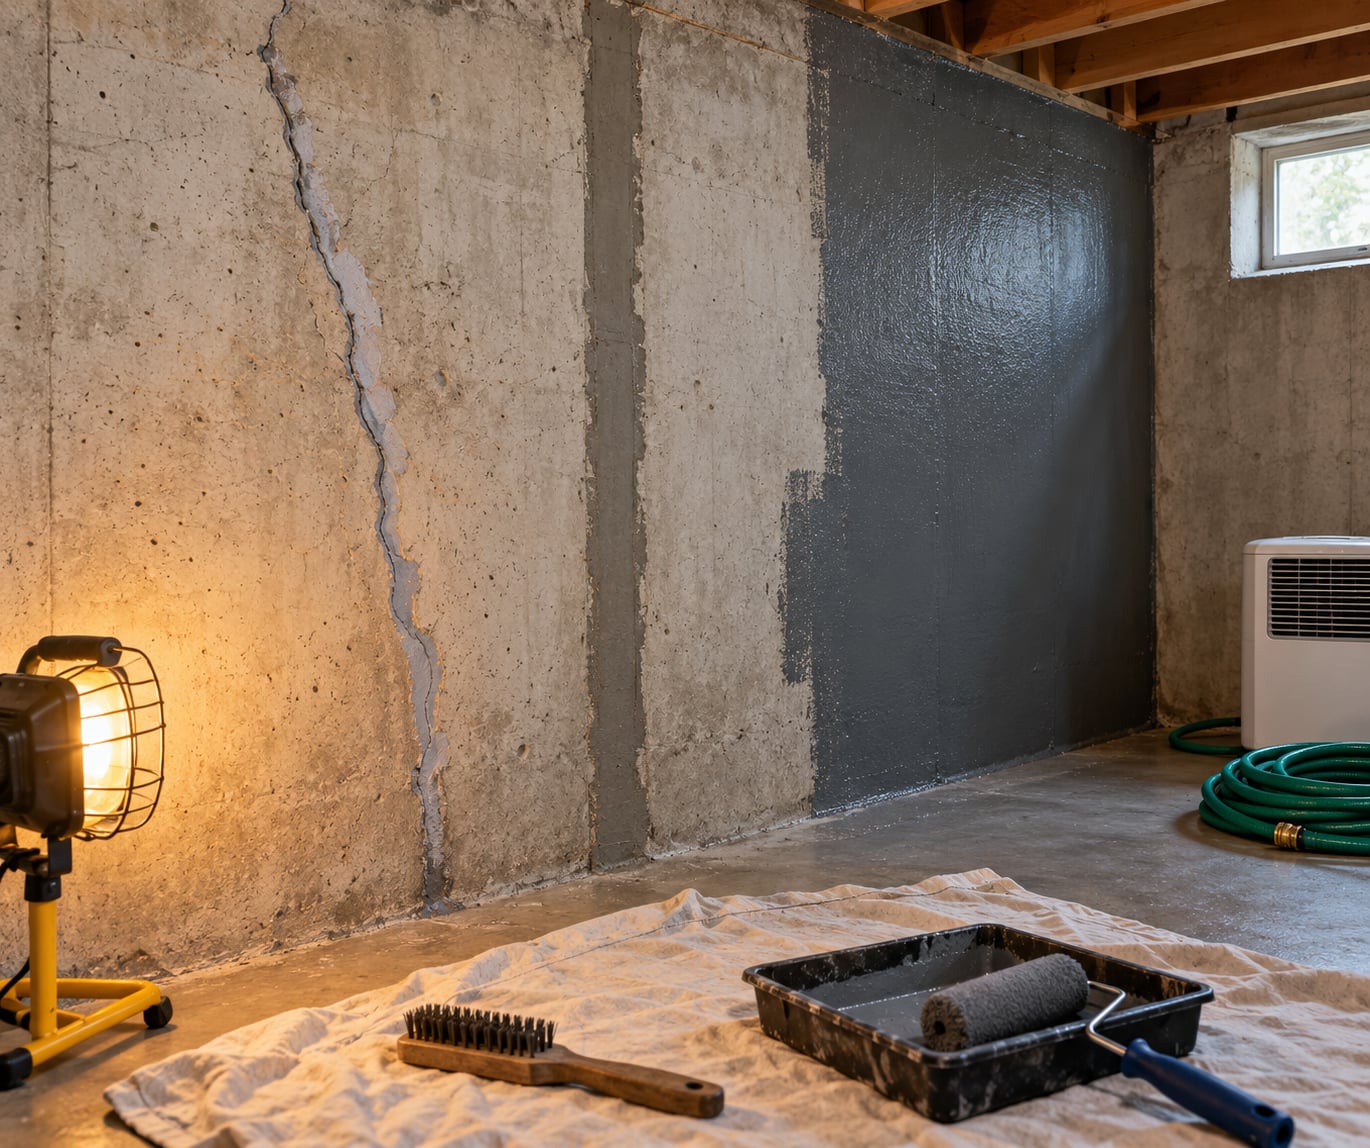
Then strip the surface. Scrub the whole area with a stiff wire brush to knock off dirt, paint film, and loose mortar. Where you see efflorescence, wet it and scrub it with a masonry cleaner or a solution of muriatic acid diluted about 1 part acid to 10 parts water, wearing gloves, goggles, and the respirator. Let the acid sit a few minutes until the deposit stops bubbling, then rinse with clean water and neutralize with a solution of baking soda and water as the label directs. A second, lighter scrub the next day catches the deposit that the first pass loosened.
On painted walls, you have two choices. Sand or grind the coating back to sound masonry so the new product can key into the pores, or roll a bonding primer rated for masonry over the existing paint if the paint is firmly attached. Sanding is slower and better. Vacuum everything with the shop vacuum, including the floor, because dust on a wet slab will show up under the finish.
Finally, open the cracks. Take a masonry chisel and lightly strike along the length of every hairline crack to widen it to roughly a quarter inch wide and the same depth, forming a shallow V. A patch only as wide as a hairline has nothing to grab, and it will walk out again. Chip out loose, crumbly material and wet the surface before patching so the material does not steal water from the mix.
Patch Cracks, Joints, and Small Holes
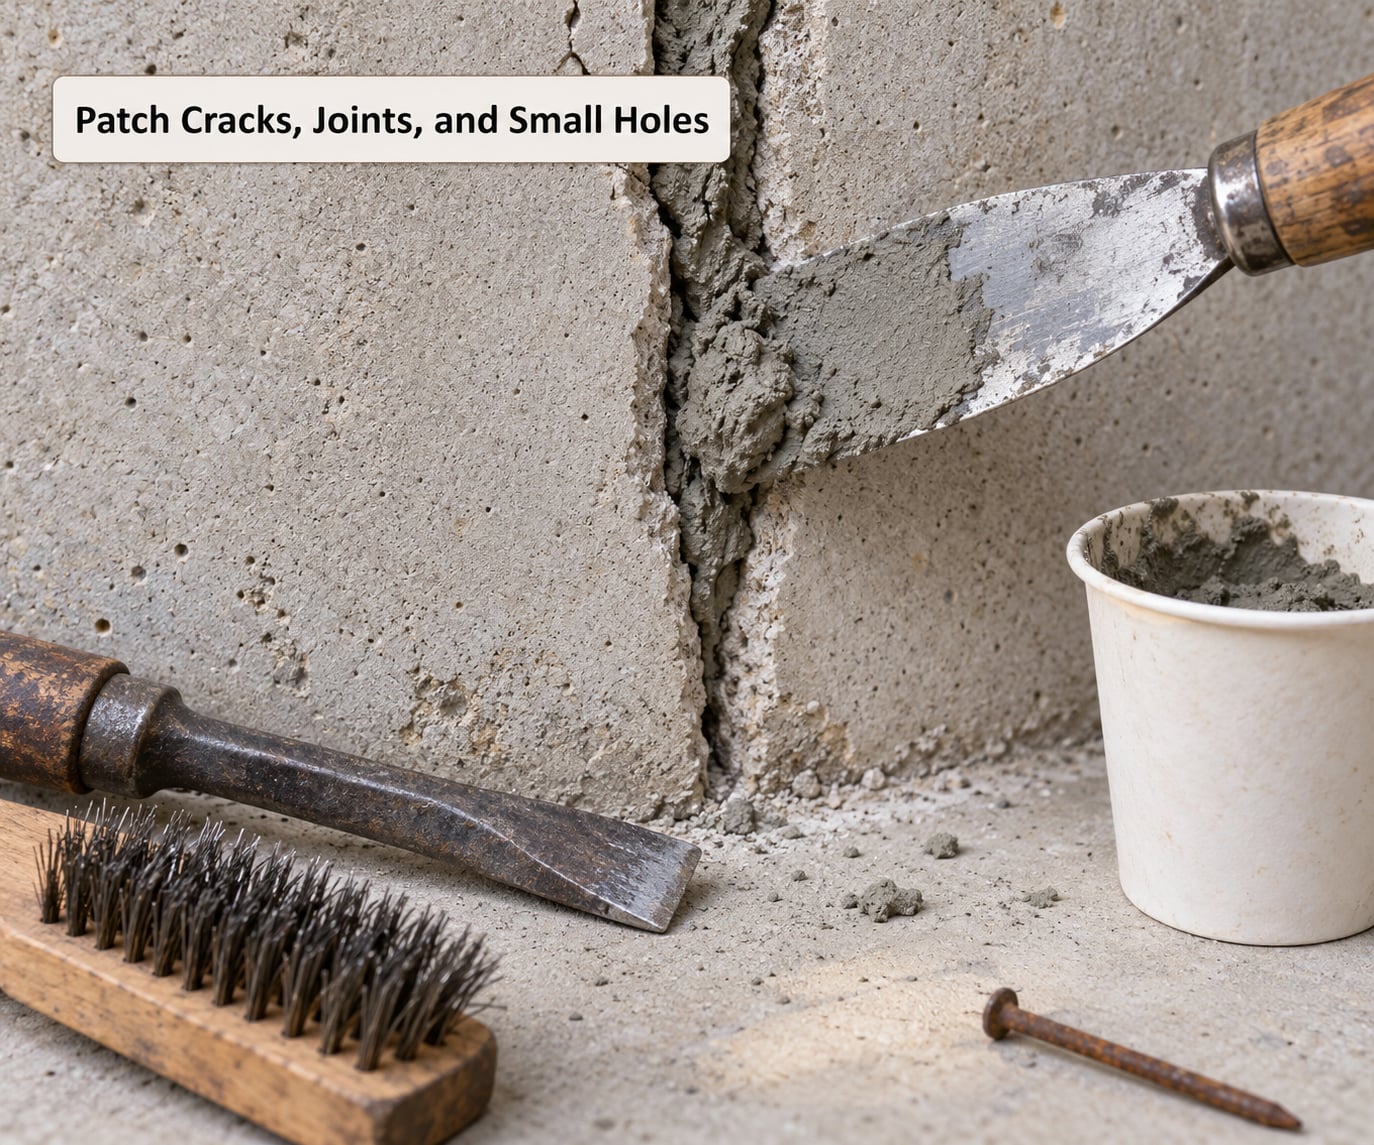
The material you use comes down to two things: how wide the defect is and whether the wall is still moving. Choose from this list rather than reaching for whatever is on the shelf.
- Hydraulic cement for static hairline and quarter-inch cracks in poured concrete, tie rod holes, and small punctures. It sets in 15 to 20 minutes and expands slightly as it cures, which is why it locks into the V you chiseled. Damp a sponge, wring it until it is barely wet, sponge the pack into the groove, and shave the excess flat with a putty knife. Once it firms up, apply a second coat to fill any shrinkage, then sponge smooth.
- Polyurethane or flexible masonry caulk for control joints, cove joints, and cracks that have opened and closed. These joints were put in by the builder to move, and a rigid cement plug will crack out within a couple of seasons. Backer rod first for anything wider than half an inch, then a generous bead tooled against the walls of the joint.
- Two-part epoxy for cracks over an eighth of an inch, for cracks where the two sides have shifted, and for tie rod holes left over from the formwork. Mix only what you can place in three minutes, pack it in from the bottom up, and let it kick before you move anything. It is stiff and bonds hard, which is the point.
- Masonry patching compound for spalled faces, chipped corners, and mouse-sized holes, where the damage is concrete that is actually missing rather than a joint that is open.
On a block wall, the cracks are usually the mortar joints, not the blocks. Fill the joint completely and let the bead overlap the block face on both sides, because water travels along the joint path and finds bare block edges easily.
Test the patches before you coat anything. Let them cure for the full time on the label, then hit the wall with the hose for five minutes. Watch for a patch that darkens, weeps, or lets water through the edge. If a hydraulic cement plug pops back out, the crack is still moving and it needed the flexible or epoxy route instead.
Apply a Compatible Interior Waterproofing Sealant
Now pick the coating from the problem, not from the bucket size. Damp-proofing slows moisture and lets the wall breathe, which suits musty condensation and seasonal dampness. Waterproofing blocks water and resists pressure from the wet side, which is what you need for seepage or hydrostatic head. Interior waterproof paint on a damp wall without fixing the water behind it will blister and peel.
For seepage through poured concrete, a cementitious crystalline coating is the standard choice because it reacts with the moisture in the wall to form crystals that plug the pores from inside. For block walls with dampness and movement, an elastomeric acrylic coating stretches across the mortar joints without cracking. Penetrating silane-siloxane treatments are worth using on brick and stone where the wall needs to keep passing vapor.
| Material | Best wall | Best problem | Cure before recoat |
|---|---|---|---|
| Hydraulic cement | Poured concrete | Static hairline cracks and tie rod holes | 15 to 20 minutes, then a second coat |
| Polyurethane or masonry caulk | Poured concrete and block | Control joints, cove joints, moving cracks | 24 hours |
| Two-part epoxy | Poured concrete | Wide or shifted cracks | 6 to 24 hours |
| Masonry patching compound | Poured concrete | Spalls and chipped faces | 24 hours |
| Cementitious crystalline coating | Poured concrete and block | Seepage and mild hydrostatic head | 24 to 72 hours |
| Elastomeric acrylic coating | Poured concrete and block | Dampness and joint movement | 4 to 24 hours |
| Silane-siloxane repellent | Brick, stone, block | Damp-proofing only, not seepage | 24 to 48 hours |
Roll or brush it on in temperatures roughly between 50 and 80 degrees Fahrenheit, with the wall dry to the touch and the basement ventilated. Some masonry coatings are labeled for slightly damp surfaces, which helps with the band near the floor, but do not stretch that into painting a wet wall. Cut in around tie rod holes, floor-wall joints, and the edges first, then roll the field. Two coats beat one thick coat every time, and crosshatch the second coat in the opposite direction.
Expect block walls to drink more material than poured concrete. Check the label for coverage rate in square feet per gallon on porous masonry and plan for the lower number, or you will run short halfway up the wall and end up with a lap line.
Address Persistent Basement Moisture
A coating deals with water already inside the wall. It does not remove water arriving through the floor or the wall-foot. If dampness comes back every season or you see water at the cove after every heavy rain, add control on top of the coating.
An interior drainage panel or channel is the workhorse: a dimpled plastic membrane or a rigid channel installed along the base of the wall, pitched toward a sump pit, that collects seepage and carries it to a pump instead of into the room. The setup is usually a trench around the inside perimeter with a channel pitched to a sump, and owners report it holding for years. Do the trench after the wall is patched, and keep everything clear of the footing so you can inspect it later.
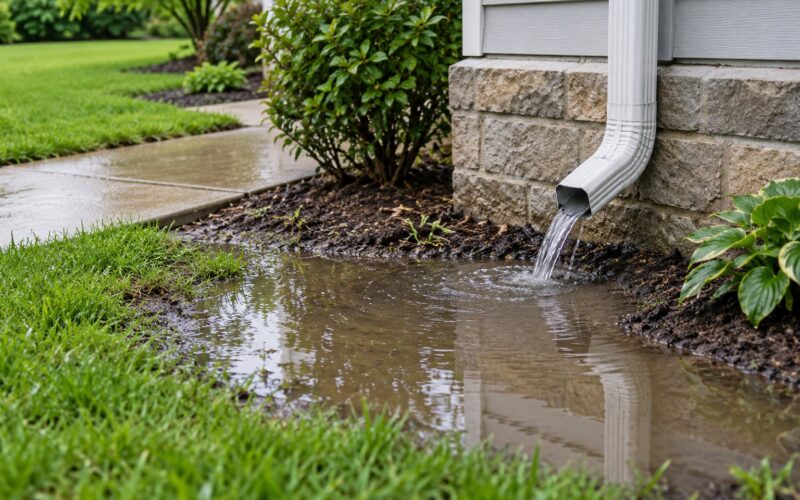
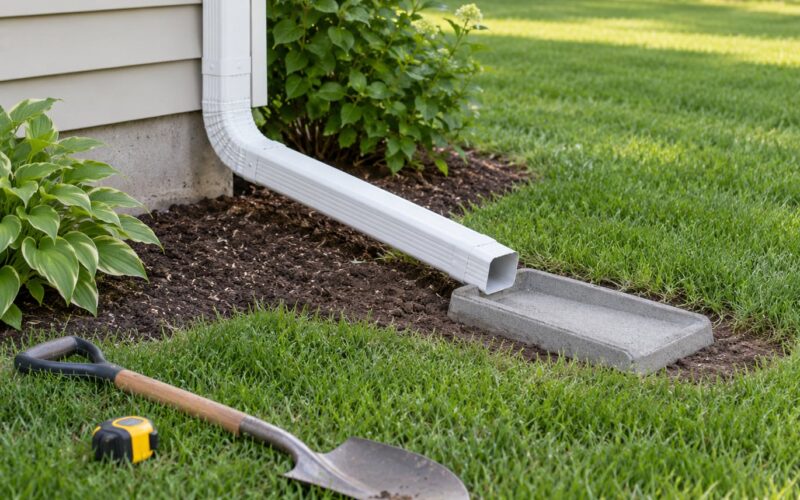
Hold relative humidity in the 50 to 60 percent range with a dehumidifier, especially during curing, and keep it running after. Outside, grade the soil so it slopes away from the foundation for at least six feet, and make sure downspouts discharge well away from the house. Sump lids get sealed or weighted down against the pressure that pushes through them.
| What you see | Likely cause | Correct response |
|---|---|---|
| Dampness on the wall, musty smell, no visible water | Condensation and high humidity | Dehumidify and insulate; a coating alone will not help |
| Efflorescence and damp patches after rain | Capillary seepage through the wall | Patch cracks and apply a waterproof coating |
| Water at the wall-foot in heavy rain, no stain above | Hydrostatic pressure | Perimeter drainage or a French drain, not a coating |
| Damp patch that ignores the weather | Plumbing or drain leak | Plumber first, then seal the wall |
| Cracks that widen, or a leaning wall | Structural movement | Engineer and foundation repair before any sealing |
Know where interior work ends. Groundwater above the level of your footing, a leaking sewer line, a cracked footing, or a wall that is moving are excavation, drainage, or structural problems. Interior work buys you time and a dry room, which is worth a lot, but it is water management and not a cure.
Check the Repair and Finish the Surface
Give the coating the full cure time on the label, usually 24 to 72 hours before it sees water, and keep the dehumidifier and fan running. Then come back at 24 and 48 hours with the hose.
Look for blisters, peeling edges, soft spots, a new chalky bloom of efflorescence coming through the finish, and any musty odor that returns when the room goes quiet. Any of those mean water is still arriving behind the coating and the repair will fail, so go back to diagnosis rather than adding a second coat on top.
If the surface is sound, finish it with a vapor-permeable masonry paint or latex topcoat once the coating has fully cured. An oil-based or non-vapor-open paint traps what little moisture the wall will always pass, and you end up peeling paint off the block later. Keep an eye on the wall each spring and after heavy storms, and expect to touch up a patch or two rather than redo the whole wall.
Common Mistakes
These are the errors that turn a weekend project into a re-do.
- Sealing over an active leak. The coating cures around moving water and peels off in sheets. Stop the water first with patching and drainage, then coat.
- Painting damp masonry. Trapped moisture freezes or condenses behind the film, which is how a wall ends up spalling. Dry to a moisture meter, not by feel.
- Ignoring efflorescence. Painting over the white powder leaves the moisture moving behind the paint and the deposit comes back through it. Remove it with a masonry cleaner and neutralize.
- Using the wrong product class. Kitchen and hardware silicone is not waterproofing. Neither are latex waterproof paints, which are damp-proofing coatings. Match the product to the wall and the problem.
- Skipping cure between coats. The second coat bonds to a skin rather than to a cured film and lifts later. Follow the label times even when the wall feels dry to the touch.
- Calling a structural crack cosmetic. Filling a crack that is still moving just hides it until the patch spalls out and takes the coating with it.
- Treating a flood as a crack problem. Water at the floor during heavy rain or after a backup is a drainage and plumbing issue, and no interior sealant fixes it.
- Notching nothing at all. Packing a patch into an un-widened hairline crack gives it nothing to bond to, and the repair walks out within a year.
Frequently Asked Questions
Can I seal a basement wall from the inside if water is already coming through?
Yes, but stop the water first. Patch the crack or joint with hydraulic cement, caulk, or epoxy and let it cure, then apply the coating over the dry repair. If water is arriving at the wall-foot rather than through a crack, that is hydrostatic pressure and a coating will not hold it, so add a perimeter drain or channel pitched to a sump pump.
What is the best sealant for a painted concrete basement wall?
Grind or sand the paint back to sound masonry first, then roll a bonding primer rated for masonry and finish with a cementitious or elastomeric waterproof coating. Sealant will not bond reliably to an intact latex film. If the paint is already peeling and the wall is damp, remove it completely and treat the dampness as a moisture problem before anything is applied.
Do I need to remove paint before waterproofing a basement wall?
Ideally yes, or at least grind the coating to a rough, sound surface so the new material can key into the masonry pores. If the paint is firmly attached and non-peeling, a bonding primer compatible with your coating is an acceptable shortcut. Never seal over chalking or flaking paint, because the new film lifts off with the old one.
Will Flex Seal or a similar product stop water leaks in a basement?
Not as a waterproofing system. Products like Flex Seal are elastomeric gap sealants, useful for a narrow joint or a small weep hole, but they are not a substitute for patching the defect and coating the wall. A house filled with Flex Seal is still a house with a leak. Patch, dry, coat, and control the water with drainage.
Which is better for basement walls, KILZ or Drylok?
Both are damp-proofing coatings, not waterproof membranes. They slow moisture and are fine as a topcoat on a wall that has already been patched and sealed, and Drylok is commonly used as a primer under a cementitious coating. Neither one on its own will hold back water arriving with pressure, so treat them as the finish, not the fix.
When should I hire a professional instead of sealing a basement wall myself?
Hire someone the moment you see a horizontal or stair-stepped crack, a wall that bows or leans, a crack that widens, standing water with no rain, or a sewer smell with water at the floor. Those are structural, drainage, or plumbing conditions. Interior sealing is a homeowner job only when the wall is sound and the water is light seepage or dampness.
Conclusion
The first thing to do is find out whether your wall is leaking or damp. A hose test, a dye test, and a weekend of watching the stain pattern tell you which problem you have, and that answer decides everything after it.
Once you know it is light seepage or condensation, how to seal a basement wall from the inside is straightforward: dry the wall, remove efflorescence, widen and fill the cracks with the material the crack’s width and movement call for, then apply a waterproof coating compatible with poured concrete or block, and add drainage or a dehumidifier if the water keeps coming. If the wall is bowed, the crack is widening, or the water shows up with no rain behind it, stop and bring in a contractor, because that is not a sealant problem.