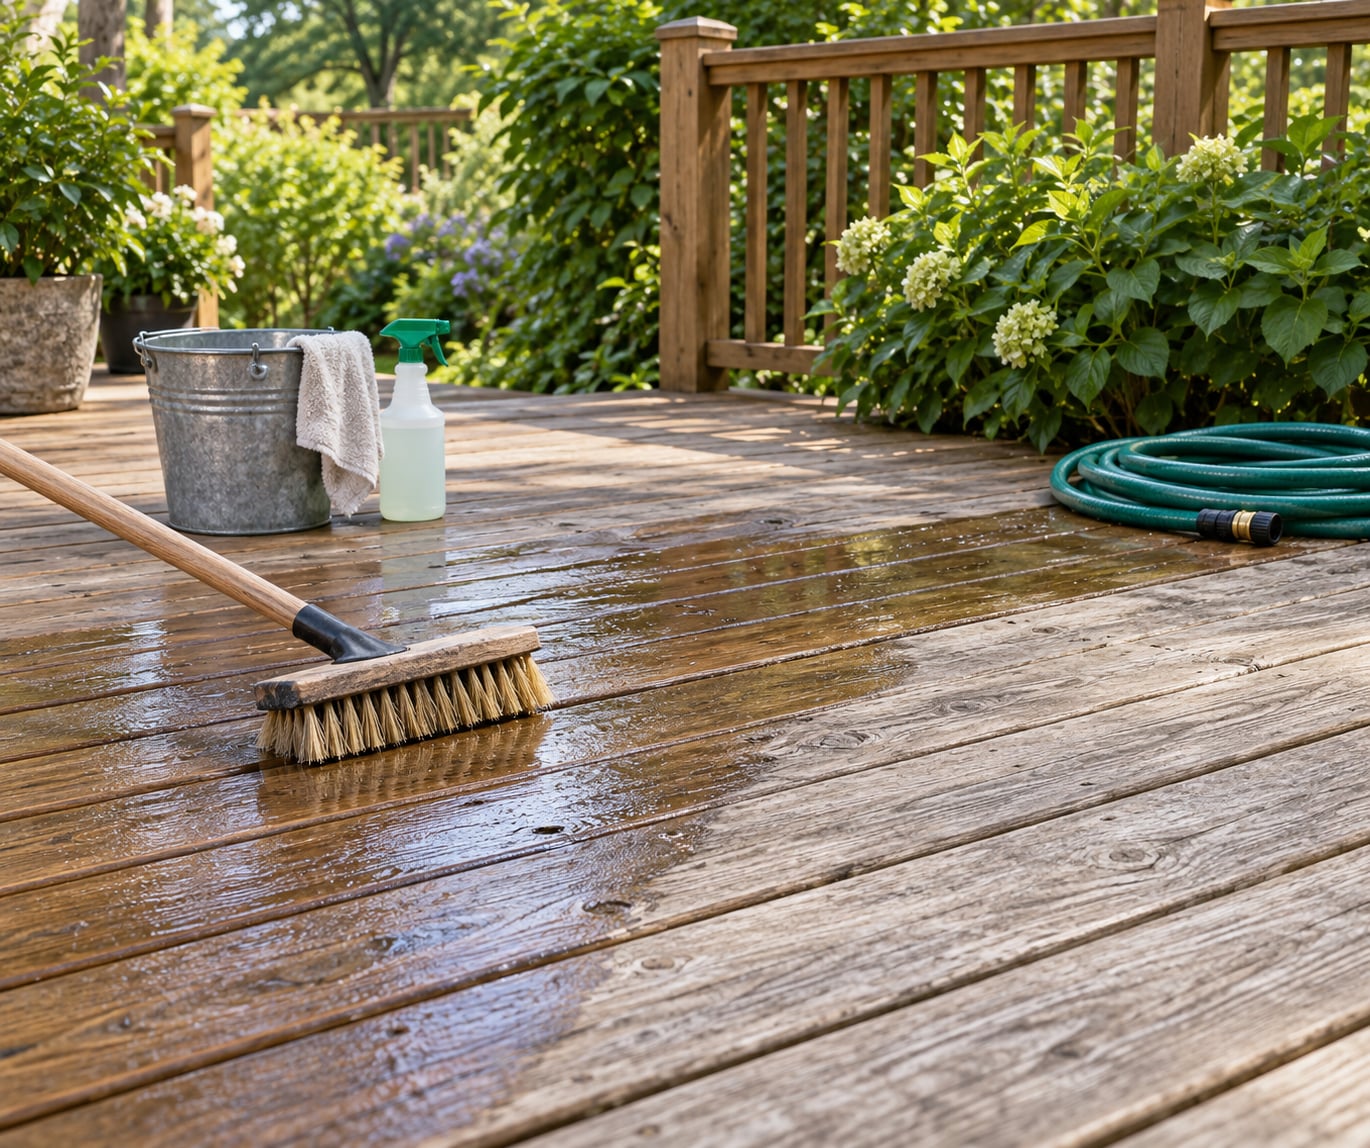
To clean a deck before staining, clear the furniture off, sweep away leaves and grit, apply a deck cleaner and give it a few minutes to work, scrub the boards with a stiff bristle brush, then rinse thoroughly and let the wood dry until a water drop soaks straight in. That last part is the one people rush, and it is the reason a finish peels off in a month.
A deck is a wet, walked-on, exposed surface that collects pollen, sap, algae and whatever the dog drags in. Stain is a thin film, and a film only sticks to clean, sound wood. Anything left underneath — dirt, mildew, gray weathered fiber, a peeling coat of old stain — gets sealed in, and the new finish fails right where the weak spot was.
The good news is that the whole job fits into a weekend for an average 200-square-foot deck, and none of it needs special skills. Work in manageable sections, keep the hose within reach, and check your forecast before you start.
Table of Contents
- What You Need
- Step-by-Step
- 1. Inspect the deck and identify the surface
- 2. Remove furniture, rugs and loose debris
- 3. Choose the right deck cleaner
- 4. Apply the cleaner and work evenly
- 5. Rinse thoroughly
- 6. Let the deck dry completely
- Common Mistakes
- Cleaning Tips for a Better Staining Result
- Frequently Asked Questions
- Do you need to clean a new deck before staining?
- What is the best deck cleaner to use before staining?
- Does pressure washing damage a wood deck?
- Is it okay to stain a deck that has not been power washed?
- How long should a deck dry after cleaning before staining?
- How long to let oxalic acid sit on wood?
- Conclusion
What You Need
The list is short, and most of it you probably own already. The one thing worth buying is the deck cleaner itself.
- Deck cleaner — a purpose-built wood or composite deck wash, not a generic all-purpose cleaner
- Stiff bristle brush — non-metal, handheld, with a handle long enough to keep your back flat
- Garden hose plus a spray nozzle wide enough to rinse without blasting
- Pressure washer — optional, and only if you know how to run it softly. More on that below.
- Push broom or stiff rake for clearing debris off the boards
- Leaf blower for the gaps between boards
- Wood brightener — an oxalic acid product, only if the deck has gone silver gray
- Scrub brush or roller, plus a drop cloth if you are working near siding
- Gloves, eye protection and a respirator if the cleaner label calls for one
- Knee pads — a deck job is a long time kneeling
Reading the label matters more than any brand name. Look for the surface it is approved for: a wood deck wash and a composite deck cleaner are not interchangeable, because composite has no grain to strip and can be damaged by harsh alkaline products. Check the dilution ratio, the dwell time, and whether the label requires rinsing with a specific amount of water.
Some products also list what they will not do. A cleaner that only removes dirt will tell you nothing about stripping old stain, which is a separate problem needing a separate product. Knowing which job you have before you buy saves a weekend.
Step-by-Step
How to clean a deck before staining comes down to six operations in a fixed order. Skipping ahead to the spray bottle is the most common mistake, because loose grit under a wet cleaner turns into an abrasive slurry that scratches the surface you’re trying to protect.
1. Inspect the deck and identify the surface
Walk the whole deck before you mix anything. Find out whether it is real wood — cedar, pressure-treated pine, or a hardwood like ipe — or a composite made from recycled plastic and wood fiber. The cleaning chemistry and whether you stain at all depend on that answer, and composite cannot be stained the way wood can.
Then look for damage. A board that flexes, a screw standing proud of the surface, a soft spot near the ground, a gap wide enough to catch a shoe. These need fixing first, because cleaning will not repair them and stain will not stick to wet or rotting wood. Drive fasteners flush, replace anything soft, and let repairs cure.
You know it worked when you can walk the deck barefoot without feeling a nail or catching your toe on a lifted board.
2. Remove furniture, rugs and loose debris
Carry off tables, planters, doormats, cushions and grills. Anything sitting on the boards traps moisture underneath and dries at a different rate than the exposed wood, which is exactly how you get a pale ring later.
Sweep the boards, then blow or rake the gaps. Sand, bark, and gritty construction dust are the worst offenders here. When you run a wet hand along a board and it feels smooth, you are ready for water.
Water sitting on the boards is your tell. After a sprinkler pass, standing water in a low corner means that patch needs extra drying time before stain, even if the rest of the deck feels ready.
3. Choose the right deck cleaner
For wood, look for a deck cleaner that removes dirt and organic growth, and check whether it also carries a mildewcide if you have shade-side algae. For composite, use a cleaner labelled for composite and expect a much gentler process.
Three different products solve three different problems, and mixing them up wastes a weekend. A deck cleaner removes dirt, mildew and algae without changing the wood’s color. A wood brightener contains oxalic acid to neutralize tannins and pull silver gray wood back toward its original tone. A deck stripper dissolves an existing film-forming stain or paint so you can change color or start over.
If your deck is already gray, cleaner alone will not bring the color back — you need the brightener. If it is coated in peeling solid stain, you need the stripper first. Household dish soap does none of the three; it will foam and rinse, and leave the tannins and algae untouched.
You will have it right when the product on the label matches the condition you found during inspection.
4. Apply the cleaner and work evenly
Dilute exactly as directed. Pump sprayer for small areas, garden sprayer for the field. Wet the boards first so the cleaner doesn’t flash-dry and etch the wood, then apply it evenly and work in sections you can finish before the product dries.
Keep the section wet for the dwell time on the label. Most products need 5 to 10 minutes; pros working with brightener often allow 10 to 15. Timer on your phone, then scrub.
Stubborn spots get worked with the stiff bristle brush, always along the grain and never across it. Let the brush do the work and let the chemistry do most of it. A section that has stopped foaming and gone from grimy to simply wet has been cleaned successfully.
The one hard rule: never let cleaner dry on the surface. If you come back to a board with a chalky white deposit, that is cleaner residue you will have to scrub off or sand out. Work in a rhythm of wet, scrub, rinse, move on.
5. Rinse thoroughly
Rinse with a hose and a spray nozzle, working along the boards and toward the gaps rather than driving water into the joints where it sits for days. Start at the top of the deck and work down so dirty water runs off clean boards, not over them.
Pressure washing is optional, and when you do it, stay gentle: 1,200 to 1,500 PSI, a wide fan nozzle, 12 inches of standoff, and a slow sweep. Keep the trigger off when you reposition. A turbo nozzle at 6 inches will raise the grain and leave fuzzing that drinks stain unevenly.
On the bright side, pressure washing saves a lot of scrubbing. On new cedar or old dry pine, it strips the softened outer layer and you may still need a light sanding pass at 80 grit before staining.
You will know the rinse worked when the runoff runs clear and the boards look uniformly wet rather than patchy and soapy.
6. Let the deck dry completely
Drying is not a fixed number of hours. A sunny, breezy spring day can do in 24 hours; a shaded deck after a humid week takes three days or more. Plan at least two to three days after rain or water cleaning before you open a stain can.
Test rather than guess. Put a few drops of water on a board in a shaded spot and another in full sun. The wood is ready when the water sinks in quickly and leaves no glossy bead. If it sits on top forming a dome, the surface is still sealed and stain will sit on top of it instead of bonding.
You can also check the label’s moisture content specification with a pin meter if you already own one. Most penetrating and semi-transparent stains want wood under 15 to 18 percent moisture content.
Ready means the drop disappears in under a second, not in twenty.
Common Mistakes
Almost every failed stain job traces back to one of these.
Cleaning on top of damage. Rot, loose boards and standing water will not be fixed by chemistry. Repair first, then clean.
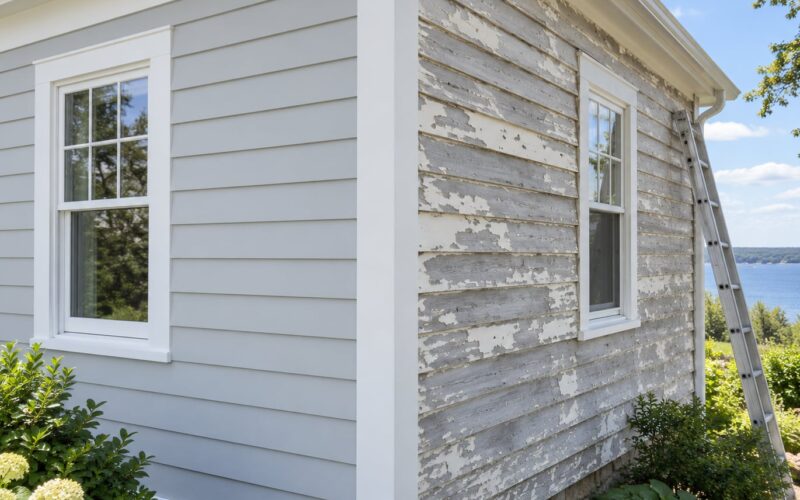
Using the wrong product. A deck cleaner on a coated deck will not remove the old film, so the new stain peels in sheets within weeks. This is the number one cause of failure.
Getting the pressure washer too close. Fuzzing and raised grain show up as a fuzzy, velvety surface that stains blotchy and holds dirt. Sand it at 80 grit before you stain, or hold the nozzle further back.
Letting the cleaner dry on the boards. That chalky residue needs scrubbing or sanding to remove, and stain locks it in.
Failing to rinse. Any cleaner left behind interferes with adhesion. Rinse until the water runs clear and the boards stop feeling soapy.
Staining damp wood. Trapped moisture under a film causes peeling in weeks. This is the same mistake as skipping the water drop test.
Working toward the wrong end. Stain and cleaner both need you to exit down a dry path. Plan your route before you start.
Troubleshooting the aftermath is simpler if you know the symptom. Peeling in sheets within a month means moisture or residue under the film. Blotchy, uneven color means old stain or incomplete rinsing. A fuzzy surface that drinks stain weirdly means raised grain that needs sanding.
Cleaning Tips for a Better Staining Result
A few habits separate a finish that lasts a season from one that lasts three.
Wet down nearby plants first, and cover shrubs, siding and anything you would rather not see splashed. Bleach and alkaline cleaners strip leaf tissue fast.
Start early in the day, and work in the shade if you can. Direct sun flashes the surface and shortens the dwell time you paid for.
Test in a small corner that nobody sees before you commit. Two boards, same cleaner, same dwell time — check how they look once dry.
Watch the forecast, not just today’s weather. Most stains need several hours with no rain and no heavy dew, and most cleaners need the same window to dry properly.
Include the parts people skip: railings, balustrades, stair treads and the vertical faces of the perimeter board. They are the first things to look neglected and the first to fail if you miss them.
Let the deck stay clear until the finish is fully cured. A single wet paw print or damp mat in the first hours can mark the finish permanently.
Frequently Asked Questions
Do you need to clean a new deck before staining?
Yes, but not immediately. New pressure-treated lumber carries a factory mill wax that must weather off, and stain applied over it will peel within weeks. Let the deck cure and dry for several weeks, clean it with a deck wash to remove the wax, then apply a semi-transparent penetrating stain. Cedar and other naturally rot-resistant woods can be stained sooner once they are dry.
What is the best deck cleaner to use before staining?
A cleaner labelled for your specific surface. For wood, choose a deck wash that removes dirt, mildew and algae and states a dwell time on the label; add an oxalic acid brightener if the boards have gone gray. For composite, use a composite-safe product, since stronger alkaline cleaners can dull the surface. Match dilution and dwell time to the label rather than to habit.
Does pressure washing damage a wood deck?
Only when you push it. Roughly 1,200 to 1,500 PSI with a wide fan nozzle held about 12 inches away, moving slowly, will clean a deck without harming it. A turbo nozzle at close range raises the grain and leaves fuzzing that makes the stain blotchy. If you see white, velvety fibers after washing, sand the boards at 80 grit before staining.
Is it okay to stain a deck that has not been power washed?
Yes, plenty of good jobs are done with a hose and a stiff bristle brush alone. Power washing speeds up the dirt removal and saves scrubbing, but it also lifts softened wood fibers and pushes water into the gaps. On cedar or old dry pine, a light pass with 80 grit after washing gives you a better surface for stain to bond to than washing alone.
How long should a deck dry after cleaning before staining?
At least two to three days after cleaning, and longer in shade or humid weather. Judge it with a water drop test: put a few drops on a shaded board and one in the sun. If the water absorbs in under a second with no bead, the wood is ready. If it sits on the surface as a glossy dome, wait another day and test again.
How long to let oxalic acid sit on wood?
Give it 10 to 15 minutes of dwell time on damp wood, keeping the surface visibly wet the whole time. Then rinse thoroughly with a hose so no brightener is left to react later with the stain. Brightener is not a neutralizer for the deck itself — drying is. Wait the full drying period after rinsing before you open the stain can.
Conclusion
The sequence is simple and it does not bend: clear the furniture, sweep the grit, repair what is loose, clean the surface with a product matched to the wood, scrub it, rinse until the water runs clear, then wait for the water drop test before a single brush touches stain. Skip one stage — especially the last one — and you will be scraping it off next spring.
Start this weekend by walking your deck and deciding which of the three you are dealing with: plain dirty, gray and weathered, or covered in failing old stain. That answer picks your cleaner, and everything after it falls into place.