A refrigerator is level when the cabinet sits even from side to side and the front is about 1/8 to 1/4 inch higher than the back. That slight front-high tilt is not a mistake — it is what makes the doors swing shut on their own. Most units adjust at two front leveling feet, and you can do the job in about an hour once the fridge is empty and you have a helper.
If your doors will not close, the cabinet rocks when you push it, or water pools under the front edge, the tilt is usually the cause. This guide walks through how to level a refrigerator on both modern adjustable-foot models and older ones that need shims, and it is updated for 2026 kitchens where the floor itself may be the problem.
Table of Contents
- What You Need
- How to Level a Refrigerator Step by Step
- 1. Disconnect Power and Locate the Leveling Points
- 2. Check the Floor and Refrigerator Clearance
- 3. Adjust the Front Leveling Feet
- 4. Use Approved Shims When the Feet Cannot Adjust
- 5. Check the Level, Door Seal, and Stability
- Common Mistakes
- Frequently Asked Questions
- Do I need to level the top of a refrigerator?
- Why is my refrigerator still rocking after I adjust the feet?
- Can I put shims under a refrigerator to make it level?
- Should the doors on a leveled refrigerator close flush?
- Can I level a refrigerator with caster wheels?
- When should I call a technician to level a refrigerator?
- Conclusion: Check Stability First
What You Need
Start with the refrigerator’s owner’s manual. It tells you where the adjustment points are on your specific model, and it will say whether hand tools are permitted at all. Guessing at hardware is how people strip a leg they then cannot replace.
Then gather the rest:
- The owner’s manual for your model number, which is on a sticker inside the fresh-food compartment or on the back.
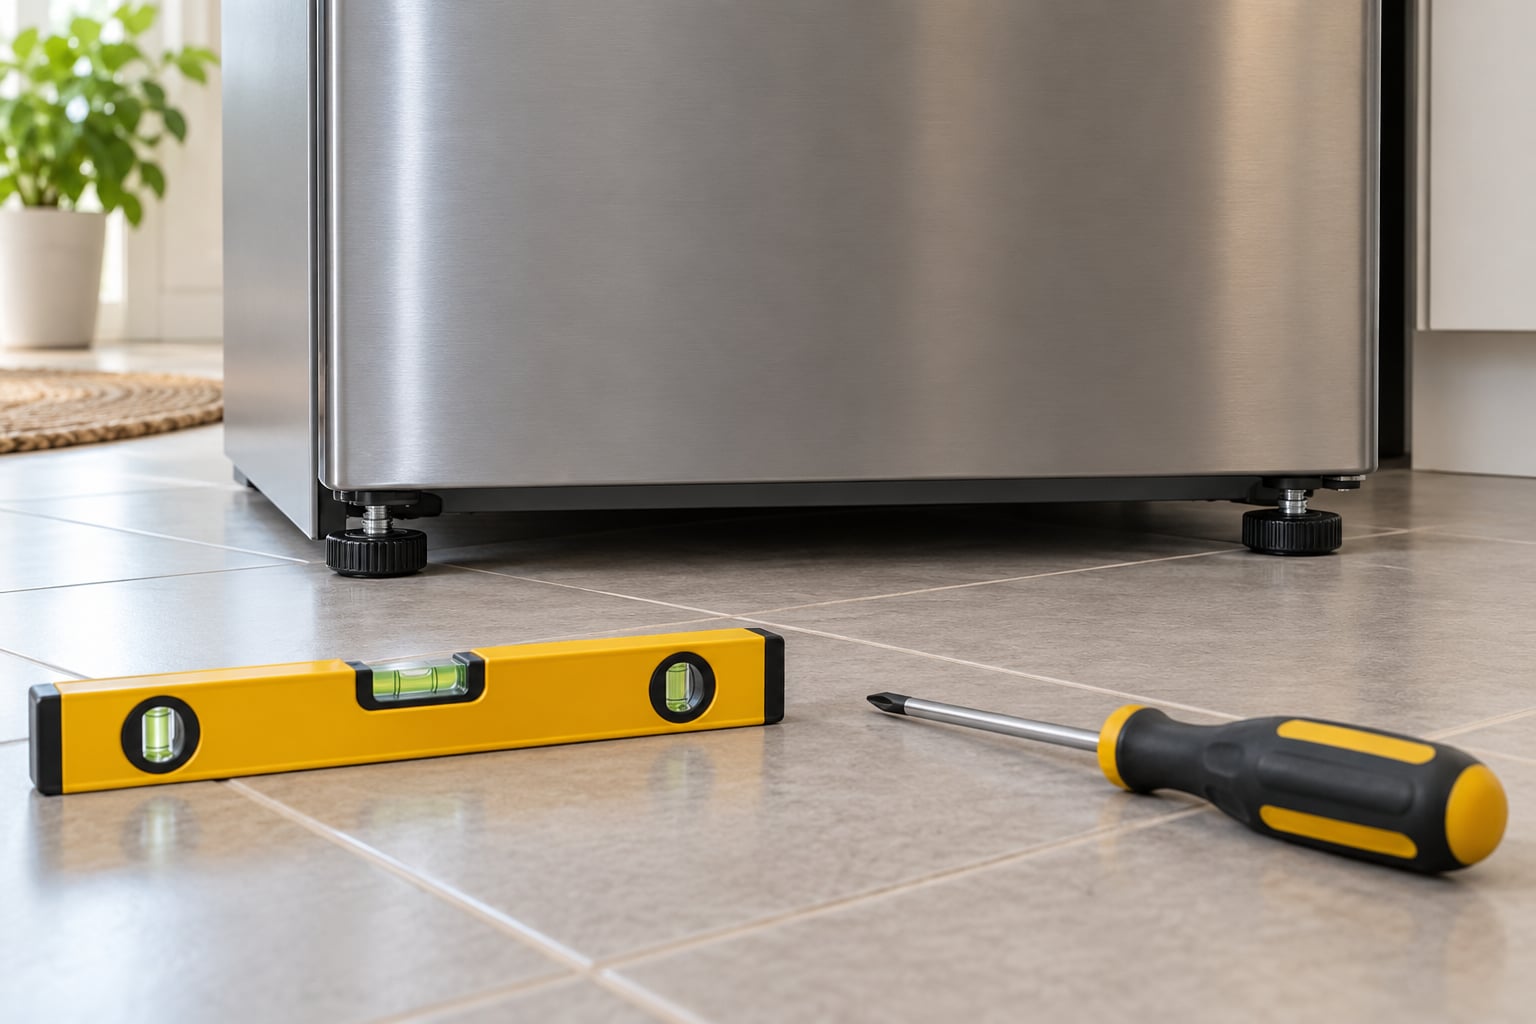
- A bubble or spirit level long enough to span the width of the cabinet.
- The model’s approved leveling feet or shims. Some refrigerators use threaded feet, some use slotted screws turned with a flat-head screwdriver, and some use rollers that you raise with a wrench. Do not swap in hardware from another appliance.
- Painter’s tape or a removable marker to note the current foot position before you start turning anything.
- A helper. A loaded refrigerator is heavy and top-heavy, and it should never be moved alone.
- Basic hand tools only if your manual allows them — typically a flat-head screwdriver, a Phillips screwdriver, or an adjustable wrench, depending on the leg design.
Before touching a foot, look down at the base and figure out which system you have. You will see either a hex or slotted leg with an exposed adjustment bolt, a front roller assembly, a fixed caster with no adjustment, or rear elevator legs in addition to the front hardware. That identification is the whole ballgame, because it decides what you can change and what you cannot.
How to Level a Refrigerator Step by Step
1. Disconnect Power and Locate the Leveling Points
Unplug the refrigerator or switch off the breaker that feeds it, and if it is in a circuit, shut off the water line. You will be working around the doors and moving a heavy cabinet, so no power is the only sensible starting point.
Empty the shelves, drawers, and bins, and remove the doors if your manual describes how. Doors catch on the cabinet as you pivot a heavy unit, and an empty interior is much easier to control. A light refrigerator still weighs a couple hundred pounds, so get a second person on the job.
Mark the position of each front foot with tape or a removable marker before you turn anything, and take a photo with your phone. If the cabinet is already at its intended height and you need to correct a small error, that photo is your reference point for putting it back.
Two things to avoid: do not move the refrigerator by yourself, and do not defeat, remove, or step over the anti-tip bracket. If your model has an anti-tip system, the manual’s procedure for pulling the appliance out for service is the only supported way to access it.
2. Check the Floor and Refrigerator Clearance
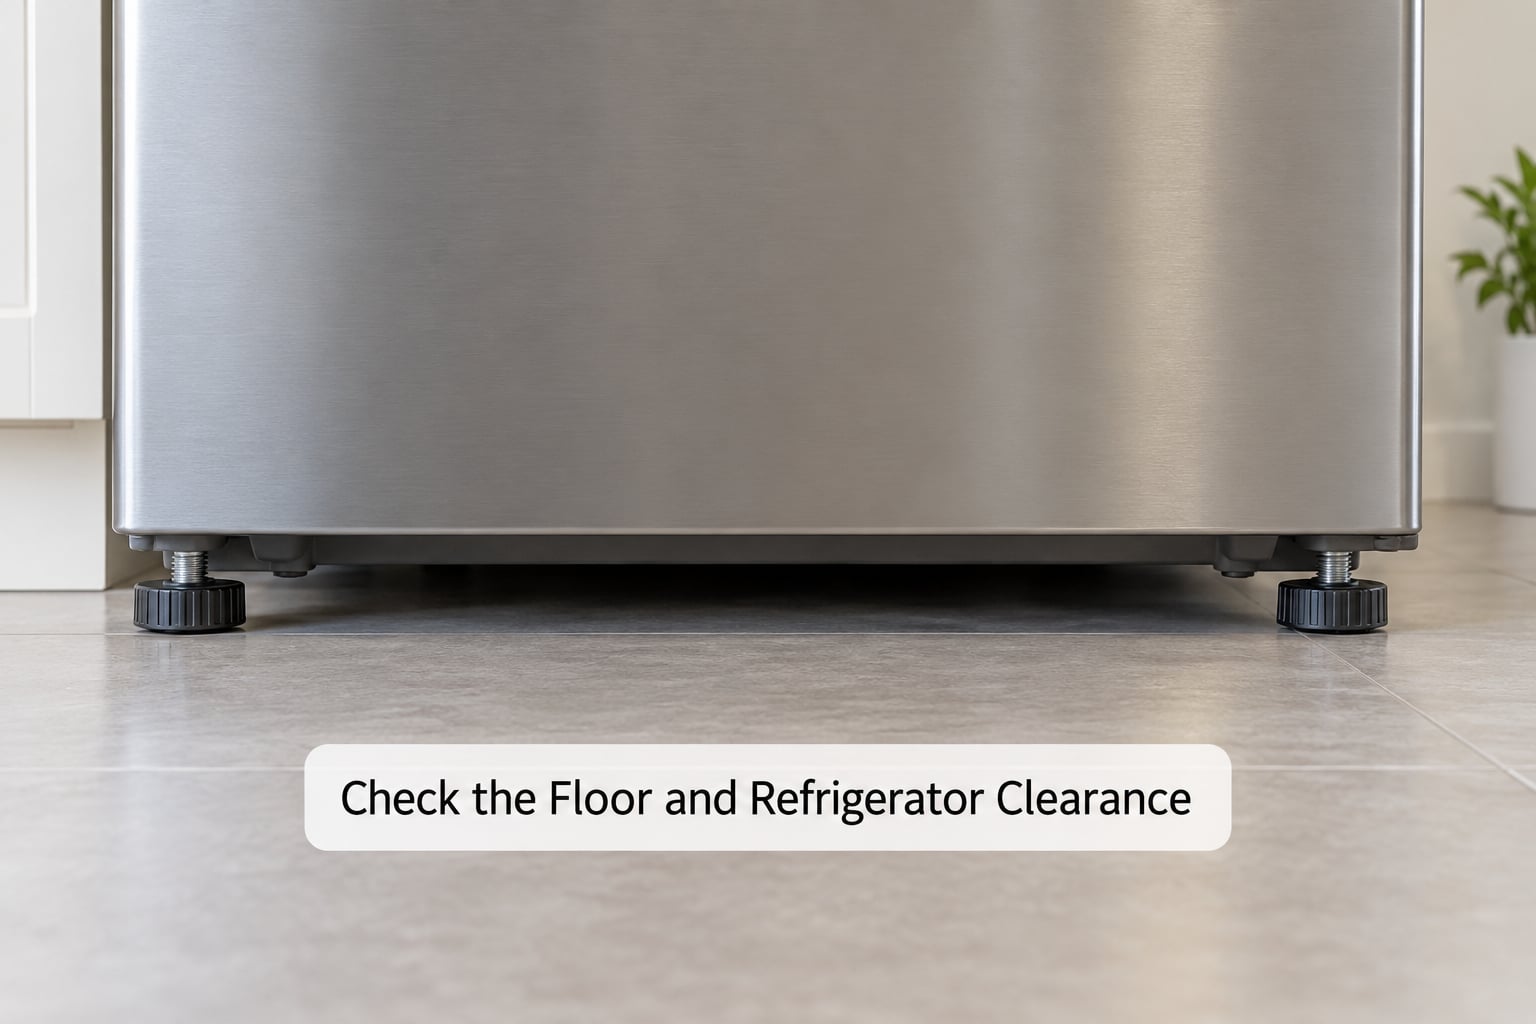
Look at the floor before you blame the fridge. Older homes often have a slope across the kitchen that runs several inches over the width of a cabinet, and tile over a concrete slab can dish in the middle. Lift a corner gently and watch the feet — if a foot is already maxed out on one side before you start, the floor is telling you something.
Sweep or vacuum under the base, and pull out the base grille or kick plate if your model has one. A crumb-packed grille plate or a warped kick panel is a common reason a refrigerator looks tilted when the cabinet is fine.
Confirm the ventilation clearances at the same time. Most manufacturers want a few inches behind the cabinet, above the coil, and along the sides. A refrigerator crammed into a tight alcove cannot reach the airflow it needs, and pushing it back too far after leveling can undo your door alignment.
Also check whether the visible lean is really the refrigerator. Cabinets, baseboards, and a wall behind the unit can all be out of plumb. Stand at eye level and look down the side of the cabinet — if the top edge is straight, the problem is low, near the feet.
3. Adjust the Front Leveling Feet
Set the level on the top of the cabinet across the width first, front edge, then again front to back. Note which end the bubble sits toward. If the bubble centers side to side but sits low at the front, the cabinet is level in the way that matters and you only need to manage the front-to-back tilt.
Now adjust the feet using only the mechanism your manual describes. Turn the front feet one at a time, a fraction at a time, and re-check the level after every change. If your cabinet is still a foot or two off, matching the two front heights matters more than hitting an exact reading on the first try.
Read the tilt off the ends of the level: a 6-inch level tilted over its full length reads about 1/4 inch of rise. If the front corner is already noticeably higher, back off a quarter turn and re-measure rather than chasing a number that means less than you think.
The visual and tactile cues are simple. Set the bubble’s reference line with a marker before you start, and each corner should be doing equal work. When both front doors close from a small push and the cabinet feels firm in all four corners, you have matched the feet. Stop there.
What the hardware looks like varies by brand, and the parts are not interchangeable. Whirlpool and Maytag models often use a slotted adjustment screw at the front leg, GE models frequently use a bolt turned by an adjustable wrench or by hand, and Samsung and LG models commonly use a flat-head screwdriver in a slotted foot or a control lever. KitchenAid models sometimes lock their casters with a lever you have to release before the leg will move. Check your manual, because the difference matters.
4. Use Approved Shims When the Feet Cannot Adjust
Older bottom-freezer models often have non-adjustable rollers, and there is nothing to turn. If the front feet will not go any higher or lower, or the model has no front adjustment at all, shims are the sanctioned fallback — but only the ones the manufacturer approves for that model.
Use rigid, non-compressible shims sized to the opening. Stack them low and stable rather than leaning a tall pile on their edge. If your manual calls for a specific shim part, order that part. A wedge of scrap lumber under a rolling foot is a common DIY shortcut and a bad one: the compressor vibrates, a soft shim compresses or splinters, and the cabinet slowly settles out of level again.
On a sloped floor, one other option is to bring the floor up to the appliance. A level platform sized to the cabinet footprint, set on a sound and level subfloor, works well when no single shim would have to be tall enough to tip the unit. Make sure the platform is screwed down and cannot rock.
Two checks for any shim solution. The power cord and any water line must still clear the floor and the base grille with nothing pinched, because a cord pressed flat by a shim is a cord that gets chewed. And the rear of the cabinet needs to be fully supported — a refrigerator hanging on its front feet with a gap behind is unstable in a way no amount of front adjustment fixes.
If the refrigerator is a built-in or under-counter model, or you cannot find any approved adjustment and shim points, stop and call an installer. Those cabinets are supported by the countertop or the surrounding frame, and they are not a DIY job.
5. Check the Level, Door Seal, and Stability
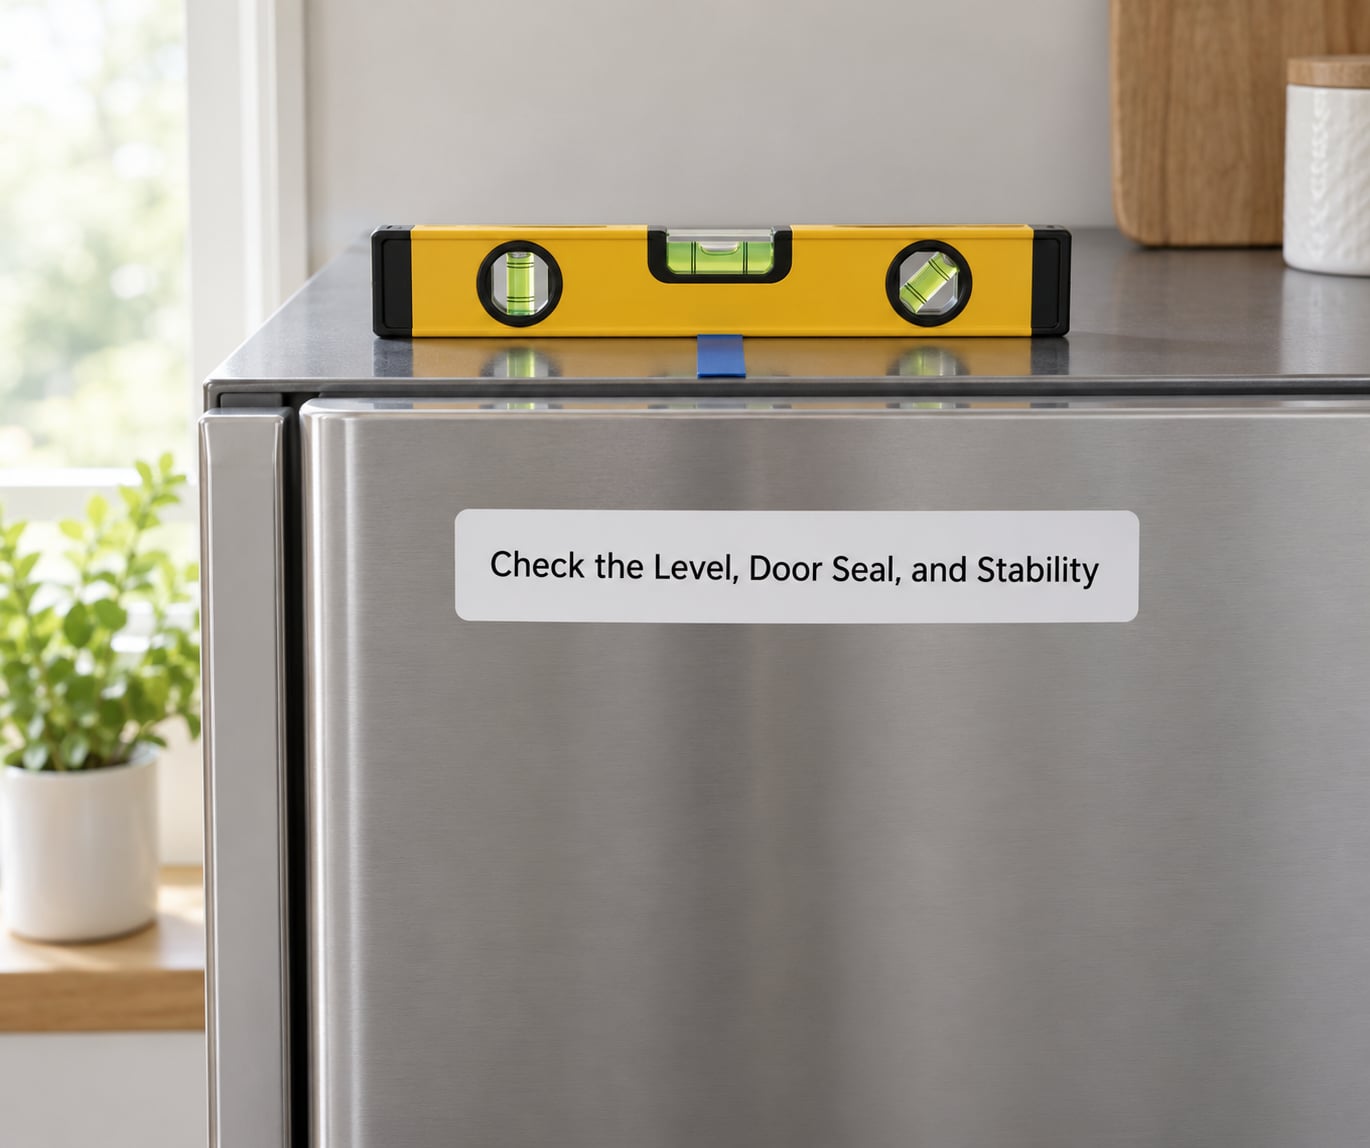
Put the level on a surface your manual approves — usually the top of the cabinet or a specified point on the top of the case — and confirm the bubble sits centered with the front reading slightly high. Make small corrections, a quarter turn at a time, and re-check both directions after each one.
Then test the doors. Both should close from a small push and stay shut. Press a sheet of paper along the gaskets, top to bottom on each door; if it drags noticeably in one spot, that section of the door is sitting proud and needs a small correction. On French door and side-by-side models, the doors are meant to be slightly unequal by design, so compare each door against its own cabinet, not against its neighbor.
Finally, check all four corners. Push gently at each corner in turn and the cabinet should not rock. A faint flex in a floorboard is not the same as a foot with no weight behind it. If the unit still rocks at one corner, the floor is uneven there and no amount of turning the feet will settle it.
One honest caveat: some residual door unevenness is hinge sag, not leveling. Middle hinges wear, bushings go stiff, and the cabinet settles with age. Homeowners on appliance repair forums routinely trace uneven doors to a worn middle hinge and spend a week adjusting feet that were fine all along. If the level reads true and the doors still will not line up, the problem is above the base.
Common Mistakes
Rotating a foot that was not meant to turn. Fixed casters and non-adjustable rollers will snap if you force them, and the resulting repair costs more than the leveling ever would. Confirm your hardware type before you apply a wrench.
Using improvised wood shims. A block of lumber under a rolling foot compresses and shifts with compressor vibration. Use manufacturer-approved shims, or bring the floor up to a level platform with something rigid and screwed down.
Ignoring floor unevenness. If one foot is already at the top of its travel before you touch anything, the floor is the constraint. Address it directly with an approved shim or platform rather than forcing a foot past its stop.
Checking level on a surface the manual does not approve. The top of a French door cabinet can read level while the doors are misaligned. Use the reference point the manual names.
Moving the refrigerator alone. A few hundred pounds of top-heavy cabinet on a hard floor is a back injury and a crushed toe. Empty it, protect the floor with appliance glides or a piece of cardboard, and use a second person.
Skipping the anti-tip bracket. Reinstall the bracket after the refrigerator goes back in its spot, every time. It is a few minutes of work against a tip-over that is genuinely dangerous with a loaded unit and small children in the house.
Restoring power before checking the door seal. Plug the unit back in only after the doors close, the cabinet is stable at all four corners, the cord is clear of any shim, and the ventilation gaps are back to spec.
Forgetting to re-level after a move. New flooring, a deep clean behind the unit, or a delivery crew dropping it back into place all change the height under the feet. Re-run the level check whenever the refrigerator is pulled out.
Frequently Asked Questions
Do I need to level the top of a refrigerator?
Most manuals name a specific reference surface, usually the top of the cabinet or the top of the case at the front. Use that point rather than the highest point of the cabinet, which on a French door model can read level while the doors sit uneven. If the manual does not specify, the top of the cabinet works for most side-by-side and bottom-freezer units.
Why is my refrigerator still rocking after I adjust the feet?
Usually the floor. If the level reads centered and a corner still rocks, that foot is not carrying weight, which means the cabinet is bridging between two contact points and the floor dips under the middle. Put a straightedge on the floor to find the dip, then use a manufacturer-approved shim or a small level platform under that corner. If the level is off after shimming, the feet need another quarter turn.
Can I put shims under a refrigerator to make it level?
Yes, provided the shims are rigid, manufacturer-approved for the model, and placed so the cabinet is fully supported rather than perched on one corner. Avoid stacked lumber wedges, which compress and shift with compressor vibration. Never pinch the power cord or a water line between a shim and the floor, and confirm the refrigerator is still stably restrained.
Should the doors on a leveled refrigerator close flush?
The doors should close firmly from a small push, and the gaskets should grip evenly all the way around. On French door and side-by-side models the two doors are designed to sit slightly unequal, so compare each door against its own cabinet opening. Persistent gaps after a true level reading usually point to hinge sag or worn bushings rather than the feet.
Can I level a refrigerator with caster wheels?
Only if the casters are adjustable and the manual describes how. Many bottom-freezer models have fixed casters with no adjustment range, and the cabinet is leveled by shims or a platform instead. Some kitchen-style models lock their wheels with a lever that must be released before the leg will move. Check the manual before applying a wrench, because fixed casters snap under force.
When should I call a technician to level a refrigerator?
Call a technician for built-in or under-counter models, for any unit with a water line connection you cannot safely disconnect, or when the front feet are already at the end of their travel and no approved shim point exists. Also call if the cabinet leans after the feet are maxed out on both sides, or if doors stay uneven with a true level reading, since that points to hinge sag needing a part.
Conclusion: Check Stability First
Start with the owner’s manual, because it names the adjustment point for your model and the surface your level belongs on. Empty the refrigerator, move it with a second person, and mark the current foot positions before you turn anything.
Make small, even adjustments at the front feet and keep the front about 1/8 to 1/4 inch higher than the back. If the feet will not go far enough, use manufacturer-approved shims or a screwed-down platform rather than improvised wedges.
Before you plug it back in, confirm the cabinet does not rock at any of the four corners, the doors close and seal against their own openings, the cord and water line are clear, the ventilation gaps are back to spec, and the anti-tip bracket is reinstalled. That last check is the one people skip, and it is the one that matters most in a house with kids.