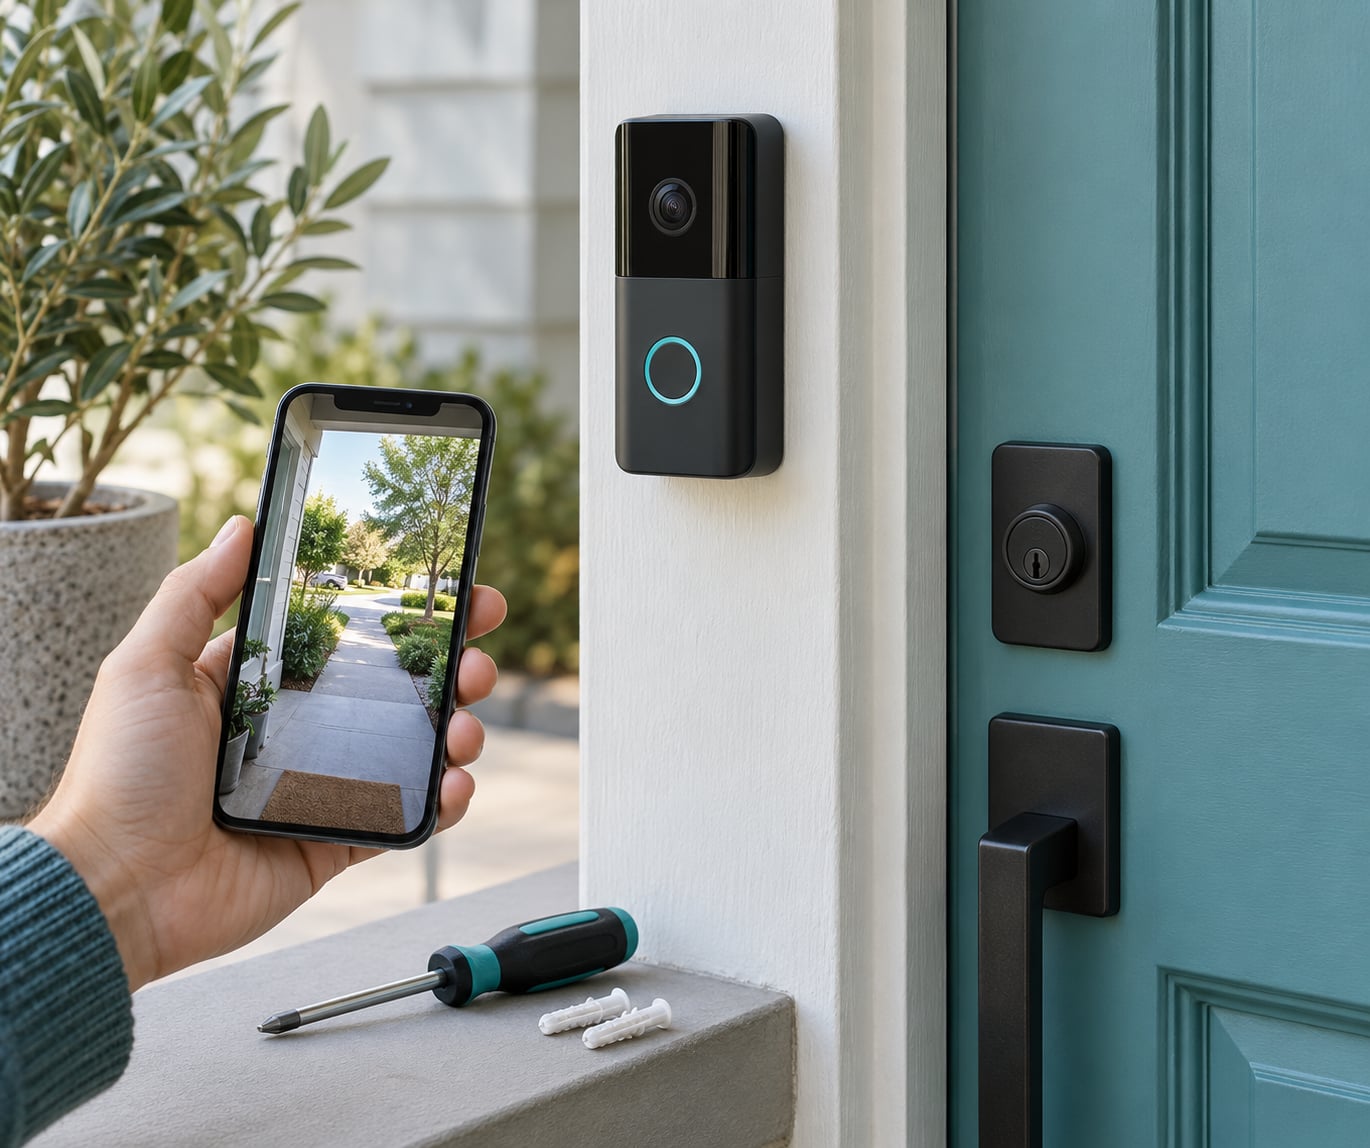
Most people can install a doorbell camera in 20 to 60 minutes. If your home already has a working doorbell button and chime, you can reuse that low-voltage wiring and hardwire the camera; if there is no wiring at all, a battery model goes up with two screws and an adhesive strip. The only part that is genuinely not a do-it-yourself job is the 120V side of the doorbell transformer.
This guide covers both paths, in the order you should actually do them: choose a setup method, get the app working first, kill power at the breaker, mount the camera at the right height, connect or power up, then test everything before you walk away.
Table of Contents
- What You Need Before You Start
- How to Install a Doorbell Camera: Step-by-Step
- Choose the right setup method
- Download the app and create the camera account
- Turn off power and test the existing doorbell
- Mount the camera at the right height
- How to install a doorbell camera on existing wires or its own battery
- Pair the camera with the app and adjust the view
- Test the camera before finishing
- Common mistakes to fix after installation
- Safety and final tips
- Frequently Asked Questions
- Can I install a doorbell camera myself?
- Do I need to turn off power before removing my old doorbell?
- Why is my new doorbell camera not connecting to Wi-Fi?
- Can I reuse the wires from my existing doorbell?
- When should I hire an electrician to install a doorbell camera?
- Conclusion
What You Need Before You Start
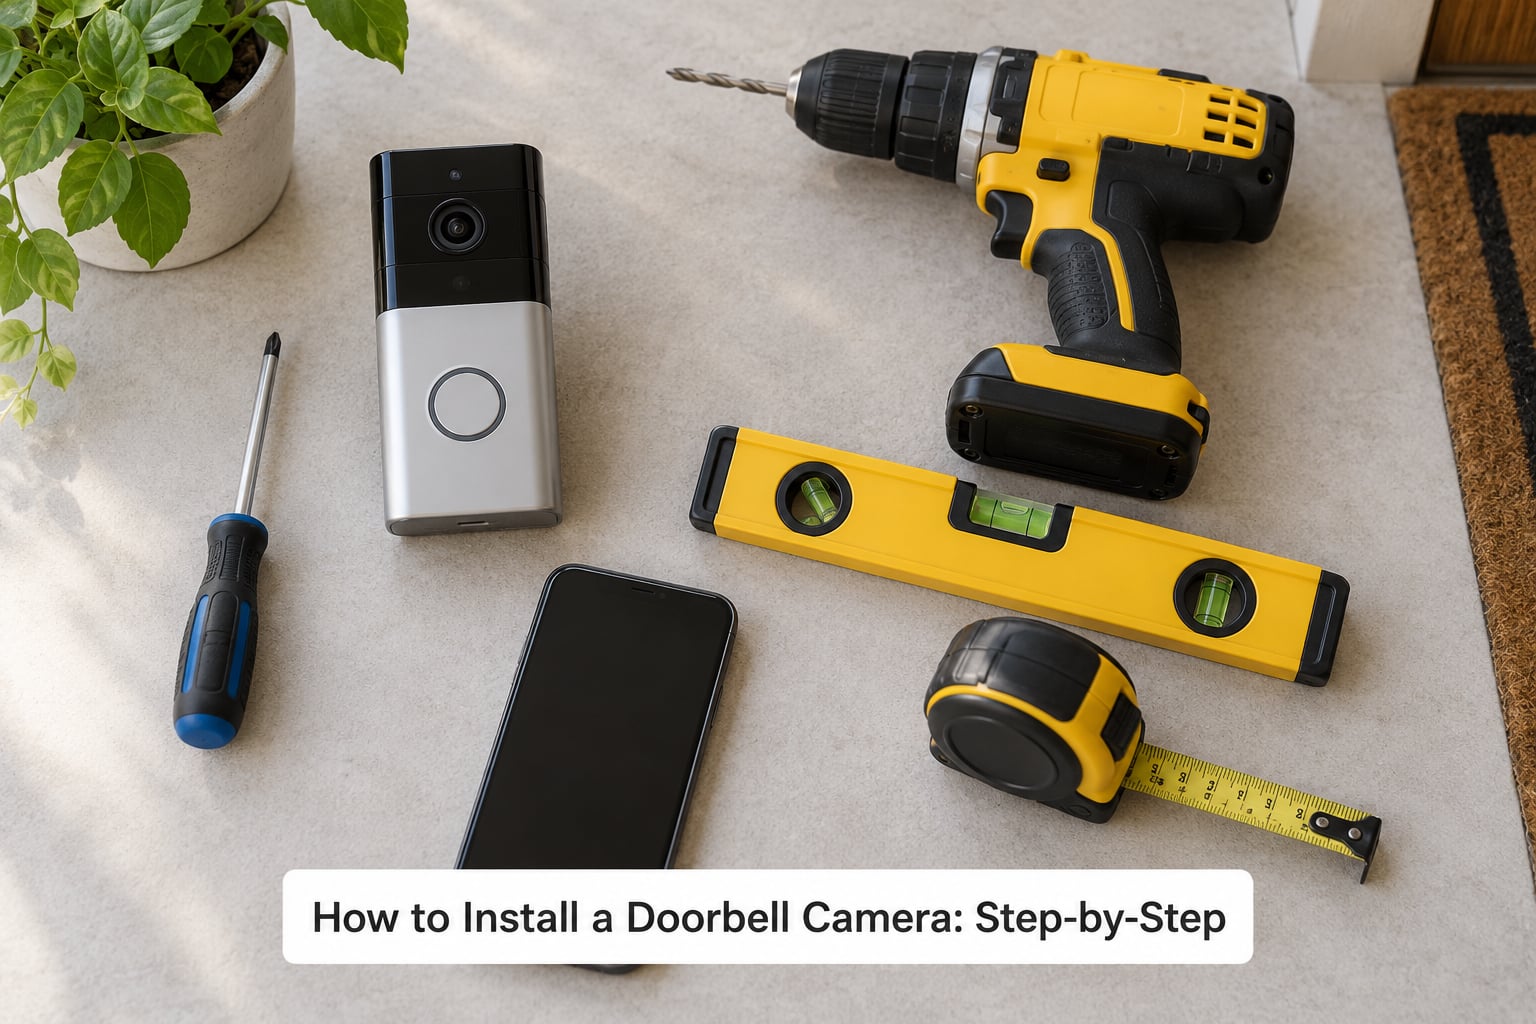
Most installs need fewer tools than people expect. Gather everything before you start, because the middle of a half-finished install with the power off is the worst time to discover you are missing a screwdriver.
- The camera kit — button or camera body, mounting plate, screws, wall anchors, and a weatherproof cable entry piece.
- Screwdriver — usually a Phillips, but a flat-blade works on some chime terminals.
- Drill and bits plus wall anchors for drywall; a masonry bit if you are drilling into brick or stucco.
- A level — a phone app level is fine for a short bracket.
- Tape measure and a pencil for marking the mounting spot.
- A smartphone on the home’s Wi-Fi, charged.
- A voltage tester or multimeter if you will be touching wires.
- Wire nuts or twist-on connectors for capping wires.
- A step ladder that sits flat on the ground, not a folding chair.
Two extras matter for a wired install: the existing chime unit and its transformer. Some transformers are too small or too old for a video camera, and you cannot tell until the camera is mounted, so check the transformer’s voltage and VA rating against the camera’s requirements first. Most video doorbells want 16V AC to 24V AC from a transformer with a VA rating of 30 or higher; the older 8V and 10V transformers found in homes from the 1970s and 80s will not do it.
If your camera is hardwired and you want the old mechanical chime to stop chiming every time someone presses the button, add a chime bypass jumper or a chime designed for video doorbells. Cheap and it saves an argument with your neighbors.
How to Install a Doorbell Camera: Step-by-Step
Choose the right setup method
Start by figuring out whether you have wiring. Press your existing doorbell button. If it lights up or rings a chime, you have a low-voltage circuit and you can hardwire the camera to the same two wires. If nothing happens and there is no button on the wall at all, you are starting from zero and a battery model is the only realistic path.
Reusing old wires sounds automatic but often is not. The wiring may be sound while the transformer behind it is too small, or the run may be longer than the camera’s cable reaches. A video doorbell draws more current than a mechanical button did, and an under-rated transformer shows up as a camera that keeps dropping off Wi-Fi a few days after install.
My rule of thumb: wired if you are replacing an existing button and the transformer is 16V AC or higher, battery if you rent, have masonry you would rather not drill, or have no wiring at all. People posting in r/EufyCam reach the same conclusion, hardwiring whenever they are replacing an existing doorbell. The reverse complaint shows up too, with owners of battery models describing the battery swaps as the thing they are tired of.
| Factor | Hardwired | Battery |
|---|---|---|
| Install time | 45 to 90 minutes | 15 to 25 minutes |
| Wiring needed | Yes, low-voltage pair | No |
| Battery maintenance | None, backup pack optional | Swap every few months |
| Outage behavior | Drops off unless you add a pack | Keeps ringing on reserve |
| Best for | Homeowners replacing an existing button | Renters, new builds, no wiring |
Download the app and create the camera account
Set up the software before you touch the wall. Install the manufacturer’s official app from the app store, create the account, and confirm you can sign in and reach the settings screen.
Join the phone to the home’s 2.4 GHz Wi-Fi band first. Most video doorbells do not join 5 GHz networks, so a dual-band router will hand the phone to 5 GHz and pairing will fail for no clear reason. Band steering on newer routers can cause the same failure even on a single-band network. If pairing fails repeatedly, turn off smart connect features and retry on 2.4 GHz.
Worth doing now while you are in the app: add the other adults in the household as users, so everyone gets alerts. Chime compatibility and motion settings can wait until the camera is live.
Turn off power and test the existing doorbell
Find the breaker that serves the doorbell. It is often labelled, sometimes it is not, and sometimes the doorbell circuit shares a breaker with exterior lights. Turn the breaker off and confirm the button no longer works. Do not skip this confirmation.
Verify dead with a voltage tester before touching anything. A non-contact tester will light up near live conductors; a multimeter on the two doorbell wires reading near zero volts tells you the circuit is safe to work on. Doorbell runs are low-voltage AC, typically 16V to 24V, and that is why the button side of the circuit is reasonable DIY work.
Label the wires with masking tape before disconnecting them: front, rear, and transformer are the usual three on an older chime, and many modern chimes just have two. Take a photo of the terminals before you start. That photo is the only map you get, and it is the difference between a ten-minute job and a call to an electrician.
Unscrew the old button, pull the wires off one at a time, and cap each wire with a wire nut. Bare copper exposed inside the wall is how you get a dead button and a mystery later. If your wires are cloth-braided or brittle, stop using them and pull fresh cable rather than twisting on a damaged conductor.
Cap wires on the chime side too if you are removing the chime. You should never see two live low-voltage conductors exposed at once.
Mount the camera at the right height
Roughly 48 inches from the finished floor is the consensus height, with the camera tilted down about 15 to 30 degrees. Mounted too high, you get the tops of heads and very little else; mounted level with the ground, you frame the porch floor.
Check three things before you drill. Stand where a visitor stands and look at the camera — you want to see faces, not the sky. Look for a porch light or streetlight that will reflect straight into the lens at night. And frame so the view stays on your own property; a camera aimed at a neighbor’s window is a dispute waiting to happen, and several camera apps let you mask those areas out.
Hold the mounting plate where you want it, mark the holes, and check the wall first. On wood or drywall, use the supplied anchors. On brick, stucco, or stone you need a masonry bit the same diameter as the anchor, plus a hammer drill if you have one. On a metal door, use the manufacturer’s screws and skip the anchors, since metal screws chew their own threads.
Tighten the plate until it is snug and does not rotate. Do not overtighten; vinyl trim cracks easily. Now step back and confirm the plate is level before it sets the camera angle permanently.
How to install a doorbell camera on existing wires or its own battery
For a wired install, bring both wires through the weatherproof cable entry on the back of the camera and connect them to the marked terminals. Doorbell current is AC and has no polarity, so either wire can go on either screw, which answers the question people ask most often about this job. Terminate the outdoor end with wire nuts inside the box, not bare wire.
If you have a multimeter, run a continuity check across the wire pair before you connect the camera. Touch one probe to each loose wire and confirm the meter beeps. No beep means the run is broken somewhere behind the drywall, and you want to know that now rather than after the camera is mounted.
For a battery install, charge the pack fully before mounting. The manufacturer ships the battery part-charged, and putting it on an empty wall is the fastest way to get a weak night image. Slide the pack in, confirm the status LED is not blinking an error colour, then mount the plate and hang the camera.
Check how the manufacturer expects power to reach the camera. Some models expect the existing two-wire run to feed the transformer straight through the chime, which means the old chime must either be removed, bypassed with a jumper, or replaced with a video-compatible chime.
Pair the camera with the app and adjust the view
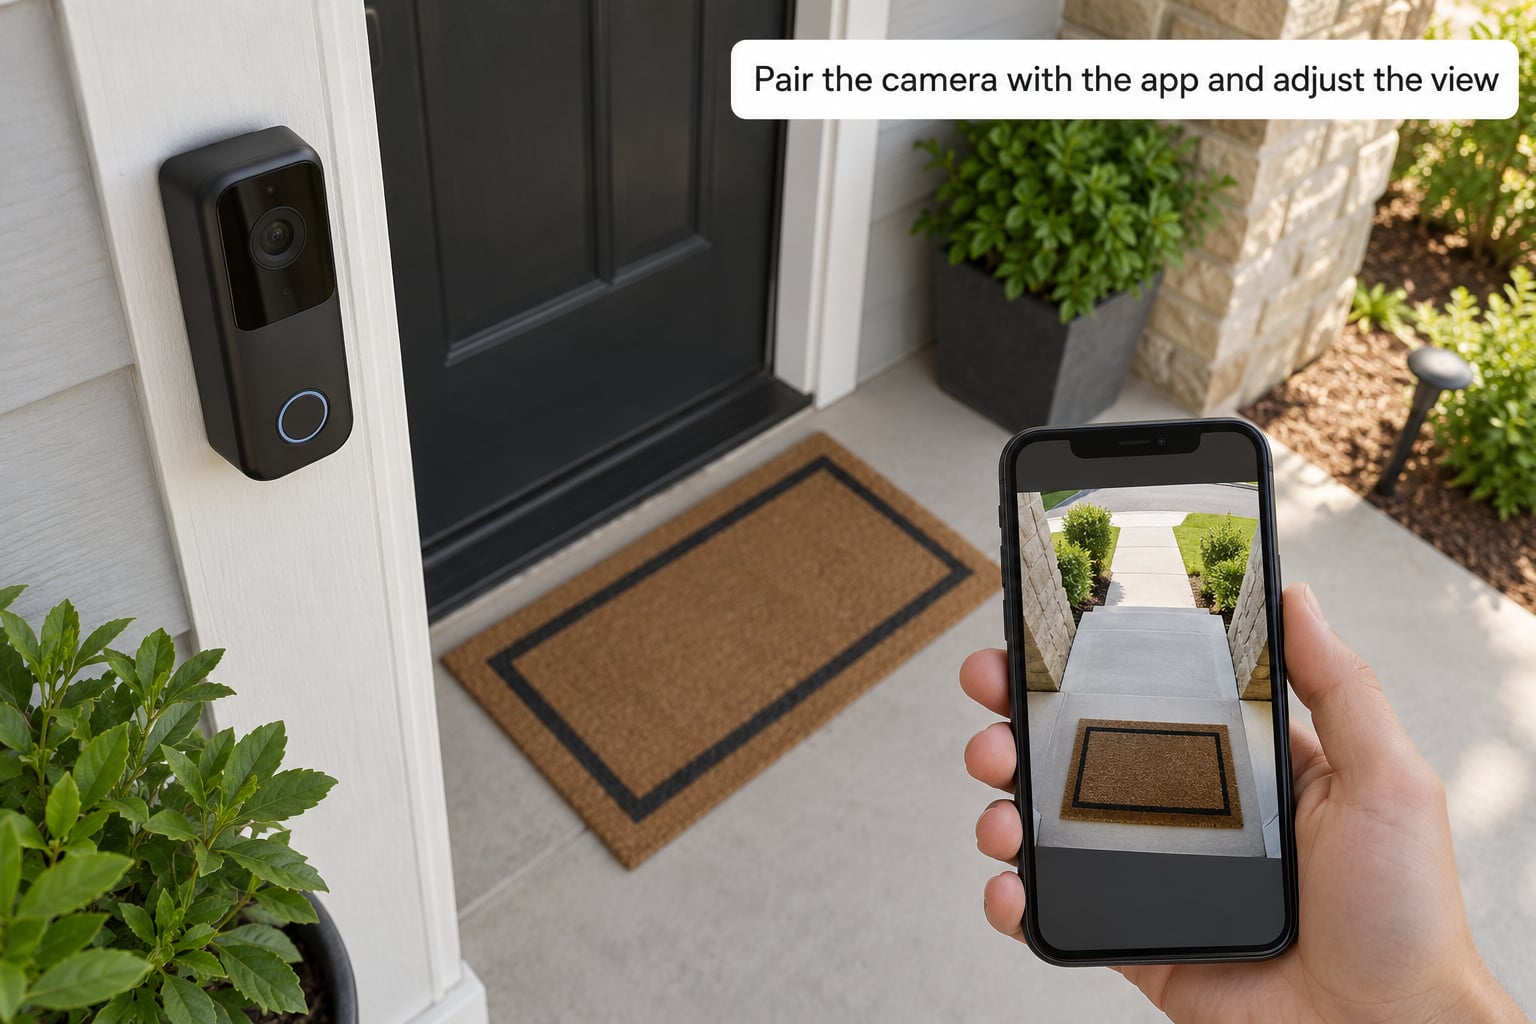
In the app, choose add device and follow the on-screen pairing, which usually means scanning a QR code on the camera with the phone. Keep the phone close to the camera until it confirms the connection, then wait about a minute while the software updates over Wi-Fi. Rushing this step is a common cause of the camera dropping off in the first few days.
Now adjust while standing on the porch, because the app’s preview is far more useful than guessing. Check live view, then set the camera angle so the door and the walkway fill the frame. Draw motion zones around the approach and the door, not the whole street; every extra zone produces notifications you will learn to ignore.
Set sensitivity as high as you can live with rather than as high as it goes. Set notification categories to person first, and package detection if your camera supports it. Use privacy masking on any part of the frame that crosses your property line. Then walk away from the house and come back, confirming on your phone that you got the alert each time.
Test the camera before finishing
Run the whole thing before you close the box. Check the live feed from mobile data, not home Wi-Fi, so you know it works away from the house. Tap the talk button and speak from the sidewalk, which tells you whether two-way audio actually carries.
Walk past the camera several times to confirm motion alerts fire once and not repeatedly. Check that a clip was recorded with a visible timestamp. Turn off the hallway light and look at the night view for glare, blur, and readable faces.
If it is wired, turn the breaker back on and confirm the original chime still rings when someone presses the button. Sweep the loose wires into the box, snap the cover on, and confirm the camera did not shift position.
Common mistakes to fix after installation
Pairing is the weak point in most installs, and the fixes below cover nearly every failure I have seen. Firmware behind an app bug is worth ruling out before anything else.
- The camera will not pair. Usually the 5 GHz band, a wrong Wi-Fi password, or a router feature like MAC filtering. Force 2.4 GHz, confirm the password, and allow the device through any filtering.
- The button has no power at all. Confirm the breaker is back on, check that wire nuts are secure, and test for 16V AC at the terminals with a multimeter. No voltage means the transformer or the wiring run is the problem.
- The camera drops off Wi-Fi days later. This is usually an under-rated transformer feeding a camera that draws more current than a mechanical button. Replacing it with a 16V to 24V AC unit of 30 VA or higher fixes it.
- The chime rings but the camera stays offline. The camera has lost Wi-Fi or lost power and the mechanical chime still has the circuit. Test the camera separately before assuming the wiring is fine.
- The camera works but the chime never rings. The chime was disconnected, bypassed, or is a model incompatible with video doorbells. Check the chime’s compatibility list and the jumper position.
- Blurry or dark night footage. Usually a porch light reflecting into the lens, protective film still on the glass, or IR light bouncing off a soffit right behind it.
- Constant false alerts. Shrink the motion zones, lower sensitivity, and set a notification cooldown if the app has one.
- The mount wobbles after a few weeks. The anchor was wrong for the wall, or the screws were too short. Match the fastener to the material.
Safety and final tips
Doorbell wiring is a Class 2 low-voltage circuit, which is why working on the button side is within reach of a careful beginner. The transformer input side is household 120V and belongs to a licensed electrician, and so does any wall where you are unsure what is behind it.
A few habits keep the install solid. Keep every connection inside a box, keep the cable entry sealed against rain, and never leave two exposed conductors together. Run a walk-by test after a week and adjust if the frame is off. Check for firmware updates monthly, because a lot of pairing and Wi-Fi complaints trace back to outdated software.
Finally, lock the account with a strong unique password and turn on two-step verification. A front door camera is exactly the account someone else wants to own.
Frequently Asked Questions
Can I install a doorbell camera myself?
Yes, for most homes. If a working doorbell button already rings a chime, you are dealing with low-voltage wiring that a careful beginner can handle in under an hour. You need a drill, a screwdriver, a phone, and a basic understanding of your breaker panel. Call an electrician for new wiring runs, anything at the 120V transformer input, or brick facades you would rather not drill.
Do I need to turn off power before removing my old doorbell?
Yes, always. Switch off the breaker that feeds the doorbell and confirm the button goes dead before you remove it. Then verify with a voltage tester or multimeter rather than trusting the breaker label alone. Doorbell circuits are low-voltage AC, usually 16V to 24V, but a breaker that is off for the porch lights instead of the doorbell is a common and harmless-to-miss mistake.
Why is my new doorbell camera not connecting to Wi-Fi?
The usual causes are a 5 GHz network, a wrong password, band steering, or MAC filtering. Most video doorbells only join 2.4 GHz, so temporarily split your dual-band router or disable smart connect and retry while the phone is on that band. Update the camera firmware, move the router or add an access point if the signal at the door is weak, and allow the device through any filtering.
Can I reuse the wires from my existing doorbell?
Usually, but not automatically. Check that the transformer delivers 16V AC to 24V AC with a VA rating of 30 or higher, since many older units are 8V or 10V and will cause drop-outs. Confirm the pair is still continuous with a multimeter, cap both ends while you work, and remember the current is AC with no polarity so either wire can go on either screw.
When should I hire an electrician to install a doorbell camera?
Hire one when you are dealing with the 120V side of the transformer, when no wiring exists and a wired run is needed, when the wiring is cloth-braided or brittle, when your breaker panel has no spare circuit, or when a permit is required in your area. Replacing an existing button on sound low-voltage wiring is well within reach of a beginner.
Conclusion
Before you call the install finished, run through this short list:
- Power is restored and the original chime still rings.
- The live feed works from mobile data, with clear footage day and night.
- Two-way audio carries both directions.
- Motion alerts fire once per passerby, not six times.
- No wire is left uncapped and no cable entry is left open to rain.
Once you know how to install a doorbell camera, that single live walk-by test and a final adjustment of the viewing angle are what separate a mounted camera from a working one. Get those right and the rest is just firmware updates and charging the spare battery.