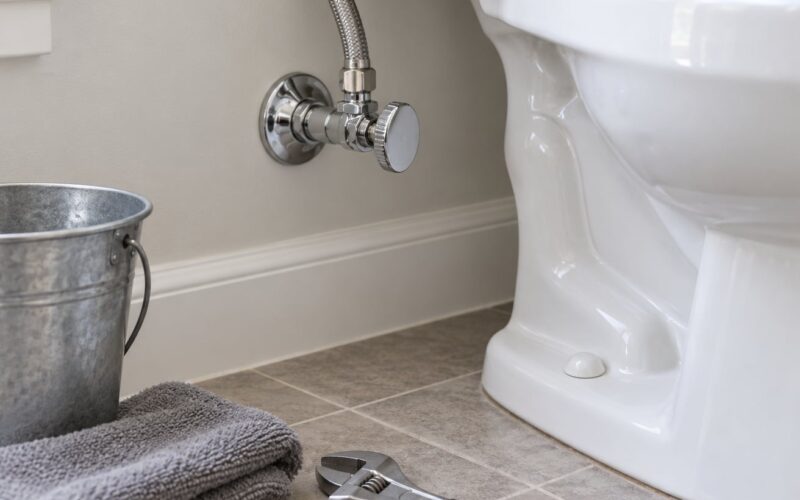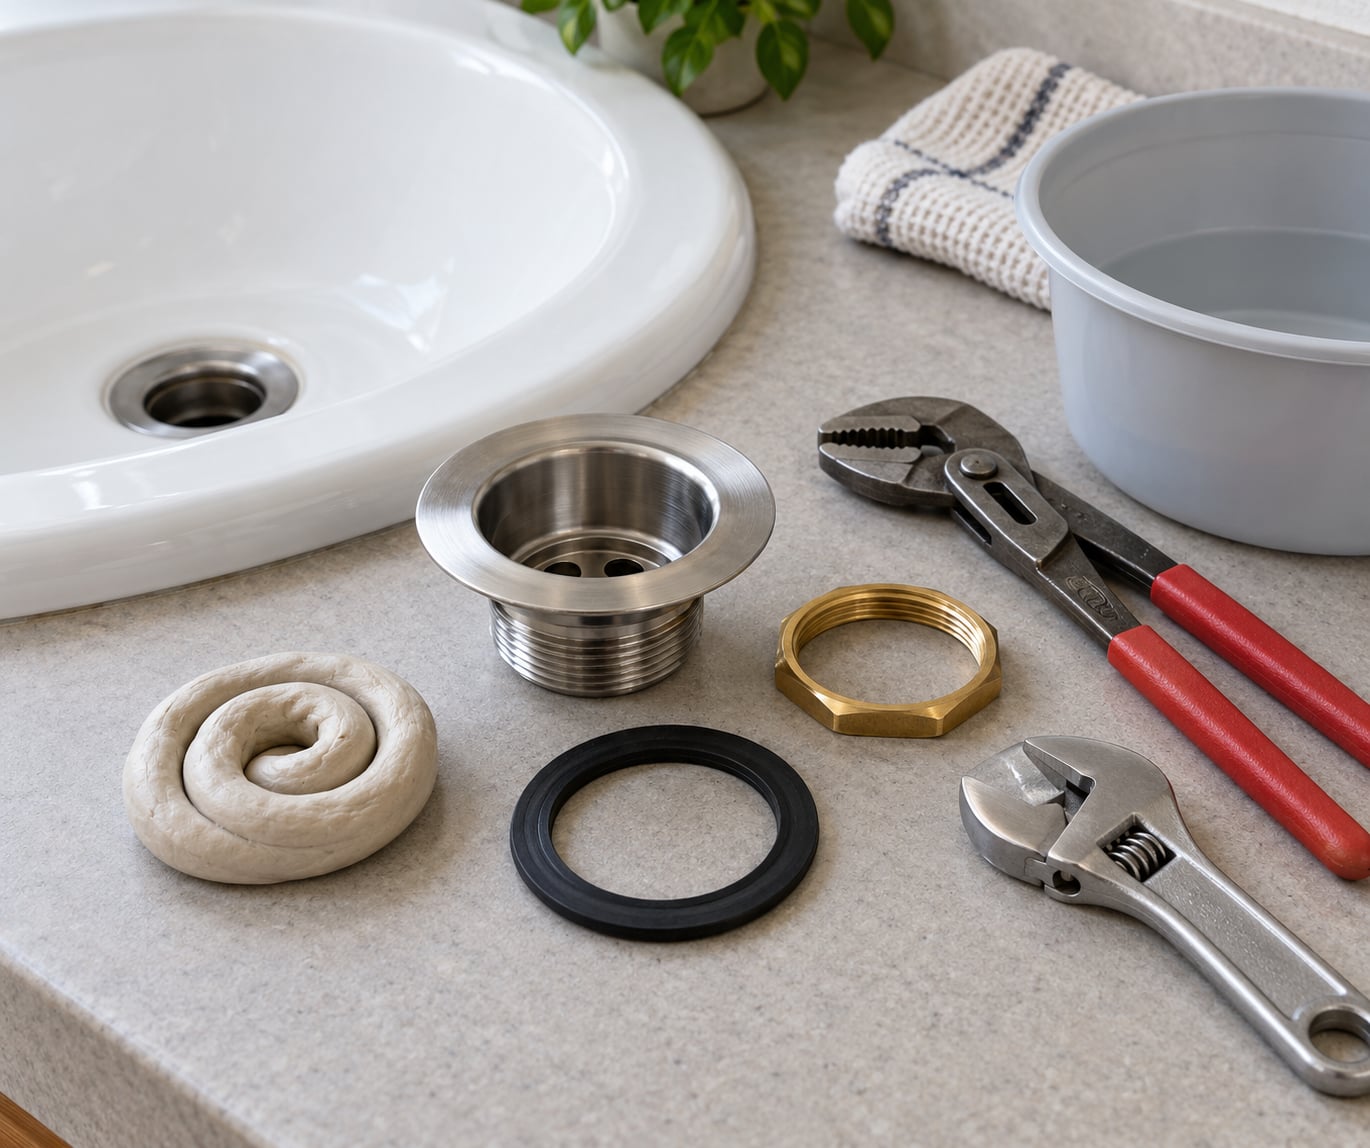
Replacing a sink drain assembly takes 30 to 60 minutes and no skill beyond loosening a nut and squeezing out a rope of putty. You disconnect the P-trap, loosen the locknut from under the basin, lift the old drain body out, set the new flange in plumber’s putty, and clamp it back down with a rubber gasket and locknut before reconnecting the trap. This guide covers how to replace a sink drain assembly on a bathroom or kitchen sink, including the three things that stop most people halfway through.
Before you pull any tools, decide whether you need a new assembly at all. Replacing just the rubber gasket or friction washer fixes most of the water you find pooled in the cabinet, and a pop-up stopper that will not stay up is usually a loose setscrew on the pivot rod or a stripped clevis. If the basin only drains slowly and the stopper moves fine, you have a clog in the tailpiece, not a failed drain.
What does need a full swap: a flange that leaks no matter how you tighten the nut, a drain body that spins or is cracked, chrome hardware that is pitted beyond saving, or a drain you are changing to match a new faucet set.
Table of Contents
- What You Need
- How to Replace a Sink Drain Assembly: Tools, Parts and Supplies
- Measure Your Drain Opening Before You Buy
- Plumber’s Putty, Silicone or Thread Sealant Tape?
- Step-by-Step: How to Replace a Sink Drain Assembly
- Step 1: Identify Your Drain Configuration
- Step 2: Turn Off the Water and Prepare the Sink
- Step 3: Remove the Old Drain Assembly
- Step 4: Install the New Drain Assembly
- Step 5: Reconnect the Drain and Check for Leaks
- Common Mistakes
- When the Locknut Spins or Won’t Move
- When to Call a Plumber Instead
- Frequently Asked Questions
- Do I need to shut off the water to replace a sink drain?
- What size drain assembly does my sink need?
- Do I need plumber’s putty to replace a sink drain?
- How do I remove a stuck sink drain locknut?
- Can I replace just the drain in a sink without a new faucet?
- How much does a plumber charge to change a sink drain?
- Final Check Before You Finish
What You Need
How to Replace a Sink Drain Assembly: Tools, Parts and Supplies
Tools first. Almost every job on a single sink is done with the same handful.
- A shallow bucket, five gallons or smaller, to catch water
- Tongue-and-groove pliers for slip nuts and the locknut
- A flat screwdriver for the pivot rod retainer nut and the setscrew
- An adjustable wrench, mostly for corroded hardware
- A putty knife or a plastic scraper for old sealant
- A rag, some paper towels and a headlamp or flashlight
- Penetrating oil, worth having on hand before you need it
- Painter’s tape to mark trap arm positions before disassembly
Parts next, and the list is short because most drain assemblies ship complete.
- The replacement drain assembly, matched to your sink
- A rubber gasket and friction washer if the kit does not include them
- Plumber’s putty or the sealant your sink material requires
- Thread seal tape for tailpiece and trap threads
- A tailpiece extension if the new tailpiece is shorter than the old one
- A disposer flange and disposer tailpiece if a garbage disposal is going back on
Measure Your Drain Opening Before You Buy
Not all sink drain assemblies are the same size, and this is the question the hardware aisle never answers clearly. Most bathroom and kitchen sinks use a 1-1/2 inch drain. A smaller share of older and imported sinks, plus some stainless steel undermount models, use a 1-5/8 inch oversize drain, and a standard assembly will rattle in the hole and never clamp properly.
To measure, take a tape measure or a ruler across the drain opening at the top rim and measure the inner diameter. If your sink has no measuring tool to hand, take the old flange out first and measure across its outer lip, or measure the tailpiece threads with a caliper. When a 1-1/2 inch assembly slides into the hole with visible daylight all around, you are looking at a 1-5/8 inch opening.
Measure the sink depth too, from the underside of the basin to the trap connection. That number tells you whether a standard-length tailpiece reaches the trap without forcing anything, and whether you need an extension or a shorter tailpiece.
Plumber’s Putty, Silicone or Thread Sealant Tape?
These three get mixed up constantly, and each one belongs in a specific place.
- Plumber’s putty goes under the flange on the sink’s drain rim. It is the right choice for porcelain, ceramic, acrylic, cast iron and vitreous china basins, and for metal sinks with a separate gasket. It stays slightly pliable and can be removed years later.
- Silicone caulk goes in the same spot when the sink is stone, granite, solid surface or stainless steel, where putty may never fully set. It also works on undermount stainless installs. Let it cure fully before you run water.
- Thread seal tape goes on threads only: the tailpiece, the trap arm and the slip nuts. Never tape a flange, and never put silicone on a thread.
- No sealant at all is correct when the new assembly ships with its own rubber gasket meant to compress against the basin.
Step-by-Step: How to Replace a Sink Drain Assembly
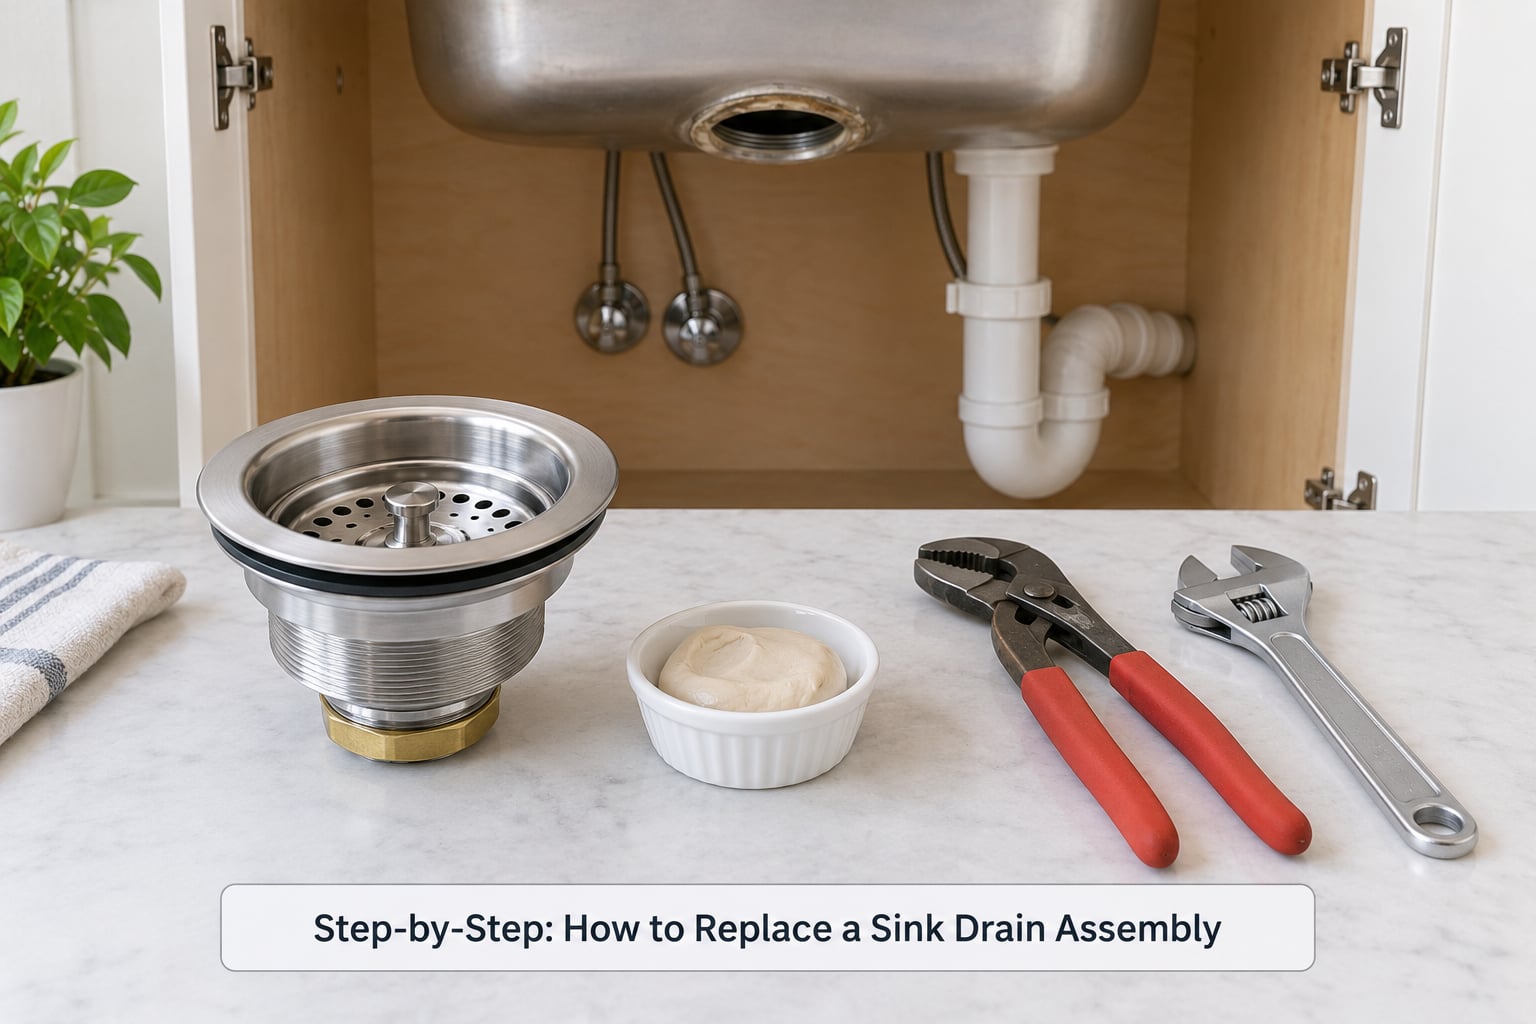
Work in this order and the job stays linear: identify, prepare, remove, install, reconnect and test. Lay everything out before you start so the parts come apart and back together in the same sequence.
Step 1: Identify Your Drain Configuration
Look down into the basin and at the pipework below before touching anything, because the replacement has to match what you find.
- A pop-up drain has a stopper, a pivot rod and a lift rod running back to the faucet. The faucet needs a matching lift rod hole.
- A push-button drain has no lift rod; the button on the stopper does the work and needs no hole in the faucet.
- A basket or grid strainer has no moving parts at all. It suits a kitchen sink, a utility sink or a vessel sink.
- A kitchen sink with a garbage disposal needs a disposer flange, a disposer tailpiece and a sink drain without a stopper. Unplug the disposal at the wall before any work.
- A double basin often shares one tailpiece and a baffle tee between the two drains, so both baskets and both tailpieces come out together.
- A vessel sink usually has no overflow, so it needs a drain body without overflow holes. A single-wall metal sink needs the same thing.
Check the trap as well. A standard P-trap curves into a drain stub in the wall, while an S-trap enters a wall that sits directly behind the basin, and some codes allow neither and require a listed drain assembly. Note the trap arm length and its height so you can rebuild the same geometry.
Step 2: Turn Off the Water and Prepare the Sink
A drain carries no supply water, so a supply shutoff is not strictly required for a straight swap. Close the angle stops under the basin anyway if the faucet is being removed or a supply line crosses your work area, and it costs you nothing.
- Put a bucket under the drain and a drop cloth or newspaper under the cabinet floor
- Empty the basin fully, and plug the stopper or stuff a rag in the drain hole so nothing splashes up while you work
- Clear the cabinet of cleaners, filters and stored junk, then set a headlamp inside it
- Tape a small mark on the trap arm where it meets the wall stub, so you can restore the same height and slope
- Protect the counter and basin with a folded towel, and have a putty knife ready for the rim
Photo or sketch the existing layout if anything about the pipe run looks unusual. You will thank yourself in twenty minutes.
Step 3: Remove the Old Drain Assembly
Start with the stopper linkage, then the trap, then the nut. That order keeps the linkage from dropping into a dry trap.
- For a pop-up, unscrew the retainer nut on the pivot rod through the top of the stopper, lift the pivot rod out of the clevis, and note which way the retainer nut faced
- Remove the lift rod from the back of the faucet, or leave it in place if the faucet is staying and only the rod is being replaced
- Support the tailpiece, unscrew the slip nut on the trap arm, and lower the trap away from the tailpiece
- Tip the P-trap into the bucket first. The trap holds a full cup of water, and this is the single most-missed warning in sink drain tutorials
- Hold the drain body from above and loosen the locknut underneath with tongue-and-groove pliers, turning counterclockwise
- Lift the flange straight up out of the sink hole, then scrape the rim clean of old putty or hardened caulk with a putty knife and wipe it dry
If the drain body spins instead of the nut turning, stop and use a basin wrench on the body to hold it while you turn the nut. Forcing it will crush the threads on plastic hardware.
Step 4: Install the New Drain Assembly
Dry-fit the new drain body first. It should drop into the hole and sit flat on the rim with the threads pointing straight down.
- Roll plumber’s putty between your hands into a rope about the thickness of a pencil and about five inches long
- Press the rope onto the underside of the flange all the way around, then set the drain body into the hole and press down evenly
- Less than a quarter inch should squeeze out around the rim. More than that means too much putty, and the excess folds inward under the flange
- From below, place the rubber gasket against the underside of the basin, flat and centered, then thread the locknut on by hand
- Tighten the locknut until the gasket starts to compress, then add no more than a quarter turn with pliers
- Wipe away the putty that squeezes out. Do not press it back under the flange
Brass and metal locknuts take a firm quarter turn. Nylon and plastic nuts should be hand-tight plus a hair, because they crack and strip, and over-tightening the locknut can crack a porcelain or acrylic basin. If the basin flexes or you hear a sound like a coin dropping, you have gone too far.
Reassemble a pop-up stopper next. Screw the clevis into the threaded port inside the tailpiece, feed the lift rod down through the faucet hole and through the clevis, tighten the nut on the lift rod, then clip the spring clip from the lift rod to the pivot rod. The pivot rod passes through the stopper with its hole facing the back of the sink, and the retainer nut goes back on the same way it came off.
Step 5: Reconnect the Drain and Check for Leaks
Build the trap dry on the cabinet floor first, where you can see whether the pieces actually meet.
- Fit the washer in the tailpiece outlet, then the trap arm, then the slip nut. Thread the slip nut on the tailpiece before you try to reach the wall
- On every slip-joint connection, the tapered washer goes in with the tapered side facing down. Installed backwards, the joint seeps no matter how tight the nut is
- Set the trap to the tape mark so the arm keeps its fall toward the wall, then hand-tighten each slip nut and add a quarter turn. Do not crank them with channel-lock pliers
- Open the hot and cold supply valves if you closed them, and confirm there is no drip at the angle stops
- Fill the basin with a few inches of water, let it stand, and watch every joint underneath with a flashlight
- Run the tap for a minute, then dry each joint with a paper towel and check again. A joint that only shows water after the paper dries is the one that leaks
- Test the stopper open and closed, and run the drain to confirm it empties at full flow without gurgling
Paper towels are better than a rag here because they show a wet mark rather than holding water.
Common Mistakes
Most failed sink drain swaps come down to a short list of errors, and each one has a simple fix.
- Wrong drain size. A 1-1/2 inch assembly in a 1-5/8 inch hole spins and clamps on nothing. Measure the opening before you buy, not after.
- Missing or misplaced gasket. The rubber gasket belongs flat against the underside of the basin, between the sink and the locknut. Without it, the joint weeps no matter how tight the nut is.
- Overtightening. More than a quarter turn past snug cracks acrylic and porcelain basins and splits plastic locknuts. Snug is enough.
- Sealant in the wrong place. Putty and silicone belong under the flange, never on threads, and thread tape belongs on threads, never under the flange.
- Too much putty. Heavy squeeze-out folds inward and creates a gap. A pencil-thick rope is plenty.
- Reversed trap washers. The taper faces down. This is the number one cause of a trap that drips onto the cabinet floor after reassembly.
- Forgetting the overflow requirement. A single-wall metal sink or a vessel sink needs a drain body with no overflow holes, and putting one in can trap water in the basin.
- Emptying the trap into the cabinet. Tie the P-trap into a bag or tip it into the bucket before you remove it.
- Skip the test. A joint that looks dry under the faucet can drip from the locknut. Fill the basin and look from below.
- Reusing a corroded tailpiece. If the old tailpiece is scaled, brittle or rusted, replace it with the drain assembly rather than reinstalling it.
When the Locknut Spins or Won’t Move
A seized locknut is the blocker DIY plumbers hit most often, and it usually means the drain body is rotating inside the sink with the nut. Clamp a basin wrench onto the drain body above the locknut, or use a strap wrench or padded vise-grips if you do not own one, and turn the nut with a second pair of pliers. If the nut itself is frozen rather than the body spinning, spray penetrating oil on the threads, wait ten minutes, then run hot water over the nut and tap it lightly with a deep socket while you turn.
As a last resort, cut the tailpiece just under the sink basin with a hacksaw and unscrew the remaining body and nut separately. Replace the whole tailpiece and nut rather than fighting it, and wear eye protection if you take a chisel to a stubborn brass nut.
When to Call a Plumber Instead
Some jobs should not be a weekend project. Call a licensed plumber if the tailpiece or trap is corroded cast iron that will not cut cleanly, if there is no accessible shutoff for the supply lines feeding the faucet, or if the drain ties into a shared stack or a second-floor bathroom where a mistake floods someone else. Leaks that have already soaked cabinet base panels need a dry-out inspection as well as a new drain.
Frequently Asked Questions
Do I need to shut off the water to replace a sink drain?
Usually not. A drain assembly carries no pressurized water, so a supply shutoff is only needed when you are removing the faucet, moving a supply line out of the way, or working on a disposer supply. Closing the angle stops under the basin anyway is cheap insurance. The water you do need to plan for is the cup held in the P-trap, so empty the basin and have a bucket ready before you disconnect anything.
What size drain assembly does my sink need?
Most bathroom and kitchen sinks take a 1-1/2 inch drain assembly, while a smaller group of older and imported sinks plus some stainless undermount models use a 1-5/8 inch oversize. Measure the inner diameter of the drain opening at the rim, or measure the outer lip of the old flange. If a standard assembly sits loose in the hole, you need the oversize one. Also check whether the sink has an overflow before choosing a drain body.
Do I need plumber’s putty to replace a sink drain?
Plumber’s putty is the standard sealant under the drain flange on porcelain, ceramic, acrylic and cast iron sinks. Use silicone caulk instead on stone, granite, solid surface and stainless steel, where putty may never set. Use thread seal tape on the tailpiece and trap threads, never under the flange. If your new drain ships with its own rubber gasket designed to seal against the basin, no putty is needed at all.
How do I remove a stuck sink drain locknut?
Hold the drain body still with a basin wrench, strap wrench or padded vise-grips, then turn the nut with tongue-and-groove pliers. If the nut is frozen rather than spinning, spray penetrating oil on the threads, wait ten minutes, then run hot water over it and tap it with a deep socket while turning. If it still will not move, hacksaw the tailpiece off under the basin and replace the body and nut as a set.
Can I replace just the drain in a sink without a new faucet?
Yes, and most jobs do not require a new faucet. A drain body and flange bolt to the sink on their own, so you can swap a leaking or broken drain and keep the existing faucet, as long as the new drain matches the faucet. A pop-up drain needs a lift rod hole in the faucet, which a standard faucet already has. A push-button drain needs no hole, so it works with almost any faucet.
How much does a plumber charge to change a sink drain?
A plumber bills a minimum service call plus labor, and the figure varies widely by region, time of day and how hard the cabinet is to work in. Many plumbers will quote the whole swap in a few minutes once they are under the sink. The parts themselves are inexpensive relative to the call, which is why most homeowners do this job themselves. Use a plumber for corroded cast iron pipe or anything leaking into another space.
Final Check Before You Finish
Run through this list before you close the cabinet door.
- The basin drains at full flow with no gurgling or standing water
- No drip at the flange, the locknut, the tailpiece, either slip nut or the wall connection after ten minutes of testing
- The trap arm still slopes toward the wall and nothing is kinked or pushed out of alignment
- The locknut is snug, the stopper holds open and closed, and no putty is visible under the rim
- Paper towels around each joint came away dry, and the cabinet floor and base panels are clean and dry
If the assembly still seeps after one reseat, stop tightening and start over with fresh putty or a fresh gasket, because that is nearly always the cause. If the drain will not seal no matter what you do, or the pipe below is corroded cast iron, call a licensed plumber rather than forcing it. Start your next sink with a tape measurement and the right drain body in your hand, and the rest of the job takes about half an hour.