Replacing a light fixture is one of the most approachable electrical jobs in a home, and most people can finish it in an hour or two with a screwdriver, a voltage tester and some wire connectors. The trick is not mechanical. It is knowing when the circuit is genuinely dead before your hands go anywhere near a conductor, and stopping when the wiring is something you cannot identify with confidence. This guide walks through the whole process for a standard ceiling fixture or wall sconce, from killing power at the breaker to testing the finished install, plus the situations where a licensed electrician is the correct call instead.
Table of Contents
- What You Need
- Step-by-Step
- 1. Turn Off the Power and Verify It Is Safe
- 2. Remove the Existing Fixture
- 3. Check the Electrical Box and Fixture Compatibility
- 4. Connect the New Fixture Wires
- 5. Secure the Fixture and Install the Bulb
- 6. Restore Power and Test the Replacement
- Common Mistakes
- When to Call a Licensed Electrician
- Frequently Asked Questions
- Can I replace a light fixture myself?
- Do I really need to turn off the circuit breaker to change a light fixture?
- Are wires still live when the switch is off?
- How do I use a voltage tester on a light fixture?
- What if there is no ground wire in my ceiling box?
- Conclusion
What You Need
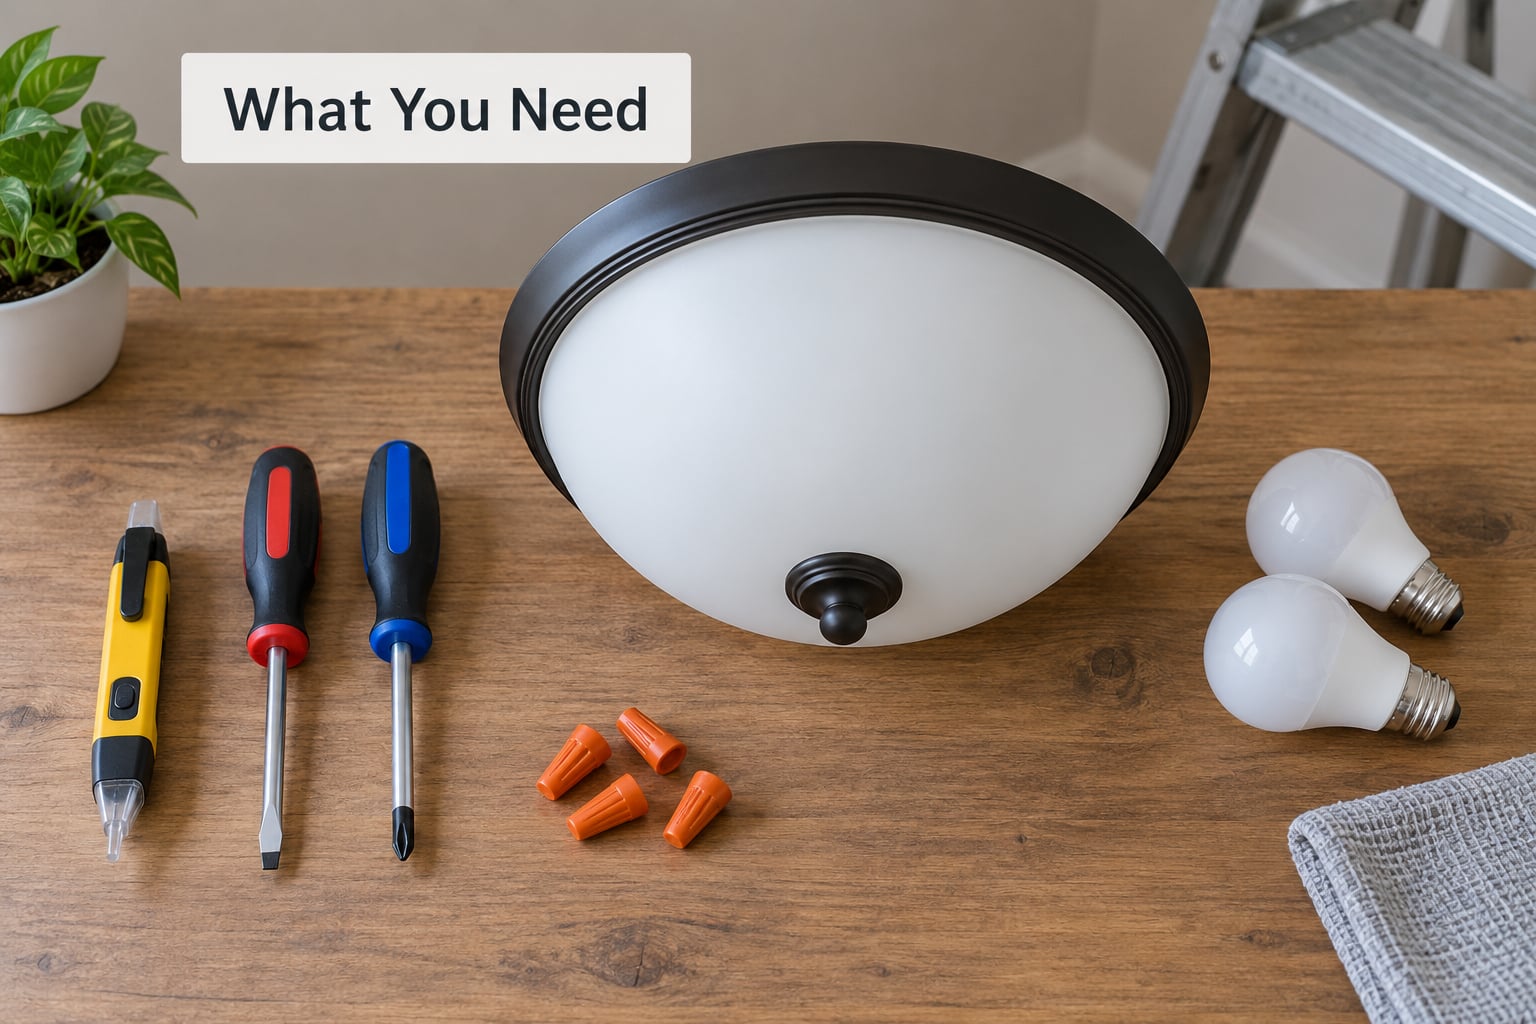
Gather everything before you climb the ladder. Reaching for a tool with energized wires in your hand is how good jobs turn into bad days.
- The replacement fixture with its mounting bracket and canopy
- A bulb that matches the socket type and the fixture’s maximum wattage
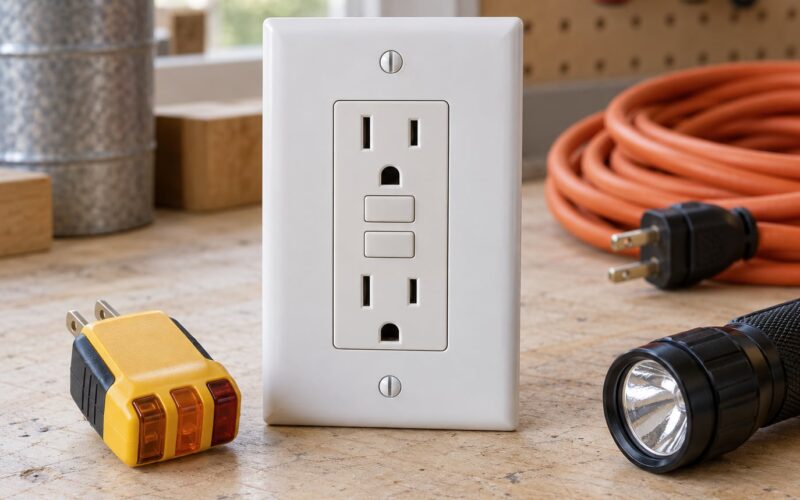
- A non-contact voltage tester and, if you want certainty, a two-pole contact tester
- Wire connectors (wire nuts) sized for the gauge of wire you find, plus one spare
- Needle-nose pliers, wire strippers and a flat-head plus Phillips screwdriver
- A step ladder rated for the job, on level ground
- Your phone for a flashlight and to photograph the existing wiring
- Electrical tape for flagging conductors if anything is ambiguous
Two things to check before you shop. First, look up the fixture’s maximum bulb wattage, which is usually stamped on the socket ring, and never exceed it. Second, note whether the existing ceiling box has a plain round opening or a fan-rated box, because a heavy fixture needs the fan-rated kind.
Step-by-Step
1. Turn Off the Power and Verify It Is Safe
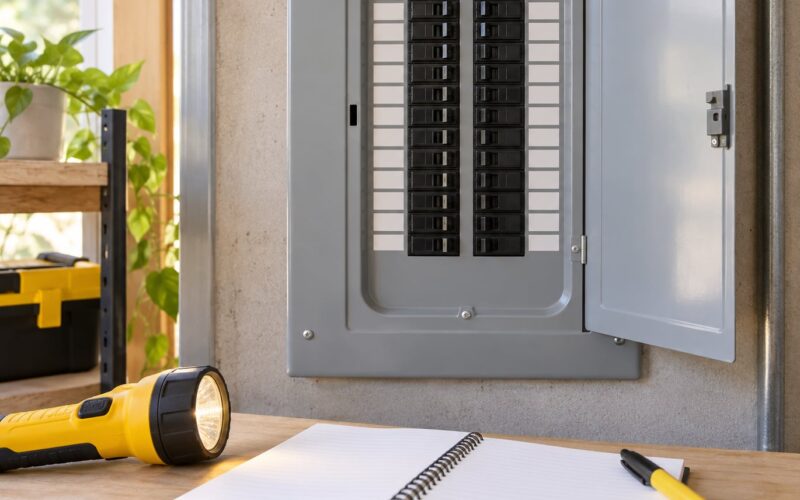
Flip the wall switch off, then go to the breaker panel and switch off the breaker for that room. If several breakers are labeled ambiguously, turn off the main breaker instead so you are certain. A switch only interrupts the hot wire, and in some homes the wiring is mislabeled, so a switch in the off position proves nothing.
Test before you touch. Hold a non-contact voltage tester near each wire end and along the fixture wiring, then confirm with a contact-style tester or a multimeter on the conductors themselves. A non-contact pen can pick up induced or “phantom” voltage through a long, ungrounded run and read a faint beep when the wire is actually dead. If the pen chirps, verify with a meter rather than assuming you are safe.
Stop and reassess if the box is damaged, warm to the touch, wet, filled with old crumbling insulation, or wired in a way you do not recognize. Those are all reasons to move on to a professional, not reasons to try harder.
2. Remove the Existing Fixture
Stand on your ladder with three points of contact and have someone steady it if you can. Support the fixture’s weight with one hand, then remove the screws holding the canopy or decorative plate to the mounting bracket. Lower the fixture gently until it hangs on the wires alone.
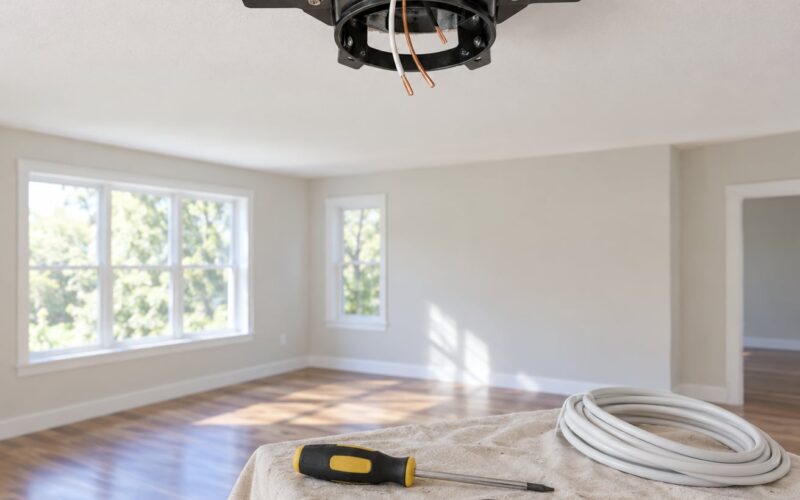
Before disconnecting anything, take three or four photos from several angles. On most fixtures, unscrew the wire nut counterclockwise and separate the wires without pulling or twisting them hard. If a connector is stuck, slice the loop rather than yanking the conductor, and never pull on the insulation to move wire.
Unscrew the mounting bracket from the box and take it out. If you are installing a heavy chandelier or a ceiling fan, get a helper or mount the bracket first and rest the fixture on it while you wire. Holding 15 pounds of chandelier one-handed while twisting wire connectors is not a good time to be clever.
3. Check the Electrical Box and Fixture Compatibility
Now inspect the box itself. Confirm it is firmly attached to the ceiling joist, not just hanging in drywall. Check the weight rating printed on the box and compare it to your new fixture, where anything over about 50 pounds needs a fan-rated box. Look for cracked metal, stripped screw holes, or conductors whose insulation crumbles at a touch.
Match the bracket to the new fixture. Most brackets screw straight to the box, but some styles hang on a single central screw or use an integrated plate. Read the fixture instructions before you force anything. If the screw holes are damaged or the box is the wrong type, this is an electrician job, not a bigger screwdriver job.
4. Connect the New Fixture Wires
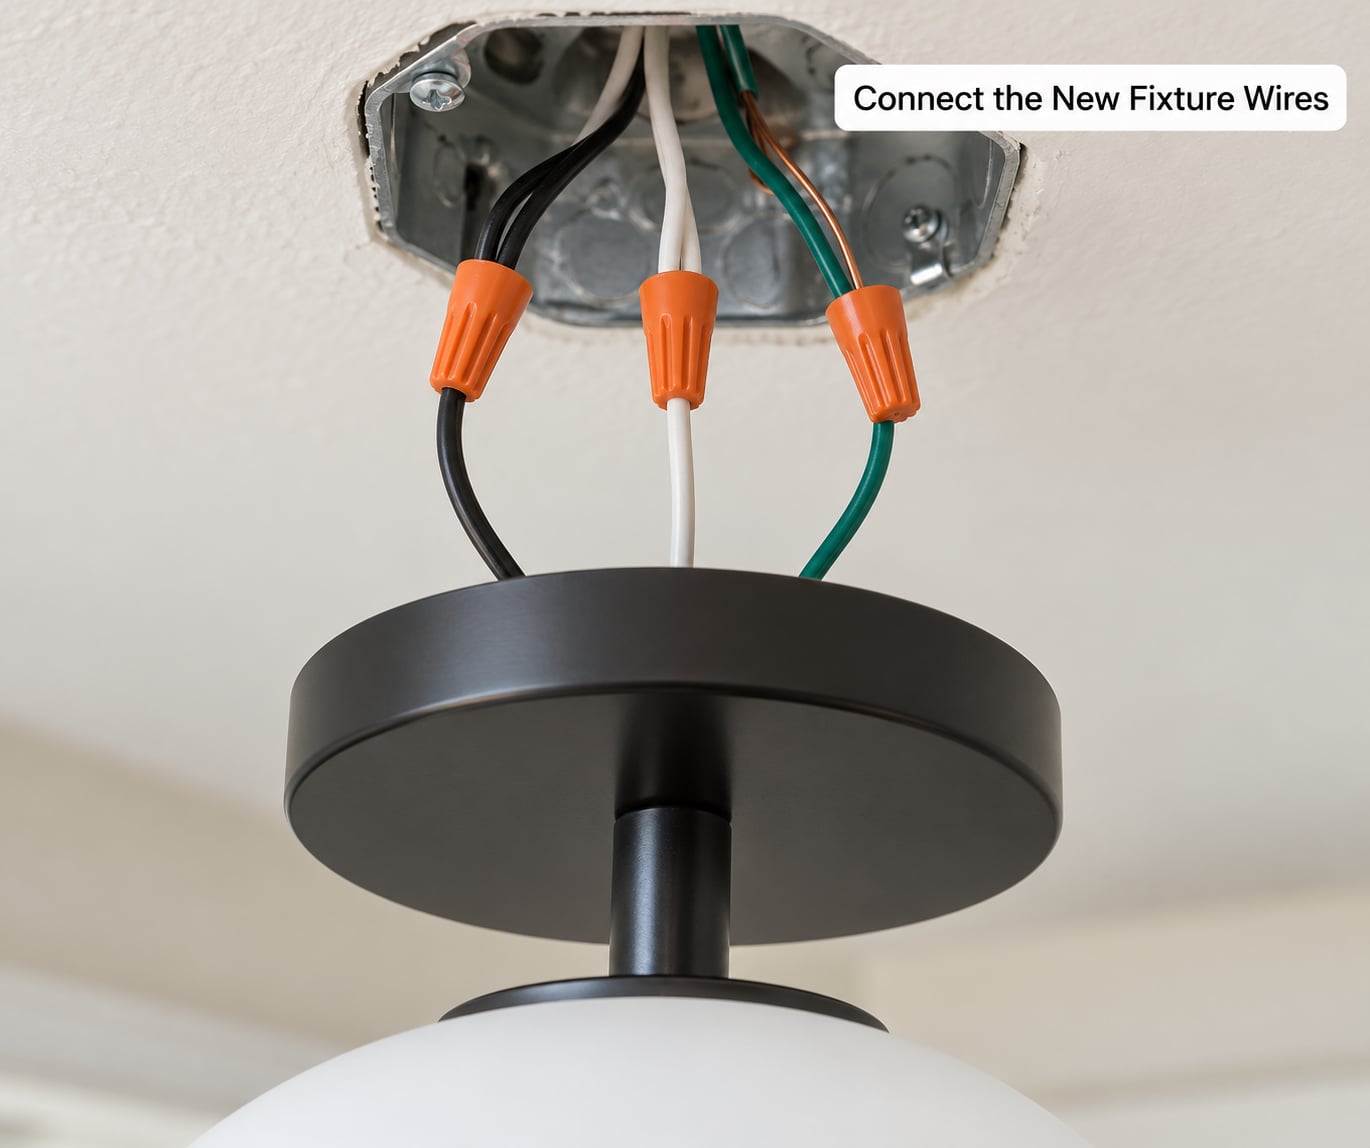
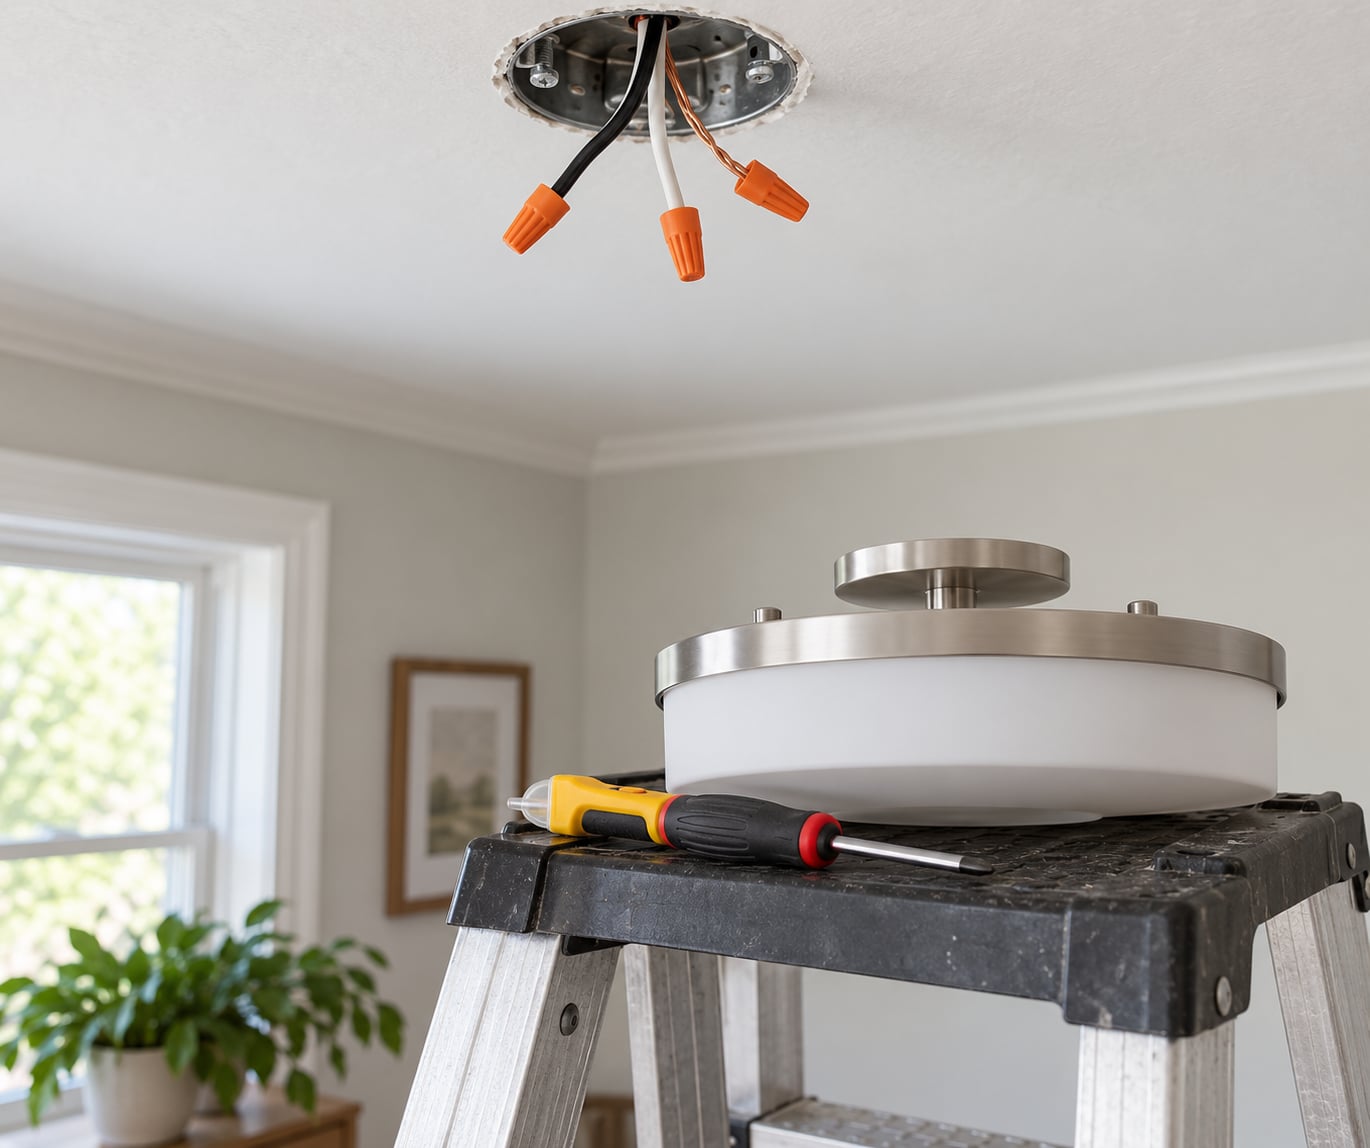
In standard US wiring, black or any non-white color is the hot (line) conductor, white or gray is neutral, and green or bare copper is ground. Older homes may have cloth-covered wire or colors that do not follow the convention, so treat any box where you cannot confidently identify ground as a stop sign rather than a puzzle.
Match wire to wire and never swap line and neutral. Reversing them does not trip a modern breaker, but it leaves the fixture energized when switched off, which is exactly what makes people think a light is dead when it is not.
- Ground first: bare copper or green to the fixture’s green or bare lead, plus the green grounding screw on the bracket if the box has one
- Neutral second: white to white
- Hot last: black to black, or to whichever fixture lead is not white or green
Strip about half an inch of insulation, keep the exposed copper short, and choose a connector rated for the wire gauge. Twist the wires together, screw the wire nut on until it is snug and the wires seat fully inside, then tug each one gently to confirm it will not pull free. Some electricians wrap a pass of tape around the base of the nut as insurance. If you find more conductors than you expected, group like colors together and cap each group separately rather than stuffing everything into one connector.
Do not work on aluminum wiring, missing ground, or unidentified conductors. Aluminum needs listed connectors and a compound that limits corrosion, and it is a known fire risk when re-terminated by hand. If your box has aluminum, no ground, or no white neutral at all, call a licensed electrician.
5. Secure the Fixture and Install the Bulb
Fold the connected wires into the box so nothing is pinched against the box edge or resting against the fixture canopy. Many people tuck the wire nuts into their shirt pocket or a clip while working so they do not fall when both hands are on the fixture, which is a small trick that saves real trips up the ladder.
Screw the mounting bracket to the box, attach the fixture, and tighten the canopy screws evenly until the fixture sits flush with no wobble. Fit the bulb last, matching both the socket type and the maximum wattage printed on the fixture.
6. Restore Power and Test the Replacement
Before you energize anything, do a slow visual check. Are all conductors enclosed inside the box with no bare copper showing? Are the wire nuts fully seated? Is the bulb the right wattage? If it looks right, restore the breaker and flip the switch.
Common problems and what they usually mean:
- Nothing happens. Check that the bulb is seated and that the wall switch actually controls this fixture, then test again with the meter. Some fixtures also have a pull chain or side switch that must be on.
- The breaker trips immediately. A loose connection or a wire nut that did not seat fully is the usual cause. Turn the power back off, recheck every connector, and look for a conductor pinched between the box and the canopy.
- The light flickers or buzzes. Often a poor connection at the socket or a bulb that is not compatible with the dimmer. Smart and dimmable fixtures may need a specific bulb type.
- The fixture works but the wall switch feels warm. Shut it off at the breaker. Warm switches point to a loose connection that needs attention now.
A single flicker right after install is normal as the metal cools. A fixture that trips the breaker twice is not something to keep testing. Reset once, then stop and call an electrician if it trips again.
Common Mistakes
- Trusting the wall switch. Fix: always kill power at the breaker and confirm with a tester.
- Confusing line and neutral. Fix: match colors, never guess, and treat unrecognized colors as a stop condition.
- Leaving a connection loose. Fix: tug-test every wire and seat wire nuts fully.
- Mounting a heavy fixture on a standard box. Fix: check the box rating and use a fan-rated box where required.
- Exceeding the bulb wattage. Fix: read the rating on the socket ring and stay under it.
- Working on aluminum or ungrounded wiring. Fix: call a licensed electrician.
A few habits cover most of the rest. Photograph the wiring before you touch it, so you have a reference if something goes sideways. Use a headlamp or your phone’s flashlight, since the breaker is off and the room light is useless. And work methodically enough that a friend could watch you do it and follow along.
When to Call a Licensed Electrician
Know in advance when to stop, because the decision is easier before the ladder is out. Call a professional if you see aluminum conductors, brittle or cloth-covered insulation, or a box with no ground wire at all. Also call if the breaker trips repeatedly, if the switch or outlet is warm or discolored, if the box is loose or has visible damage, if the wiring does not match standard color conventions, or if you cannot identify the ground conductor with certainty. Heavy chandeliers, fixtures over 50 pounds, and anything in a bathroom or outdoor location add real risk and code requirements.
Nobody faults you for asking. Homeowners on DIY and home improvement forums describe the moment they realized the wiring was aluminum in a 1960s house and stopped mid-job, which is exactly the right outcome.
Frequently Asked Questions
Can I replace a light fixture myself?
Most standard fixtures can be swapped by a careful beginner, because the job is only three wire connections and a couple of screws. The deciding factor is the wiring, not the fixture. If your box has a ground wire, standard colors and a solid mounting bracket, you can do it safely. If any of those are missing or unclear, the risk shifts to fire and shock and the job belongs with a licensed electrician.
Do I really need to turn off the circuit breaker to change a light fixture?
Yes. The wall switch only breaks one side of the circuit, and in some homes the wires are mislabeled, so a switch in the off position can leave the fixture live. Shut off the breaker and confirm the conductors are dead with a voltage tester before you touch anything.
Are wires still live when the switch is off?
They can be. The switch typically interrupts the hot conductor while the neutral stays connected, so the box still contains one continuous conductor even with the switch off. Switches are also the most commonly miswired device in a home. Only the breaker gives you a dependable off state.
How do I use a voltage tester on a light fixture?
With the breaker on, sweep a non-contact tester near each wire to identify the hot conductor, then switch the breaker off and re-test. Hold the probes of a contact tester or a multimeter across the two conductors, then between each conductor and ground, and expect no reading when the circuit is dead. A faint beep from a non-contact pen often means phantom voltage, so confirm with a meter.
What if there is no ground wire in my ceiling box?
Do not fabricate a ground connection and do not proceed on your own. Homes built before grounding was widely required often have only black and white conductors. A grounded replacement fixture still needs a proper ground, which means running one back to the panel or using an approved bonding method, and that work is best left to a licensed electrician.
Conclusion
The first thing to do is always the same: shut off the breaker and prove the circuit is dead with a tester, because the wall switch is not proof of anything. Then match ground to ground, white to white and black to black, keep bare copper inside the box, and use a bulb within the fixture’s rating. If the wiring is aluminum, ungrounded, damaged or simply unfamiliar to you, stop there and call a licensed electrician. Knowing when to hand the job over is part of doing it right.