Organizing a garage from scratch means clearing the space completely, sorting everything into categories, purging what you will not keep, mapping functional zones, installing storage matched to each category, then restocking and labeling so the system holds.
Most people get it half right. They buy totes and shelving on Saturday, then spend Sunday realizing they still do not know what to put in them. The projects that actually stick start with a full empty-out and a multi-category sort, and no purchase happens until that sort is finished.
Budget two full days for a single-car garage, more if you are dealing with inherited clutter. The reset itself is straightforward; the discipline of not buying anything early is the hard part.
Table of Contents
- What You Need
- Planning and measuring
- Safety gear
- Sorting supplies
- Storage and labeling
- Step-by-Step: How to Organize a Garage From Scratch
- 1. Measure the Garage and Plan the Layout
- 2. Clear the Garage Completely — the True Start of How to Organize a Garage From Scratch
- 3. Sort Everything Into Keep, Donate, Sell, and Discard Groups
- 4. Clean and Prepare the Empty Space
- 5. Create Storage Zones and Choose the Right Containers
- 6. Store Items by Frequency and Weight
- 7. Label Everything and Build a Maintenance Routine
- Common Mistakes
- Frequently Asked Questions
- What are the 5 steps to organize a garage?
- How do I organize a garage that’s full of everything?
- What items should not be stored in a garage?
- What is the best height for garage shelving?
- Is it cheaper to buy or build shelves for a garage?
- How do I make a garage plan?
- Conclusion
What You Need
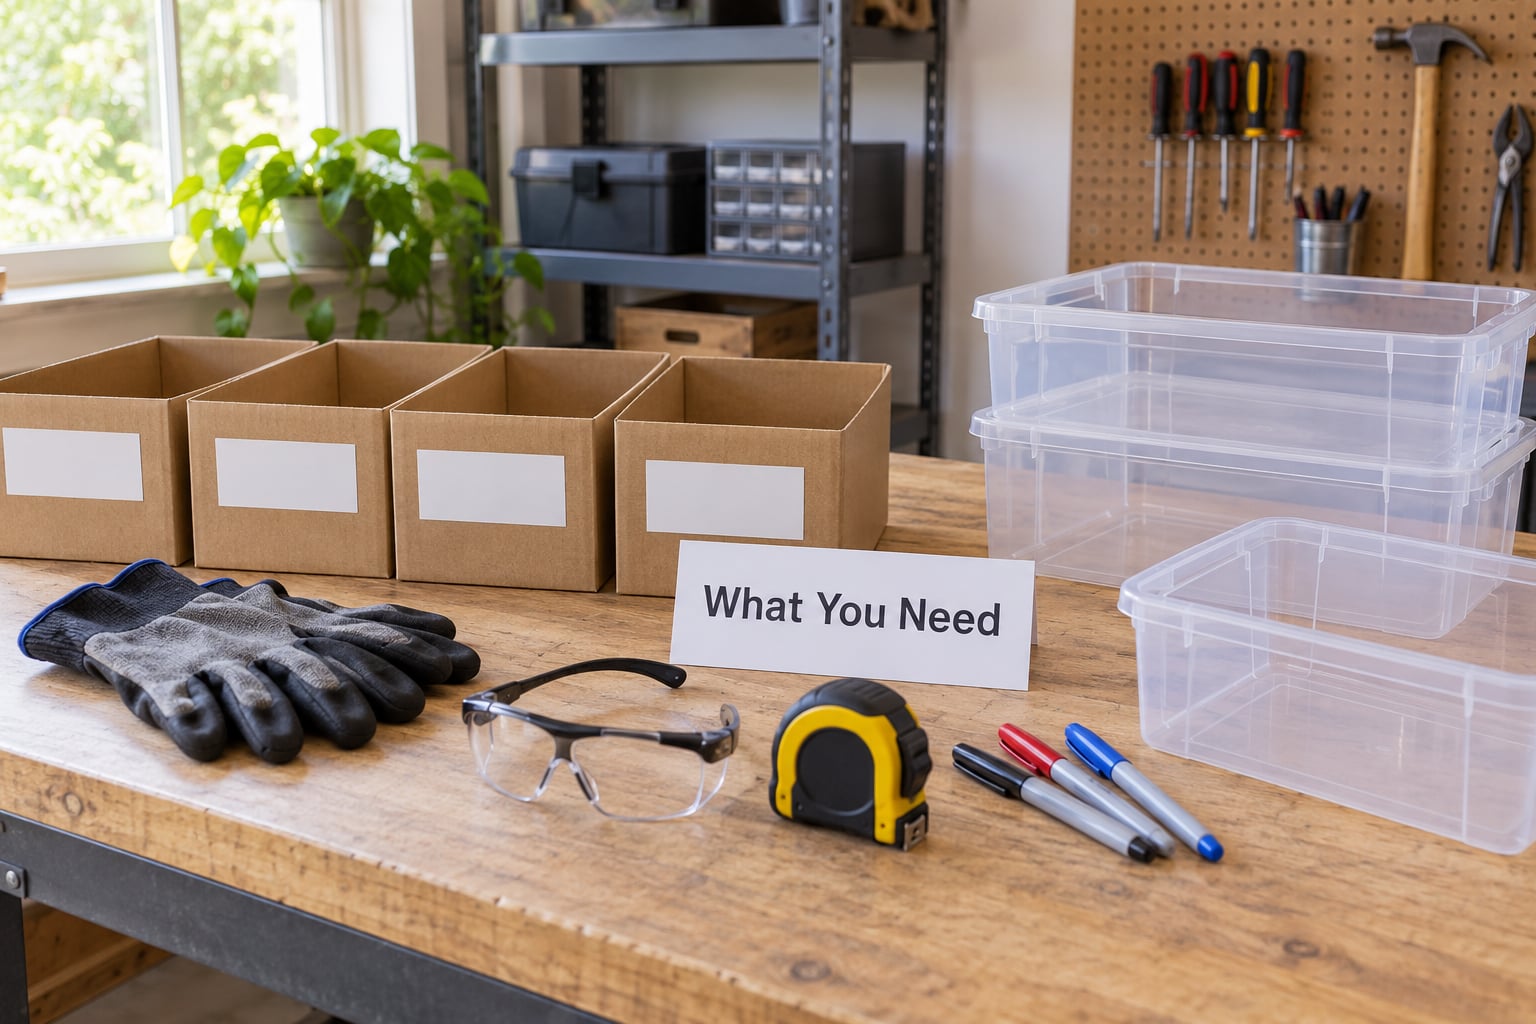
Gather these before you touch a single box, because the supplies you need are mostly cheap and mostly reusable across future resets.
Planning and measuring
- Tape measure and a notepad or phone for notes
- Painter’s tape for marking zones on the floor
- Marker, plus chalk or pencil for wall marking
- Graph paper or a printed floor plan template if you want a scaled drawing
Safety gear
- Work gloves and safety glasses
- Dust mask for sweeping and vacuuming
- A sturdy stepladder rated for indoor or garage use, not a folding chair
- A clip-on work light so you can see under shelves and in corners
Sorting supplies
- Eight to twelve empty cardboard boxes, used as sorting stations
- Marker for writing the category on the side of every box
- Large garbage bags for discards
- Bags or a separate staging area for items to donate or sell
Storage and labeling
- Clear lidded bins sized to fit your shelves, so nothing overhangs
- Wire shelving with a load rating above what you plan to stack
- Wall hooks, pegboard or slatwall panels for tools and bulky items
- A label maker, or wide painter’s tape and a large-print marker
Buy storage only after step three. Until then, the boxes above are enough to finish the entire sort.
Step-by-Step: How to Organize a Garage From Scratch
1. Measure the Garage and Plan the Layout
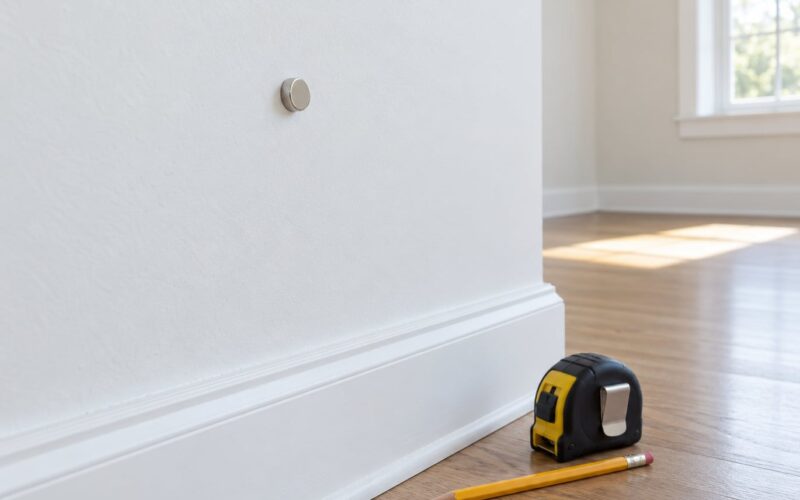
Start with numbers, not shopping. Measure the floor length and width, ceiling height, the width and height of the garage door opening, and the swing or track path of the door and opener.
Note where the outlets, light fixtures, windows and any existing workbench sit. Most single-car garages run roughly 12 by 20 feet with a ceiling near 8 feet, and those dimensions decide everything else.
- Mark the door track path and keep a 6 inch buffer on each side
- Keep electrical outlets and the door jamb clear so the door can open fully
- Check ceiling height before planning any overhead rack
- Decide where the vehicle parks and measure the clearance on all sides
Sketch it on graph paper at a rough scale of one square per foot. The drawing will tell you which zones actually fit before you commit to a wall layout.
2. Clear the Garage Completely — the True Start of How to Organize a Garage From Scratch
Everything comes out. Tools, boxes, furniture, bikes, the old shelving, all of it. Push things onto the driveway, into the basement, or into one corner of the garage only if the corner leaves you room to work.
Homeowners who describe successful resets all say the same thing: nothing stayed in the garage during the sort. Half-empty rooms let you rationalize keeping items out of habit.
Protect what you move. Watch for water, chemicals and anything that leaks under pressure, and carry the heavy items in two trips rather than one.
3. Sort Everything Into Keep, Donate, Sell, and Discard Groups
Set up your sorting stations in one area, each with a clear label: KEEP, DONATE, SELL, DISCARD. Work category by category instead of object by object, because a cardboard box of mixed cords will slow you down for an hour.
- Hand and power tools, with batteries separated from anything liquid
- Automotive supplies: fluids, filters, jacks, tire gear
- Gardening tools and supplies
- Sports and outdoor equipment, including bikes and helmets
- Seasonal and holiday decorations
- Household overflow: totes, camping gear, coolers, extra appliances
- Kids’ outdoor gear and sports equipment
- Recycling and trash awaiting pickup
For anything in the DONATE and SELL columns, write down the item on the box before it leaves the room. People routinely forget what was in a bag by the time it reaches the curb.
4. Clean and Prepare the Empty Space
An empty room shows problems that a full room hides. Sweep first, then vacuum along the walls and under where the shelving used to sit.
- Wipe down walls and the backsides of stored items
- Clean floor spills, especially oil or rust stains
- Look for moisture, water staining or a musty smell near the door seal
- Check for pests behind stored items and along baseboards
- Test each outlet with a plug-in tester if you plan to run tools or chargers there
Deal with the floor while it is bare. Sealing concrete or applying an epoxy coating gives you a surface that resists oil, wipes clean and makes spilled paint a wipe-up instead of a scar. It is optional, and it is the one step competitors skip that pays off for years.
Get an electrician for anything beyond replacing a faceplate. Look for exposed wiring, warm or scorched outlets, and water near a junction box before you load the room back up.
5. Create Storage Zones and Choose the Right Containers
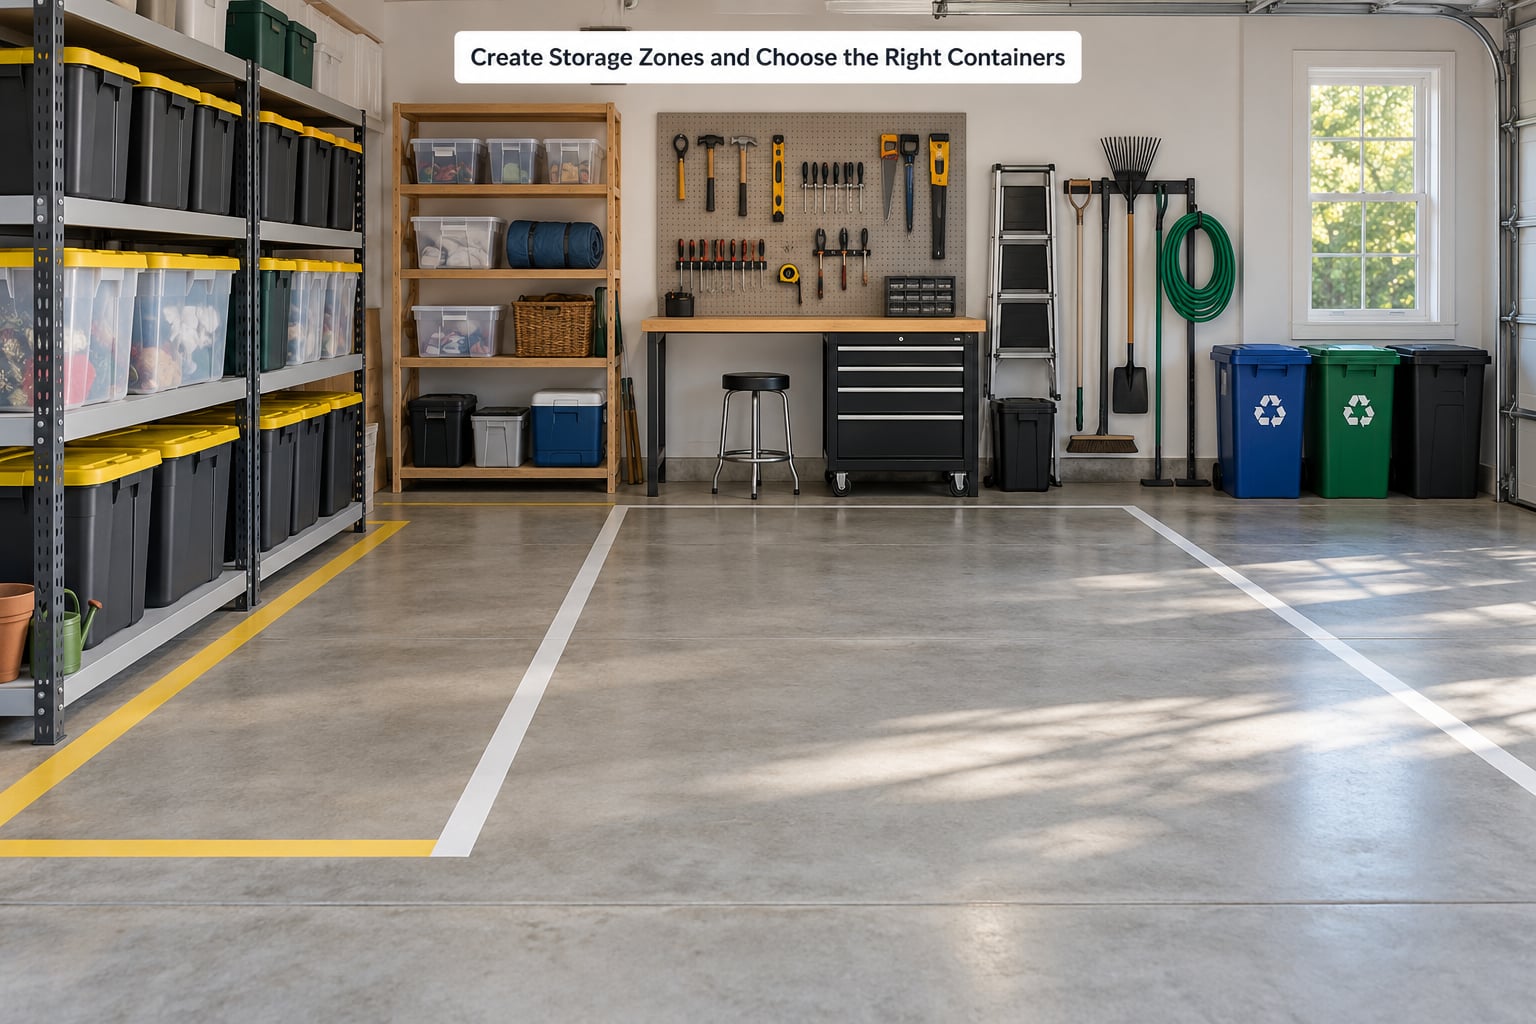
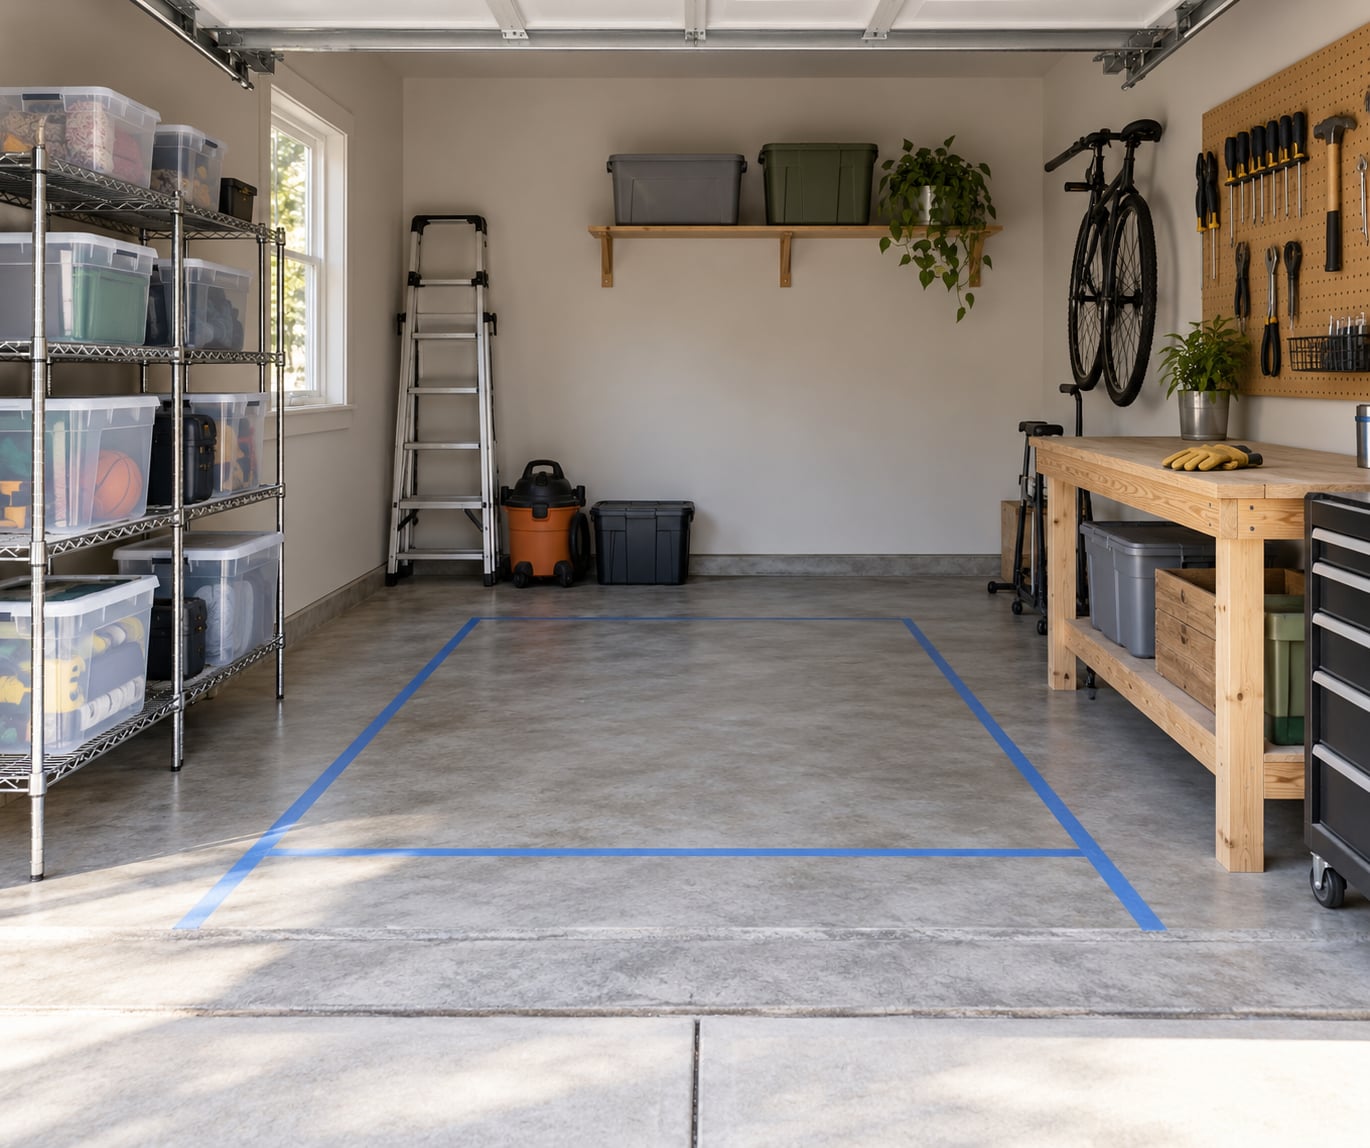
With the room empty, mark zones with painter’s tape on the concrete and confirm each one by parking the car in it. This is the technique garage owners credit for keeping a layout intact past the first month.
Typical zones: a vehicle bay, a workbench and tool wall, a household overflow zone, a sports and outdoor gear zone, a seasonal zone, a hazardous-materials spot, and a recycling station.
| Item category | Best zone | Storage type | Access |
|---|---|---|---|
| Hand and power tools | Workbench wall | Pegboard or slatwall with hooks | Weekly |
| Automotive supplies | Near vehicle bay, lower shelves | Cabinet or heavy-duty bin | Rare |
| Seasonal decorations | Overhead rack or high shelf | Stackable lidded tote | Rare |
| Holiday decorations | Overhead rack, far wall | Long flat tote | Rare |
| Gardening tools | Wall hooks and lower shelf | Hook rail, deep bin for soil | Seasonal |
| Bikes | Wall or ceiling hook | Wall-mounted bike hook | Occasional |
| Ladders | Vertical wall space, away from the door | Ceiling hook or wall brackets | Rare |
| Household overflow | Stacked shelving, back wall | Clear bin with a label | Monthly |
| Sports and outdoor gear | Vertical shelving | Rack or basket | Seasonal |
| Camping and hiking gear | Top shelf, dry zone | Waterproof tote | Seasonal |
| Recycling | Corner near the entry door | Rolling cart or crate | Weekly |
| Hazmat and fuels | Low shelf, upright, away from heat | Sealed can or cabinet | Rare |
Match the container to the category. Clear bins show you what is inside without opening anything. Opaque totes hold things you rarely touch and hide clutter, which looks better but slows you down later.
Match the container size to the shelf depth. A bin that overhangs by an inch gets ignored, knocked and never stacked properly. Shelving 16 to 20 inches deep suits most standard bins.
6. Store Items by Frequency and Weight
Weight goes low, access goes close to the door. Those two rules solve most garage storage problems on their own.
- Daily-use items go between waist and shoulder height, near the door and near the workbench
- Heavy items, such as paint, engine fluids, cement bags and tool chests, stay on the floor or the lowest shelf
- Seasonal items go up high, in overhead racks or the top shelf
- Rarely used items go to the far wall, where an empty corner of floor does not cost you daily access
- Bikes, ladders and wheelbarrows hang on walls or from the ceiling to keep floor space open
Two safety points matter here. Anchor every tall shelving rack to a wall stud or joist with a strap or bracket, because a bare concrete slab gives the unit no resistance when something heavy pulls it forward. And check the load rating printed on the shelf before you fill it.
For overhead racks, fasten into the ceiling joists rather than drywall, and confirm the rack hangs clear of the garage door and the opener rail. A bin that touches the door track will eventually be crushed.
| Factor | DIY plywood shelving | Pre-made metal or resin shelving |
|---|---|---|
| Build skill | Requires cutting, squaring and a drill | Assemble and level |
| Fit to the space | Any width and depth you draw | Fixed sizes |
| Adjustable later | Fixed once built | Adjustable on most models |
| Load behaviour | Spans can sag without a center brace | Rated per shelf, often with a center support |
| Appearance | Marks and unfinished edges | Cleaner finish |
Homeowners tend to land in one of two camps. Plywood built on site is the cheapest path and takes a weekend plus some skill. Pre-made racks go up in an afternoon, hold rated loads and stay adjustable when the collection changes.
7. Label Everything and Build a Maintenance Routine
Labeling is what turns a pile of bins into a system. Write the category and, where it helps, the contents: holiday lights, camping kitchen, kids’ cleats.
- Use a label maker, or wide painter’s tape with a large-print marker for bin faces
- Label the shelf edge as well as the bin so you know where a bin goes back
- Paint or tape the floor line for each zone so the boundary survives heavy traffic
- Keep a simple list or photo of what lives in each numbered bin
Then set a maintenance rhythm. Fifteen minutes once a month to return items to their zone, and one longer reset each quarter to purge, rotate and audit labels.
A quarterly pass catches drift early. Two identical bins of camp gear slowly become three, then five, and a set number on the shelf list stops matching reality.
Common Mistakes
1. Buying shelving and bins before sorting. This is the most common and the most expensive error, and it reliably produces more clutter, not less. Sorting first tells you exactly how many bins you need, what size, and where they go.
2. Blocking the garage door path, the tracks or an outlet. Leave a clear band around the door travel and keep the jamb area empty so the door opens fully every time.
3. Heavy items on high shelves or an overloaded top shelf. A shelf near head height that drops paint, a bag of soil or a toolbox is a real hazard. Weight belongs on the floor.
4. Unanchored shelving on a concrete slab. Tall racks tip forward when a heavy bin gets pulled out. Anchor the top of the rack to a stud or joist.
5. Long shelves with no center support. Wide spans deflect under load and eventually sag. Add a vertical support at the middle or split the run into shorter sections.
6. Unlabeled or opaque containers. A bin you cannot read becomes a bin you will not empty, so the loop restarts.
7. No floor-level zone marking. Zones that exist only in your head disappear the first time someone else parks their bike in the tool zone. Tape on the floor is the cheapest fix.
A few extras worth adding: keep food, documents and clothing out of an unheated garage entirely, store propane and fuels upright and away from any heat source, and leave room in front of the electrical panel.
Frequently Asked Questions
What are the 5 steps to organize a garage?
The five core steps are: empty the garage completely, sort everything into keep, donate, sell and discard groups, purge what you will not keep, map your zones and install matching storage, then restock and label. Measure first and clean the empty floor before bringing anything back. Sorting before purchasing is what keeps a reset from turning into a bigger pile of bins.
How do I organize a garage that’s full of everything?
Move every item onto the driveway or into one open area, then label eight to twelve boxes as sorting stations. Work category by category instead of object by object, since mixed boxes slow you down. Assign each station a keep, donate, sell or discard decision, write down the contents of anything leaving the house, and only bring items back after the floor is clean and your zones are taped out.
What items should not be stored in a garage?
Avoid food, opened paint and chemicals, documents, paper files, medication, electronics, clothing and anything with a battery you need indoors. An unheated garage swings in temperature, holds damp and attracts pests, all of which damage these items. Propane cylinders, gasoline and fuels are a fire risk indoors and need approved storage away from ignition sources.
What is the best height for garage shelving?
Keep everyday items between waist and shoulder height, put heavy items on the floor or the lowest shelf, and reserve the space above shoulder height for seasonal and rarely used gear. Overhead racks work when your ceiling is at least 8 feet and the rack clears the garage door tracks and opener rail by several inches.
Is it cheaper to buy or build shelves for a garage?
Building shelves from plywood usually costs less in materials and fits an awkward wall exactly, but it takes a weekend and real woodworking skill. Pre-made metal or resin racks cost more and go up in an afternoon, carry published load ratings, and adjust later when your collection changes. Choose based on whether you want the cheapest possible fit or the fastest, most flexible result.
How do I make a garage plan?
Measure the floor, ceiling height, door opening and track path, then sketch the room on graph paper at roughly one square per foot. Mark the vehicle bay, the door swing, outlets and windows. Tape the zones on the concrete and test each one by parking the car in it before you buy a single shelf or bin.
Conclusion
A garage reset comes down to three moves done in the right order: measure the space, empty it completely, and sort everything into keep, donate, sell and discard groups. Only after that do you tape out zones, buy storage that fits the categories, and put heavy items low and daily items close to the door.
Label the bins and the shelf edges, then give it fifteen minutes a month and one honest hour each quarter. If you are starting this 2026, start with the driveway and a stack of empty boxes. Everything else follows from that.