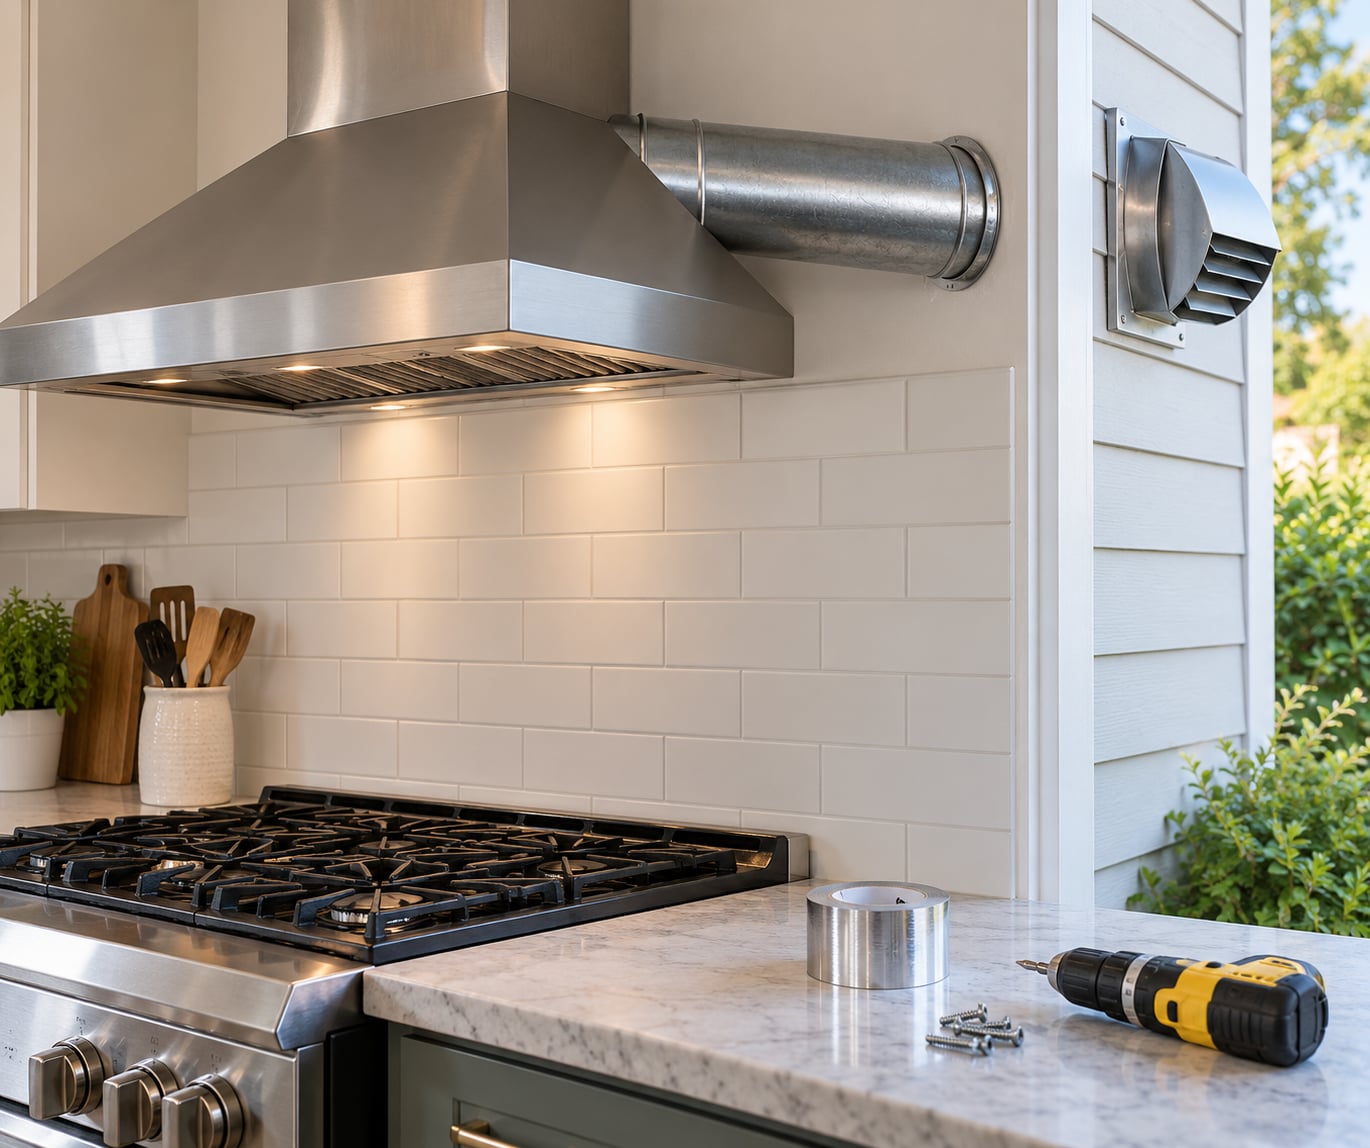
Learning how to vent a kitchen hood to the outside comes down to three jobs: plan the shortest straight route out, cut an opening that matches the duct, then seal rigid metal duct and a weatherproof cap to that opening. For a hood on an exterior wall with a short run, most people finish in a weekend with basic tools. Roof penetrations, upper floors, and long chases are different stories.
Before anything else, check two things. Read the installation manual for the exhaust collar diameter, and confirm the hood is rated for outside venting rather than recirculating only. A recirculating hood with no duct collar cannot be converted by adding duct; the whole unit has to be replaced.
This guide is written for US homeowners who own a screwdriver and a stud finder, and for anyone who would rather know when to stop and call someone. Permits, electrical work, and roof penetrations fall outside a weekend DIY job, and I will flag each one as we go.
Table of Contents
- What You Need
- Step-by-Step: How to Vent a Kitchen Hood to the Outside
- 1. Plan the shortest, safest duct route
- 2. Choose an approved exterior exit
- 3. Measure, mark, and cut the opening
- 4. Install the duct, backdraft damper, and exterior cap
- 5. Seal and connect the complete system
- 6. Test airflow and check for leaks
- Common mistakes that quietly ruin the vent
- Frequently Asked Questions
- Can all range hoods be vented outside?
- What is the best duct material for a range hood?
- Is flexible aluminum duct acceptable for a range hood?
- How far can the exterior vent be from the hood?
- What does a backdraft damper do?
- Do I need a permit to vent a range hood outside?
- Conclusion
What You Need
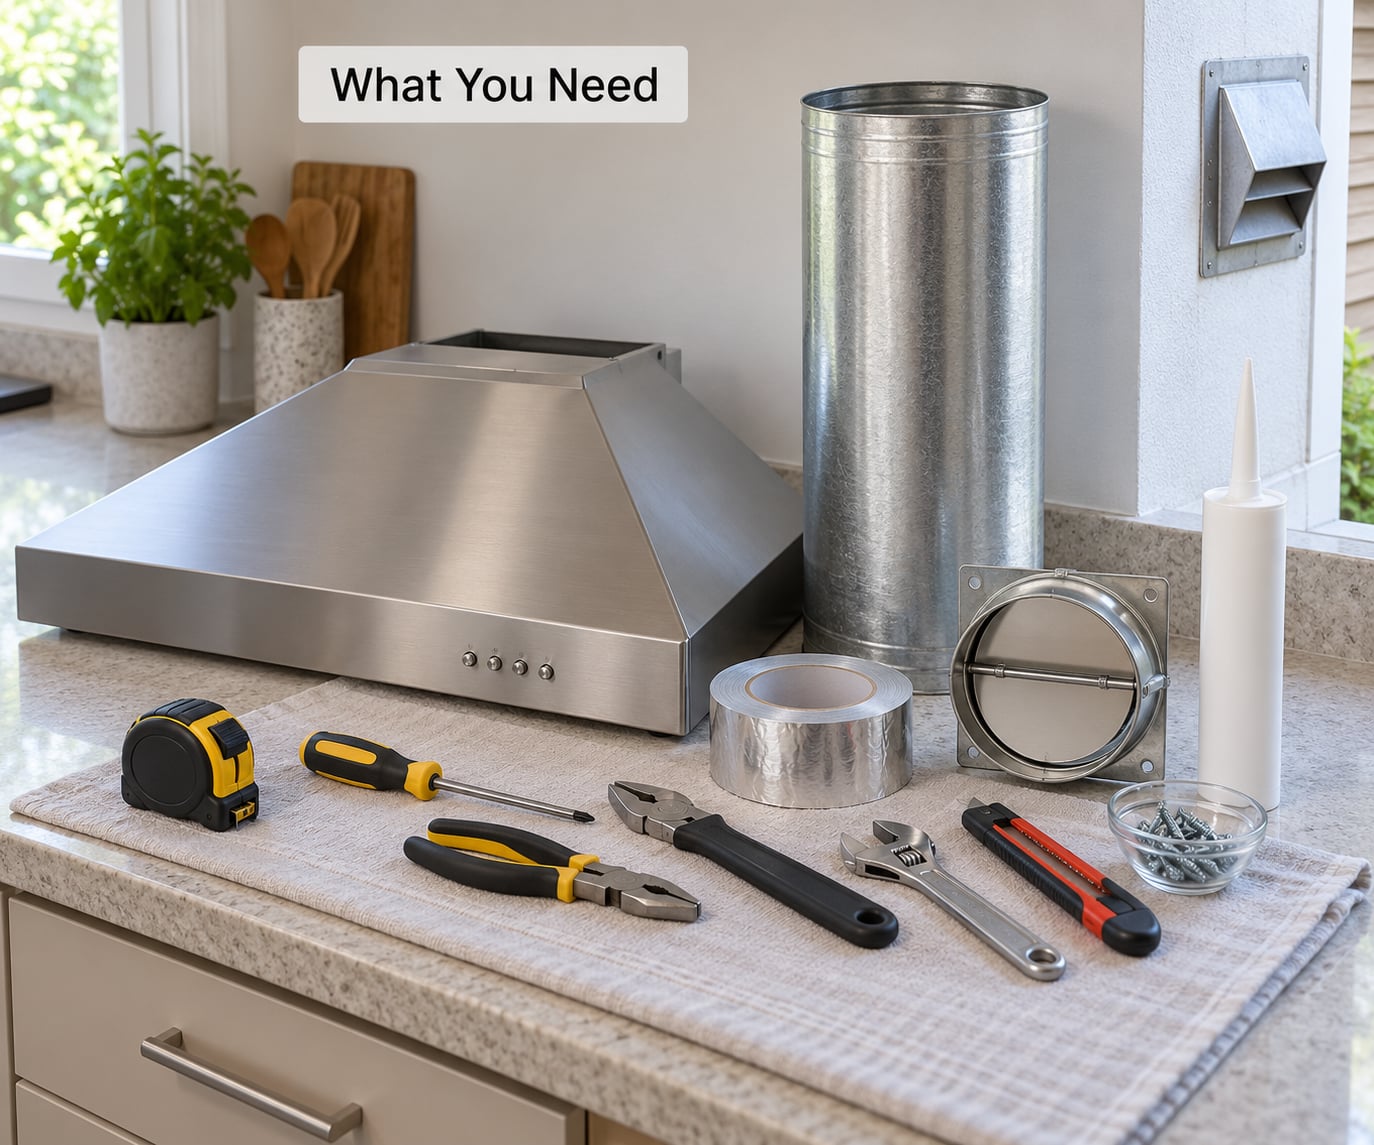
Start with the manual. It tells you the collar diameter (commonly 6 inch round or 8 inch round, sometimes a 3-1/4 by 10 inch rectangular outlet) and the maximum duct run the blower was tested against. That run limit is not a suggestion, which I will explain further down.
Here is the rest of the kit list:
- Smooth rigid metal duct and fittings matching the collar, plus a rectangular-to-round transition if needed
- A backdraft damper sized for the duct
- An exterior-rated wall cap or roof cap with a pest screen
- Aluminum HVAC foil tape, not grey duct tape
- Aluminum flashing tape and exterior-grade silicone caulk
- Metal screws or clamps sized for the duct
- Hole saw or hole cutter matched to the duct plus a smaller pilot bit, a reciprocating saw, a stud finder, and a drill
- Work gloves, eye protection, and a ladder that fits the wall
Two rules about who does what. Any electrical change, including adding a dedicated 120V circuit or moving a receptacle, belongs to a licensed electrician. Roof penetrations on anything above a single-story addition, and any cutting near wiring, plumbing, or a gas line, are reasons to stop and hire a roofer or HVAC contractor. Say so before you cut, not after.
Step-by-Step: How to Vent a Kitchen Hood to the Outside
1. Plan the shortest, safest duct route
Start at the exhaust collar and walk the duct path on paper before you touch a tool. The goal is a straight run with as few elbows as you can manage, because every foot of duct and every elbow adds resistance and eats airflow.
Measure the total run including the fittings, and compare it against the maximum the manufacturer lists. A common residential budget is roughly 30 linear feet with no more than two 90-degree elbows, and many hoods perform better with far less. If your path needs four elbows, an inline blower kit placed mid-run is the usual fix, since it restores the airflow that the long duct robbed.
Inside the wall, keep the duct away from framing members, electrical wiring, plumbing, and insulation batts. Run it through a chase or a sloped cavity when there is no room behind the cabinets, and support it every few feet so it never sags or gets crushed later by drywall or trim.
One more note on electrical: if the hood shares a circuit with the microwave or the kitchen lights, many installers recommend a dedicated circuit. Read your hood manual and keep clearances around the duct as the manufacturer and your local code specify.
2. Choose an approved exterior exit
Wall or roof, pick the one your building department and the site will allow, then make it the shortest run you can. For an up-and-over hood with the range on an exterior wall, the wall usually wins. For an island, the roof usually wins.
| Factor | Exterior wall vent | Roof vent |
|---|---|---|
| Run length | Shortest, often 3 to 10 feet | Longer, vertical plus any attic offset |
| Leak risk | One penetration through siding | Two penetrations on most installs |
| Best for | Wall-mounted hood, range on an exterior wall | Island hoods, ranges set back from walls |
| Hardest part | Hiding the duct inside the wall | Flashing and the attic work above |
| Skill level | Confident DIY | DIY on a low single-story roof, pro otherwise |
Clearances matter more than most people expect, and they are the reason some spots get rejected outright. The Building America Solution Center, the US Department of Energy’s home energy guidance resource, points to the usual rules that local codes build on: keep the hood discharge at least 3 feet from operable windows and doors, and well away from soffits, air intakes, property lines, and anything that burns. Many jurisdictions require 10 feet from an air intake.
Call your local building department before you cut. The rule set is set by the authority having jurisdiction, and older homes, condos, and historic districts often have extra rules. In a 1907 house with a gas range on an outside wall, expect the inspector to care about exactly which wall you penetrate.
3. Measure, mark, and cut the opening
Cut the hole to the outside diameter of the cap or duct collar you will actually use, following the template that came with the cap. Cut from both faces of the wall so the entry and exit holes line up.
- Run the stud finder across the full width and mark every stud, wire, and pipe it finds
- Check both faces for a second layer of wall, old siding, or a hidden chase from a previous install
- Drill a small pilot hole inside your outline first, to confirm you are not about to hit something
- Center your hole and keep it clear of the top plate and any structural member
- If the hole must be bigger than the cap flange covers, patch with a metal or siding repair plate rather than enlarging a stud or flashing
Interior and exterior cuts still count as wall or roof work. Keep the penetration small enough that the cap flange and flashing fully cover the rough opening.
4. Install the duct, backdraft damper, and exterior cap
Set the backdraft damper so it opens only when air moves outward. A reversed damper is a common install mistake and it will either blow odors back into the kitchen or block airflow entirely.
Run smooth rigid metal duct from the hood collar to the cap. Do not use flexible aluminum foil duct for the main run. It crushes, kinks, and holds grease in its corrugations, and residential code calls for single-wall duct with a smooth interior surface for the run serving the hood.
| Duct type | Airflow | Grease and durability | Verdict |
|---|---|---|---|
| Smooth rigid metal | Best, lowest resistance | Non-combustible, wipes clean | Use this for the whole run |
| Flexible aluminum foil | Poor, collapses over time | Traps grease in ribs | Avoid except for a short connector |
| Insulated flexible | Poor | Adds bulk, hides kinks | Not for a range hood run |
| Rigid transition piece | Neutral | Fine | Fine where geometry demands it |
Fasten the exterior cap or louver so its opening faces outward and down where the design allows it. Leave the screen clear so rain does not sheet straight into the duct.
5. Seal and connect the complete system
Every duct joint gets aluminum HVAC foil tape, wrapped and smoothed so it stays stuck. Ordinary cloth duct tape hardens, peels, and leaks grease-laden air into your wall cavity. Where the manual calls for screws or clamps, add them; tape alone is not a mechanical connection.
Connect to the hood collar straight and square, and seal the junction with the method the manufacturer specifies. Caulk the exterior seam with exterior-grade silicone and cover the head of the penetration with flashing tape that laps onto the siding or roof surface above the cap. That lap is what keeps water out a few years later.
Support and, where it runs through an attic or unconditioned space, insulate or guard the exposed duct. Keep insulation away from the cap so it cannot block the opening.
6. Test airflow and check for leaks
Run the hood on its highest setting with the grease filters in place, then hold a strip of tissue paper at the exterior cap. It should pull firmly toward the opening. Loose fluttering instead of steady suction means air is escaping through a joint or a gap somewhere else in the path.
Stand inside the kitchen with the hood running. A faint cool draft under the door tells you air is being pulled in from elsewhere, which is normal in a tight house. Smell cooking odors drifting back in tells you the damper is reversed or stuck.
Also listen. A hood that sounds like it is straining on high is losing the fight with static pressure, which points back to a too-small duct, too many elbows, a crushed section, or a clogged filter. If the blower sounds fine and the cap pulls hard, your outside vent is working. Updated for 2026, most installs still fail on sealing rather than on the blower.
Common mistakes that quietly ruin the vent
- Flexible foil duct for the main run. It crushes where it is squeezed behind a wall or attic joist and slows the air. Replace with rigid.
- Extra elbows. Every 90-degree turn costs more than people expect. Replan for one if you possibly can.
- Duct crushed by drywall or a tight chase. Use a wider chase and re-cut drywall if it pinches.
- Damper missing or installed backwards. You get odors blowing back in, or no airflow at all.
- Joints wrapped in duct tape. Use aluminum HVAC foil tape and fasten the joint mechanically.
- Cap too close to a window, door, or air intake. Move it, or the inspector will make you.
- Cutting without a stud finder. A pipe or wire hidden behind the wall is a bad afternoon.
- Assuming a recirculating hood can be ducted. If there is no exhaust collar, you need a different hood.
- No flashing over the cap. Water tracks into the wall within a few seasons.
One more tip: reuse an existing exterior vent when you are replacing a hood. Homeowners who plugged a new duct into a working old vent describe it as the simplest part of the whole job.
Frequently Asked Questions
Can all range hoods be vented outside?
No. Only hoods with an exhaust collar and a manufacturer rating for outside venting can be ducted. Ductless and recirculating models filter air and push it back into the room, and many have no duct outlet at all. Converting one means replacing the hood with a ducted model. Check the manual or the spec label before you plan the route.
What is the best duct material for a range hood?
Smooth rigid metal duct is the right choice for the whole run. Residential code calls for single-wall duct with a smooth interior surface, and rigid metal does not crush or trap grease the way flexible foil does. Flexible duct may work as a short connector where geometry demands it, but keep the run short and straight.
Is flexible aluminum duct acceptable for a range hood?
Only in small doses. Flexible aluminum duct is popular because it is cheap and flexible, but it collapses over time and its ribs hold grease, which lowers airflow and creates a fire risk in the cavity. Use it for a short, straight connector if you must, and use aluminum HVAC foil tape on the joints. Never ordinary cloth duct tape.
How far can the exterior vent be from the hood?
Follow the manufacturer’s maximum duct run, which is often around 30 linear feet with no more than two 90-degree elbows. Longer runs and more elbows raise static pressure and reduce airflow, and a weak hood may never reach its rated CFM. If your route is long or needs several turns, an inline or remote blower kit restores the airflow.
What does a backdraft damper do?
It lets dirty kitchen air out and stops cold air, insects, and odors from coming back in when the hood is off. It must be installed so the flap opens only in the outward direction. A reversed or jammed damper either blocks the exhaust or sends cooking smells straight back into the room.
Do I need a permit to vent a range hood outside?
Often not, and it depends on your building department. Small duct and cap replacements on an existing penetration are commonly exempt. A new exterior penetration, roof work, any electrical change, and jobs in historic districts often need a permit and inspection. Ask your local authority having jurisdiction before you cut, and check whether the work is excluded.
Conclusion
Start with the paper work, not the saw. How to vent a kitchen hood to the outside is mostly decided before a saw touches drywall: read the hood manual for its exhaust collar diameter and maximum duct run, confirm the unit is rated for outside venting, and sketch the shortest approved route out. Everything after that is cutting, sealing, and testing.
If the run is long, the wall is brick or stucco, the outlet has to go through a roof, or the work touches wiring or a circuit, hand it to a qualified contractor. Follow the manufacturer instructions and your local code, keep the clearances, use rigid duct and foil tape, and give that exterior cap a tissue test before you call it done.