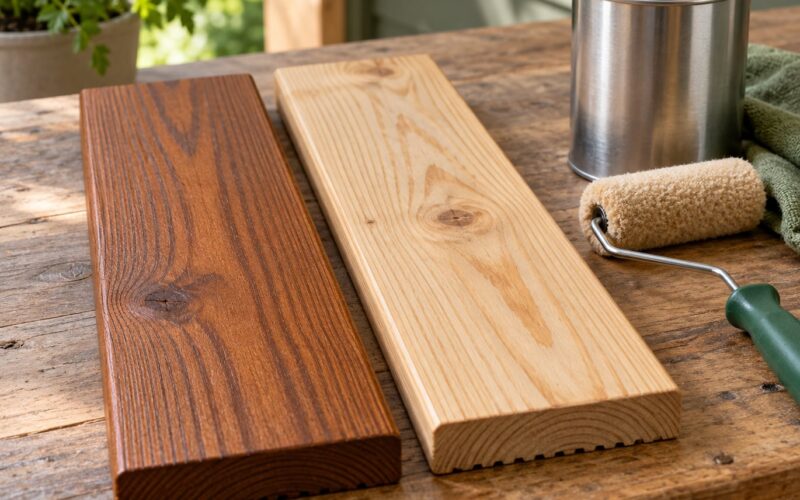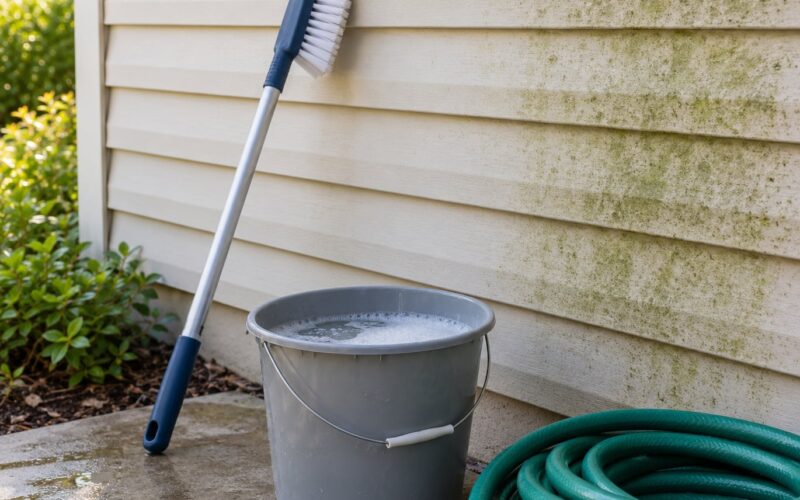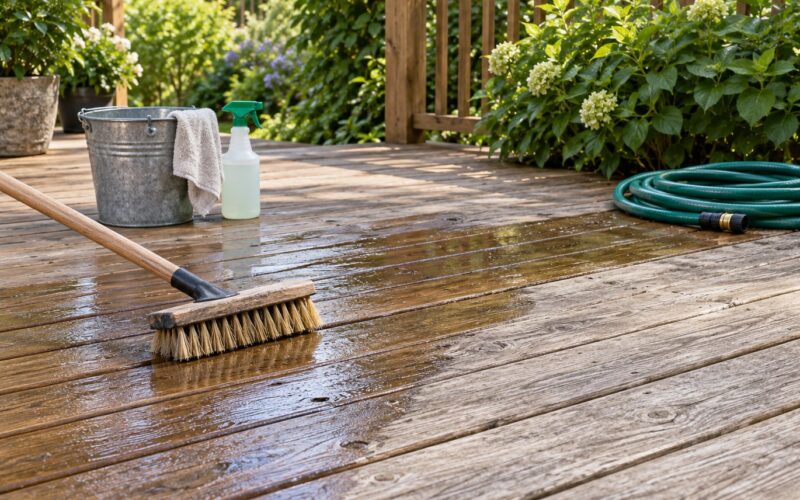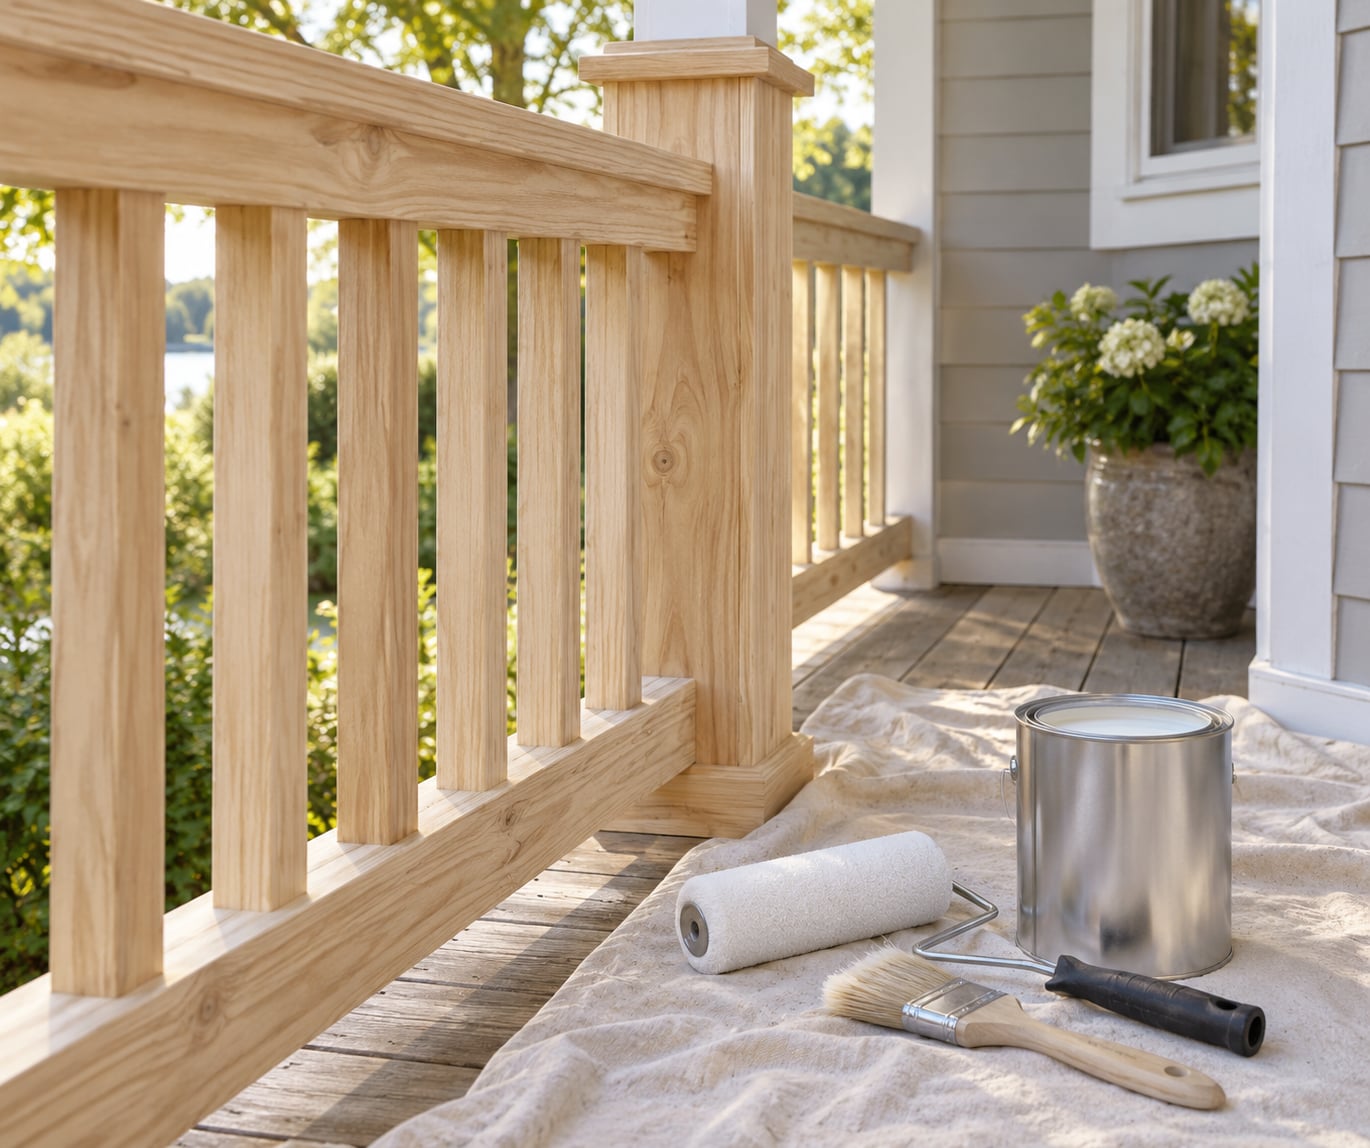
To know how to prep exterior wood for painting, you inspect it, strip off every loose or failing coating, wash off dirt and mildew, sand to a uniform surface, patch cracks and knots, then prime and paint. Skimping on any one of those steps is why so many DIY paint jobs peel off in a single season.
A small gate or shutter might take an afternoon. A full side of lap siding with heavy peeling paint is closer to two full days of scraping and washing, plus dry time you cannot rush. Budget a weekend for trim and railings, and a week or more for a whole elevation of siding.
Table of Contents
- What You Need
- Safety gear
- Cleaning supplies
- Repair materials
- Coatings
- Step-by-Step
- 1. Inspect the Wood and Identify the Existing Finish
- 2. Protect the Area and Test the Surface
- 3. Remove Loose, Failing Paint and Debris
- 4. Clean Exterior Wood Thoroughly
- 5. Repair Cracks, Knots, and Damaged Fibers
- 6. Sand for a Smooth, Paintable Surface
- 7. Choose the Right Primer and Apply It Correctly
- Common Mistakes
- 1. Painting over loose paint
- 2. Leaving mildew in place
- 3. Washing and painting the same day
- 4. Sanding too aggressively
- 5. Ignoring end grain and trim edges
- 6. Choosing the wrong primer
- 7. Painting in poor weather
- Frequently Asked Questions
- Do I need to prime exterior wood before painting?
- Can I paint over exterior wood that already has paint on it?
- How long should exterior wood dry after pressure washing?
- Should I sand exterior wood before painting?
- What is the best way to remove mildew from exterior wood?
- Can exterior wood filler be painted over?
- Conclusion
What You Need
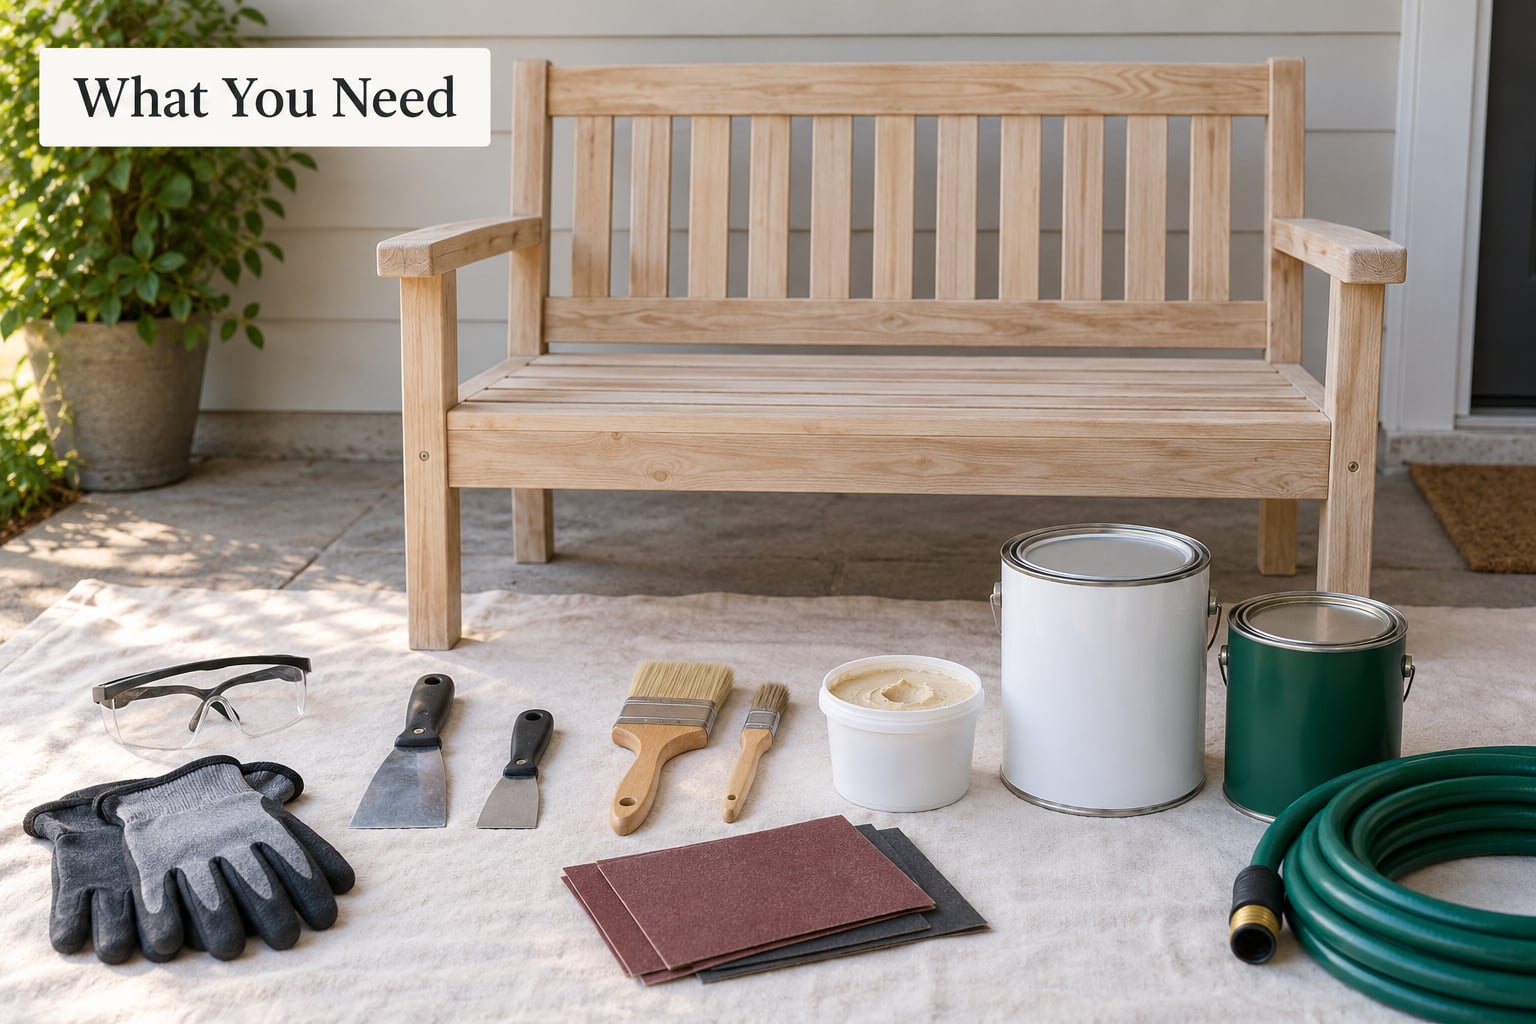
Gather everything before you start. Scrapping halfway through a job to find the shop is closed wastes a day, and cleanup takes longer than most people expect.
Safety gear
- Safety glasses and a respirator rated for organic vapors or particulates, depending on whether you scrape or sand old coatings
- Work gloves for handling rotted boards and stripping compounds
- A dust mask or respirator whenever you sand, and a N95 whenever you sweep debris
- Fall protection and someone steadying any ladder you use on siding above one storey
Cleaning supplies
- A garden hose with a spray nozzle for gentle rinsing
- A wood cleaner formulated for exterior wood, or a mild detergent and water mix
- A scrub brush with stiff bristles, a bucket, and a drop cloth or tarp
- A pressure washer with a 40 to 60 degree fan tip, if you have access to one
- A solution of one part household bleach to three parts water for mildew, plus a garden sprayer
Repair materials
- Exterior-grade wood filler or patching compound for small splits and nail holes
- Epoxy-based wood repair for soft, punky spots that filler alone will not hold
- Siliconized acrylic caulk rated for exterior use on trim joints
- Galvanized or exterior-rated screws, and a hammer or driver to counter-sink them
Coatings
- Exterior primer: 100% acrylic latex for most surfaces, oil-based for cedar and redwood, and a bonding primer for chalky or problem surfaces
- Exterior acrylic paint matched to your primer, ideally from the same manufacturer
How much you buy depends on the surface. Lap siding eats far more paint per square foot than flat trim boards, and a primer that is too thin or too thick will show up later as uneven absorption or slow curing. Read the label for coverage rates and dry times rather than guessing.
The product you pick should follow the wood, not the other way around. Cedar and redwood bleed tannins that water-based primers let through, and chalky old paint needs a bonding primer to hold onto. Bare new lumber needs a primer that seals, and sound previously painted wood needs much less of it.
Step-by-Step
Seven steps, in this order, and they are what make the difference between paint that lasts a few seasons and paint that peels off in sheets. Scrape before you wash so loose paint comes off with the dirt instead of being driven into the grain, and never prime wood that still holds moisture.
1. Inspect the Wood and Identify the Existing Finish
Walk the surface before you touch it. Push a flat screwdriver into soft spots, check nail heads for rust bleed, look under loose boards for framing damage, and find where water is getting in.
Know what is already on the wood, because that decides everything downstream. Bare wood needs full sanding. Sound painted wood needs only a scuff and a clean surface. Greyed, weathered wood needs brightening or heavy sanding first. A stained surface needs that finish removed before paint will bond, because stain soaks deep into the fiber.
Look closely for mildew, algae and grey chalking. If the residue wipes off on your hand as a powdery film, that surface is chalking from UV exposure and needs a different prep route than solid paint that is merely dirty.
2. Protect the Area and Test the Surface
Shield shrubs, lawn and garden beds with a drop cloth before you clean or scrape, and cover windows, gutters, lights and anything you do not intend to paint. Masking after the debris has spread means sweeping grit off a sill you already cleaned.
Test an inconspicuous spot, usually low on a side wall or behind a planter. Does the existing coating lift, does the bleach solution lighten the wood, and does the new paint change color when it dries over the old finish? A dark stain or oxide-based paint can shift dramatically, and finding that out now is much cheaper than finding it across a finished wall.
If your home was built before 1978, treat the existing paint as lead paint until a certified test says otherwise. Disturbing it by sanding, scraping or power washing releases lead dust, which is why a respirator and containment matter. The National Lead Information Center will point you to local testing and guidance.
3. Remove Loose, Failing Paint and Debris
Scrape with a paint scraper or a long-handled floor scraper, working along the grain and keeping a thin coat of paint on the surface. Tip the blade just enough to lift flakes without gouging.
Stop scraping where the coating is sound. You are not stripping the house, you are removing what is failing, and taking sound paint off bare wood guarantees you will have to prime everything you exposed.
Feather the boundary between scraped and intact paint with a sanding block or 120 to 150 grit paper until the step is gone. A hard ledge catches the topcoat and becomes a peel line later.
Tar up debris as you go and bag it. Let the scraping settle before you wash, and change your respirator filter if you worked on flaking old paint.
4. Clean Exterior Wood Thoroughly
Dirt, pollen, spider webs and chalking powder all sit between the coating and the wood, and no amount of sanding fixes a dirty surface. Wash from the bottom of the wall upward in manageable sections so you are not chasing drips you just made.
Apply a wood cleaner at the label’s dilution, let it sit for the time stated on the label, and agitate with a stiff brush on textured grain or rough-sawn boards. Rinse with the hose. A scrub brush and soapy water handles light dirt; a power washer earns its place on heavy soil and thick algae.
If you use a power washer, keep the fan tip at least 12 inches from the wood. Softwood such as pine or cedar handles roughly 1500 to 2000 PSI; hardwood and older greyed siding can take up to about 2500 PSI. Work with the grain and keep the nozzle moving, because a stationary jet strips fiber faster than it removes paint.
For mildew, spray one part bleach to three parts water, let it dwell 10 to 15 minutes, then rinse. Never mix bleach with any other cleaner, and never use it on a surface you cannot rinse thoroughly.
Now let the wood dry. Wait at least 24 to 48 hours after washing, and longer in cool or humid weather. Confirm it with the water-drop test: a drop of water should absorb into the wood rather than sit on top or bead up. Sanding damp wood tears fibers and clogs paper, and priming damp wood traps moisture that blisters the topcoat.
5. Repair Cracks, Knots, and Damaged Fibers
Replace any board that is punky, soft or deeply cracked. Rot does not stop on its own, and paint over soft wood seals moisture in instead of keeping it out. Drive new screws into sound framing and treat the cut ends so water has no easy path in.
Fill small splits, nail holes and gouges with exterior-grade wood filler. Deep rot in a load-bearing or decorative profile is a better job for epoxy-based repair, which hardens inside the cavity and will not wash out the way a filler paste can.
Knots matter more than most guides admit. Loose knots can pop out later and take a piece of paint with them, so knock them back flush with a hammer and chisel, then seal the area. A shellac-based primer over knots and resin-rich pine does one job better than anything else, because it seals fast and blocks the bleed.
Pay attention to end grain and cut edges. Railing ends, post tops and the butt edges of boards drink primer and paint far faster than the face, and they go blotchy when nobody accounted for it. Apply an extra coat there and brush it in rather than letting it soak.
Once filler hardens, knock it back with 100 to 120 grit so repaired areas sit level with the surrounding wood. Counter-sink protruding nails and screws and spot prime over them, since rust-filled nail holes telegraph through a topcoat within a season.
6. Sand for a Smooth, Paintable Surface
Sanding removes loose fibers, levels filler and gives primer a surface with consistent texture. Follow the table below rather than reaching for whatever sheet is in the drawer.
| Surface condition | Start grit | Finish grit |
|---|---|---|
| Bare, weathered or greyed siding | 80 | 120 |
| New lumber with mill glaze | 100 | 150 |
| Sound previously painted wood | 120 | 150 |
| Peeling paint in bad areas | 80 | 120 |
| Trim and filler, final pass | 150 | 220 |
Sand with the grain, not across it, and use long even strokes with a block for flat boards and a random-orbit sander for large flat panels. Keep the sander moving, and load the paper gently so it does not gouge.
On painted surfaces you are not smoothing the old coating, you are scuffing it. A uniform dull sheen with no shiny spots left is enough. Professional painters often run an orbital floor sander loaded with 150 grit across siding to knock off loose paint, then power wash the grit away and dry the surface for a couple of days.
Remove the dust properly. Vacuum first, then wipe with a tack cloth, because dust that survives sanding prints into the primer and shows through the topcoat as roughness. Change tack cloths often; a loaded cloth simply redistributes the grit.
You know the wood is ready when bare areas feel smooth but not polished, filler sits level with the surrounding surface, and no glossy patches remain.
7. Choose the Right Primer and Apply It Correctly
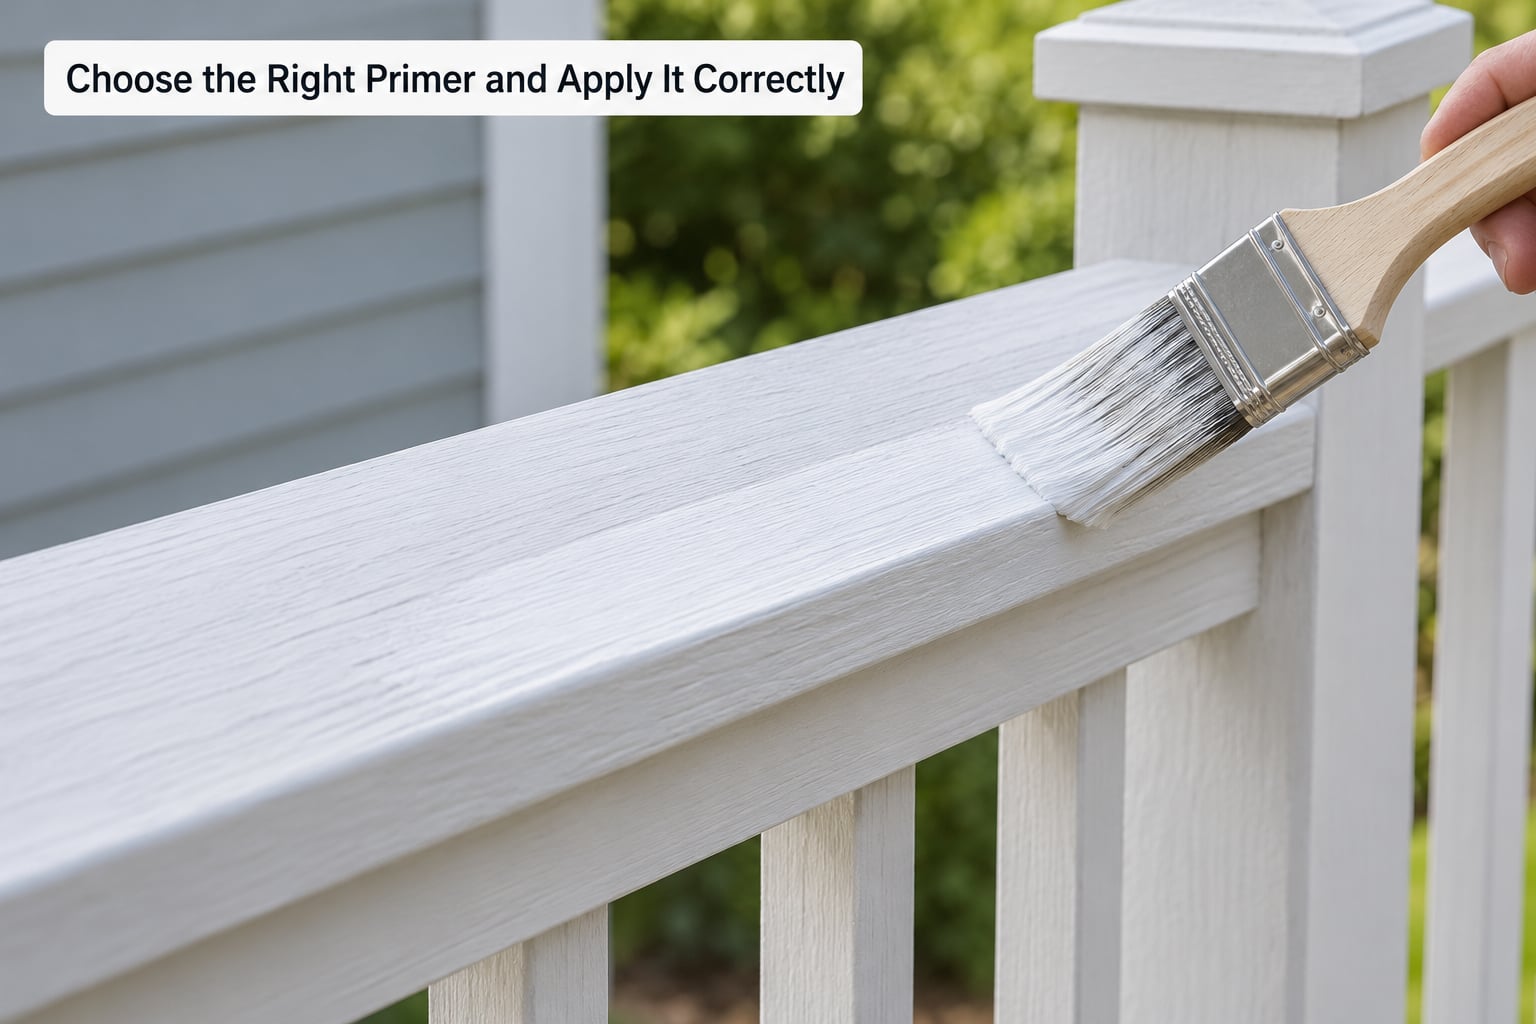
Primer is the seal that keeps moisture out of the fiber and gives the topcoat something to grip. On most exterior wood, that means a high-quality 100% acrylic latex primer. It flexes with the movement of siding through heat and cold, and it holds up better against chalking than an oil-based primer on almost every surface except tannin-rich woods.
Cedar and redwood are the exception. Their tannins bleed through water-based coatings as brown streaks, which is the bubbling complaint owners describe most often. A good-quality oil-based primer on those species, followed by an oil-based topcoat, is what stops it. Check the primer label rather than assuming, since formulas vary.
Use a bonding primer on chalky, dirty or previously painted surfaces that sanding did not fully reach, and a mildew-resistant primer where algae growth is a recurring problem.
Paint-and-primer-in-one products are a genuine option on sound, previously painted surfaces that you have cleaned and scuffed well. On bare wood, new lumber, repaired areas or anything with tannin bleed, a separate primer wins, because the topcoat formula is built for appearance and durability rather than for sealing raw fiber.
Apply primer within the manufacturer’s limits, which usually mean surface and air temperatures between 50 and 85 F, humidity under about 60 percent, and no rain forecast for 24 hours. If you spray, back-brush while the coat is still wet, rolling it into seams and the underside of lap edges that the spray misses.
Pay attention to end grain again, then give primer the full dry time on the label before topcoating. Rushing this step is why paint peels off in sheets a few months later.
Common Mistakes
Almost every early failure traces back to one of these seven things, and each has a straightforward fix.
1. Painting over loose paint
Paint only grips what it can hold. Scrape and sand every flake, feather the edges, and prime bare patches before they get covered.
2. Leaving mildew in place
Even under a solid topcoat, mildew keeps growing and pushes the coating away. Treat it with a diluted bleach solution, rinse fully, and dry for 24 to 48 hours.
3. Washing and painting the same day
Wood that looks dry on the surface can be saturated at 18 percent moisture. Wait 24 to 48 hours minimum and confirm with the water-drop test.
4. Sanding too aggressively
Deep scratches telegraph through the topcoat, especially on trim. Start coarser only where the surface genuinely needs it, then progress up and finish with 150 to 220 grit.
5. Ignoring end grain and trim edges
Those surfaces absorb several coats’ worth in the time the face takes one. Brush primer in and give edges an extra pass or two.
6. Choosing the wrong primer
Water-based primer over cedar, cheap primer over chalky paint, or no primer over bare wood all lead to peeling or brown bleed. Match the chemistry to the species and condition.
7. Painting in poor weather
Cold nights, high humidity and an incoming rain shower trap moisture inside a film that is still curing. Paint in the middle of a dry stretch, not at the edge of one.
Frequently Asked Questions
Do I need to prime exterior wood before painting?
Yes, on most exterior wood. Primer seals raw fiber, blocks tannin bleed and gives the topcoat something to grip. The main exceptions are sound, previously painted surfaces you have cleaned and scuffed well, where a high-quality paint-and-primer-in-one can do the job. Skip the primer on bare wood, new lumber, repaired areas or anything tannin-rich and you will likely see peeling or brown bleed within a season.
Can I paint over exterior wood that already has paint on it?
Yes, when the existing paint is sound and well adhered. Clean it, scuff it thoroughly with 120 to 150 grit so nothing shiny remains, repair any flaking areas down to bare wood, and prime the bare spots. If paint is lifting, blistering or peeling across a wide area, painting over it just seals the failure in and it will come off in sheets later.
How long should exterior wood dry after pressure washing?
At least 24 to 48 hours in warm, dry weather, and three days or more when it is cool or humid. Test with a drop of water: if it soaks into the wood, the surface is dry enough. If it beads or sits on top, wait longer. Pressure washers also drive water behind siding and into end grain, so extra dry time protects you from a blistering topcoat.
Should I sand exterior wood before painting?
Yes, though what sanding does depends on the surface. Sand bare wood to remove raised fibers and greyed weathering, working up from 80 grit to 120 or 150. On sound painted wood, scuffing to break the gloss is enough. Sanding is not a substitute for scraping loose paint, and deep scratches will show through the finish, so change paper often and always sand with the grain.
What is the best way to remove mildew from exterior wood?
Mix one part household bleach with three parts water, spray or brush it onto the affected area, and let it sit for 10 to 15 minutes before rinsing thoroughly with a hose. Never combine bleach with ammonia, vinegar or other cleaners. Work bottom to top on siding so you are not washing solution over clean wood, and allow at least 48 hours of drying before sanding or priming.
Can exterior wood filler be painted over?
Yes, once it has fully hardened according to the label, which for most exterior-grade fillers takes from 15 minutes to a day depending on depth. Sand it level with 100 to 120 grit, spot prime bare wood and filler separately if the filler and primer differ, and pay attention to end grain and edges, where filler and wood absorb differently and blotching shows first.
Conclusion
The sequence matters more than any single product. Inspect, scrape, clean, dry, repair, sand, prime, paint, and the finish has the best chance of surviving a few seasons of sun, rain and freeze-thaw cycles.
Start by checking three things before anything else: is there rot or soft wood that needs replacing, are there loose coatings that will peel off in your hand, and is the surface dry. Once the wood is clean, dry, sound and properly primed, the painting itself is straightforward.