To replace a bathroom sink faucet, shut off the hot and cold valves under the sink, disconnect the supply lines, back out the mounting nuts from below, lift the old faucet out, and set the new one into the same holes. Most people finish the whole job in 45 to 90 minutes with a wrench, a screwdriver and a bucket.
It is one of the best value-for-effort plumbing jobs in a house. A dripping or corroded faucet stains the sink, wets the cabinet base, and hides slow leaks that turn into mold, and swapping it takes less time than most first-timers expect.
The catch is the two angle stops under the sink. Those quarter-turn valves are the only thing between you and a soaked cabinet, and on houses built before the 1990s they are often frozen in place. Find your main water shutoff before you touch a wrench, and treat a valve that will not budge as the signal to stop and call a plumber.
Table of Contents
- What You Need
- Step-by-Step: How to Replace a Bathroom Sink Faucet
- 1. Turn Off the Water and Empty the Sink
- 2. Remove the Old Faucet
- 3. Clean and Check the Sink Surface
- 4. Install the New Faucet
- 5. Reconnect the Water Supply Lines
- 6. Reinstall the Drain and Test the Faucet
- Common Mistakes to Avoid
- Frequently Asked Questions
- Can I replace a bathroom sink faucet myself?
- Do all bathroom faucets fit all sinks?
- What if my shut-off valve under the sink will not turn?
- How do I know when to call a plumber instead?
- How long does replacing a bathroom faucet take?
- How do I fix a leak after installing a new faucet?
- Conclusion
What You Need
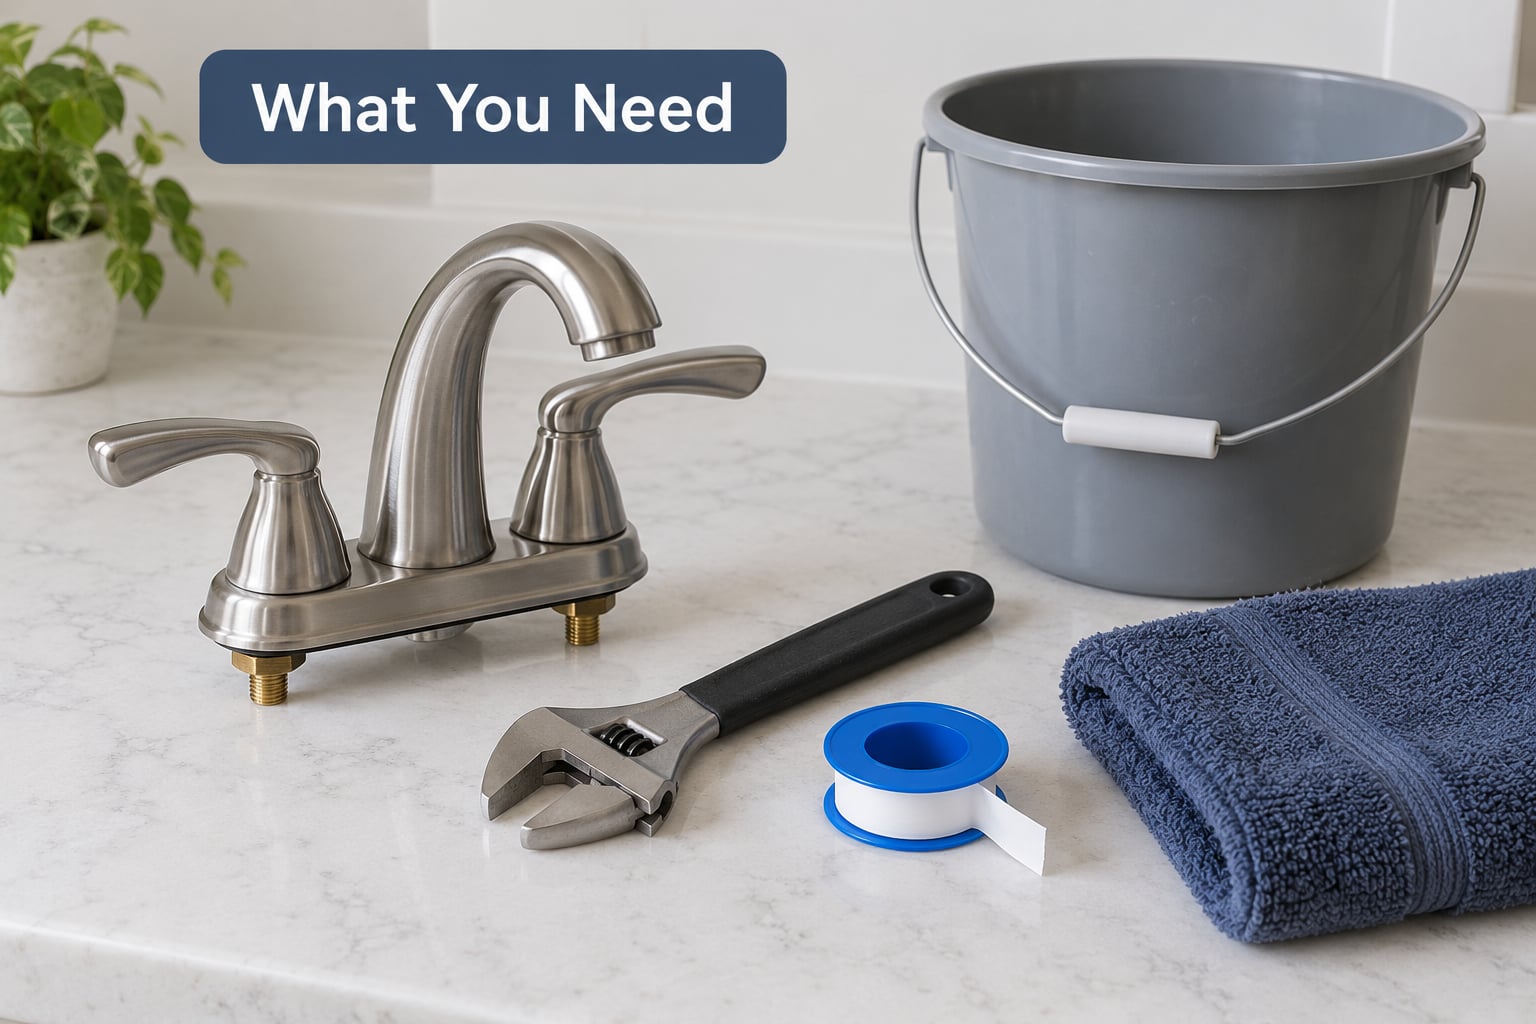
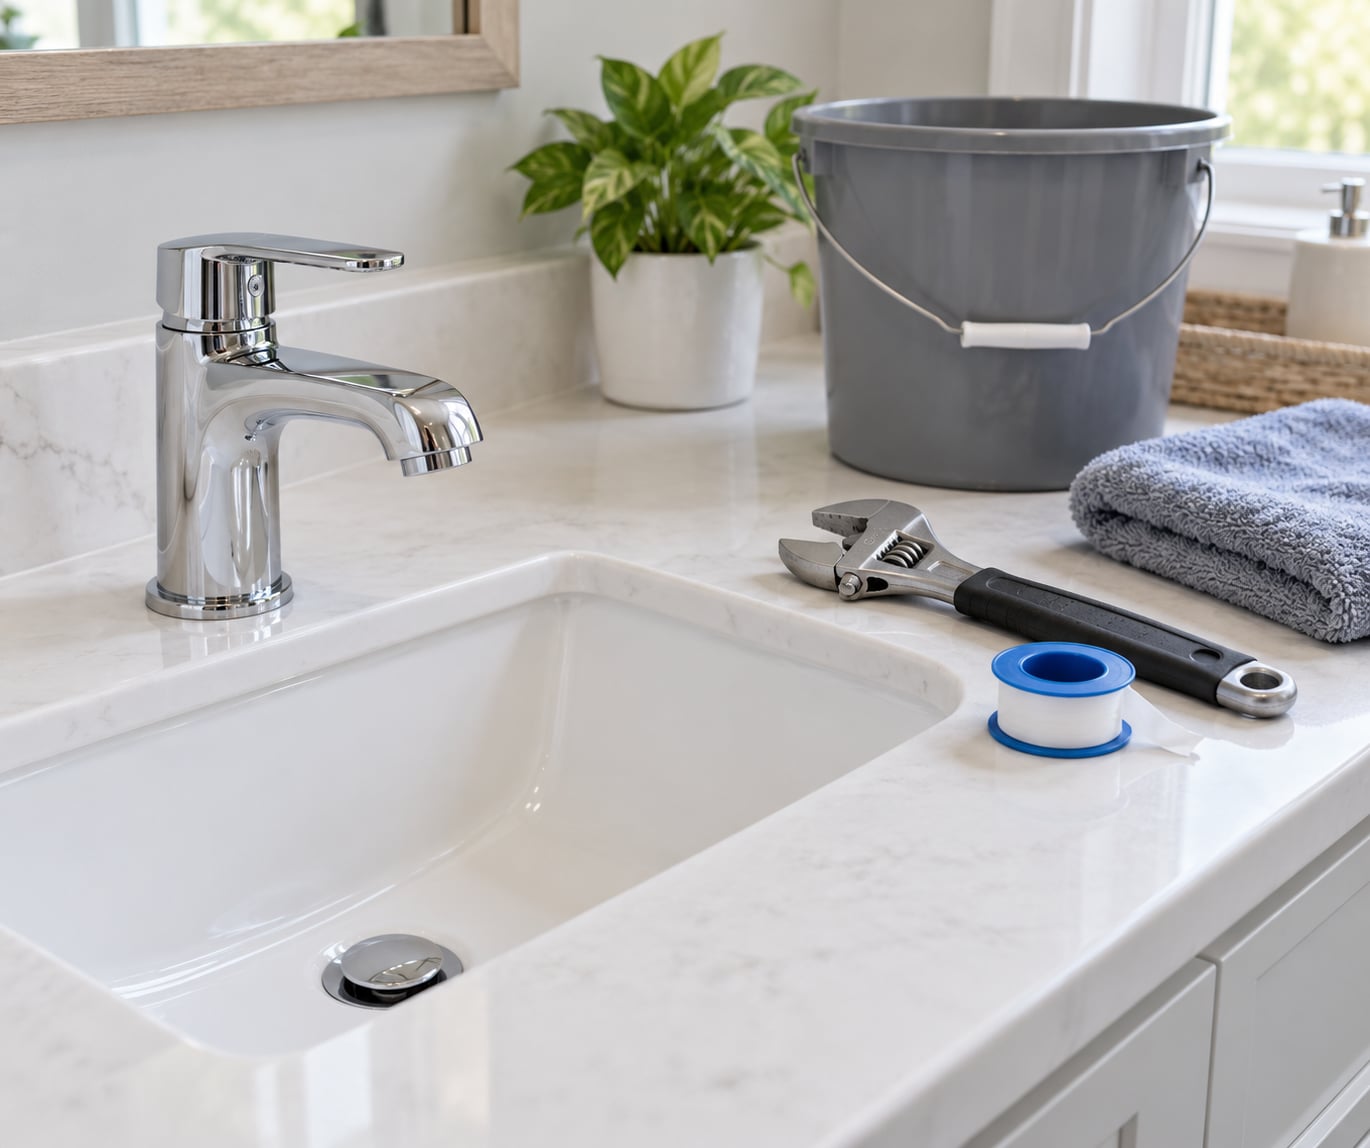
Gather everything before you start, because the middle of this job is a bad place to realize the basin wrench is still in the garage. The faucet itself is the real decision here, not the tools.
- The replacement faucet plus whatever hardware the manufacturer lists in the box
- Adjustable wrench, and a second wrench or a pair of channel-lock pliers to grip the valve while you turn the nut
- Basin wrench for the tight crawl space under a vanity, where an adjustable jaw will not fit or will chew the finish
- Deep-well socket and extension, since many faucets ship with one and the factory used it on the mounting nut
- Flathead screwdriver and a hammer for a mounting nut that has welded itself to the threaded post
- Plumber’s tape (PTFE tape) for any threaded male-to-female connection
- Bucket and old towel to catch what drains out when you open the valves
- Flashlight or headlamp, because you will be working with your head inside a dark cabinet
Buy two new braided supply lines while you are at it. They cost almost nothing compared to the faucet, they are the cheapest part to fail, and old rubber ones are the usual reason a “brand new” install starts dripping. Match them to your valve outlets, which on most sinks are 3/8-inch OD compression fittings.
Before the faucet comes out of the box, count your sink’s holes and measure the spread. Sinks are drilled for specific faucet layouts, and the measurement takes about a minute with a tape measure.
| Faucet layout | Holes in the sink | Center-to-center spread | What it fits |
|---|---|---|---|
| Single-hole | 1 | Not applicable | A sink drilled for one hole only, usually a single-handle faucet |
| Centerset | 3 | 4 inches | The most common builder-grade three-hole layout |
| Widespread | 3 | 8 inches | Three-hole sinks with a wider spread |
| Wall-mounted | 0 | Not applicable | Sinks with the valves and spout coming out of the wall |
Two handles can sit on either a centreset or a widespread base, so handle count does not tell you the spread. Measure from the center of the left hole to the center of the right one. If the outer holes have decorative plugs, take a photo before you buy, since a plug hides a hole that the new faucet still has to use.
Once the layout is confirmed, look at the handles and the body. Two-handle faucets let you run hot and cold separately, which older plumbing in a guest bath sometimes needs. Single-handle and touchless models both need a 3/8-inch supply hookup, and brass bodies outlast thin zinc-alloy ones in hard water.
Step-by-Step: How to Replace a Bathroom Sink Faucet
1. Turn Off the Water and Empty the Sink
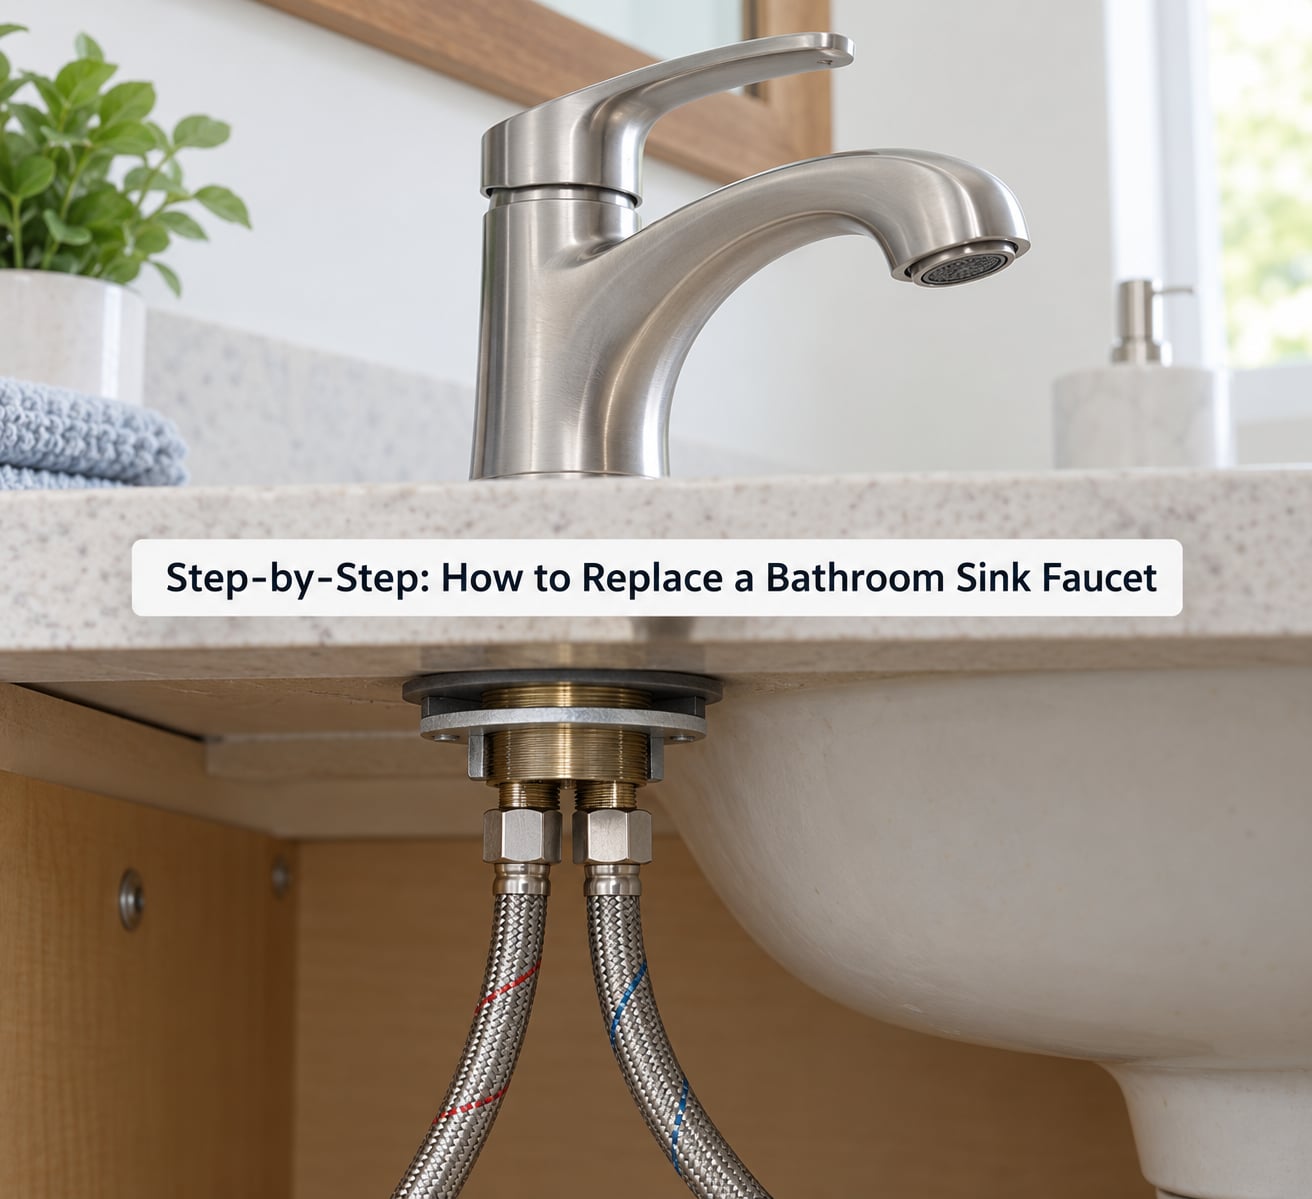
Two small valves sit on the wall or the underside of the sink behind the drain, one for hot and one for cold. These are the angle stops, and they open and close with a quarter turn. Close both of them, then open the faucet to relieve the pressure and empty the basin.
Set the bucket and towel under the drain connections before you crack anything, because a surprising amount of water sits in the lines below the faucet. Run the tap until it produces only a slow drip. If a valve will not turn at all, stop here and read the troubleshooting notes further down before forcing it.
2. Remove the Old Faucet
Disconnect the two supply lines where they meet the angle stops. Hold the valve body with channel-lock pliers or a second wrench, then turn the supply line nut with the adjustable wrench. Counterclockwise is off, and if the nut is stuck on there, a separate wrench on the body is what keeps you from shearing the valve off.
Now look up at the faucet from inside the cabinet. Two threaded posts run down through the sink and are held by mounting nuts, usually with a washer and a rubber gasket under each one. Back both nuts out with a basin wrench or deep-well socket and extension, turning counterclockwise.
If a nut will not move, do not lean on it with more force. Hold a flathead screwdriver flat against the back of the nut so it cannot rotate, and tap the wrench handle lightly with a hammer. On a rusted post, soak the threads with penetrating oil first, then try again after a few minutes.
Lift the faucet straight up and off the posts. Old plumber’s putty under a builder-grade faucet often hardens like glue, so a putty knife between the base and the sink helps you break the seal without twisting the posts sideways. If the drain has to move, see the note in step 6 before you start loosening it.
3. Clean and Check the Sink Surface
Scrape away the old sealant, putty, and mineral crust from around the holes. Masking tape over the holes is a quick way to keep debris out of the drain while you work. Wipe the surface with a damp cloth and let it dry.
This is the moment to look at the sink itself. Run your fingers around the holes and the rim, and check the underside for hairline cracks, soft spots, or rust staining. A porcelain or ceramic sink that has already been chipped is fragile, and the mounting nuts only need hand-tight snugging to hold a faucet down.
4. Install the New Faucet
For a faucet that mounts through the sink, set the body down over the holes with the rubber gasket or the manufacturer’s plate in place. If the new faucet is a deck plate model, run its hoses through the holes first, then lower the plate onto the sink and feed the hoses through from below.
Line up the holes and press the faucet straight down while you finger-tighten the mounting nuts underneath. Alternate between the two nuts a quarter turn at a time so the faucet seats evenly. Snug is enough: overtightening a mounting nut is the number one way a new faucet job cracks a ceramic sink.
On a wall-mounted sink, none of this applies. The spout and handles come out of wall escutcheons instead, and that is a different job with different fittings.
5. Reconnect the Water Supply Lines
Wrap one or two wraps of PTFE tape on the threads of each angle stop, or use the washers that came with the new lines if you are connecting to a compression fitting. Connect the hot line to the hot valve and the cold line to the cold valve.
Tighten every nut by hand until it is snug, then give it a fraction of a turn with the adjustable wrench while holding the valve body with the other tool. If your new faucet has integrated hoses instead, they simply screw onto the same valves, and the gasket inside the connection does the sealing instead of tape.
6. Reinstall the Drain and Test the Faucet
The pop-up drain and the P-trap only need to come off if the old faucet blocked access or if the stopper and tailpiece have to be replaced. Most of the time the drain can stay connected while you swap the faucet, and the P-trap can stay in place the whole time.
Open the angle stops slowly, one at a time, and watch every connection. Paper towel under the joints makes a slow drip show up as a dark spot instead of a mystery puddle. Check the supply connections, the mounting nuts, and the base of the faucet, then run the hot and cold taps and look underneath again while the lines are under pressure.
If a leak appears, shut the water off first, then dry everything and start over on that joint. Leaks at the supply nut mean it needs another quarter turn. Leaks at the spout or handle mean the cartridge or packing nut is the problem, which is a separate repair. Remove the aerator and run the tap for a minute to flush debris before you judge flow or pressure.
Common Mistakes to Avoid
Almost every problem in this job traces back to one of six mistakes, and all six are avoidable.
- Cross-threading the supply nuts. Start the nut by hand and turn it clockwise only. If it resists, back it off and start again rather than forcing it, because a stripped thread on a valve is a plumber call.
- Standing on the sink or leaning on the faucet. Support the faucet body with one hand while you tighten the second nut, and never use the spout as a handle.
- Overtightening the mounting nuts. Snug, plus a quarter turn, is plenty. The gasket does the work, not the torque.
- Skipping the PTFE tape on any threaded male-to-female connection, or using it on a compression nut where it does not belong.
- Reusing the old supply lines. If the old hoses are braided steel they may be fine, but rubber and plastic lines that have been in place for years get replaced as a matter of course.
- Skipping the drain check. A leaky pop-up nut or a disturbed P-trap will show up as water in the cabinet a day later, long after you have put everything away.
Two habits make the job cleaner: keep a phone photo of the under-sink area before you start, so you know exactly where every line went, and wipe each joint dry with a towel before opening the water. A joint that is already wet hides a slow drip until it becomes a real one.
Frequently Asked Questions
Can I replace a bathroom sink faucet myself?
Most homeowners can, and most first-timers finish in 45 to 90 minutes. You need an adjustable wrench, a screwdriver, a bucket, and a way to identify your sink’s hole configuration. The one hard part is not the faucet: it is the shut-off valves underneath. If both angle stops turn freely, this is a well within reach weekend project.
Do all bathroom faucets fit all sinks?
No. A sink drilled for one hole only takes a single-hole faucet, a three-hole sink usually takes either a 4-inch centreset or an 8-inch widespread faucet, and wall-mounted sinks take nothing that mounts through the deck. Count the holes and measure from the center of the outer holes before you buy anything, since decorative plugs hide real holes.
What if my shut-off valve under the sink will not turn?
Do not force it. Spray penetrating oil into the gap at the handle and stem, wait several minutes, then try a wide-jaw wrench on the handle. If it still will not move, the valve is seized or corroded solid, and forcing it usually snaps the stem and turns a small job into a cabinet full of water. Close the main house shutoff instead and call a plumber.
How do I know when to call a plumber instead?
Call one if the angle stops will not shut off, if the supply pipes are corroded or galvanized and crumble when touched, if your sink or valves do not match anything you can buy, or if a joint starts leaking the moment you touch it. Those are the points where a hardware-store job turns into a repair of the plumbing itself, which is licensed work in most places.
How long does replacing a bathroom faucet take?
Plan on 45 to 90 minutes for a straightforward swap, including the leak test. Add time for a stubborn mounting nut, mineral-crusted threads, or a corroded valve, which can add a frustrating half hour. Shopping for the faucet and waiting on delivery always takes longer than the installation itself, so plan the whole project as a weekend rather than an evening.
How do I fix a leak after installing a new faucet?
Shut the water off, dry the area, and find where the water actually comes from. A drip at the supply nut means it needs another quarter turn with a wrench. A leak at the base means the mounting hardware is loose or the gasket is missing. A drip from the spout while the tap is off means the cartridge or packing nut needs replacing, not tightening.
Conclusion
Start by finding your main water shutoff and testing both angle stops under the sink. If they turn freely, the rest of how to replace a bathroom sink faucet is straightforward: shut off, disconnect, back out the nuts, lift, set, connect, test.
Measure your hole spacing before shopping, keep the new supply lines on hand, and tighten mounting nuts snug rather than hard. Give the finished job a full leak test with paper towel under every joint before you close the cabinet door.
Call a plumber when a valve will not shut off, when the pipes crumble in your hand, or when a fitting will only come tight by damaging something. Those are the three moments where stopping is the right call.