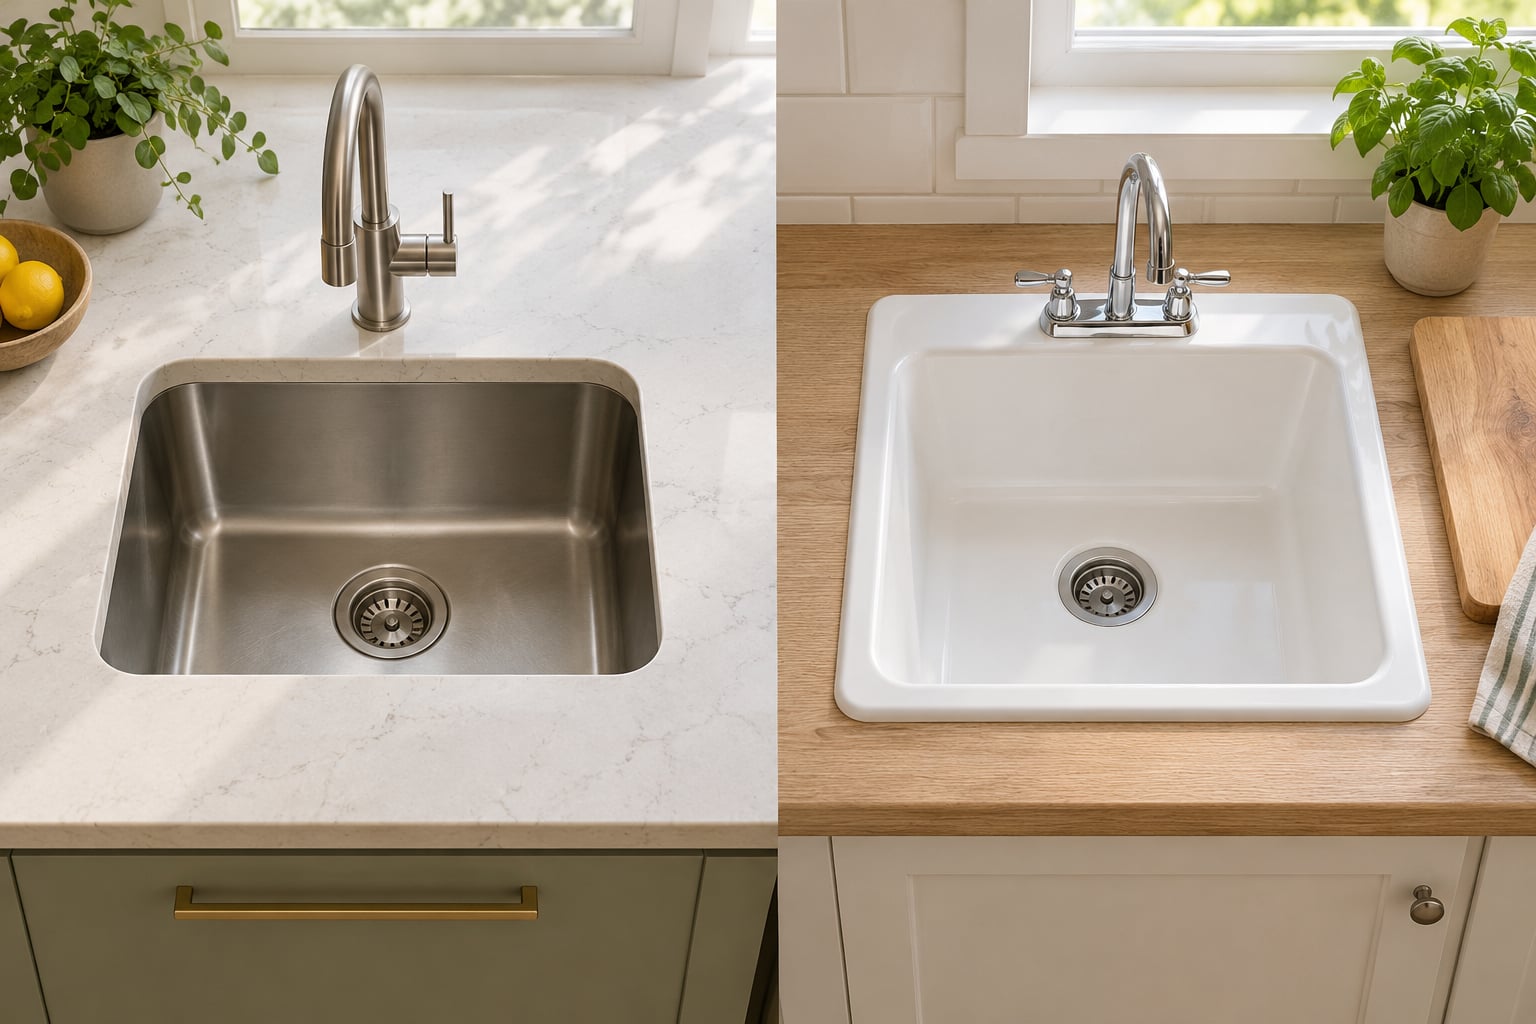
An undermount sink fastens beneath the countertop with no visible rim, so the counter surface runs straight into the bowl. A drop-in sink (also called a top-mount or overmount sink) drops into a cut hole and rests on top of the counter, leaving an exposed lip all the way around. That one difference decides which countertop materials you can use, how much the install costs, and how you clean up after dinner.
Short version: pick an undermount if you are doing a full remodel with granite, quartz, marble, or solid surface and you want the counter to look uninterrupted. Pick a drop-in if you have laminate, a wood block, a rental, a tight budget, or you want to do the hookup yourself on a weekend.
Table of Contents
- Undermount vs Drop In Sink Which Is Better at a Glance
- What Is the Difference Between an Undermount and Drop-In Sink?
- What is a drop-in kitchen sink?
- What is an undermount sink?
- How can you tell which sink type you already have?
- Appearance and Countertop Style
- Installation and Remodeling Requirements
- What do undermount reveals mean for your counter?
- Can you install an undermount sink in a laminate countertop?
- Should the sink go in before or after the countertop?
- What about cabinet clearance?
- Cleaning, Maintenance, and Water Spills
- Durability, Repairs, and Replacement Parts
- Where undermount leaks actually come from
- How do you replace a sink that was silicone-bonded?
- Cost and Value for the Money
- Noise, Space, and Everyday Use
- Which Should You Choose?
- Frequently Asked Questions
- What size undermount sink should I get?
- What are common problems with undermount sinks?
- Are drop-in sinks out of style?
- What type of sink is best for a wood countertop?
- Should I install an undermount sink before or after the countertop?
- Why is undermount installation more expensive than drop-in?
Undermount vs Drop In Sink Which Is Better at a Glance
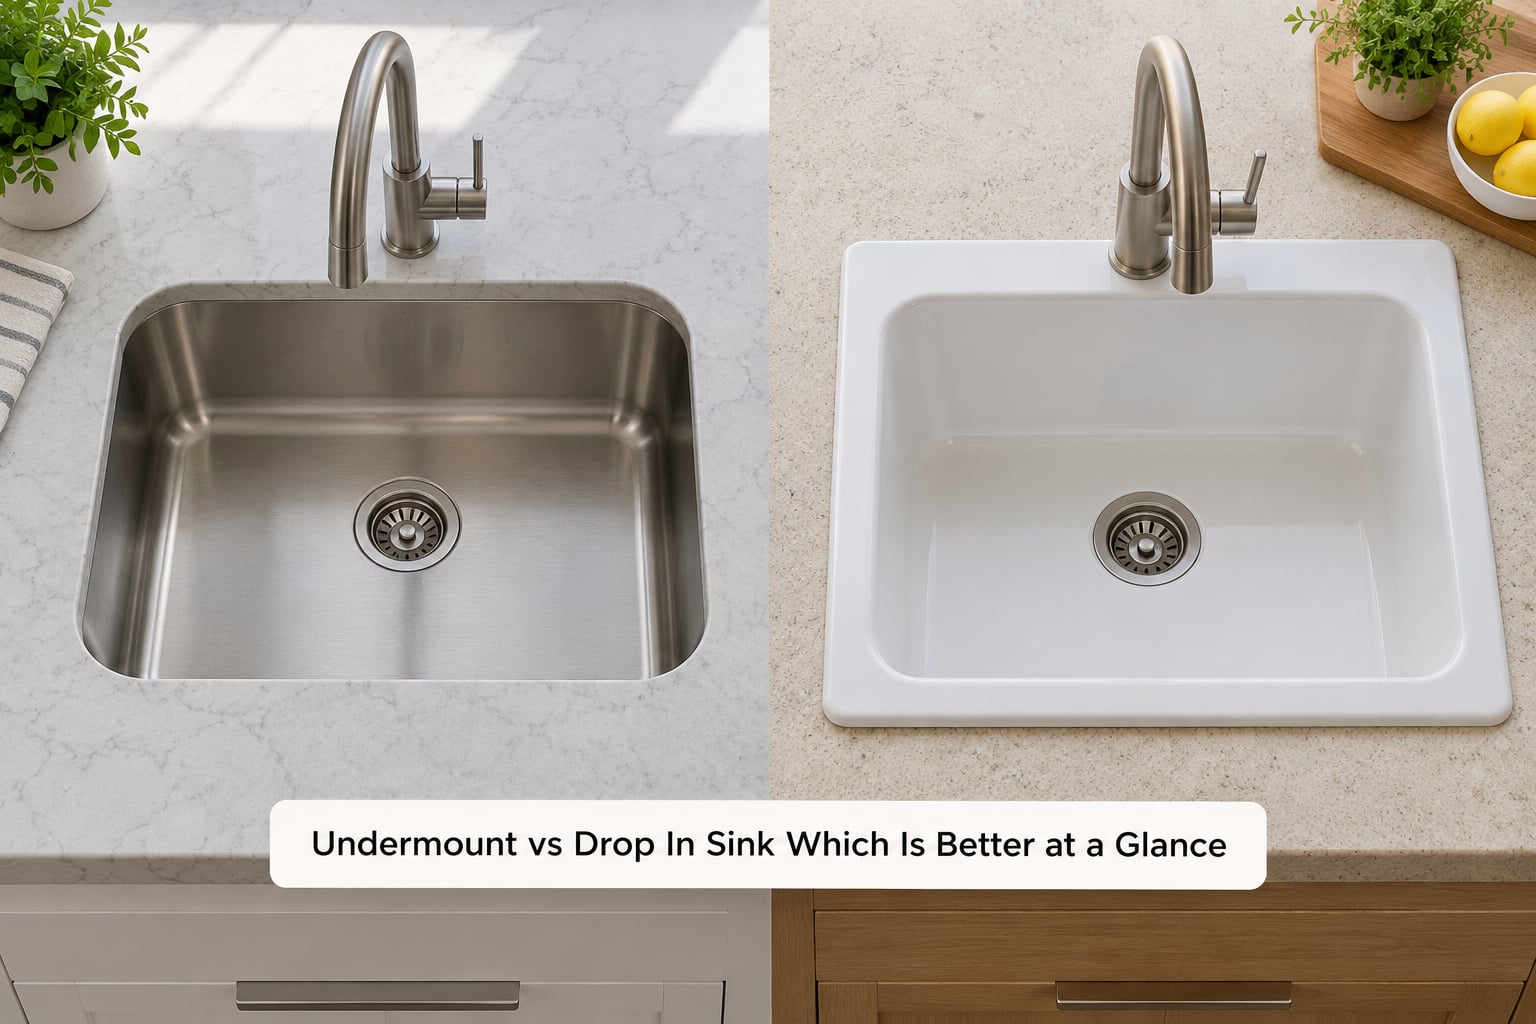
The short answer is that undermount wins on looks and cleaning while drop-in wins on cost, versatility, and repairability. Here is the full head-to-head.
| Factor | Undermount sink | Drop-in (top-mount) sink |
|---|---|---|
| Appearance | Counter runs into the bowl, no visible rim | Visible lip sits on top of the counter |
| Cleaning the counter | Crumbs sweep straight into the bowl | Crumbs collect at the rim and get wiped twice |
| Countertop materials | Granite, quartz, marble, granite composite, solid surface, concrete, stainless | Any of those plus laminate, tile, butcher block, and most existing counters |
| Cutout accuracy | Needs an exact, polished hole cut to the sink template | A rough hole can be covered by the rim |
| Install difficulty | Higher. Two people, clips, brackets, and a cure time for silicone | Lower. Set it in the hole, clamp it, hook up the drain |
| Relative install labour | Noticeably higher, often several times the drop-in hookup | Cheaper and quicker for a plumber or handyperson |
| Sink purchase cost | Similar range to drop-in in the same material | Similar range, often with cheaper models available |
| Cabinet storage | Sits lower, so it claims more cabinet volume | Sits higher, so more usable storage stays |
| Bowl depth available | Deeper bowls fit under the counter | Bowl depth is limited by the counter thickness |
| Resealing | Silicone under the rim every 3 to 5 years | Same silicone routine, easier to reach |
| Moisture exposure | Exposed cut edge of the counter must be sealed properly | The rim covers and protects the cut edge |
| Replacement | Hard. Old silicone bonds to the stone | Easy. Lift it out and set a new one in |
| Resale impression | Reads as an upscale, current kitchen | Fine, but reads as a dated or builder-grade choice |
| Garbage disposal fit | Often tight in shallow cabinets | Easier clearance under a smaller base cabinet |
| Best suited to | Full kitchen remodels with stone counters | Laminate counters, rentals, DIY, budget projects |
One table row deserves a warning label. The moisture row is the one that causes real damage, and it is why an undermount on a poorly prepared base can ruin a cabinet floor while a drop-in over the same counter would not.
What Is the Difference Between an Undermount and Drop-In Sink?
The difference is where the weight of the sink sits and how the two surfaces meet. A drop-in sink carries itself on its own rim, which rests on the countertop like a tray on a table. An undermount sink hangs from the underside of the counter, held up by mounting clips and brackets that bolt through or grip the stone. Both styles get clamped from inside the cabinet.
That is not just trivia. Because a drop-in sink carries its own weight, it can sit on almost any surface, including a hollow laminate countertop. An undermount needs the counter to be rigid enough to hold the sink, which rules out thin laminate and untreated particle board unless the builder adds real support.
What is a drop-in kitchen sink?
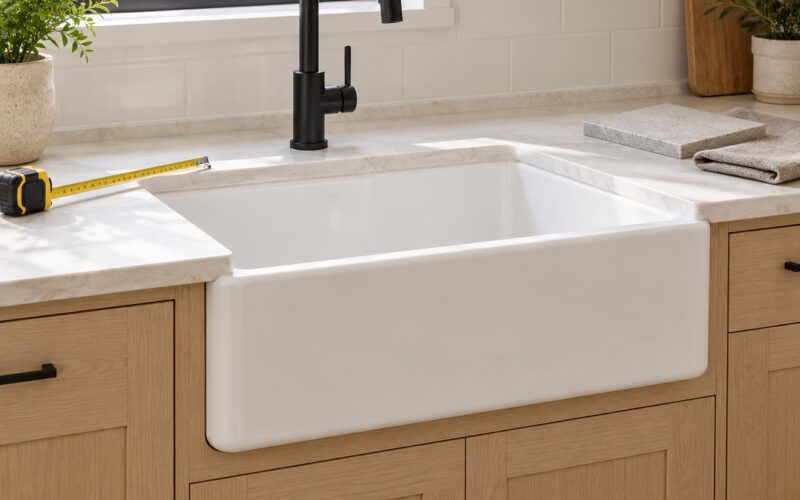
A drop-in kitchen sink is a sink bowl with a flat rim attached around its top edge. You cut a hole in the counter, drop the sink into it, and the rim overlaps the cut by roughly an inch all the way around. It is sold under three interchangeable names, drop-in, top-mount, and overmount, so search all three when you shop.
Drop-in sinks are available in stainless steel, enameled cast iron, fireclay, porcelain, composite, and even basic polypropylene. Cast iron and fireclay models need more support underneath than stainless ones, which is worth checking against your cabinet.
What is an undermount sink?
An undermount sink, sometimes called a beneath-mount sink, is a bowl whose rim sits entirely below the underside of the counter. Nothing overlaps the countertop surface, so the stone runs unbroken from the cabinet edge into the basin. That unbroken line is the entire point of the style.
Undermount sinks also come in the same range of materials, though fireclay, enameled cast iron, and stainless steel are the most common. Because the rim is hidden, you rarely see it, which is exactly why builders like it on a statement countertop.
How can you tell which sink type you already have?
Put your hand on the edge of the counter at the sink and slide it along. If you feel a lip, a ridge, or a step rising above the counter surface, you have a drop-in. If the counter surface runs straight to the bowl wall with no edge at all, it is an undermount.
A second check looks at the doors of the base cabinet. Undermount sinks usually show mounting clips or brackets screwed to the underside of the counter around the rim. Drop-ins show a flange or a rim sitting on top, and many have a separate clip rail.
Another clue is the counter material. Laminate, tile, or a post-formed plastic counter almost always means a drop-in, because those surfaces cannot hold a bonded undermount.
Appearance and Countertop Style
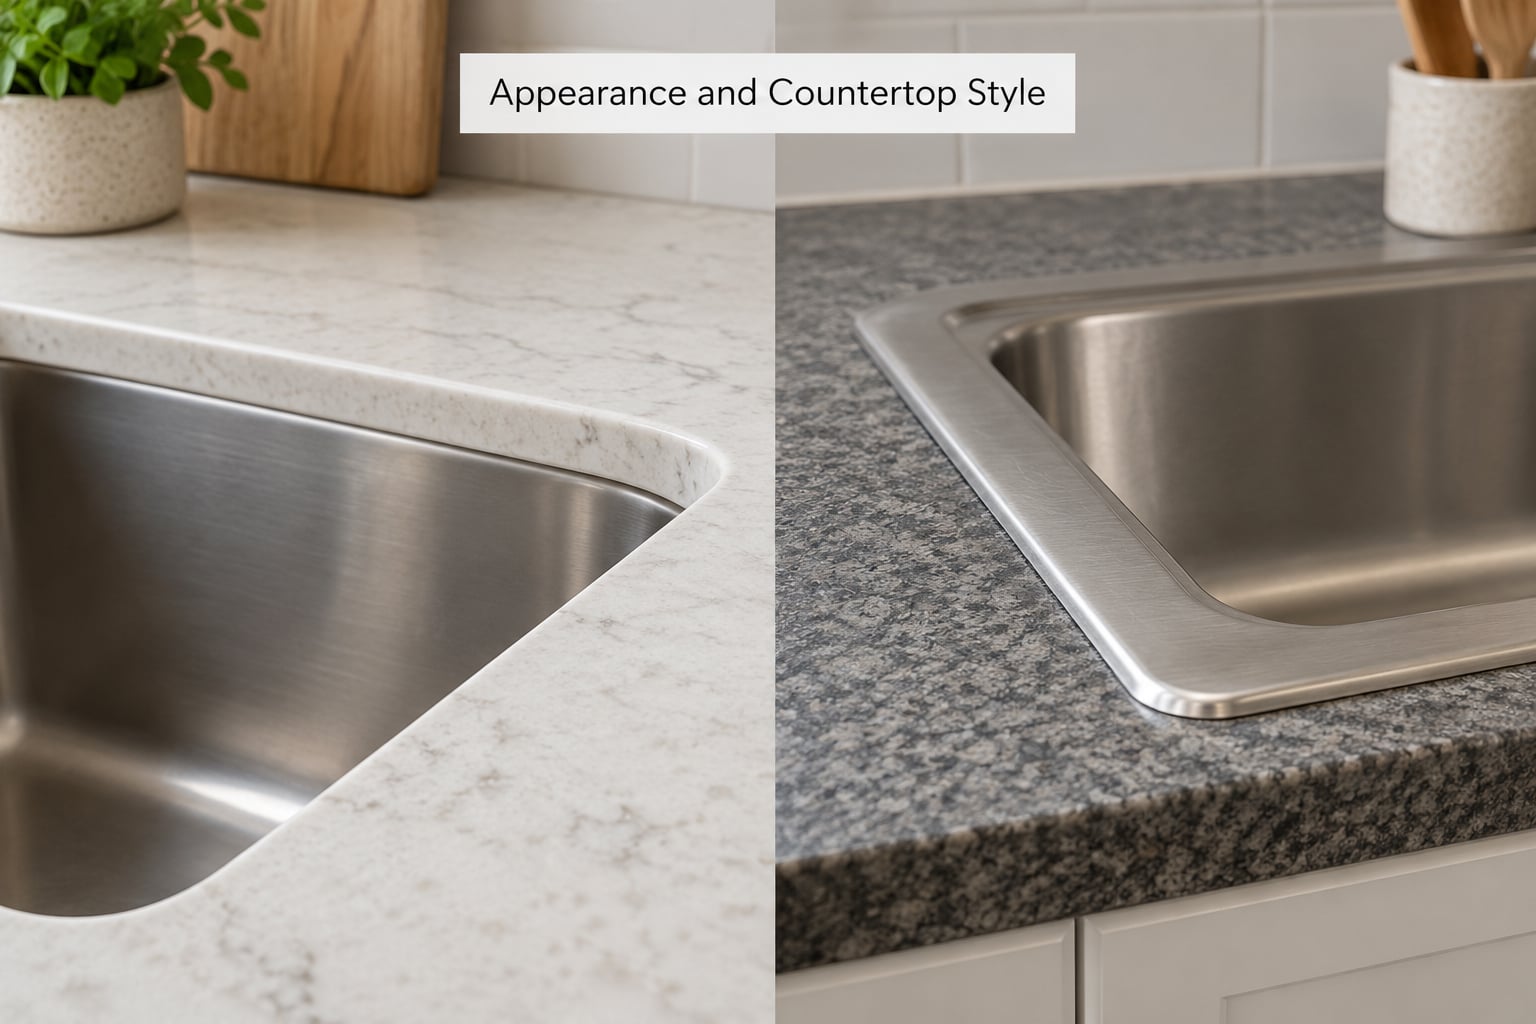
An undermount sink looks better on a new counter because it removes the rim from view entirely. The stone reads as one continuous slab, and in a kitchen with a waterfall edge or a matching backsplash that line carries all the way through. Drop-ins can still look good, but the lip is always visible and it draws the eye.
The look breaks down roughly like this. Undermount suits contemporary, transitional, and minimalist kitchens, and it is the default choice for granite and quartz in 2026. Drop-in suits traditional kitchens, farmhouse-style rooms, and any place where a visible rim is part of the design language rather than a compromise.
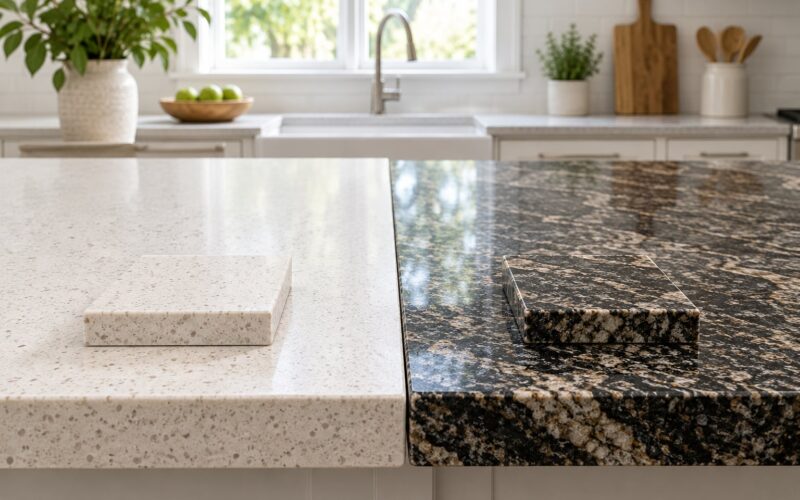
Material matters more than taste here. Laminate, post-formed counters, tile, and older cultured marble are drop-in surfaces. Granite, quartz, marble, solid surface, and concrete can take either style. A butcher block counter usually takes a drop-in, though a well-sealed wood counter can take an undermount if the shop cuts the hole correctly.
If you are keeping an existing countertop, the decision is basically made for you. A laminate or post-formed counter should stay drop-in. Trying to fit an undermount to that kind of surface is where projects go wrong.
Installation and Remodeling Requirements
An undermount install takes more planning than a drop-in because the hole has to be right the first time. The cutout comes from the sink manufacturer, usually as a template or a dimension sheet, and the hole is cut slightly smaller than the outer rim so the sink pulls up tight against the underside. Any mistake gets filled with adhesive and shows as a shadow line forever.
A drop-in cut is far more forgiving. Rough-cut the hole, and the rim covers the edges. That single fact is why drop-in remains the rational choice for laminate counters, rental units, and utility rooms.
What do undermount reveals mean for your counter?
A reveal is the visible gap between the underside of the counter and the rim of an undermount sink. Three options show up in the trade, and they clean very differently.
- Flush mount means the sink rim meets the underside of the stone with no gap at all. It looks the most refined, and it is the hardest to clean because crumbs and water sit right at the seam where two hard surfaces meet.
- Positive reveal means the rim sits slightly below the counter, usually by about an eighth of an inch, so a small ledge of stone is visible. It is the most forgiving option for wiping, and it is what most builders specify in working kitchens.
- Negative reveal means the sink rim stands slightly proud of the underside of the counter, covering the cut edge of the stone. It looks clean and hides any chipping, but it creates a small overhang where grime collects.
Owners argue about this more than you would expect. Plenty of people say a flush undermount is harder to wipe than a drop-in with a positive reveal, because crumbs lodge in the seam. A small positive reveal is a reasonable middle ground.
Can you install an undermount sink in a laminate countertop?
Usually no, and attempting it is the most common way people damage a cheap counter. Particle board or fiberboard cores absorb water through the cut edge and swell, which makes a laminate counter bubble and delaminate from below where nobody can see it.
There is a workaround for determined builders. Replace the cut section of core with marine plywood, seal every face and edge with a waterproofing membrane, and only then bond the sink. It can work, but it takes more time than it saves, and any leak shows up as swollen board later.
The same warning applies to MDF and untreated cabinet-grade plywood. If your substrate is not rated for water, use a drop-in and let its rim protect the cut edge.
Should the sink go in before or after the countertop?
The countertop template gets made first, and the hole gets cut into the slab during fabrication. In a typical remodel the order runs: measure the cabinet, order the counter with the cutout template included, have the hole cut and polished at the shop, set the counter, dry-fit the sink, then clip and seal it in place.
For a drop-in you get more flexibility. Many people cut the hole themselves with a jigsaw or a hole saw once the counter is already installed, which is why drop-ins show up in so many weekend projects.
What about cabinet clearance?
An undermount bowl hangs deeper into the cabinet, so a 10 inch deep undermount may sit far lower in the cabinet than a 9 inch drop-in with the same nominal depth. That extra drop is where disposal conflicts come from. A full-size disposal needs roughly 12 inches of vertical room plus the drain geometry, and it also steals the cabinet space where a pull-out trash would go.
If your base cabinet is a shallow 24 inch unit, measure before you commit. Deeper bowls and double-bowl undermounts are the usual reason a planned pull-out shelf disappears from the plan.
Cleaning, Maintenance, and Water Spills
A drop-in sink is easier to wipe because you can see every edge of it. The rim is a defined object, so you run a cloth along it once and you know the counter is clean. Undermount sinks have no rim at all, which means crumbs travel in one direction with no resistance at all.
The other side of that is where the crumb trap lives. On a flush undermount, the seam between stone and sink holds water and fine debris, and it has to be wiped by hand. On a positive reveal, the stone ledge catches the crumb and the cloth has something solid to push against.
Here is the forum sentiment in plain terms. Multiple owners in home improvement forums prefer undermount purely because there is no lip to push debris across when wiping the counter. Other owners in the same discussions report that a drop-in rim with a positive reveal is just as easy to clean, and easier than a flush undermount where crumbs catch at the seam. Both are true, and the reveal is the deciding factor.
Maintenance is where the two styles converge. Both are held by silicone caulk that hardens out eventually. Plan on pulling that bead and redoing it every three to five years, or sooner if you see a gap forming at the stone edge or a dark, crumbling line in the caulk.
Here is a simple reseal routine for either type. Lift the clips loose from underneath, cut the old silicone out with a plastic scraper so you do not scratch the stone, wipe the surfaces dry with alcohol, lay a fresh bead of kitchen-grade silicone, press the sink home, and let it cure for at least 24 hours before running water through the drain.
A repair is much easier on a drop-in, because you can lift the sink straight up out of the hole. On an undermount you are working underneath with the plumbing in the way, and old silicone bonded to stone is close to impossible to remove cleanly.
Durability, Repairs, and Replacement Parts
Durability comes down to material and geometry more than mounting style. Enameled cast iron and fireclay tolerate more abuse than stainless, and a thicker gauge of stainless resists denting. A drop-in rim does add one real benefit: it covers the cut edge of the counter, which protects that edge from moisture and from chips during use.
An undermount leaves that cut edge exposed. If the installer skipped the polishing or the waterproofing step, the raw edge of the stone can wick water into the cabinet, and the repair is a full panel replacement rather than a reseal.
Where undermount leaks actually come from
Almost always from the side seal, not the drain. Water sits against the rim and finds the lowest point in the bead of silicone, usually along one side. The signs are a cabinet floor that feels damp, a swollen or peeling cabinet base, or a puddle forming under the sink after a run of the dishwasher.
A dripping drain line gets blamed constantly. To tell the two apart, wipe everything dry, run water into the bowl for several minutes, and watch the side seams. If the floor stays dry and the water shows up under the drain trap, the trap connection is the problem, not the rim.
How do you replace a sink that was silicone-bonded?
Plan on it being an unpleasant job. Undermount sinks are typically bonded with construction adhesive as well as silicone, and that combination grips stone and metal hard. If the counter is going to be replaced anyway, the cleanest path is to break the sink out and cut the counter section with it.
A drop-in comes out in minutes. You lift it straight up, pop the drain flange, and the new one drops into the same hole. That difference in repairability is the quiet reason many landlords and older homeowners never leave a drop-in.
On parts, both styles use standard drain assemblies, strainers, and garbage disposals. Faucet selection is where undermount kitchens gain an advantage: because the counter is uninterrupted, a countertop-mounted or wall-mounted faucet fits the look without fighting a rim.
Cost and Value for the Money
Undermount costs more to install, and most of the extra money is labour rather than the sink. Both styles of sink themselves sit in overlapping price bands by material, so the sink is rarely what decides the total.
The labour gap comes from three things. The stone counter has to be cut and polished from underneath before installation, the sink has to be supported with clips and brackets while the silicone cures, and the installer has to work under the sink for longer with the plumbing in the way. Contractors quote the undermount noticeably higher for exactly those reasons.
Drop-in costs less because a rough hole is acceptable, the sink supports itself, and the hookup is short. If your counter is already installed and you are replacing a sink only, a drop-in swap is close to a half-day job. The same swap on an undermount can stretch into a full day once the old adhesive comes into the picture.
Budget for the hidden line items on an undermount: counter rework if the existing hole is the wrong size, extra cabinet support, a plumber for the drain and disposal, and a reseal job every few years. Typical US ranges vary by region and change over time, so get two or three quotes that separate sink, counter, and hookup labour instead of one lump sum.
Where drop-in is the better value: a rental or flip, a laundry or utility sink, a basement bar, an outdoor kitchen on a budget, or any project where the counter is laminate. Where undermount earns its cost: a main kitchen sink you will use daily for years, on a stone counter you are proud of.
Noise, Space, and Everyday Use
Mounting style changes your usable space more than most people expect. An undermount gives you slightly more counter space because nothing sits above the surface, and the back of the sink is free for cutting boards and dish racks. A drop-in rim eats a strip of counter along the back edge.
Bowl depth is the tradeoff. An undermount can be deeper because the bowl drops below the counter, which is great for washing big stock pots and for catching the splash you would otherwise wipe up. A drop-in is limited by counter thickness, so a deep bowl means a proud rim and a raised edge.
Cabinet storage moves the other way. The deeper an undermount hangs, the more of the cabinet it occupies. On a wide sink base you lose a shelf; on a small vanity you can lose the ability to fit a disposal at all. If storage under the sink matters to you, measure it before ordering.
Bathrooms are their own case. Undermount is the standard in modern vanities, mostly for the same look reason. Drop-in and pedestal sinks are still common, and for a kids bathroom or a rental half bath a drop-in is cheap and tough.
Bar and prep sinks are worth calling out. In a bar sink, a drop-in rim gives you a ledge to set glasses on, which is genuinely useful. Undermount wins on counter space and looks better in a finished room. A lot of kitchens end up with both, a drop-in prep sink in an island and an undermount at the main run.
RVs, mobile homes, and outdoor kitchens are drop-in territory. The rim covers cut edges in thin cabinetry, installation is simpler in a confined space, and a repair in a parked trailer is not something you want to depend on a silicone bond for.
Which Should You Choose?
Choose an undermount sink if you are replacing a granite, quartz, marble, or solid surface counter during a full kitchen remodel. It is the better answer when you plan to resell, when you cook a lot and wipe the counter constantly, and when the budget covers the higher install labour.
Choose a drop-in sink if your countertop is laminate, tile, or a wood block you want to protect. It is the right call for a rental or a flip, for an RV or mobile home, for a laundry or utility sink, and any time you are installing the sink yourself in an existing counter without hiring a fabricator.
Here is how the decision breaks down by project, if you want the short version:
- Full remodel, stone counter, plan to resell: undermount.
- Existing laminate counter you are keeping: drop-in, no debate.
- Weekend DIY with a jigsaw: drop-in.
- Cheap flip or rental unit: drop-in, because of replacement cost.
- Bathroom vanity in a modern primary bath: undermount.
- Kids bathroom or half bath: drop-in.
- Bar or prep sink where you set glasses down: drop-in for the rim ledge.
- RV, mobile home, outdoor kitchen: drop-in.
- Deep bowls and a small cabinet: drop-in, for disposal clearance.
- You want counter space to be uninterrupted: undermount.
If you are still torn after that, ask your counter fabricator one question: whether they will cut and polish the hole for a sink you already own, and what they charge. Their answer tells you whether the undermount path is realistic in your specific cabinet.
Frequently Asked Questions
What size undermount sink should I get?
Most single-bowl undermounts measure about 30 by 19 inches for a 36 inch cabinet, and a double-bowl pair usually runs 33 by 22. Measure the cabinet first, then check the sink drawing for a required bowl depth and drain placement. Anything deeper than about 10 inches will eat into disposal clearance and under-sink storage, so size for the cabinet you actually have.
What are common problems with undermount sinks?
Almost every undermount problem traces back to the rim seal. Water finds the low spot in the silicone bead along the side of the bowl, soaks into cabinet-grade plywood, and softens it. Watch for a cabinet floor that feels damp, a dark crumbling caulk line, or a visible gap opening at the stone edge. Cutting errors and chips on a thin or laminate counter are the other two common failures.
Are drop-in sinks out of style?
No. Drop-ins remain the standard choice on laminate counters, in rental units, in laundry rooms, and in mobile homes, where the rim protects the cut edge of the counter. In a renovated kitchen with stone, an undermount reads as more current. Style has not changed; the substrate has. Choose based on your counter material and who is installing it.
What type of sink is best for a wood countertop?
A drop-in is the safer answer, because its rim covers the cut edge of the wood and keeps water off the end grain. A well-sealed butcher block can take an undermount if the shop cuts the hole cleanly and every face and edge of the exposed wood is sealed. Sealing is not optional, since end grain wicks water faster than the face does.
Should I install an undermount sink before or after the countertop?
After the countertop, in almost every case. Include the sink cutout template when the counter is fabricated, have the hole cut and polished at the shop, set the counter, then dry-fit the sink and secure it with clips and silicone from underneath. Mounting it first means handling a heavy stone slab around a fragile rim, and the bond can shift while the slab is moved.
Why is undermount installation more expensive than drop-in?
Most of the extra cost is labour, not hardware. The stone has to be cut and polished from underneath before the sink arrives, clips and brackets have to hold the sink while the silicone cures, and the installer works under the bowl with the drain and disposal in the way. A drop-in carries its own weight on its rim, so a rough hole is acceptable and the hookup is short.
Start by looking at your countertop, not the sink catalogue. Stone or solid surface means undermount is on the table, and laminate, tile, or a wood block means drop-in is the correct engineering answer rather than a compromise. Once you know the surface, measure the cabinet for disposal clearance, pick your reveal, and get the sink template into the counter order before anything else gets fabricated.