The water damage cleanup steps for homeowners come down to four jobs in a specific order: make the area safe, stop the water at its source, get the standing water out, and dry the structure thoroughly before anything gets closed up. A small incident involving clean water — a burst supply line under a sink, a dishwasher leak, a water heater that gave up — is usually manageable with a wet/dry vacuum, a dehumidifier and a weekend of airflow. Sewage, floodwater, a soaked wall cavity or anything touching energized wiring belongs with a licensed restoration company, not a weekend project.
Speed matters more than perfection here. Mold can begin colonizing wet porous material within 24 to 48 hours, which is why the first three days are treated as the critical window by insurers and restorers alike. Water damage restoration, the formal term for the whole job, means extracting the water, drying the structure, cleaning and sanitizing, then repairing materials back to pre-loss condition. Most homeowners only ever handle the first two stages.
Table of Contents
- What You Need Before You Start
- Safety equipment
- Cleanup and detection supplies
- Documents and phone numbers
- Know which category of water you are dealing with
- Step-by-Step: Water Damage Cleanup Steps for Homeowners
- 1. Make the Area Safe and Identify the Water Source First
- 2. Document the Damage Before You Move Anything
- 3. Remove Standing Water and Dispose of Materials Safely
- 4. Dry the Structure and Hidden Spaces
- 5. Clean, Inspect, and Prevent Repeat Damage
- Common Mistakes That Make Water Damage Worse
- Frequently Asked Questions
- How soon should I start cleaning up after water damage?
- Can I clean up water damage myself or should I call a professional?
- Does insurance cover water damage cleanup?
- How do I know if water damage has caused mold?
- Is sewage or floodwater safe to clean up myself?
- Conclusion
What You Need Before You Start
Gather everything before you start rather than halfway through a puddle. The gear list is shorter than people expect, but protection is the part you should never skip.
Safety equipment
- Rubber or nitrile gloves, plus waterproof boots or rubber overshoes
- An N95 or P100 respirator if any water came from a drain, a sewer, or an outdoor flood
- Eye protection and long sleeves you do not mind ruining
- A flashlight, because water and power outages are common companions
Cleanup and detection supplies
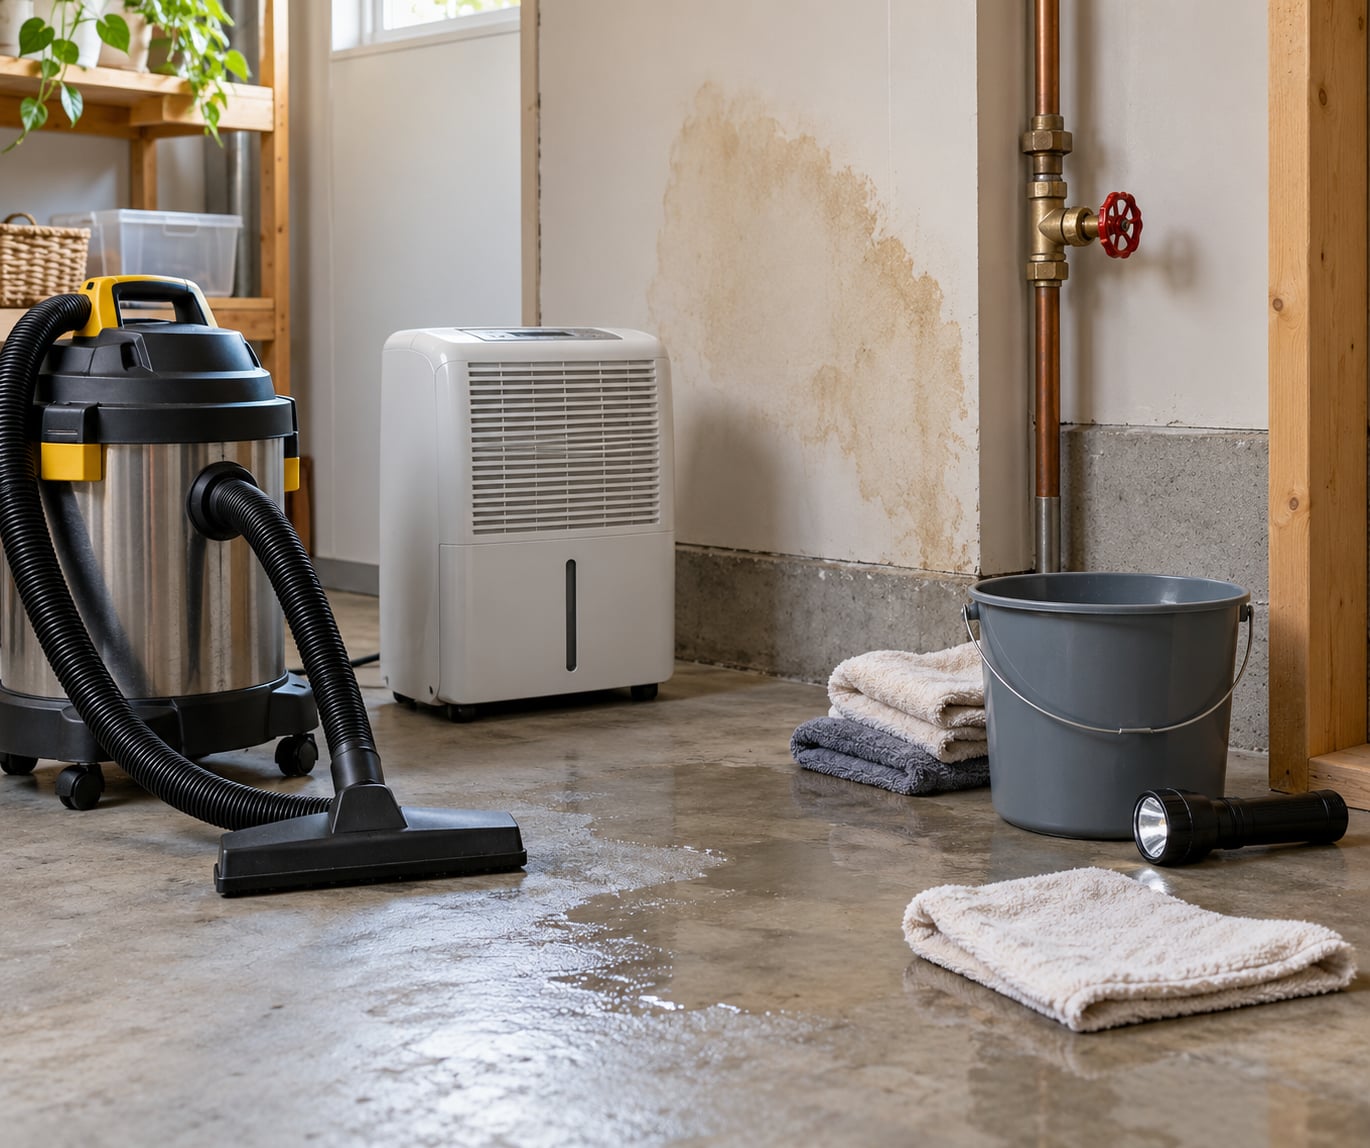
- A wet/dry vacuum with a hose that reaches baseboards and stairwells
- A mop, bucket, heavy towels and trash bags
- A dehumidifier sized for the square footage of the wet area
- Box fans or air movers, and outdoor-rated extension cords
- A moisture meter and a hygrometer if you want to verify dryness rather than guess at it
Documents and phone numbers
- Your homeowners policy number and the claims line
- A licensed plumber, an electrician, and one restoration company you would actually use
- A notebook or phone camera roll for dated photos and a damage list
Know which category of water you are dealing with
This single classification decides whether you are allowed to touch the water at all. It is the standard used by the restoration industry.
- Clean water (Category 1) — water from a supply line, a faucet, a water heater, or rain that has not touched the ground. Gloves and normal caution, DIY is reasonable.
- Gray water (Category 2) — water from a washing machine, dishwasher, bathtub, or greywater fixture. It can carry bacteria and detergent, so wear gloves, a respirator and eye protection and discard soaked porous items.
- Black water (Category 3) — sewage, a backed-up toilet, storm or flood water, and anything from outdoors. Pathogens are assumed. No DIY cleanup, and typically no DIY carpet or drywall removal either.
Call emergency services or your gas utility for a gas smell, a hissing supply line, sagging or bulging ceilings, or any structural shift. Call the water company to locate and shut off the main valve if you cannot find it. Call an electrician for any water near outlets, appliances, the panel box, or a circuit that has been wet, and keep out of that water until they do.
Step-by-Step: Water Damage Cleanup Steps for Homeowners
Work through these in order. Skipping ahead to extraction while water is still flowing somewhere in the wall just buys you a second flood.
1. Make the Area Safe and Identify the Water Source First
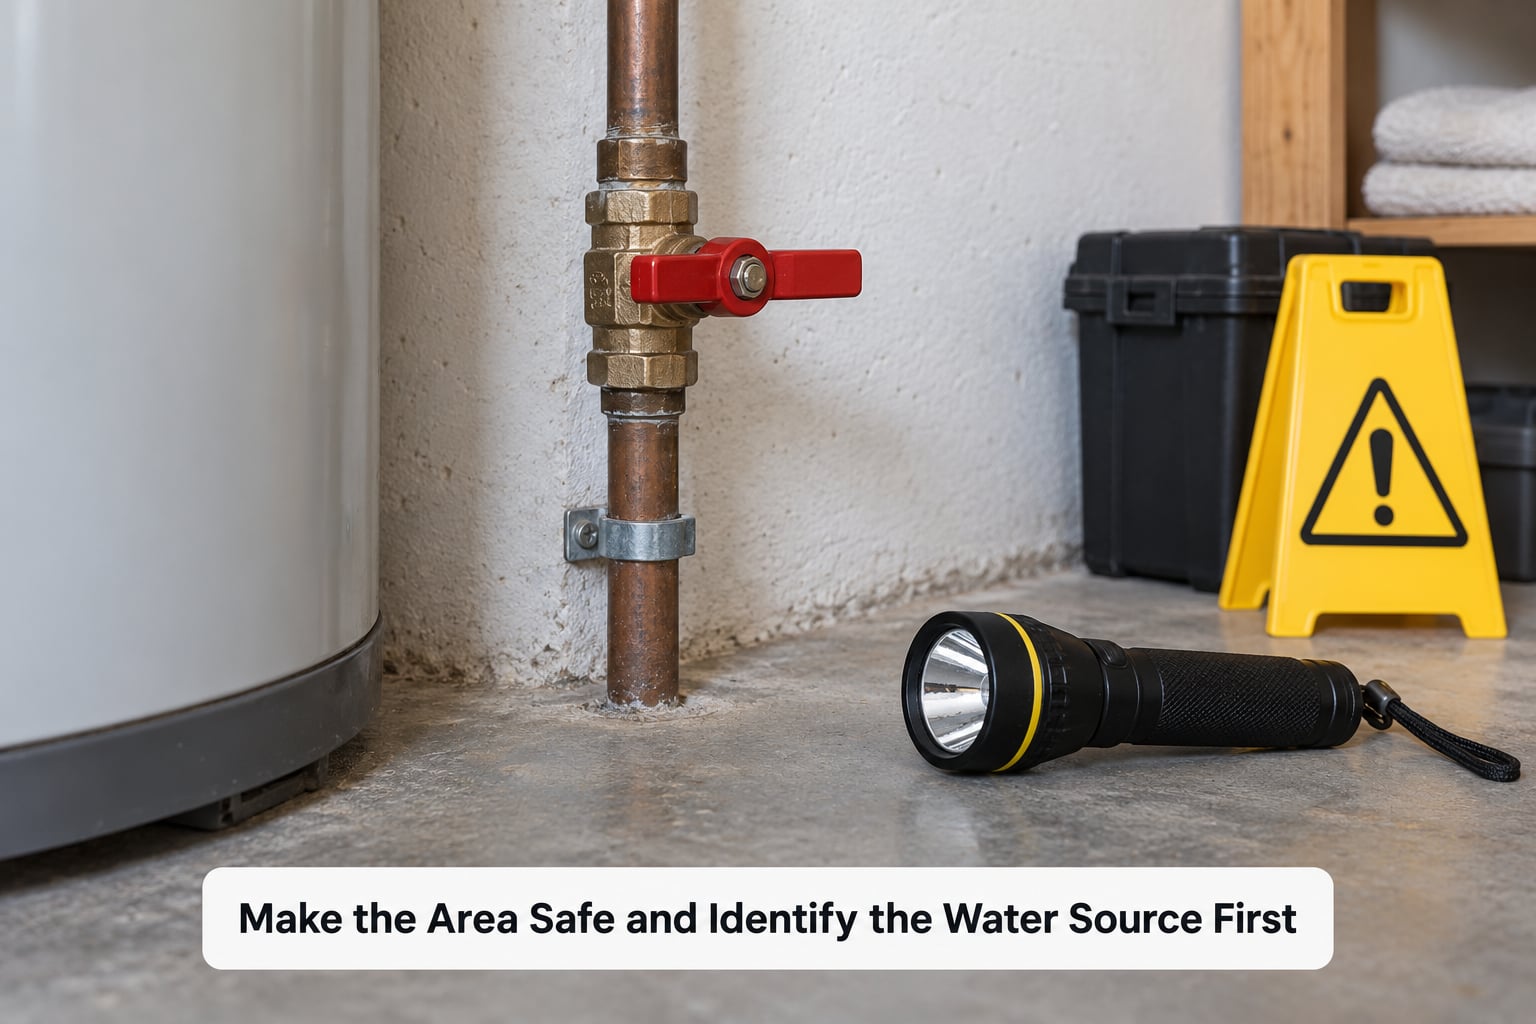
Keep people and pets out of the affected rooms before you do anything else. Then find where the water is coming from and whether it is still coming — a dripping supply line, a failed appliance connection, a roof or window leak, foundation seepage, or a full drain backup.
Shut off the water at the local valve if you can reach it safely. If the main shutoff is the only option, know where it is before you need it at midnight. For electrical hazards, cut power at the breaker only if you can reach the panel without standing in water; otherwise leave it and call an electrician.
Do not stand under a bulging, sagging or stained ceiling. Those bubbles hold far more water than the stain suggests, and a small puncture turns a controlled drip into a ceiling collapse. You have made the area safe when no one needs to be near it, no water is entering, and nothing electrical, gas or structural is being improvised around.
2. Document the Damage Before You Move Anything
Photograph and video everything before you move a single item. Wide shot of each room, then close-ups of the source, the affected surfaces, and any damaged personal property.
Write down when you found it, when the water stopped, and what you think caused it. Keep a simple room-by-room list of damaged materials — carpet, drywall, baseboard, cabinet, flooring — because adjusters ask for exactly that.
Keep every receipt from the moment you start buying anything. Homeowners on r/HomeImprovement and r/homeowners repeat the same regret most often: they moved furniture, wiped surfaces, or threw out soaked belongings before they had a single photo, and the insurance side of it got harder.
Do not tear out drywall or lift carpet purely to create proof. It is an expensive mistake you cannot undo, and photographic evidence plus moisture readings are what adjusters actually rely on.
3. Remove Standing Water and Dispose of Materials Safely
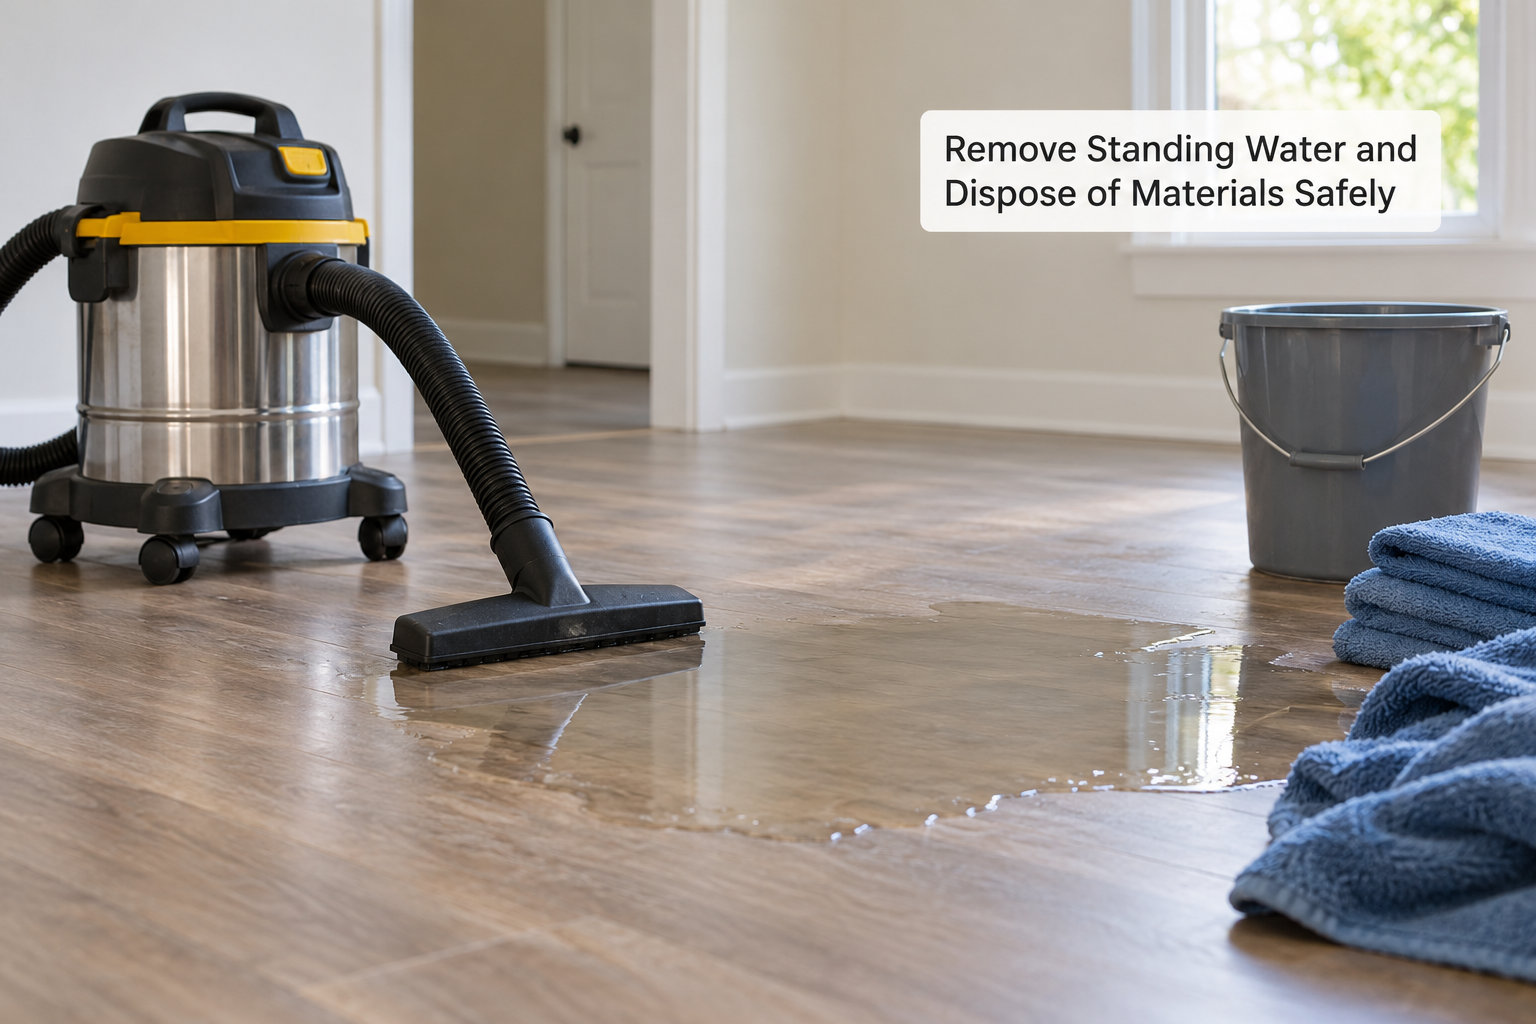
Use a wet/dry vacuum for shallow water on hard surfaces. Watch the filter and change or rinse it as soon as it gurgles or the airflow drops, because a saturated filter turns the vacuum into a mold spreader. For deeper clear water in a finished room, a submersible pump moves far more volume in an hour than a vacuum will all day.
Discharge clean water down a household drain only if the sewer line is clear. If there is any doubt about a backup, carry it outside and away from the foundation instead. Mud and silt need a trash pump and are slow work, which is a good signal that a rental is worth it.
Be decisive about porous materials. Carpet, insulation, mattress pads, upholstery, foam, ceiling tile and fiberglass batt that have been soaked usually get bagged and discarded; they do not dry well enough to trust and they are exactly what mold feeds on. Hard surfaces such as tile, vinyl, sealed wood and glass can be cleaned and dried. Electronics with any moisture at all should not be powered on and are worth a professional drying service.
Get personal items out fast — documents, photographs, medication, laptops, jewelry. If the water was gray or black, none of this is a DIY job, and the disposal rules change entirely.
4. Dry the Structure and Hidden Spaces
Dry in the order the water moved: floors first, then walls, then ceilings, cabinets and cavities. Wet flooring keeps wicking water into everything it touches.
Run a dehumidifier with air movers, close the windows and doors to the room unless the outdoor air is genuinely drier than what is inside, and remove baseboards so air can move along the wall edge. Open up saturated carpet at the edges rather than only drying the surface, and let a professional drill injection ports for wall cavities you cannot dry from the face.
Track it instead of guessing. A hygrometer in each room shows whether relative humidity is actually dropping, and a pin or pinless moisture meter tells you when drywall, subfloor or framing has come back to normal. Keep a daily drying log with readings, dates and equipment running; it is the single most useful thing you can hand an adjuster later.
The most common structural mistake is closing a wall or ceiling that still holds moisture inside the cavity. Mold turning up weeks later in a room everyone thought was dry is a recurring story on homeowner forums, and it is expensive to fix after finishes go back on.
5. Clean, Inspect, and Prevent Repeat Damage
Wash hard surfaces with detergent first, then disinfect following the product label and EPA guidance, and keep the area ventilated while you work. Bleach-based products belong on non-porous surfaces only; carpet, wood and fabric get discarded rather than treated.
Look for the mold signs that matter indoors: a musty or earthy odor, dark spotting on drywall or grout, peeling paint that was not there before, and bubbling paint near exterior walls. There can be plenty of mold with no visible growth at all, which is why anyone with asthma, allergies, a weakened immune system, or small children and pets should stay out of a wet, drying area entirely.
Do not run the HVAC system if any ductwork, evaporator coil or insulation may have gotten wet; it can push contaminated air through the whole house. Replace the furnace filter once things are dry.
Then fix the cause, because a second incident means a second claim and a worse record. Add water alarms under sinks and next to water heaters, give a sump pump a battery backup, inspect the roof and flashing before storm season, and re-test any repaired area after the next heavy rain. If water reached framing, subfloor, wiring or an appliance connection, schedule professional restoration rather than closing the job yourself.
Common Mistakes That Make Water Damage Worse
Almost every expensive water damage outcome traces back to one of these. Each has a straightforward correction.
- Waiting a day to see if it stops. Standing water finds the baseboard and the subfloor within hours. Correct: shut the source off, then extract, even if you plan to call a professional the same day.
- Running household box fans on contaminated water. Airflow spreads bacteria and mold spores through the house instead of drying the room. Correct: for gray or black water, leave ventilation and containment to professionals.
- Tearing out drywall in the first hour. Drywall takes days to dry properly, and early demolition throws away material that could have been saved. Correct: document, dry, then open only what moisture readings prove you must.
- Ignoring hidden moisture. The visible floor dries long before the wall cavity, the subfloor edge or the ceiling joist. Correct: use a moisture meter and thermal imaging, and keep the daily log.
- Cleaning sewage without protection. A pair of kitchen gloves is not adequate protection. Correct: evacuate and call a licensed restoration company with the right protective equipment.
- Closing up the house too early. Sealing a damp cavity traps moisture and can create the mold you were trying to avoid. Correct: keep air moving and moisture readings falling for several days before any finishes go back on.
- Discarding belongings without a photo. An item with no proof of pre-loss condition is an item the insurer cannot value. Correct: photograph and list before you bag anything.
Frequently Asked Questions
How soon should I start cleaning up after water damage?
Start within hours, not days. The priority is stopping the source, keeping people out, and removing standing water. Mold can begin growing on wet drywall, carpet and insulation in 24 to 48 hours, and every extra hour of standing water makes the affected area larger and harder to dry. You do not need to be finished, only started.
Can I clean up water damage myself or should I call a professional?
Small incidents involving clean water, no soaked structural members, and no electrical involvement are realistic DIY work: a wet vacuum, a dehumidifier, air movers and patience. Call a licensed restoration company for sewage or floodwater, anything that reached wiring or the panel, saturated insulation or subfloor, and any job where you cannot verify that hidden areas are dry before closing them.
Does insurance cover water damage cleanup?
Most homeowners policies cover the cost of extracting water and drying the home when the cause is something like a burst pipe or a failed appliance. Gradual seepage, flood water from outside the property and damage from an unresolved maintenance problem are commonly excluded, which is why finding the source matters. Rules and exclusions vary by policy and state, so read your own declarations and ask your agent before you sign a contract for work.
How do I know if water damage has caused mold?
Watch for a musty or earthy odor, dark spotting on drywall or grout, peeling or bubbling paint, and stains that reappear after you thought the area was dry. Visible growth is not required for mold to be present. Indoor relative humidity staying above roughly 60 percent for more than a day or two is a strong warning sign, and if anyone in the house has asthma or allergies, treat suspected mold as a job for a certified professional.
Is sewage or floodwater safe to clean up myself?
No. Sewage and flood water are Category 3 and carry bacteria, viruses and chemicals that make standard gloves and a household vacuum inadequate. You also cannot see the pathogens in carpet, drywall and insulation, and porous materials generally cannot be salvaged. Keep everyone out, avoid contact, and have a licensed restoration company handle the cleanup, disinfection and any affected structural materials.
Conclusion
If you remember nothing else, remember the order: make the area safe, stop the water, document everything before you move anything, remove the standing water, and then dry the building until moisture readings say it is genuinely dry. Those five water damage cleanup steps for homeowners cover the majority of incidents that happen in an ordinary home, and doing them in the first 72 hours is what keeps a small leak from becoming a mold remediation job.
Contaminated water, electrical exposure and soaked structural members are not DIY. Call emergency services, the water company, an electrician or a licensed restoration company the moment the situation falls into one of those groups.