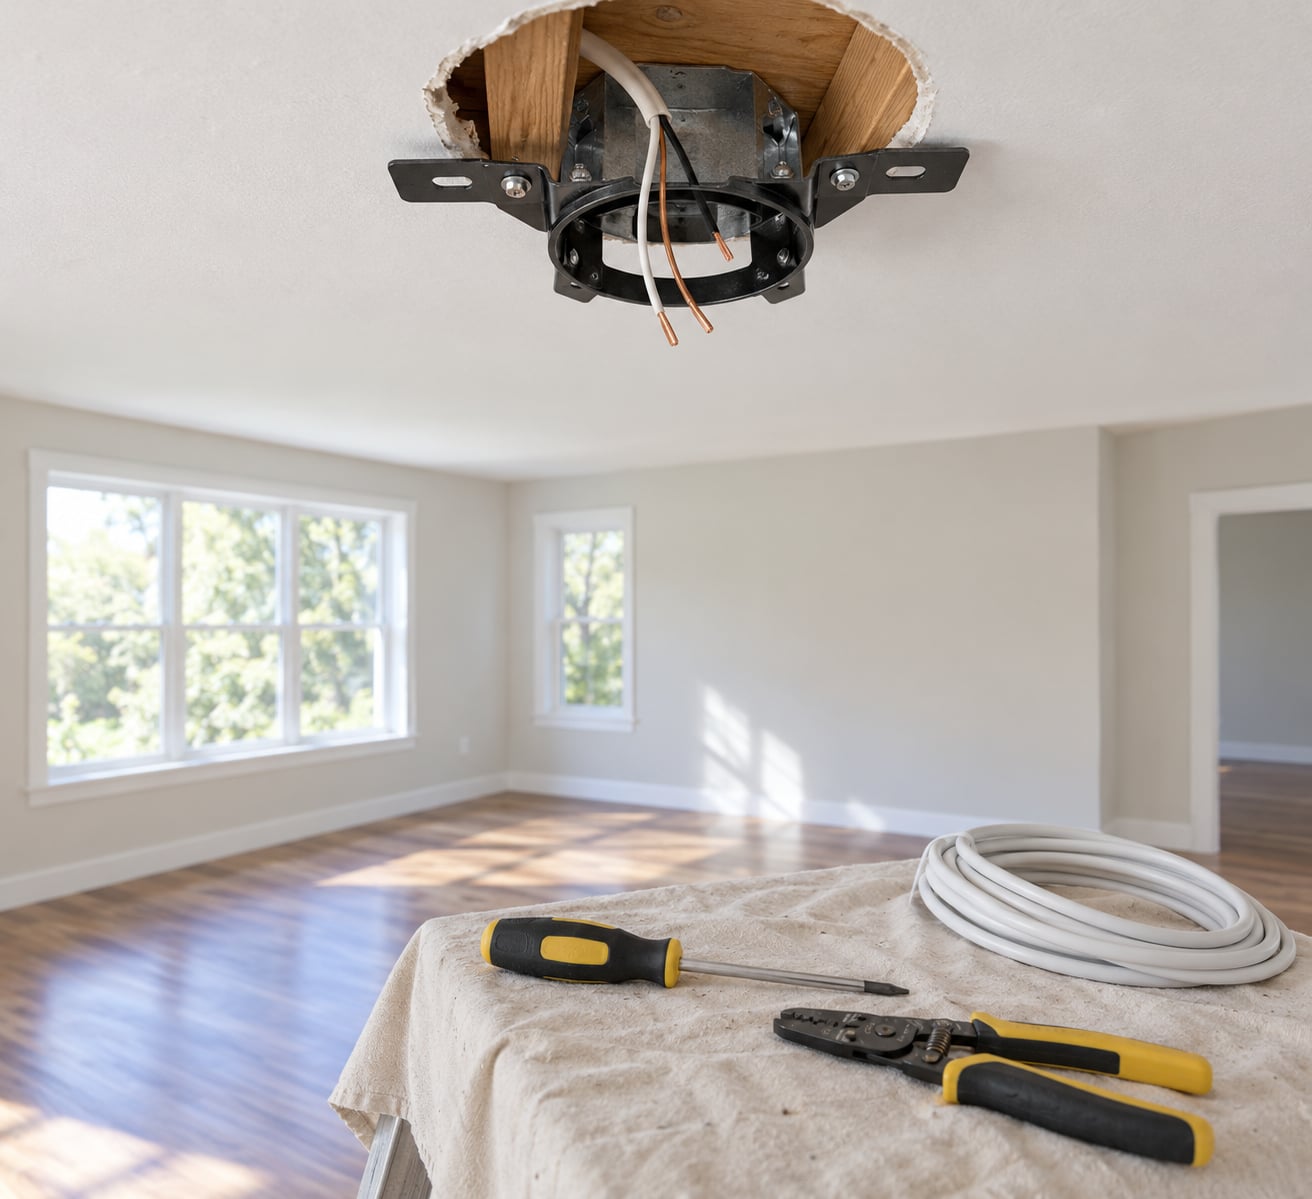
Most homeowners can install a ceiling fan themselves in one to two hours, as long as a fan-rated electrical box is already there and they can work safely around live wiring. The mechanical part is easy; the electrical part decides whether the job is a weekend project or a call to a licensed electrician.
Start here and you will find the tools, the wire-by-wire connections, the blade balancing routine, and the point where the job belongs to a pro. Read the whole thing before you climb the ladder, then follow your fan’s manual as you go. It outranks anything written on the internet, including this page.
Table of Contents
- What You Need
- How to Install a Ceiling Fan: Step-by-Step
- 1. Turn Off Power and Check the Electrical Box
- 2. Identify and Prepare the Wires
- 3. Install the Mounting Bracket and Fan Motor
- 4. Connect the Fan and Control Wires
- 5. Fit the Canopy and Attach the Blades
- 6. Balance, Reassemble, and Test the Fan
- Common Mistakes to Avoid
- Frequently Asked Questions
- Can I install a ceiling fan myself?
- What size electrical box does a ceiling fan need?
- Can a ceiling fan replace an existing light fixture?
- How do I choose the right wall control for a ceiling fan?
- Why is my new ceiling fan wobbling?
- When should I call an electrician instead of installing a ceiling fan?
- Conclusion: Make the First Safety Check
What You Need
A ceiling fan install needs about ten tools, and most of them are already in a garage. Two items decide whether you can finish the project at all: a fan-rated box and a circuit that can handle the fan plus its light.
- The fan and its manufacturer instructions, packed in the box
- The existing electrical box and whatever wiring is in it
- A wall control that matches the fan: single switch, dual switch, or remote
- Mounting screws, washers, and any bracket or brace the fan requires
- Listed wire connectors, plus individual caps for any wires you do not use
- Wire strippers and a noncontact voltage tester
- A two-pole tester rated for the voltage in your home
- A Phillips and a flat screwdriver, or a nut driver for the bracket
- An adjustable wrench
- A flashlight or headlamp, a step ladder, and a second person to hold the ladder
Now the two prerequisites. First, the box: it must be marked fan rated, and it must be rated for the weight of the fan you picked. Boxes stamped for a light fixture alone often carry a much lower limit. Second, the circuit: many fan-and-light combinations pull enough current that an existing lighting circuit needs an upgrade, and a fan with a light added to an already-loaded circuit will trip the breaker or dim when it starts.
A few other things worth checking before you buy anything. Ceilings below eight feet usually need a fan rated for that height, and lower ceilings have less room between the blades and the floor. Sloped ceilings need a fan with an angled ceiling adapter, and the matching downrod often sold separately. Bathrooms and any damp spot need a fan approved for damp locations. Outdoor installs need a wet-location rating.
How to Install a Ceiling Fan: Step-by-Step
Six steps take you from an existing light fixture to a running fan, and each one has a check that tells you it worked. Do them in order and do not skip ahead. If any step fails its check, stop there rather than pushing forward into live wiring.
1. Turn Off Power and Check the Electrical Box
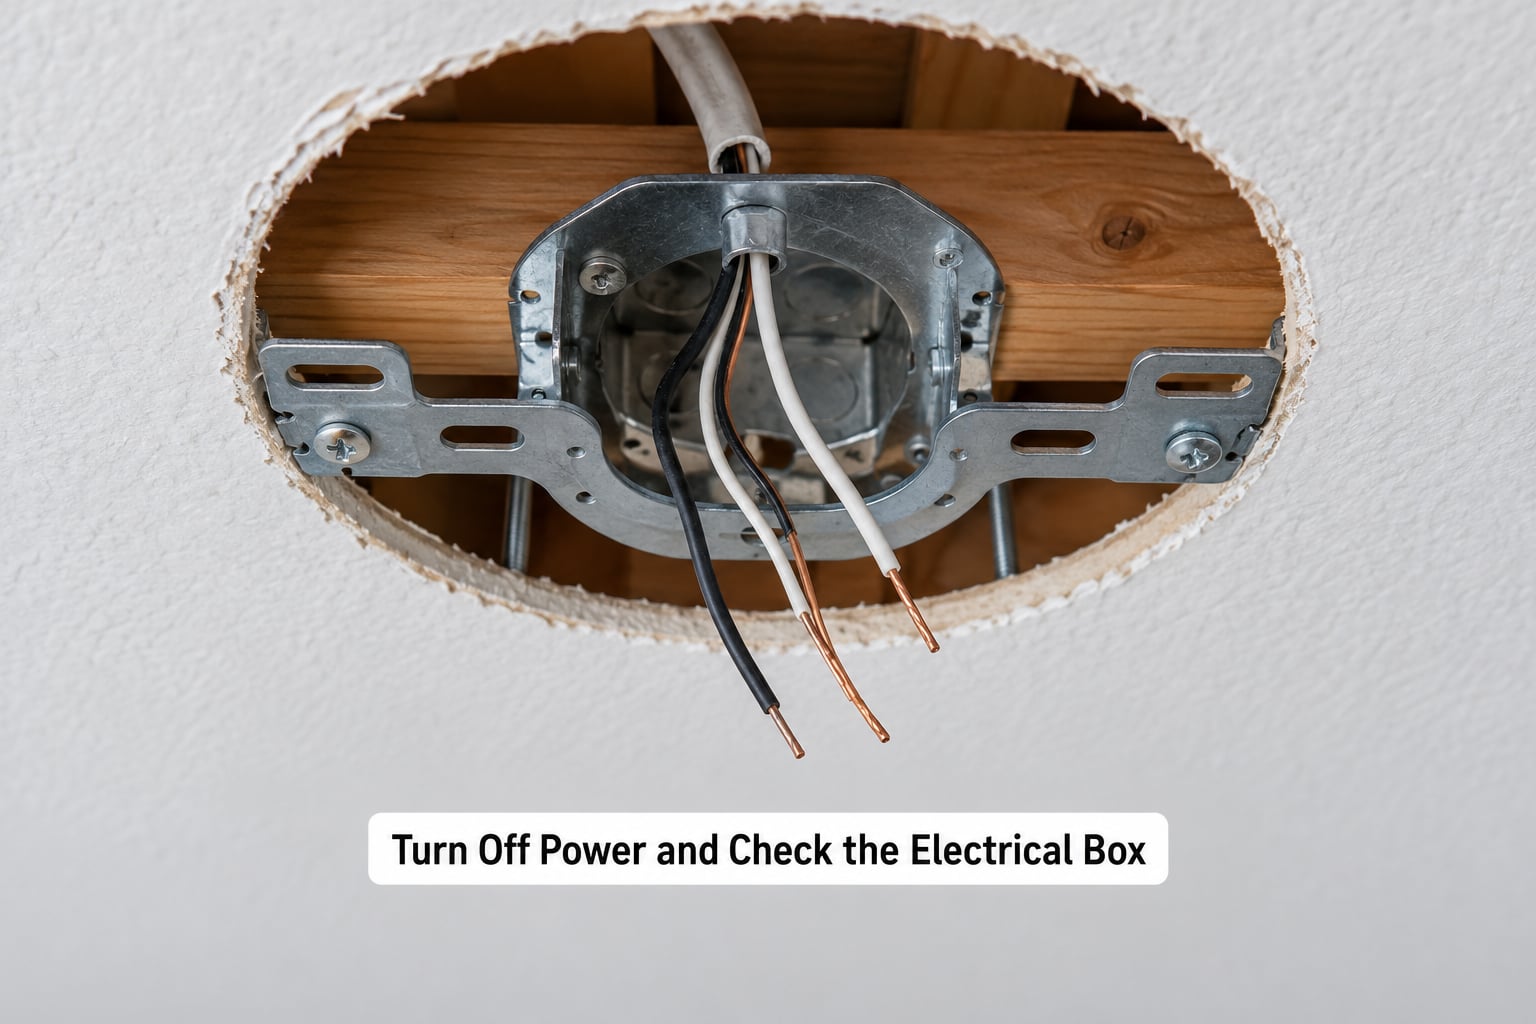
Kill the breaker, not the wall switch, and confirm the circuit is dead with two tests. Flip the breaker off at the panel, then use a noncontact voltage tester near the wires and a two-pole tester directly on the conductors until neither shows a reading. A wall switch only interrupts one side of a line, so a fixture wired through it can stay completely live with the switch in the off position.
Next, examine the box itself. It has to be securely fastened to a ceiling joist or brace, with screws going into solid wood rather than into drywall or a nail plate that has pulled loose. Then find the weight marking stamped on the metal, usually on the side of the box. A fan-rated box for a typical residential fan is commonly marked 50 pounds or 70 pounds.
If the box is plastic, cracked, sagging, or marked for a light fixture only, stop. Plastic boxes in older homes are the single most common problem on this project, and replacing one means opening the ceiling, so that is electrician work in most cases. A loose or overloaded box is never something to work around with extra screws or a second brace.
The check: the box does not move when you push it, the wood behind it is sound, and the weight marking covers your fan. Anything else means the next step starts with an electrician.
2. Identify and Prepare the Wires
Photograph the wiring before you touch a single conductor, then identify each wire by function rather than by color alone. In a standard North American install you will find a hot or line conductor, usually black; a neutral, usually white; a ground, green or bare copper; and sometimes a second hot or line lead for the light, which is commonly blue or black with a white stripe.
Support the wires so nothing pulls on the box while you work, and never let them hang by the connector alone. If the home has old cloth-sheathed wiring, oxidized copper, or no ground conductor at all, stop and call an electrician. Modern code requires a grounding conductor, and there is no safe way to improvise one.
Cap every conductor you do not use individually with its own listed cap. Two unused hots sharing one cap is a fault waiting to show up later, and it is the sort of thing an inspector will flag. Never leave a bare copper ground hanging loose, and never wrap tape around a wire as a substitute for a connector.
The check: you can say out loud which wire is which, and every wire that is not in use is capped on its own.
3. Install the Mounting Bracket and Fan Motor
Attach the manufacturer-supplied bracket to the electrical box with the screws provided, tightening them firmly but not aggressively. The bracket has to sit flat and level against the box, because a bracket at an angle leaves the motor housing hanging crooked. Then fit the motor to the bracket in whatever way the model specifies, using the hardware that came with the fan rather than substitutes from your toolbox.
For a downrod model, feed the downrod and its wiring through the canopy before attaching the rod to the motor, and secure the connection with the clevis pin and cotter pin the manual calls for. Some fans use a threaded rod and jam nut instead. If the pin hole and the rod hole do not line up, do not force the pin or swap in a screw; something upstream is not seated correctly.
On the way up, keep an eye on the wires. Nothing should be pinched between the bracket and the canopy, and no conductor should be squeezed against a screw head. A pinched wire inside a canopy is invisible until it fails months later.
The check: the motor housing hangs level, the bracket is flush, and you can see clear daylight around the wiring path where you closed the canopy.
4. Connect the Fan and Control Wires
Wire ground first, then neutral, then the hots, and use listed connectors sized for the conductors. The ground from the supply joins the fan’s ground under a single connector, and this connection is not optional. Neutral from the supply connects to the fan’s neutral. Then the hots: supply hot to fan hot on the supply side of the control, and fan hot on the fan side of the control to the other run, which is what gives a wall switch its on and off.
If the fan has a light, the light’s blue or striped lead connects to the remaining hot run or the light wire, depending on whether your setup uses one switch or two. A remote receiver sits in the same position as a wall control in the circuit: supply hot into the receiver, receiver output to the fan motor, and the light lead to the light. Follow the diagram that came with the receiver, since terminal labels vary by brand.
The control has to match the fan. A fan built for a remote kit should not be wired straight to a wall switch, and a dual-switch setup needs a fan that supports separate light and motor speeds. A pull-chain fan with no light uses a dummy or no-light cap on the unused lead. Tug each connector gently after tightening it; none should move or pull free.
The check: every wire is inside a connector, no copper strands are visible outside one, and each conductor you did not use is capped on its own.
5. Fit the Canopy and Attach the Blades
Tuck the wiring neatly into the canopy so nothing binds, then raise the canopy to the bracket and tighten it gradually, checking from several angles as you go. The goal is snug, not crushed: overtightening can pinch the conductors, and a canopy that tilts leaves a visible gap at the ceiling. Many models use a quarter-turn or half-turn lock instead of screws, so follow the manual.
Attach the blades with exactly the screws and washers specified. Three methods show up in most homes: screw-on blades that bolt to blade irons, mid-body blades that fasten directly to the motor housing, and snap-on blades pressed onto a stamped arm. Whatever the method, every blade must go on the same way and be tightened to the same feel, and a washer under each screw head matters more than people expect.
Set the blades at matching angles by counting positions around the fan, then eyeball the gap from the floor. Blades need clearance from walls, ceiling, and any tall furniture or headboard below. Check the fan from directly underneath and from the doorway; a blade set at a slight angle is far easier to spot from across the room than from underneath.
The check: hold a straightedge or a level across opposite blades at eye level, and the clearances look even all the way around.
6. Balance, Reassemble, and Test the Fan
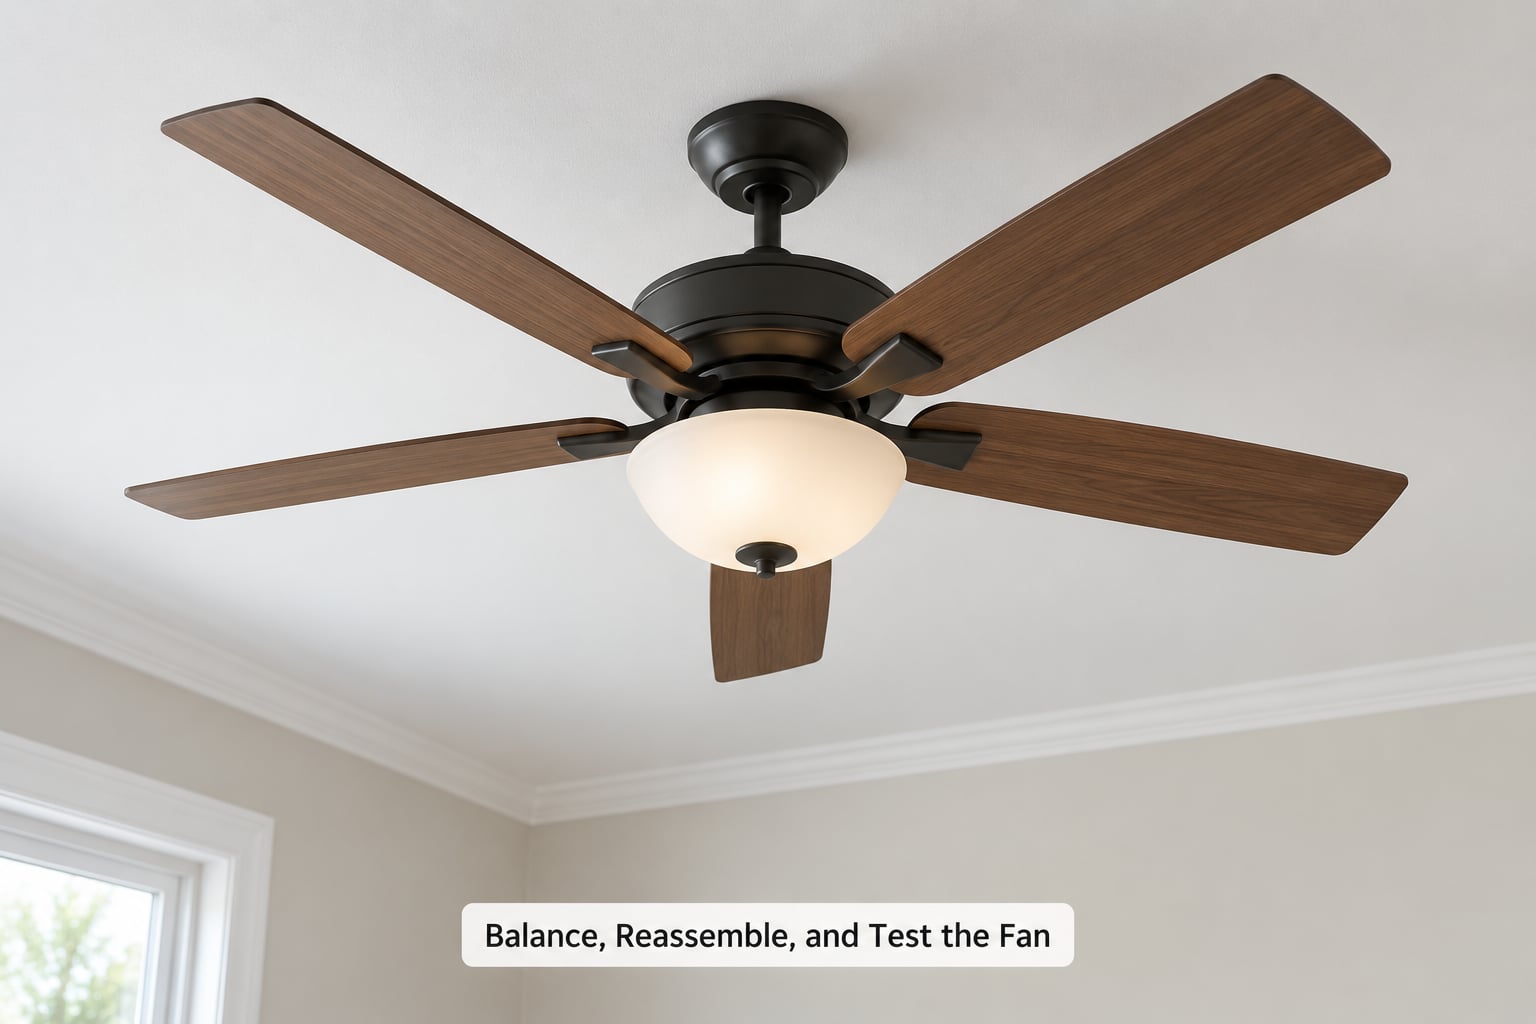
Install the light kit before the final reassembly, since it is usually easier to reach with the blades off. Quick-connect kits push onto a plug on the motor housing, and a standard kit wires like a small fixture with its own hot and neutral. A fan sold without a light takes a decorative no-light cap instead of a kit.
Run the fan on the lowest speed with the blades installed and watch for movement. If it wobbles, tighten every blade screw first, then check that the blades are seated at identical angles. If wobble remains, use the balancing kit that ships with the fan: hang the supplied weights on a blade, move along that blade until the wobble lessens, then transfer that position to the matching blade across the fan. Repeat until the movement disappears. Forum regulars call the improvisation version of this the sock trick: a small weighted sock slid onto each blade in turn to find the heavy one, which works well enough to locate the problem.
Restore power at the breaker and test in this order: light alone, lowest speed, each higher speed, then the reverse switch. Most reversible motors run counterclockwise for summer, when you push air down to cool the room, and clockwise for winter, when you pull the ceiling’s trapped heat up and push it toward the walls. A fan that hums, buzzes, or shakes only at certain speeds is telling you something mechanical; stop using it and find the cause.
The check: every speed runs smoothly, the light works, the reverse switch changes direction, and there is no hum, rattle, or visible wobble at any speed.
Common Mistakes to Avoid
Almost every ceiling fan problem traces back to one of these, and each one has a straightforward fix. Work through the list before your install, not after it goes wrong.
- Trusting the wall switch. The fix: always kill the breaker and confirm dead power with a tester. Switched outlets can carry live current downstream.
- Mounting into a box that is not fan rated. The fix: replace it with a fan-rated box, or have an electrician do it when the ceiling must be opened.
- Fastening the box to drywall instead of a joist. The fix: anchor into solid wood or add a support brace between joists, then re-verify the box is solid.
- Mixing up hot and neutral. The fix: re-read the manual wiring diagram, restore power only after confirming every conductor, and test that the control operates the fan rather than the light.
- Leaving the ground loose or skipped. The fix: land the supply ground and the fan ground under one listed connector, no exceptions.
- Crushing wiring under the canopy. The fix: coil the conductors into the canopy loosely and tighten the canopy in small, even turns.
- Overtightening blade screws or mixing blade styles. The fix: use the specified screws and washers, tighten each to the same feel, and fit blades at the same angle every time.
- Leaving unused wires bundled together. The fix: cap each unused conductor separately with its own listed cap.
- Using a control the fan does not support. The fix: match the control to the fan type, whether that is pull chain, dual switch, or remote receiver.
- Skipping blade balancing because the fan is brand new. The fix: test on low speed first and balance before you enjoy it on high.
Two situations are not beginner work, no matter how handy you are. The first is a box that is loose, plastic, or too small to replace without opening the finished ceiling. The second is wiring with no ground conductor, aluminium conductors, or cloth-sheathed cable. Both belong to a licensed electrician, along with any rerouted circuit, a new circuit, or a fan whose weight runs past the box rating.
Frequently Asked Questions
Can I install a ceiling fan myself?
Yes, most homeowners can install a ceiling fan in one to two hours if a fan-rated box is already in place. Swapping a light fixture for a fan is mostly brackets, blades, and four or five wire connections. Stop before wiring if the box is plastic, loose, or not stamped fan rated, or if the home has no ground wire. Those cases need an electrician.
What size electrical box does a ceiling fan need?
The box must be stamped fan rated and rated for the weight of your specific fan. Residential fan boxes are commonly marked 50 or 70 pounds, and heavier decorative models need more. A box listed only for a light fixture is not enough, and neither is a box that wobbles when you push it. Replace an undersized box before mounting anything.
Can a ceiling fan replace an existing light fixture?
Usually yes, since the box and supply wiring for a light fixture are what a fan needs anyway. The fan’s own bracket provides the extra support the box alone does not. Confirm the box is fan rated and that the circuit can carry the fan and its light together, since some circuits are already near their limit and will trip or dim when the fan starts.
How do I choose the right wall control for a ceiling fan?
Match the control to how the fan is wired and how you want to use it. A single switch gives on and off only. A dual switch runs the light on one and the motor speeds on the other, which requires a fan with separate light and motor leads. A remote receiver replaces the wall control and suits fans sold with a remote kit. Check the manual before ordering anything.
Why is my new ceiling fan wobbling?
Wobble usually means one blade is heavier than the others or a blade is seated at a different angle. Tighten every blade screw first, then confirm all blades sit at matching positions around the fan. If it still shakes, use the balancing kit that came with the fan and move the supplied weights along the offending blade until the movement settles, then repeat on the blade opposite.
When should I call an electrician instead of installing a ceiling fan?
Call an electrician when the box is not fan rated, is loose, or would have to be replaced through the finished ceiling. Also call for cloth-sheathed or old wiring with no ground conductor, for aluminium conductors, or when the circuit needs a new run. Knowing how to install a ceiling fan does not cover those situations, and guessing at them is how fixtures end up arcing.
Conclusion: Make the First Safety Check
Before anything else, confirm three things: the circuit is off and tested dead, the electrical box is solid and stamped for the weight of your fan, and the wiring matches the diagram in the fan’s manual. Take those three checks seriously and the rest of the install is mechanical work most homeowners finish in an afternoon.
If you are unsure about the box, the conductors, or whether the circuit can carry a fan and a light, stop and let a licensed electrician handle it. That uncertainty is the one part of this job that guessing does not fix.