If you are wondering how to document home improvements for resale, the answer is simpler than most people expect: one organized record of every project you finished, covering what changed, when, who did it, what it cost, which permits and inspections cleared it, and which warranties still cover it. Buyers ask for that detail during showings, appraisers use it to justify value, and your own tax return depends on it years later.
The honest version: good records do not add money to an offer by themselves. They answer questions fast, remove doubt, and make a well-built house readable to someone who has never seen it. That is usually worth several thousand dollars in negotiations, and it takes an afternoon to set up if you start with a list.
Here is the system I would build, whether you finished your work last month or twenty years ago.
Table of Contents
- What You Need
- Step-by-Step: How to Document Home Improvements for Resale
- 1. Create a master list of every completed project
- 2. Collect invoices, permits, and warranties
- 3. Record materials, models, and installation details
- 4. Take clear before-and-after photos
- 5. Document maintenance and follow-up work
- 6. Organize the records in a buyer-friendly portfolio
- 7. Back up and review the record before listing
- Common Mistakes in Home Improvement Records
- Frequently Asked Questions
- Do buyers actually want to see home improvement records?
- Should I document improvements that were done without permits?
- How do I prove the cost of a home improvement?
- What should be in before-and-after photos?
- How long should I keep home improvement records?
- Can improvement records help during a home inspection?
- Conclusion
What You Need
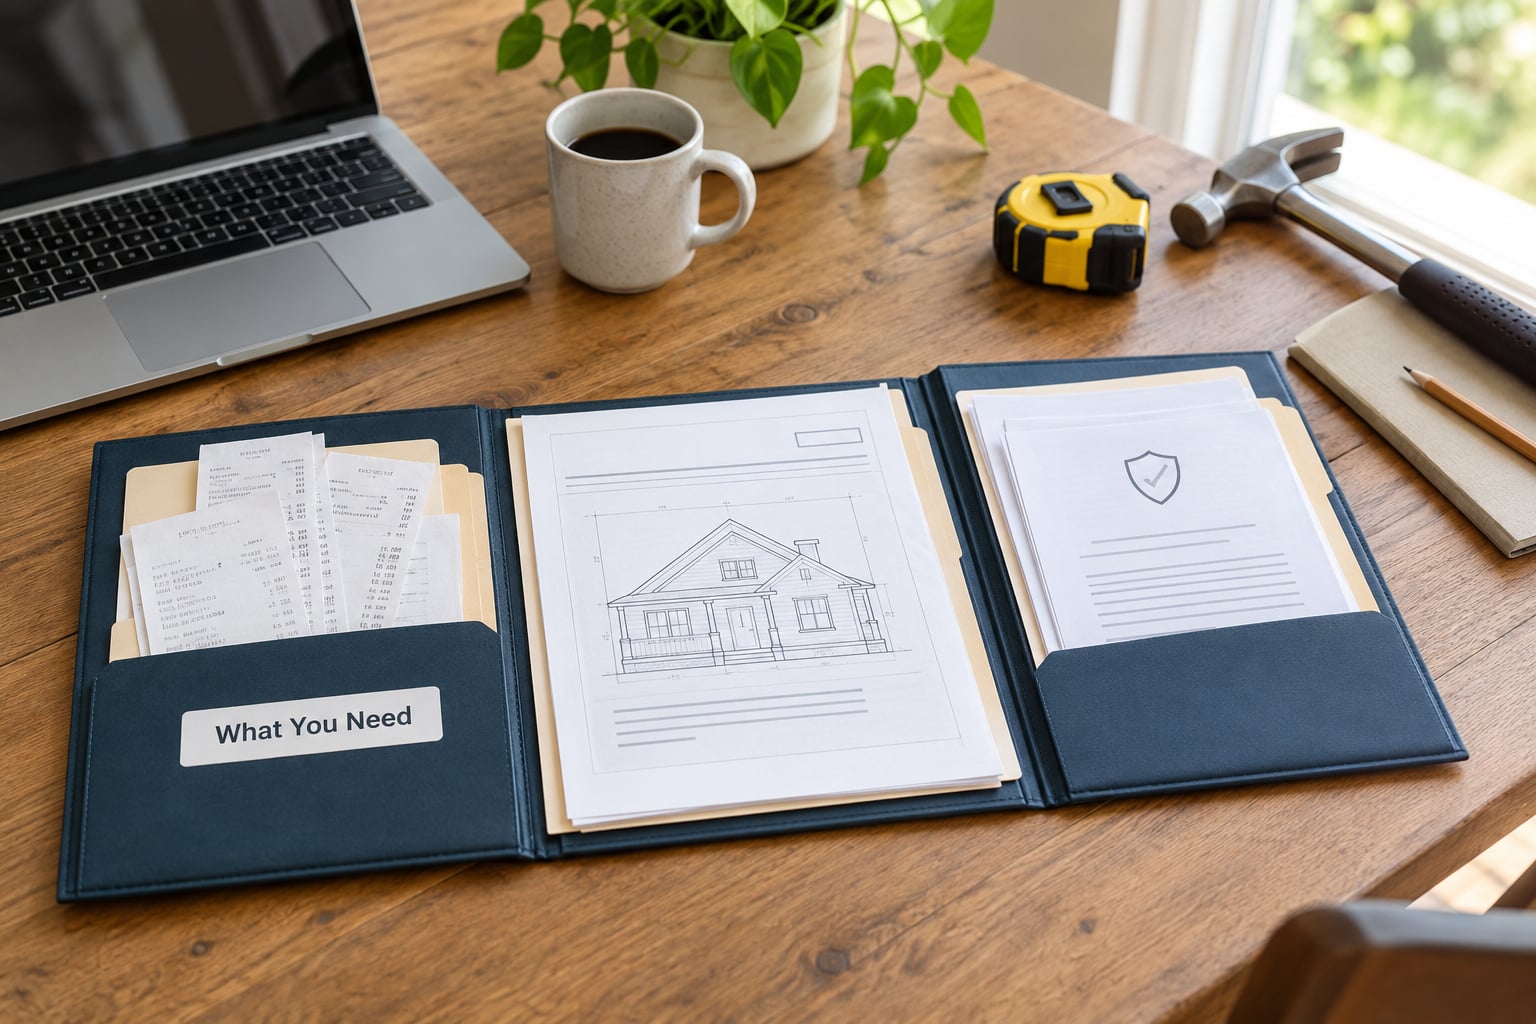
Gather these before you start typing. The list is short and most of it already exists somewhere in your email, your filing cabinet, or your county’s public database.
- A master log — a spreadsheet or note file with one row per project. Columns matter more than software.
- Invoices and contracts — the final invoice, the signed scope of work, and any change orders.
- Permit and inspection records — the permit number, the date it was issued, and proof of final approval.
- Warranty documents — manufacturer warranties, labor warranties from the contractor, and certificate numbers.
- Model and serial numbers — for appliances, HVAC equipment, water heaters, smart devices, and plumbing fixtures.
- Photographs — before, during, and after, including work that is now hidden.
- Your property address and parcel number — needed for every permit lookup and public record request.
- Manuals and spec sheets — the product specifications a future buyer or repair tech will ask for.
- A cloud folder — Google Drive, Dropbox, or iCloud, with a matching offline copy.
Have your phone camera roll and a scanner app ready too. A laptop is optional; a phone is not.
Step-by-Step: How to Document Home Improvements for Resale
1. Create a master list of every completed project
Start with a chronological list, oldest first. One row per project, with these columns: date completed, room or area, what was done, contractor or crew, total cost, permit number and status, warranty and expiration, where the file lives, and notes.
A filled row for a kitchen countertop job looks like this: March 2024, kitchen, quartz counters installed over existing cabinets, contractor included in the cabinet refit, two invoices that itemize the slabs and labor, no permit required for a countertop replacement, five-year workmanship warranty from the installer, filed under Kitchen/2024-Counter, with before photos of the laminate top and a close-up of the new seam. Write it once, and every later question about that project has an answer already.
Skip nothing. A list of only the impressive projects leaves the buyer wondering what else happened in this house. Listing the 2009 dryer replacement alongside the 2023 roof tells a clearer story than either one alone.
2. Collect invoices, permits, and warranties
Pull three document types for each project, and make sure the details stay legible in the scan: the vendor name, the date, the line items, the total, and the payment method.
Permits are the piece sellers most often half-have. Find the original permit and, separately, the final inspection approval or closed permit record. A permit alone proves someone applied; the final approval proves a reviewer signed off. Both together answer the question an inspector will ask.
Requesting a missing record is easy. Email or call your building department and ask for the permit history by address and parcel number, which usually covers the last several decades. Ask the contractor too — a company that is still trading will usually email copies of the invoice and warranty registration without fuss. If the contractor is gone, the county record and your bank or credit card statements often fill the gap.
Keep the warranty paperwork that a buyer can actually use. Manufacturer warranties on equipment usually transfer by serial number; workmanship warranties from a contractor may or may not. Say which is which rather than leaving the buyer to guess.
3. Record materials, models, and installation details
Write down what went into the house in language a buyer can use later: paint brand, color, and formula code, flooring material and wear layer thickness, insulation R-value, window glass type, shingle composition, tile type, grout type, and the efficiency rating on any new HVAC equipment.
Serial numbers matter more than people expect. Put a photo of the data plate inside the appliance door frame, next to the serial number and purchase date. When a buyer asks whether the furnace was replaced, or an insurer asks about equipment age, one photo ends the conversation.
Save the manufacturer’s instructions with the project rather than in a general downloads pile. Warranty claims are usually faster when the manual and the purchase date are in the same folder as the serial number.
4. Take clear before-and-after photos
Use a repeatable method so the set reads as proof, not decoration. Shoot the full room from the same corner before and after, then move closer to the work itself, then capture craftsmanship details like a seam, a flashing joint, or a clean paint line.
The critical photos are the ones you take while walls are open. Photograph framing, wiring, plumbing rough-in, insulation, and underlayment before anything covers them. Nobody can prove concealed work after the fact, so those frames are the only evidence that exists.
Name files consistently: 2024-03-kitchen-counter-BEFORE.jpg and 2024-03-kitchen-counter-AFTER.jpg. Write a one-line caption for each set describing the project, the date, and the view. Photos without labels lose their meaning in about two years, including yours.
5. Document maintenance and follow-up work
Maintenance belongs in the same log, not in a separate file you will lose. Add rows for furnace filter changes, water heater flushes, sealant checks on counters and tubs, roof inspections after storms, dryer vent cleaning, and any repair.
The pattern that gets a buyer’s attention is consistency. Twelve entries over four years read differently from one hand-scrawled note from 2019. If your HVAC contractor came out annually, list each visit with the date and what they did.
Note anything you replaced rather than repaired. Replacing a 15-year-old water heater is a capital improvement; replacing its thermostat is maintenance. Keeping the two distinct in your log makes the whole record easier to hand to an accountant later.
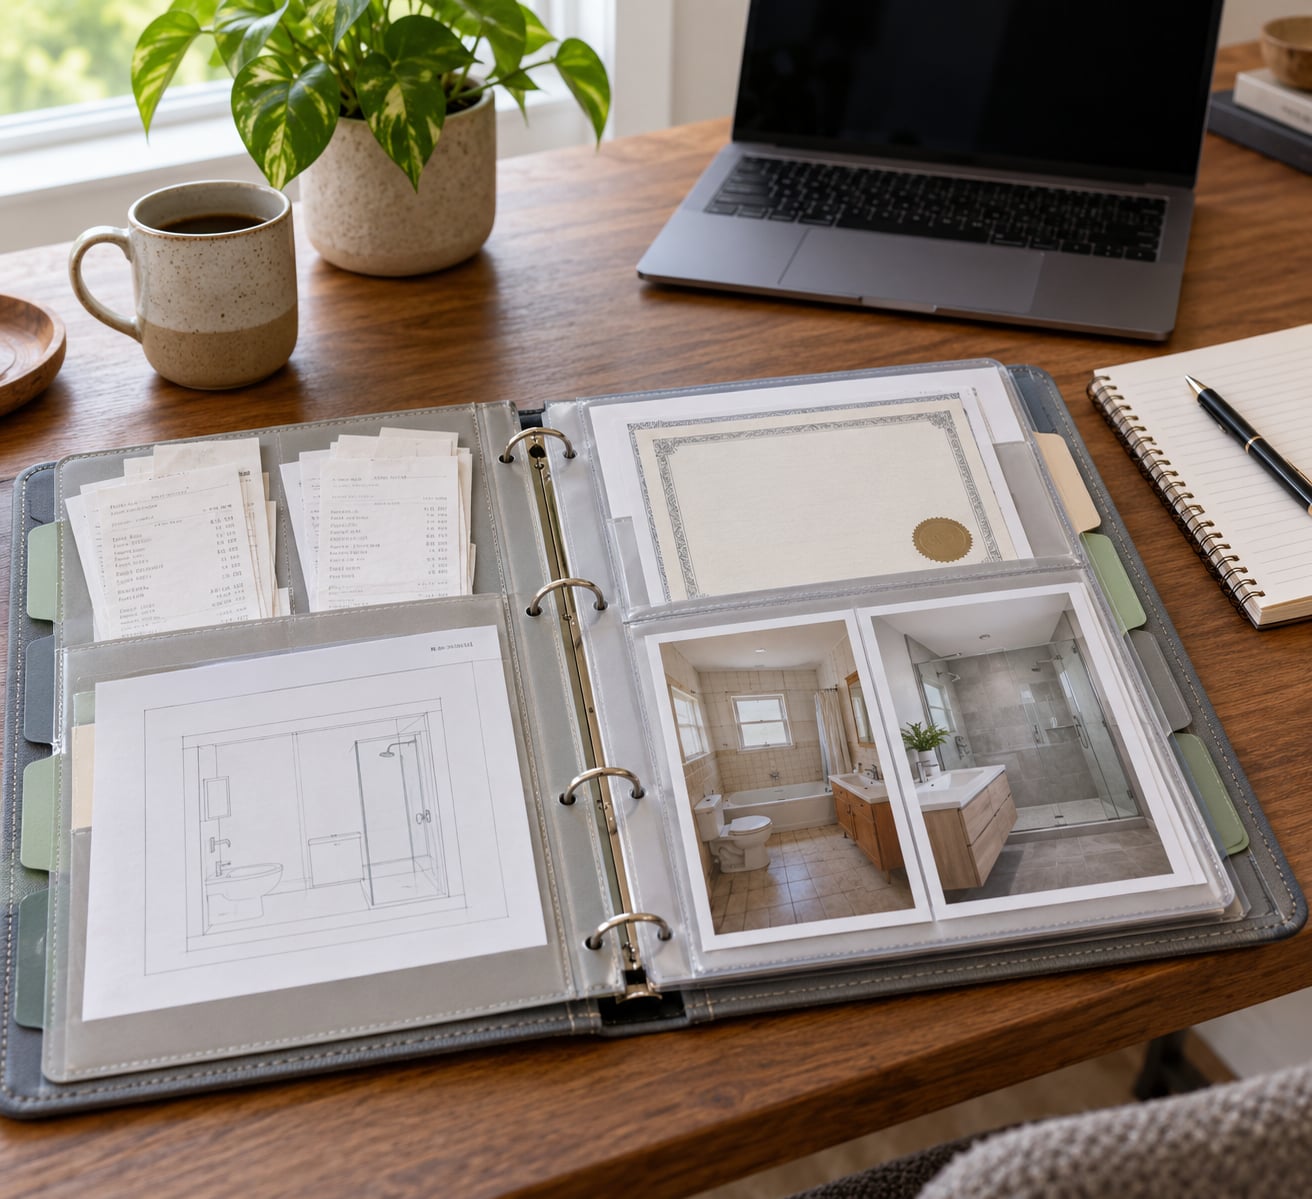
6. Organize the records in a buyer-friendly portfolio
Use one digital folder per project, named by year and room, with a fixed set of sub-files inside each one: 01-permit, 02-invoice, 03-warranty, 04-photos, 05-manual. That simple pattern means anyone opening a project folder knows exactly where to look.
Keep the master chronological log at the top level as the index. It should be readable without opening anything else, because it is what a buyer or their agent sees first.
Print a single-page summary as a backup. A dated summary of major systems, with the age, warranty status, and permit number for each, sits well at a showing and answers the usual three questions in one sheet.
7. Back up and review the record before listing
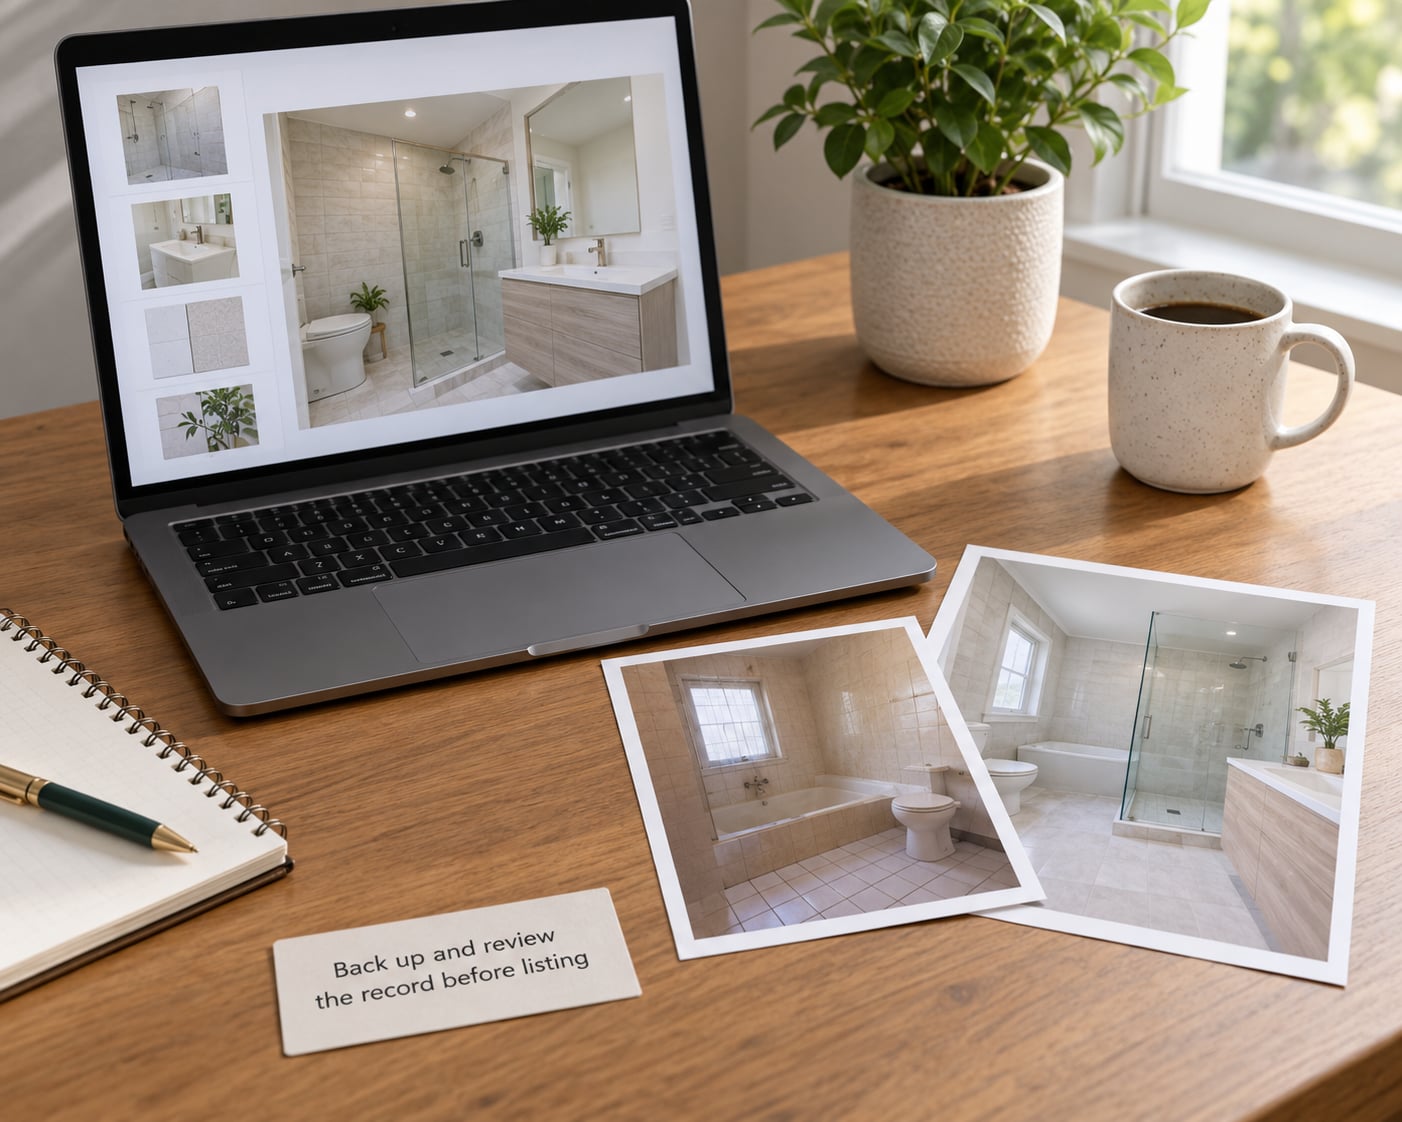
Store everything in a cloud folder and keep one offline copy on an external drive. Then follow these three checks:
- Privacy. Remove documents with account numbers, full payment details, or personal contact details you would not hand a stranger.
- Legibility. Open ten random scans. If a total or a date is unreadable, rescan that page.
- Accuracy. Reconcile every cost total against your own records and flag anything you cannot verify instead of estimating it.
Decide what you disclose. If work was done without a permit, do not hide it and do not overstate it. Say plainly what was installed, when, and by whom, and let the buyer’s inspector and the disclosure form do their job.
Finally, decide how buyers receive the record. Offer a shared link or a flash drive that transfers at closing rather than a hundred emailed attachments. You can remove the link afterward once everything is recorded.
Common Mistakes in Home Improvement Records
Most home improvement records fail in the same six ways, and each one has a simple correction.
- Missing or open permits. Buyers and appraisers read an open permit as unfinished work. Correction: request the permit history by address, find the final approval or closed permit, and disclose anything that is still open rather than hoping nobody asks.
- Costs you cannot verify. A guessed total undermines every other number in the log. Correction: mark unverified figures as estimates in a separate column, or leave them out.
- Vague photo names. Files called IMG_4471 prove nothing three years later. Correction: use date, room, and BEFORE or AFTER in every file name.
- Receipts scattered across email, texts, and shoeboxes. Correction: one folder per project, even while the project is still open, not after it closes.
- Expired warranties presented as current. Correction: record the expiration date and check it before you list, so the summary sheet is accurate.
- Overstating the workmanship. A homeowner describing their own work as flawless creates a conflict the first inspection reveals. Correction: describe what was installed and let the inspector judge quality.
The last tip is simple: photograph the work the day it is finished, while the contractor is still on site and the details are worth capturing. Ten minutes now beats an argument with yourself later.
Frequently Asked Questions
Do buyers actually want to see home improvement records?
They ask for them most often when a system is invisible: the age of the roof, the furnace, the electrical panel, or the water heater. A dated log with permit numbers and warranty status turns a question that stalls an offer into a two-minute email. Buyers rarely ask for the full folder up front, but agents and inspectors do notice when one exists.
Should I document improvements that were done without permits?
Yes, but describe them honestly. Record what was installed, when, by whom, and note that no permit was pulled. Some cosmetic work never needed one, while electrical, plumbing, structural, and most mechanical work does. An appraiser or buyer’s inspector who finds unpermitted work later tends to price it as a risk, so disclosure protects you more than silence does.
How do I prove the cost of a home improvement?
An itemized contractor invoice is the strongest evidence, especially when it matches the payment record. A canceled check or card statement confirms the amount and the date but rarely shows what was bought. Quoted estimates, deposit receipts, and change orders help fill gaps. Keep all of it together in the project folder so the total can be rebuilt line by line.
What should be in before-and-after photos?
Four kinds of shots work well: a wide view of the whole space from the same angle, a mid-range view of the finished work, close-ups of joints and edges, and photos of anything that was open or concealed before the build closed. Date every set and add one caption line naming the project and the view. Labeled sets stay meaningful; unlabeled ones do not.
How long should I keep home improvement records?
Keep permit records and final approvals for as long as you own the house, since questions can surface long after a sale. Warranties matter for their term, and keeping them a year past expiration costs nothing. Receipts and invoices should stay with your tax records, generally at least three years and often longer if you itemize. Digitize anything on paper and store two copies.
Can improvement records help during a home inspection?
They can, indirectly. An inspector does not grade your filing system, but a permit number, a final approval, and dated photos of concealed work answer the same questions faster and with fewer surprises. If documentation points to a past repair, bring the follow-up invoice showing it was addressed. That turns a flagged item into a closed one.
One last note on the tax side, because it comes up often. Improvements that add value or extend the life of the property are generally added to your adjusted cost basis, while ordinary repairs and maintenance are not. Rules vary by country and state and change over time, so confirm your own situation with a tax professional rather than relying on a general guide.
Conclusion
Start this week, not when you list. Open a spreadsheet, write one row for every project you can remember in date order, and let the list tell you what is missing.
Then gather the supporting records — invoices, permit and final approval documents, warranties, model and serial numbers, and photos of anything now hidden — and file each one into a single digital folder with a predictable structure.
That is the whole job. An afternoon of setup gives you a record that answers buyer questions during the showing, supports an accurate listing description, and stands ready if you ever need it for an insurance claim or your tax return.