To measure for an appliance before buying, record five numbers: the width, height and depth of the opening, the clearance the unit needs around it, and the narrowest point of the delivery path from the truck. Measure each dimension in three places and use the smallest, because openings are almost never square. Twenty minutes with a tape measure saves a return trip, a restocking fee, or a fridge sticking six inches into your walkway.
Table of Contents
- What You Need
- Step-by-Step: How to Measure for an Appliance Before Buying
- Step 1: Identify the Exact Replacement
- Step 2: Measure the Opening at Three Points
- Step 3: Add Required Installation Clearances
- Step 4: Measure Doors, Hallways, Stairs, and Turns
- Step 5: Compare Your Measurements Before Ordering
- Common Mistakes
- Frequently Asked Questions
- How much wider should an appliance opening be than the appliance?
- Should I measure the appliance itself or the space?
- Do I need to measure the delivery path for a large appliance?
- Can an appliance fit if the opening is slightly smaller than its dimensions?
- Do appliance dimensions include the door and handle?
- Conclusion
What You Need
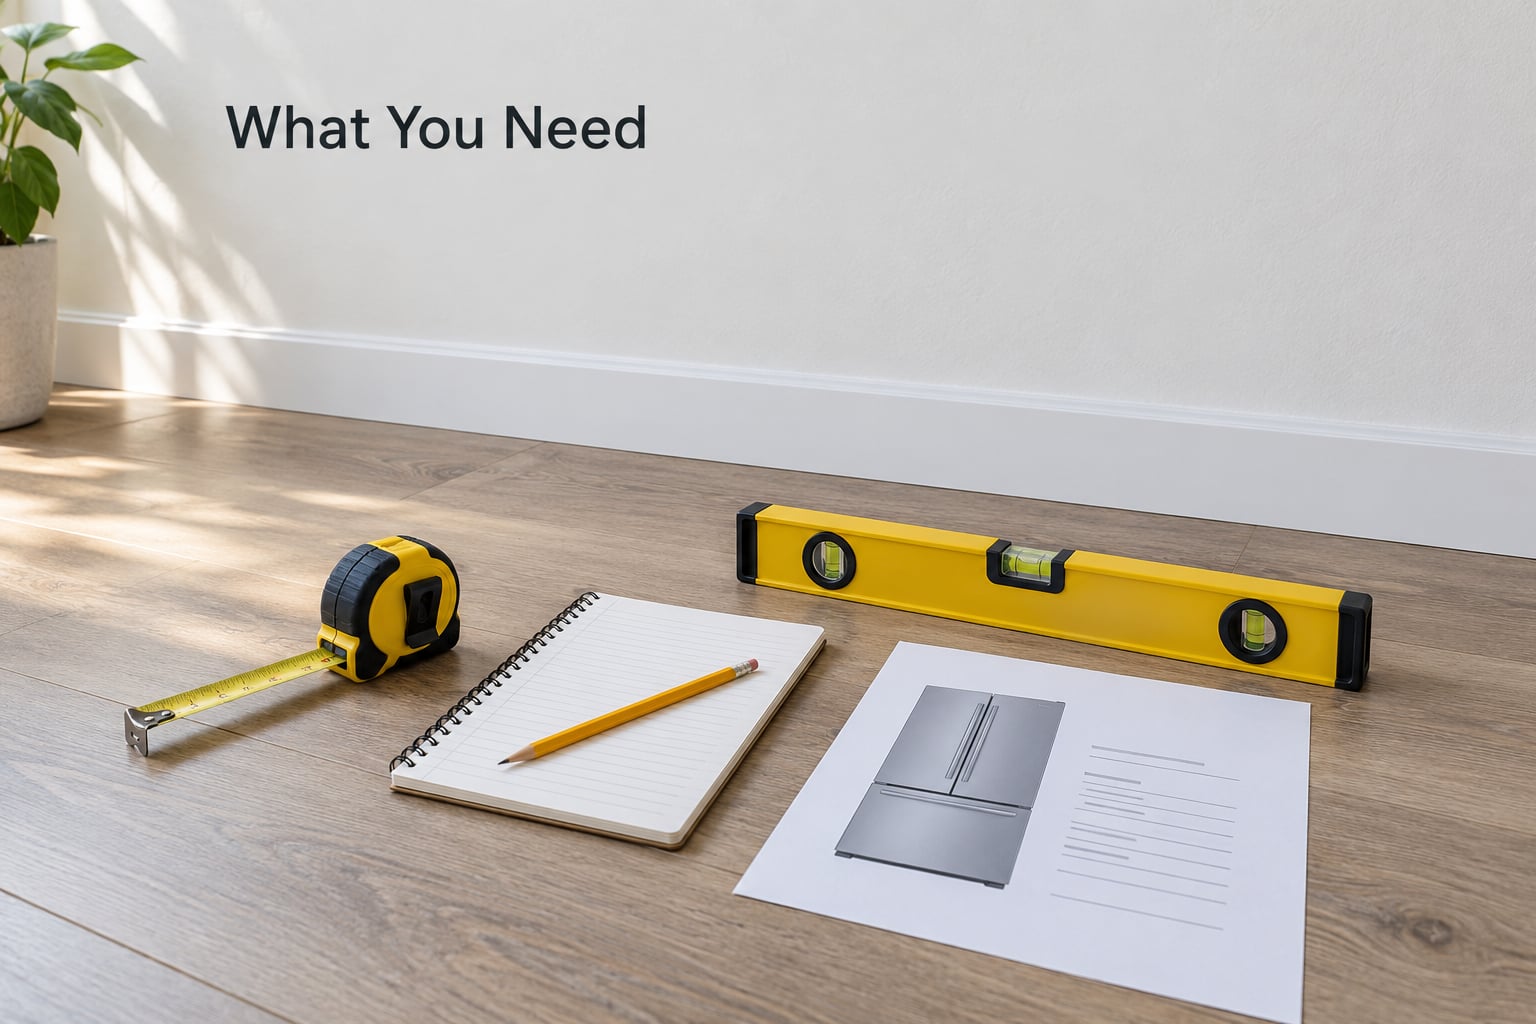
The tools are cheap and the list is short. The one item that actually matters is a tape measure at least 25 feet long, so you can span a room in one pull instead of splicing segments together. A 25-foot tape also has a hook that holds to a wall or cabinet face so you can read a depth alone.
A notepad or your phone’s notes app holds the numbers where you can find them six weeks later when the model you want goes on sale. Your phone camera takes the photo that proves the opening was really 34 3/8 inches, not 35.
- A tape measure, 25 feet or longer
- A notepad or phone for recording every figure immediately
- A small level, to check whether cabinets are plumb
- Painter’s tape, to mark the opening corners on the floor and wall
- A helper, for holding a tape across a wide opening or holding a refrigerator door open
- The spec sheet for the exact model, if one is already in the house
Painter’s tape earns its place in about a minute. Mark the four corners of the opening, then step back and look at the outline. A lot of openings look square from standing position and are visibly out of square from across the room, and that outline tells you which corners to re-measure.
Step-by-Step: How to Measure for an Appliance Before Buying
Step 1: Identify the Exact Replacement
Start by naming the model, not the category. A 30-inch range with a slide-in front and a 30-inch range that sits in a cabinet opening with a raised toe kick are different appliances with different installation requirements, and both are sold as 30-inch.
Then pull the installation dimensions from the manufacturer’s specification page, not the marketing page. You want three sets of numbers: listed product dimensions, installation dimensions including required clearance, and shipping box dimensions. Keep all three on the same page in your notes.
Two things trip people up here. Brands add an inch or so to the same nominal size, so a 36-inch opening that fits one manufacturer’s French door will not necessarily fit another’s. And the front plastic on a new refrigerator can sit taller than the listed body height by about an eighth of an inch, which is why people who measured the old unit exactly and ordered the identical model still ended up with a mismatch.
Step 2: Measure the Opening at Three Points
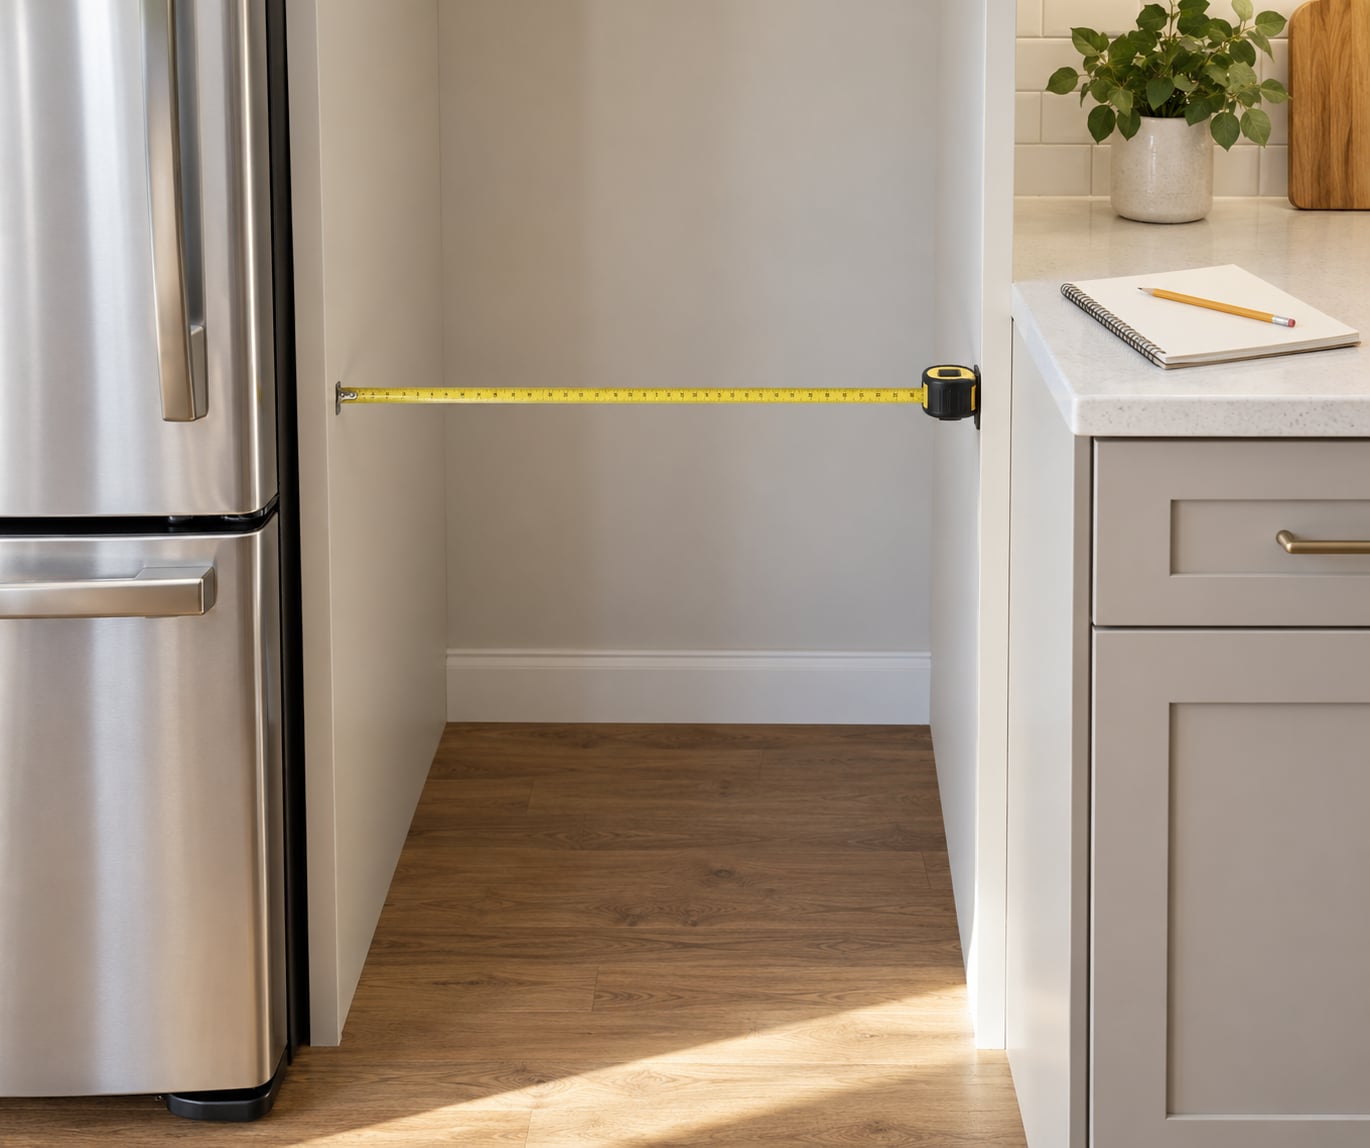
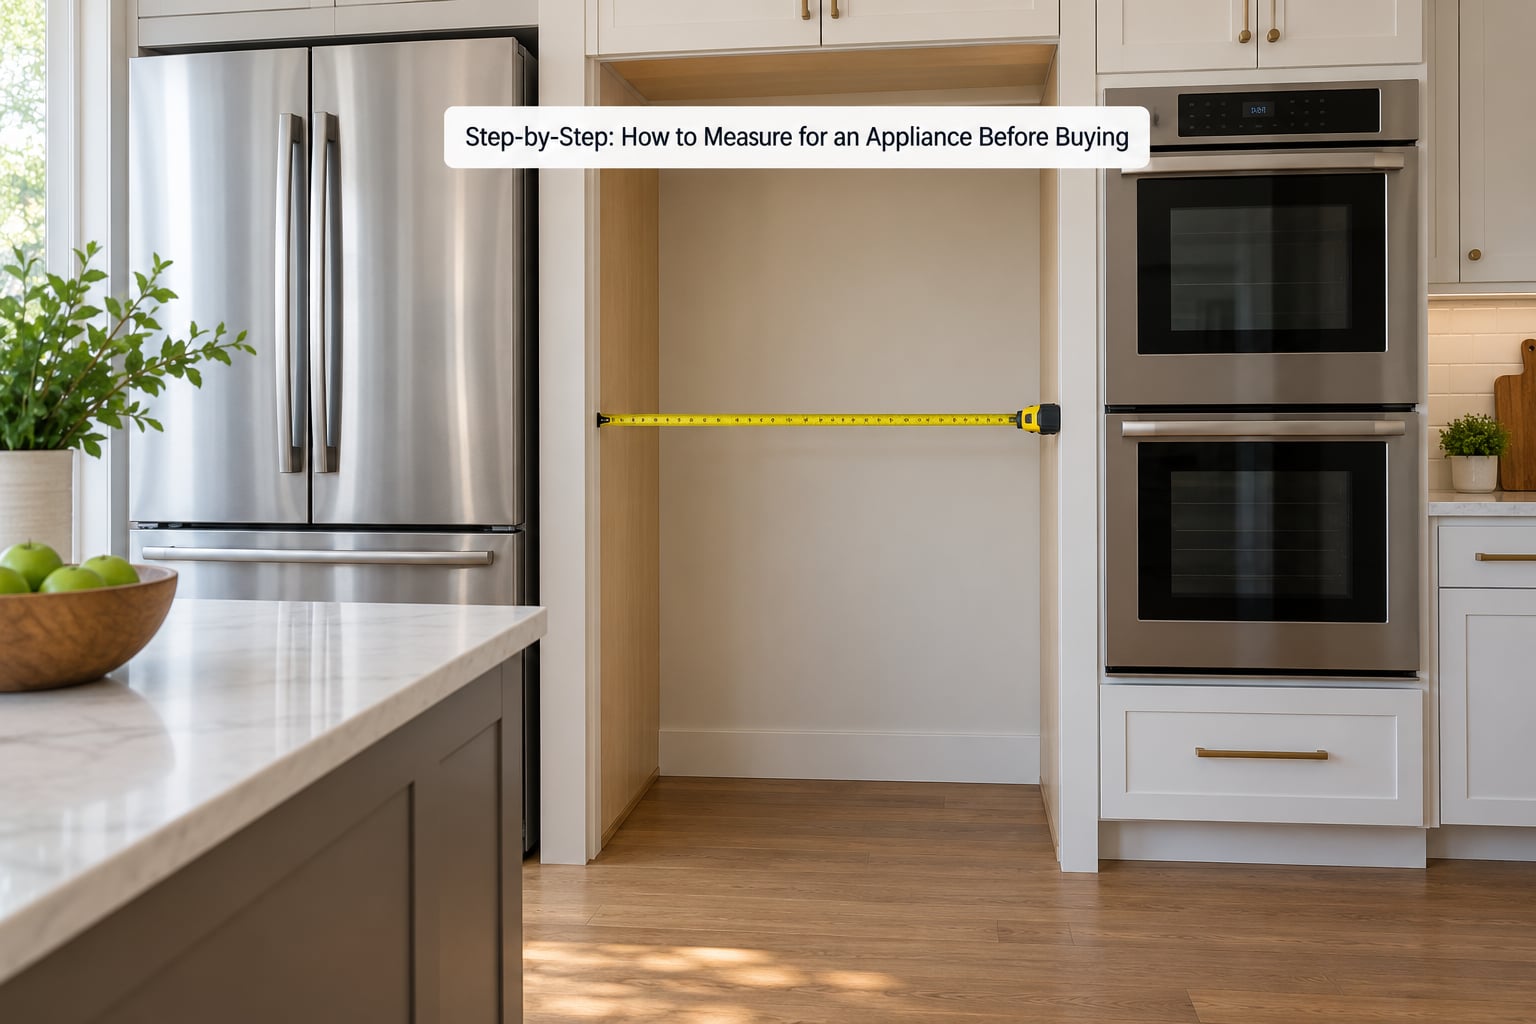
Measure width at the top, the middle and the bottom of the opening, then use the narrowest of the three. Walls bow, cabinets are not always square front to back, and trim narrows the gap at the top.
Measure height in two places: from the finished floor to the underside of the upper cabinet or soffit at the front of the opening, and the same measurement at the back. Use the smaller one. If the floor is uneven, check the height at both corners of the opening as well.
Measure depth from the back wall to the front face of the cabinets above or beside the opening. This is the number people forget, and it is the one that decides whether the appliance ends up flush with the counter or jutting into the room. Homeowners on appliance forums describe the same outcome repeatedly: a fridge that fits every published spec and still ends up sticking six inches past the cabinet line because nobody measured back to front.
Subtract anything that intrudes on the opening. Baseboards, crown molding, wood panels and electrical outlets all eat into usable space, and a baseboard that meets the opening at an angle can cost you an inch on one side only. Measure the opening again at floor level, right where the baseboard sits.
Step 3: Add Required Installation Clearances
Your usable space is the opening minus the clearance the appliance needs. On most units the clearances are small, but they exist for a reason: airflow around a condenser coil, room for a hinge to swing, and enough slack to level and align the cabinet.
| Appliance | Each side | Above | Behind | Why it matters |
|---|---|---|---|---|
| Freestanding refrigerator | 1/4 in | 1/2 to 1 in | 1 to 2 in | Side slack keeps the doors from binding and the gasket from rubbing; rear space is airflow for the condenser |
| Gas range | 0 in with a rear anti-tip or securing bracket | 30 to 36 in to a hood underside | Manufacturer-specified setback from the wall | Gas code and the install manual set the rear clearance; hood height is measured from the cooking surface |
| Dishwasher | Flush mount: opening within 1/8 in of the stated cutout | No top clearance needed under a counter | Allow for the door and racks to open about 21 in, plus the water line and drain | A proud unit sits proud of the cabinet face instead of aligning with it |
| Wall oven | 0 in, it fills the cutout | Manufacturer-specified gap at the top for a plug or gas line | Room for the electrical box or gas flex | Cutout dimensions are exact; too large a cutout means a gap around the door |
| Electric dryer | 1 in of clearance each side in a closet | Dryer rack or shelf clearance above | 4 to 6 in | Rear space is for the vent duct and hose bend radius |
| Front-load washer | 1 in each side in a closet | Room for hoses and the lid to open | 4 to 6 in for hoses and the standpipe | Hoses bend; side slack keeps the machine off the cabinet face |
| Chest freezer | 2 to 3 in each side and above | 2 to 3 in | 3 in or more | Heat has to escape on every side or the compressor runs constantly |
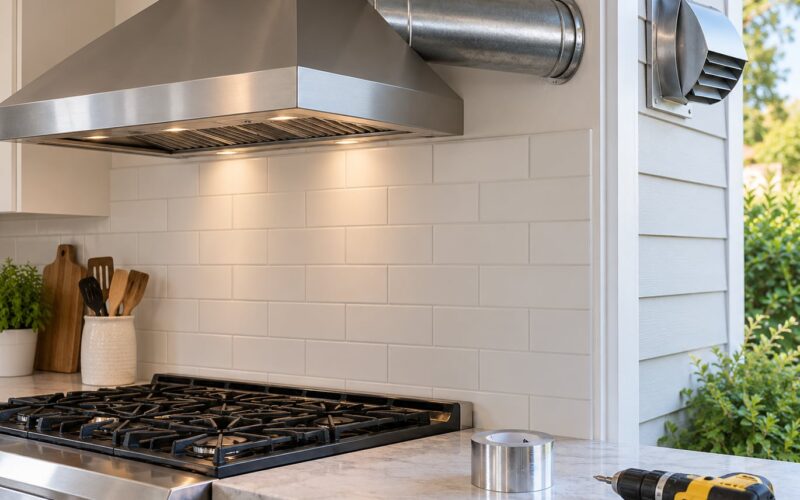
| Range hood | Matches the cooktop width | 30 to 36 in above the cooking surface | Follows the duct route | Measure to where the flue begins, not to the top of a decorative cover |
Check two more things that are not clearances but decide whether the appliance works at all. A refrigerator needs its door to swing about 90 degrees without hitting a wall, pantry door or island, and a French door or side-by-side needs extra space for the doors to open past 90 degrees and for the drawers to come out. An over-the-range microwave needs the same upper-cabinet clearance as a hood, and its depth has to clear the cooktop’s rear edge and the cabinets above.
Step 4: Measure Doors, Hallways, Stairs, and Turns
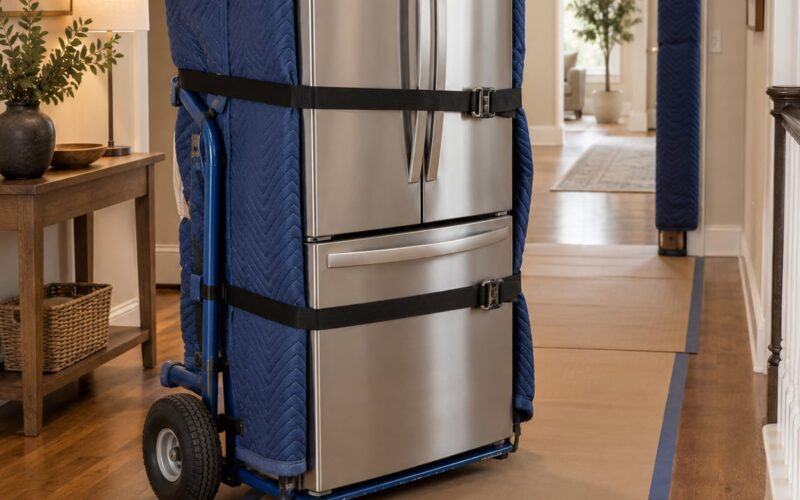
An appliance that fits the opening can still fail to reach it. Walk the path from the delivery vehicle to the install location and record the narrowest width at every stage: the front door, any interior door, each hallway, each stair turn, and the elevator or stairwell if you are not on the ground floor.
Pay attention to door thickness. A door open to 90 degrees needs more usable width than the nominal jamb-to-jamb figure suggests, and a door that opens to 95 or 110 degrees gives you noticeably more. Measure the diagonal of the tightest turn as well, and note the ceiling height on stairs, because a refrigerator carried upright needs more vertical room than one tipped on its side.
Two rules of thumb help. Compare your narrowest figure against the shipping box dimensions, which are always larger than the appliance itself, and remember that delivery crews routinely remove refrigerator doors and, on some models, unbolt the door hinges to gain clearance. Ask the retailer whether the crew brings the unit inside and where it gets set, and get the answer in writing before you order.
Step 5: Compare Your Measurements Before Ordering
Now put your numbers next to the spec sheet and do the subtraction out loud. Usable width equals the narrowest measured width minus the required side clearance; the appliance’s width has to come in under that figure. Do the same vertically with height, and remember that the rear clearance is part of the depth you measured from wall to cabinet face.
If there is any doubt at all, compare against the standard sizes below. They are the sizes most openings were built around, and they are the fastest way to spot an opening that does not match anything on the market.
| Appliance | Typical width | Typical height | Typical depth | Centimeter equivalent (W x H x D) |
|---|---|---|---|---|
| Freestanding refrigerator | 30, 33, 36 in | 67 to 70 in | Counter-depth about 28 to 30 in, standard-depth about 33 to 35 in | 76 x 172 x 76 cm |
| Built-in refrigerator column | 18, 24, 30, 36 in | 84 in opening or taller | 23 to 25 in | 91 x 213 x 61 cm |
| Chest freezer | 24 to 48 in | 30 to 38 in | 20 to 25 in | 91 x 86 x 61 cm |
| Dishwasher | 24 in | 34 to 35 in | 23 to 25 in with the door closed | 61 x 89 x 63 cm |
| Range | 30 in, some 36 in | 35 to 36 in with a raised back | 25 to 29 in | 76 x 91 x 74 cm |
| Cooktop | 30, 36 in | About 4 in above the counter | 21 to 25 in | 76 x 10 x 61 cm |
| Wall oven | 24 or 30 in | 29 to 31 in | 24 to 26 in | 76 x 76 x 63 cm |
| Over-the-range microwave | 30 in | 16 to 17 in | 15 to 18 in | 76 x 43 x 46 cm |
| Range hood | 30, 36, 42 in | Varies with flue style | 20 to 25 in | 91 x 61 cm x 61 cm |
| Washer, front load | 24 in compact, 27 in standard, 30 in jumbo | 33 to 39 in without a pedestal | 31 to 34 in | 69 x 86 x 84 cm |
| Dryer | 24, 27, 30 in | 33 to 39 in | 31 to 34 in | 69 x 86 x 84 cm |
A 33-inch-wide opening is common and awkward. It fits a 30-inch unit with a few inches of visible gap each side, and it does not fit most 33-inch units once you subtract the required clearance. If your opening is 33, plan on a 30-inch appliance or a brand that publishes a zero-clearance installation spec.
Photograph the empty opening with the tape measure visible, write the date next to the numbers, and save both. When the unit is on the web page six weeks from now, you will want proof of what the opening actually measured rather than a memory of it.
Common Mistakes
Measuring once, in one spot. Measure width at the top, middle and bottom, and height at the front and the back, then write down the smallest figure. A single reading at eye level misses the trim and the baseboard that cost you an inch at the floor.
Forgetting depth entirely. This is the most common failure in appliance forums and it is the one that shows up in photos. Measure from the back wall to the front face of the adjacent cabinets, and remember that standard-depth refrigerators are roughly 33 to 35 inches deep while counter-depth models are about 28 to 30.
Ignoring baseboards, molding and wall panels. Homeowners report openings that looked fine until a 4-inch baseboard, a wood panel or an outlet box appeared in the measurement. Measure at floor level where the baseboard sits, and measure the opening on a diagonal to catch anything that is not parallel.
Assuming one brand’s dimensions apply to all. Manufacturers vary at the same nominal width, often by about an inch, and a zero-clearance model from one line will not necessarily match another. Pull the installation spec from the exact model page rather than assuming a size.
Checking the opening but not the route. Measure every doorway, hallway and stair turn the delivery crew will use. If the narrowest point is marginal, find out in advance whether doors come off during delivery and who removes them.
Measuring the wrong body height. Listed height excludes handles, feet, control panels and door thickness, and a protective plastic panel across the front of a new unit can add to it. For a built-in appliance where the cutout is exact, add a few extra points of margin rather than matching the figure exactly.
One more worth knowing: appliances have grown. A laundry opening that accepted a machine ten years ago is often too short or too shallow for a current one, so do not measure the old appliance and assume the new one will match it.
Frequently Asked Questions
How much wider should an appliance opening be than the appliance?
There is no universal extra width, so use the installation requirements published for the exact model. Most manufacturers ask for about 1/4 inch per side on a refrigerator to keep the doors from binding and the gasket from rubbing, which is roughly 1/2 inch total. Dishwashers built to be flush need an opening within about 1/8 inch of the stated cutout instead. When your own reading may be off by a few tenths of an inch, add a small margin rather than matching the figures exactly.
Should I measure the appliance itself or the space?
Both, and in that order. Measure the opening first, in three places in each direction, and keep the smallest figure. Then pull the listed and installation dimensions for the exact replacement model, including handles and feet, and compare the two. If an old unit is still in place, measure it too, but treat that number as a reference rather than a promise, because appliances have grown larger over the past decade.
Do I need to measure the delivery path for a large appliance?
Yes, for anything you cannot carry yourself. Walk the route from the delivery vehicle to the install location and record the narrowest width at the front door, interior doors, hallways, stair turns, and any elevator or stairwell. Note door thickness too, because a door that opens only to 90 degrees gives you less usable width than the jamb-to-jamb measurement suggests. Compare the narrowest figure with the shipping box dimensions, which are larger than the appliance.
Can an appliance fit if the opening is slightly smaller than its dimensions?
Do not count on it, and do not force it. Squeezing a refrigerator into an opening with no side clearance tends to bind the doors and can damage the gasket or the hinge alignment, and a built-in appliance in a tight cutout is almost impossible to align or service later. Use the smallest measurement you recorded, subtract the required clearance, and confirm the result against the manufacturer installation spec before you order. If the arithmetic leaves less than a quarter inch, pick a smaller unit.
Do appliance dimensions include the door and handle?
Not always, and the difference matters. Listed product dimensions usually describe the cabinet body and often exclude handles, feet, control panels and door thickness, while installation dimensions and shipping box dimensions are separately published and are larger. On a freestanding refrigerator, the handle projection is often 2 to 3 inches beyond the listed depth, and that is the number that decides whether doors hit an adjacent wall. Read the installation drawing, not the marketing spec, and add the handle depth yourself if it is not shown.
Conclusion
Start with the opening: measure width, height and depth in three places each and keep the smallest reading, then subtract the clearance the exact model requires on the sides, above and behind. Walk the delivery path and note its narrowest point and the shipping box dimensions. Write it all down, photograph it, and only then compare models, because that sequence is the whole answer to how to measure for an appliance before buying.