How to paint a room like a pro comes down to four things: prep the surface properly, cut in the edges with an angled brush, roll the flat areas in a W pattern while keeping a wet edge, and apply two full coats with a full dry time between them. Skip any one of those and the wall tells on you — lap marks, flashing, a ragged line at the ceiling.
A standard 12-by-12 bedroom with an 8-foot ceiling takes a beginner roughly a full day of work spread over two or three days, mostly because of drying time rather than effort. The actual painting is maybe four hours of that. It’s the least intimidating job in the house, and the difference between an amateur result and a decorator’s result is almost entirely technique.
Before you open a can, here’s the order everything happens in: ceiling first if you’re painting it, then walls, then trim. If you’re only doing walls, the sequence is still prep, cut in, roll, dry, second coat.
Table of Contents
- What You Need
- How much paint to buy
- Choosing the paint finish
- Step-by-Step: How to Paint a Room Like a Pro
- 1. Plan the Paint Job
- 2. Clean and Repair the Walls
- Primer choice by wall condition
- 3. Tape and Cut In the Edges
- 4. Roll the Main Wall Areas
- 5. Let the First Coat Dry and Inspect It
- 6. Apply the Final Coat and Clean Up
- Common Mistakes
- 1. Painting over dirty walls
- 2. Skipping primer when you shouldn’t
- 3. Overloading the roller
- 4. Pushing the roller too hard
- 5. Losing the wet edge
- 6. Removing tape too late
- 7. Skipping the de-lint on a new roller
- 8. Painting thin, skimpy coats
- 9. Using the wrong sheen for the room
- Frequently Asked Questions
- How many coats of paint should I put on a room?
- Can I paint a room in one day?
- Do I need to prime before painting a room?
- How much paint do I need for one room?
- Should I paint the walls or ceiling first?
- How long should I wait before removing painter’s tape?
- Conclusion
What You Need
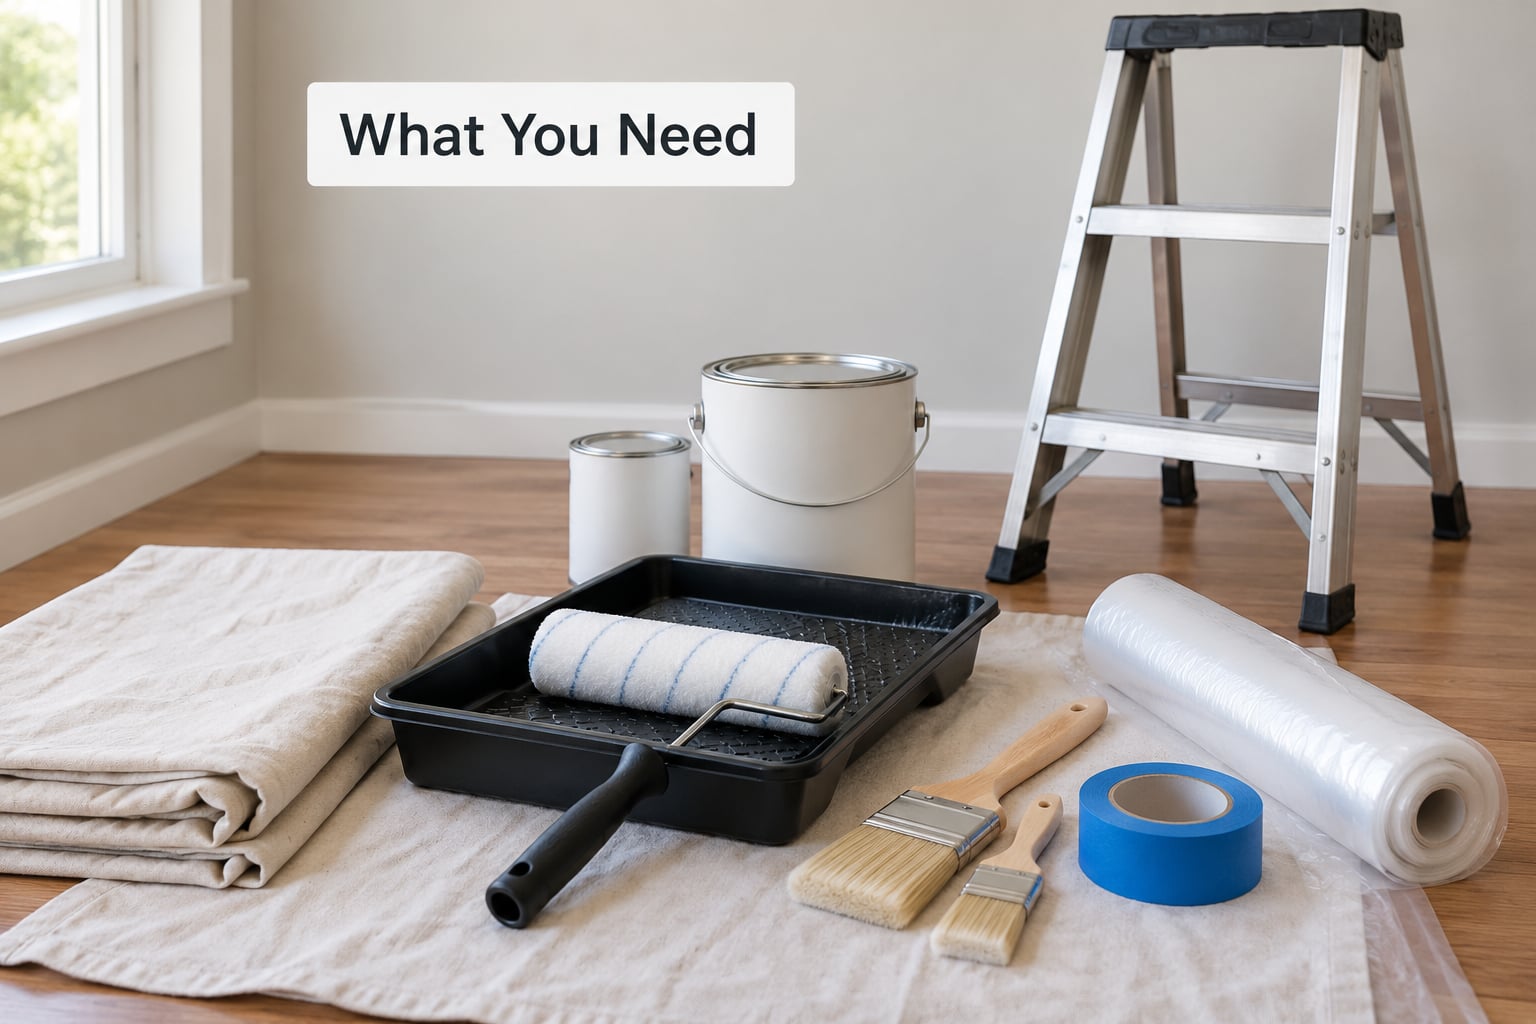
Most people buy too little paint and the wrong brush. Buy these instead, and a whole room finishes in an afternoon of actual rolling.
- 2.5-inch angle sash brush for cutting in, plus a cheap 2-inch flat brush for the second-coat touch-ups
- 9-inch roller frame with a 3/8-inch nap roller cover for smooth drywall
- Extension pole so you roll from the floor instead of a ladder — this is the single biggest quality upgrade you can buy
- Paint tray and liner, or a handheld paint pail and a bucket screen if you paint from the can
- Painter’s tape for trim, switch plates, and outlets (optional if you cut in freehand)
- Plastic sheeting or rosin paper and a canvas or plastic drop cloth for the floor
- Spackle, a 4-inch or 6-inch putty knife, and 120- and 220-grit sandpaper for repairs
- Primer, plus a bucket screen and a stir stick
- Step ladder, low-VOC-rated respirator if you’re using a cleaner wall wash, and old rags
How much paint to buy
Measure the walls: add up the length of each wall, multiply by the ceiling height, and add the ceiling if you’re painting it. A 12-by-12 room with 8-foot ceilings comes to roughly 530 square feet of surface including trim allowance.
One gallon of interior latex covers roughly 350 to 400 square feet per coat on smooth walls. So that bedroom needs one gallon for the first coat and one more for the second. Buy three if the color is dark, bold, or going from a darker color to a lighter one — those need a third coat more often than not.
Choosing the paint finish
Sheen is not a style choice, it’s a durability choice. Flat paint hides bumps and roller marks beautifully but can’t be scrubbed. Anything you touch daily needs something tougher.
| Sheen | Durability | Cleanability | Best for |
|---|---|---|---|
| Flat / matte | Low | Poor | Ceilings, low-traffic bedrooms |
| Flat enamel | Low-medium | Fair | Walls in rooms nobody touches |
| Eggshell | Medium | Washable | Bedrooms, living rooms, most walls |
| Satin | Medium-high | Washable | Hallways, kids’ rooms, rentals |
| Semi-gloss | High | Scrubbable | Kitchens, bathrooms, trim |
| High gloss | Highest | Scrubbable | Cabinets and doors |
Glossier sheens are also less forgiving. Every lap mark and roller streak shows on semi-gloss where flat would hide it entirely. If you’re new at this, eggshell on the walls is the safe pick.
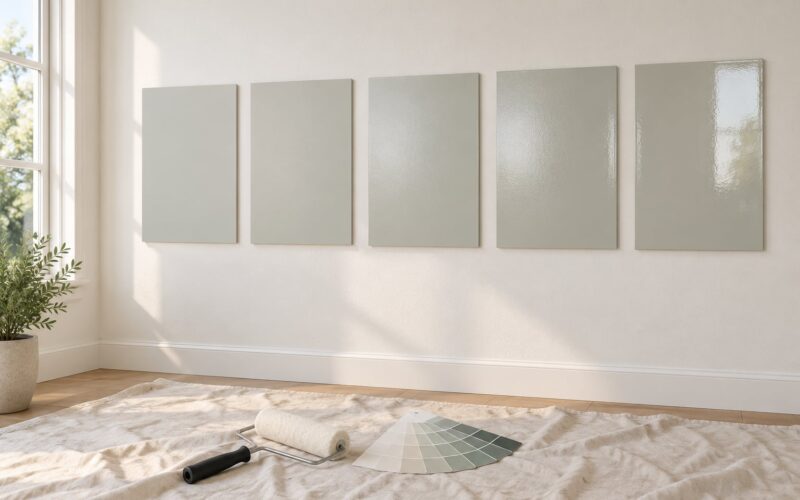
Test the color before you commit. Paint a 12-by-12 inch sample on two or three walls, look at it in morning light, midday, and under lamps at night, and leave it up for a full day. Colors shift dramatically when a large wall of it replaces a tiny square.
Step-by-Step: How to Paint a Room Like a Pro
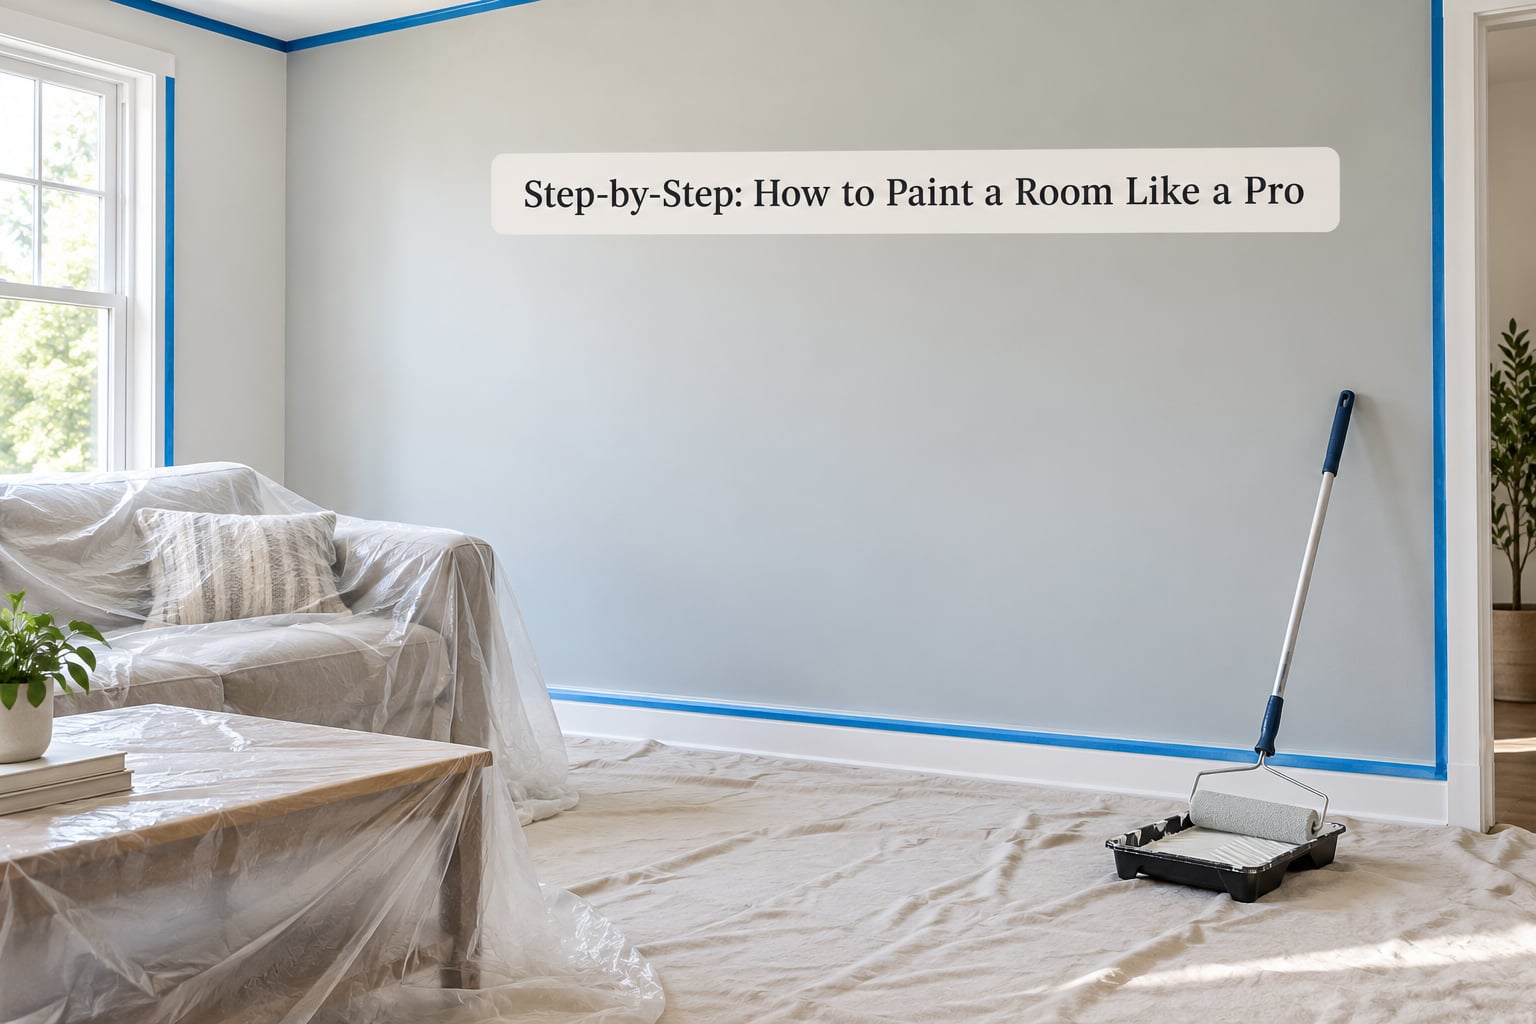
Six steps, in this order. Each one has a clear “done” signal, so you can stop worrying halfway through a step and start worrying about the next one.
1. Plan the Paint Job
Take everything off the walls — pictures, mirrors, hooks, shelf brackets. Fill the nail holes rather than leaving them, since every hanger comes back at some point.
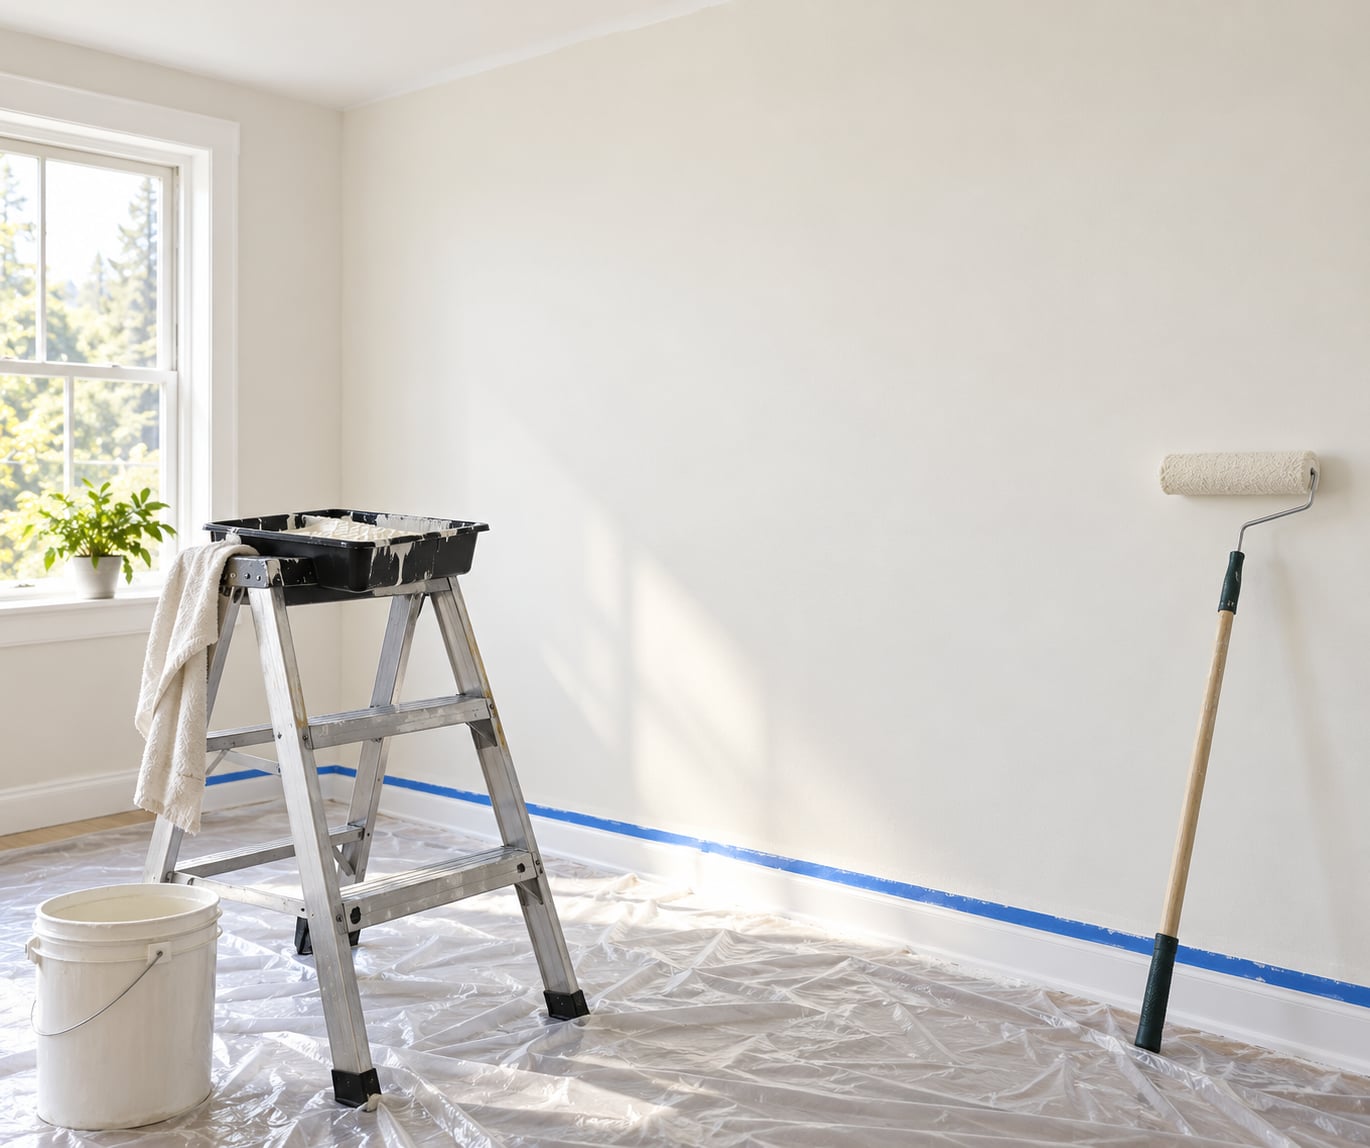
Move furniture you can lift into the center of the room and cover it with a drop cloth. Cover the floor with rosin paper or plastic sheeting, taped at the edges. On hardwood or finished floors, paper beats plastic: a wet paint spill on plastic slides instead of soaking in.
Cover or remove switch plates and outlet covers, and stuff a folded paper towel into each open outlet box so debris falls into paper rather than into your wiring. Tape over ceiling registers and vents so you don’t paint them shut.
Done when: the room is empty, the floor is covered, and every opening is either covered or masked.
2. Clean and Repair the Walls
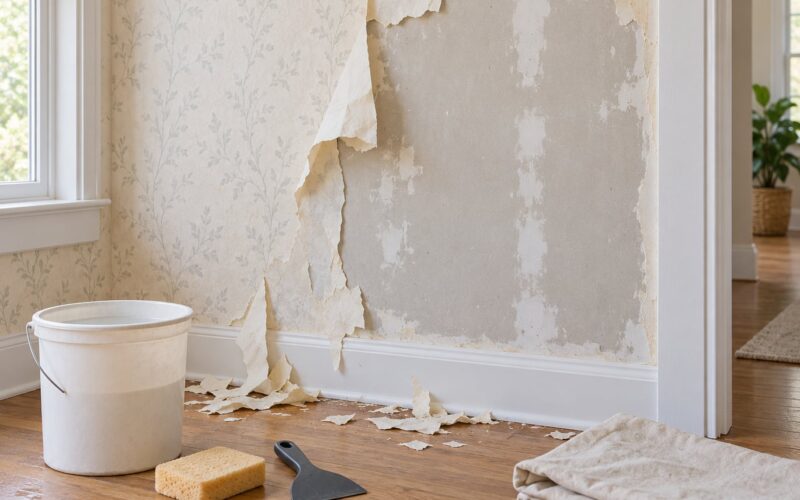
Wash the walls first, always. Paint doesn’t stick to grease, dust, or the film a room collects over a few years. Wipe with a clean sponge and a bucket of warm water with a little trisodium phosphate, then go over it again with plain water to remove the residue.
Wear gloves and eye protection with TSP, and open a window. If your walls are genuinely in good shape, painters skip this. If there are scuffs, handprints, or cooking grease, skipping it guarantees peeling within a year.
Fill nail holes, cracks, and gouges with spackle. A damp sponge smooths the still-wet spackle flat, which knocks out most of the sanding. Once it’s dry, sand the repair smooth with 120 grit, then 220 grit for a final pass.
Primer choice by wall condition
| Wall situation | Use | Why |
|---|---|---|
| Previously painted, clean, matte finish | Paint and primer in one, or no primer | The wall is already sealed and sound |
| Bare or new drywall | Full primer coat | Drygy dust shows through and kills adhesion |
| Patched nail holes and spackle | Spot prime the repairs | Spackle soaks up the first coat unevenly |
| Water stains or odors | Shellac-based stain-blocking primer | Regular primer won’t hold back the stain |
| Dark color going to light | Tinted primer in the new color | Stops the old color bleeding through |
| Existing semi-gloss or gloss | Bonding primer | New paint will not stick to a slick surface |
That last row comes up constantly on home improvement forums, and the answer is consistent: you can paint over semi-gloss without sanding everything down, but you need a bonding primer rated for it. Skipping that step is the single most common reason a “new” wall peels off in sheets six months later.
Done when: the repairs are sanded smooth and every bare, patched, stained, or glossy area has its primer.
3. Tape and Cut In the Edges
Cutting in means painting the edges — the ceiling line, the corners, the trim — with a brush before you roll anything. Do this first so the roller can run right up to the line without hitting it.
Load the brush about halfway. A full dip puts too much paint on the bristles and it runs down the wall before you can control it. Wipe one side of the bristles against the rim of the can on every load.
Start at a corner and brush about a 2-inch band along the ceiling line, then down each corner, then along the trim. Keep the brush a little flat and let the angled bristles do the work. On the first coat, leave a small gap of roughly 1/8 inch between the wall and the edge. The roller will close it, and the second coat lands on a slightly wider base, which gives you a noticeably crisper line.
Push a little extra paint onto the cut-in edge. It dries slightly proud of the field and means you won’t need a third coat just to cover the corners.
Do you need tape? Pros argue about it, and both sides have a case. Tape gives you a perfect line on straight, even trim. Freehand is faster, wastes less material, and gives a better result on textured walls where paint bleeds under tape. Either works, as long as you’re consistent.
If you tape, press it down firmly with a plastic card or your thumb. Paint bubbles under loose tape edges, and that bubble becomes a rippled line when you pull it.
Done when: a continuous, unbroken 2-inch band of paint runs around the entire room.
4. Roll the Main Wall Areas
Before the first pass, de-lint your roller. Wrap packing tape around the nap with the sticky side out, pull it off, and the loose fibers come with it. Skip this and you’ll find fuzzy specks pressed into a wet wall for the life of the paint.
Load the roller evenly. Roll it in the tray or across the bucket screen a few times — about three passes — to spread the paint out. Too much paint causes drips, runs, and a stippled texture. Too little leaves you chasing the wall to pick up paint that isn’t there.
Pour a small amount into a handheld paint pail rather than painting straight from the can. Your can stays free of pet hair, dust, and the dried ring that forms when you dip a dusty brush back in.
Start rolling in a W or N pattern across a 3-to-5-foot section of wall. The W spreads the paint out, and the final vertical pass evens it before the nap’s texture grabs. Always roll from the outer edge of the wall inward toward the center so you don’t push paint into the corner where it pools.
Keep a wet edge. Work in 3-to-5-foot sections and roll one into the previous section before it starts to set. Paint that overlaps paint that’s already drying will not blend — it sits on top, and the seam shows as a lap mark. This is where glossier finishes punish you hardest.
With an extension pole, use your dominant hand on the handle and support the end cap with your other hand. Pressure is the enemy: push too hard and the nap compresses, leaving visible lines. Let the roller do the work.
Done when: the field is even, slightly damp, and no sheen differences are visible between adjacent sections.
5. Let the First Coat Dry and Inspect It
Read the label for the recoat window. Most interior latex needs one hour, longer in cool or humid conditions, and full cure takes considerably longer than the recoat time suggests.
Then inspect the dry wall with your eyes sideways. That angle catches flaws the front-on view hides: thin patches around fixtures, missed edges, and shiny areas where the roller passed more paint than its neighbors. Sand any drips flat once dry and spot them during the next coat.
Skim a bright light across the wall. Undersanded spackle and heavy texture both show up as small shadows.
A second coat is not optional on walls. One coat looks streaky and patchy no matter how good your technique is.
6. Apply the Final Coat and Clean Up
Start at the same point and work the same direction. Muscular memory on the second coat is faster than you think, and consistent patterns avoid lap marks.
Pull painter’s tape while the paint is still wet, at a 45-degree angle with a steady pull. Let it dry first and the tape edge can take a ridge of paint with it. Wet tape releases clean.
Clean the brush and roller immediately. Rinse the roller in solvent until the water runs clear, squeeze out the excess, and let it dry flat on a paper towel so the nap keeps its shape. A clean roller cover dried properly will outlive the paint job by several months.
Let the walls dry fully before pushing furniture back. Wait at least a day before rehanging heavy items on the wall, so the paint isn’t gouged by a picture frame or a bracket.
Dispose of rinse water down the drain only if the local rules allow it; otherwise let it settle, strain it, and dispose of solids according to your local waste guidance. Never pour paint or heavy solvent loads into a storm drain.
Common Mistakes
Every one of these is avoidable, and each one leaves a mark you have to sand or repaint to fix.
1. Painting over dirty walls
Grease and dust are the leading cause of peeling interior paint. Wash the walls before you prime, and go over them again with plain water to remove the cleaner residue.
2. Skipping primer when you shouldn’t
Self-priming paint covers over sound, previously painted surfaces. It does not seal bare drywall, block stains, or stick to existing gloss. Use a dedicated primer for those three cases.
3. Overloading the roller
Too much paint is the number one cause of drips, runs, and that orange-peel texture nobody can explain. Load lightly and roll the excess off on the screen every time.
4. Pushing the roller too hard
Pressure compresses the nap and leaves streaks you can see across the whole wall. Guide the roller with light, even pressure and let the roller weight do the work.
5. Losing the wet edge
This is the big one. When you come back to a section that has started setting, the new paint sits on top instead of blending in. That’s a lap mark, and on satin or semi-gloss it stays visible for years. Work in small sections and keep moving.
6. Removing tape too late
Dried tape pulls a hard ridge of paint off the wall. Pull it while the paint is wet. If you’re done for the day, leave the tape on and remove it before you start the next coat.
7. Skipping the de-lint on a new roller
New roller covers shed fibers straight into your wet wall. Wrap and peel tape off the nap first. Ten seconds of work, and it saves you finding fuzz embedded in the finish.
8. Painting thin, skimpy coats
One thin coat will never look like two full ones. Spread paint evenly instead of stretching it out — a full coat that dries to a solid film hides better and lasts longer than two weak ones.
9. Using the wrong sheen for the room
Flat on a hallway, semi-gloss on a quiet bedroom. Sheen that doesn’t match how the room gets used is what makes a nice job look cheap a year later.
Frequently Asked Questions
How many coats of paint should I put on a room?
Two full coats on walls, always. One coat can look patchy and streaky no matter how carefully you apply it. Ceilings usually take one coat if the color stays the same, two if you’re changing from a darker color to white. Trim gets two thin coats, and a third on dark colors like deep reds, oranges, and yellows, which take far longer to dry and cover more weakly than the label suggests.
Can I paint a room in one day?
Yes for a standard bedroom, if you do all the preparation the day before. Scraping, filling, sanding, and cleaning take hours, and paint needs to dry fully between coats. Paint the ceiling and cut in early in the morning, roll the walls, and apply the second coat in the evening once the label’s recoat window has passed. Humid or cool conditions stretch this well past a single day.
Do I need to prime before painting a room?
Prime bare or new drywall, patched nail holes, water-stained areas, and any existing semi-gloss or gloss. For walls that are already painted, sound, and matte, self-priming paint usually handles it in one product. Going from a dark color to a lighter one? Tinted primer in the new color saves you a third coat and prevents the old color bleeding through.
How much paint do I need for one room?
A 12-by-12 room with 8-foot ceilings has roughly 530 square feet of wall and ceiling surface. One gallon covers about 350 to 400 square feet per coat on smooth walls, so buy two gallons for two coats. Add a third when going dark-to-light, painting bold colors, or coating bare drywall for the first time. Buy extra if you plan to keep the leftovers for touch-ups.
Should I paint the walls or ceiling first?
Ceiling first, then the walls, then the trim. Paint the ceiling while the walls are still bare so lap-ins land on a wall you will cover anyway. Some painters work trim first instead, which works well but means you have to cut in carefully around painted baseboards. Whichever order you pick, stay with it rather than switching back and forth.
How long should I wait before removing painter’s tape?
Pull it while the paint is still wet. As soon as the edge has started to set, the tape can lift a ridge of paint with it and leave a wavy line. If a section is already dry, let the whole thing cure and then score along the edge with a utility knife before pulling. Also wait at least a day before rehanging fixtures or pictures on the wall.
Conclusion
Start by measuring the walls, picking your sheen, and buying the right tools — a 2.5-inch angle sash brush, a 9-inch frame with a 3/8-inch nap cover, and an extension pole. Then finish all the prep before a single drop of paint goes on: repairs sanded smooth, walls washed, primer on anything bare, patched, stained, or glossy.
Once the roller is moving, everything comes down to one habit: keep a wet edge. Cut in, roll in a W pattern, finish a 3-to-5-foot section, and move on to the next one. Two coats with a full dry between them, and you’ll have walls that look like someone else did them. This guide was updated for 2026 to reflect current paint labels and coverage standards.