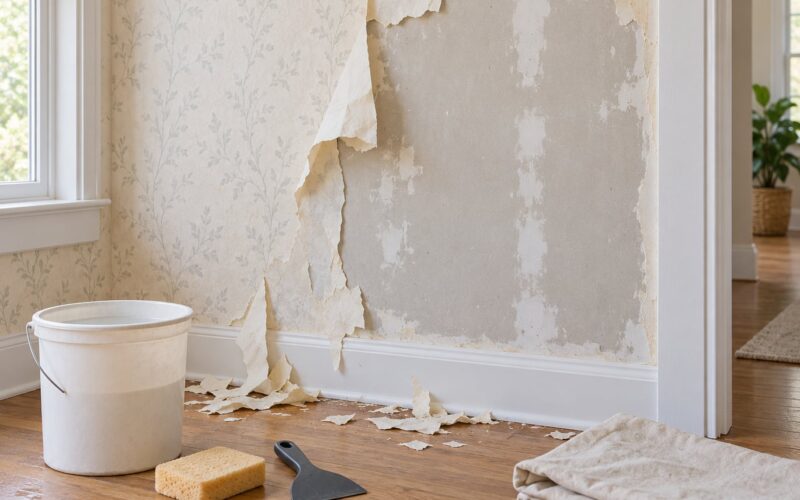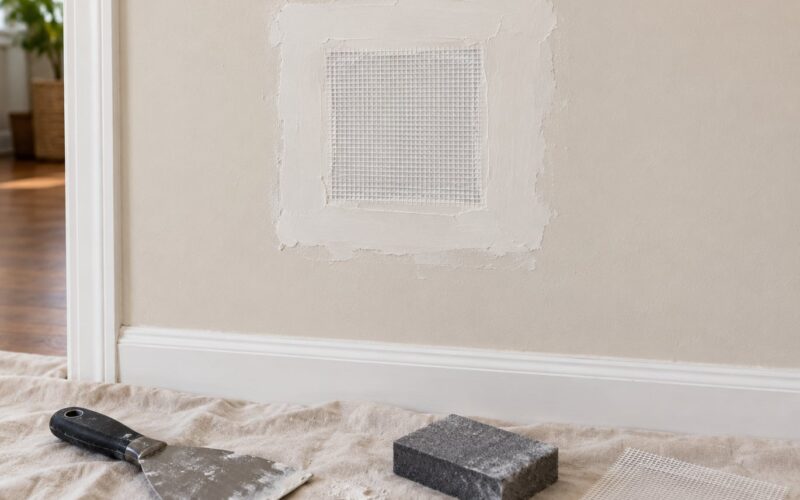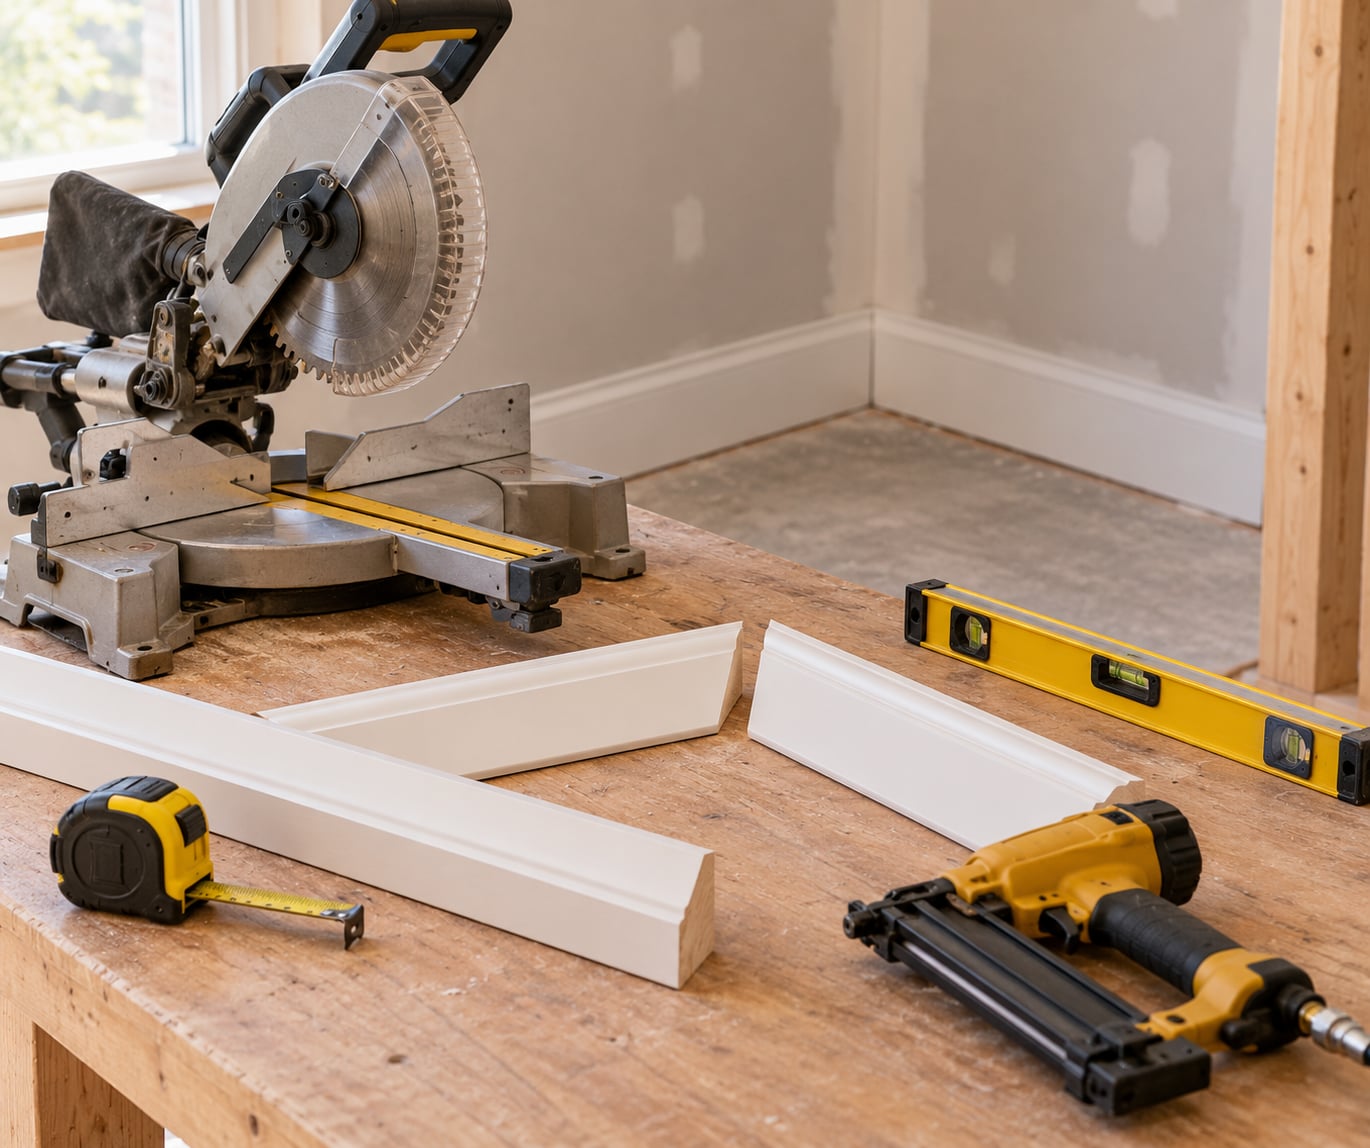
Learning how to install baseboards and trim is one of those jobs that looks harder than it is. Pull the old trim, measure each wall, cut your outside corners at 45 degrees, cope the inside ones, nail everything to the studs, then caulk and paint. A straight 12-foot wall in a square room takes about an hour. Expect a full afternoon for a room with four corners, a doorway, and an uneven old-house floor.
The reason it feels intimidating is that a bad cut is visible from across the room. A reveal that varies by an eighth inch between two boards is the first thing the eye catches. Get your measurements right, dry-fit every piece before any nails go in, and the rest is routine.
Table of Contents
- What You Need
- Choosing the baseboard material
- Fasteners by wall type
- Step-by-Step: How to Install Baseboards and Trim
- Step 1: Measure the wall and choose the baseboard
- Step 2: Mark and cut the baseboard accurately
- Step 3: Fit the first piece and check alignment
- Step 4: Install the baseboards and cope the corners
- Step 5: Install door, window, and decorative trim
- Step 6: Fill, caulk, paint, and clean up
- Common Mistakes
- Frequently Asked Questions
- What is the easiest way to cut baseboard corners?
- How do I install baseboards on an uneven wall?
- What nails or screws should I use for baseboards?
- Should I paint baseboards before installing them?
- How do I fix a gap between baseboard and the wall?
- Can I install baseboard trim without removing the old baseboard?
- Conclusion
What You Need
Gather everything before you start. Reaching for the caulk gun with a board half-fastened means a trip to the garage with wet hands on the new trim.
- Miter saw with a fine-tooth blade — a 10-inch saw handles baseboard up to about 5-1/4 inches tall. A finer blade leaves a cleaner face on MDF.
- Coping saw — for inside corners. A 15- to 18-inch blade gives you room to follow the profile.
- Tape measure and a carpentry square. Measure to the nearest 1/16 inch.
- 18-gauge brad nailer with 2-inch brad nails, plus a hammer and finish nails as backup.
- Stud finder, pencil, and a small block plane or file for touch-ups.
- Paintable acrylic latex caulk and a caulk gun.
- Wood filler for nail holes, 120- and 220-grit sandpaper, a damp rag, and painter’s tape and a drop cloth.
- Safety gear — eye protection and hearing protection, plus a respirator if the old trim or adhesive is coated in anything you don’t want in your lungs.
Long runs bow. Before you cut, stretch a string along the length of the run and check it against the straight edge. An extra inch of material for every seven feet of wall covers it — carpenters call this the 7 rule.
Choosing the baseboard material
| Material | Best for | Watch out for |
|---|---|---|
| Primed MDF | Interior rooms, painted flat finishes, tight budgets | Swells at exposed edges and in wet rooms; not for basements that damp |
| Solid wood (pine, poplar, oak) | Houses with movement, high-traffic areas, wet rooms | Moves more with humidity, so it needs time to acclimate indoors |
| PVC or vinyl | Bathrooms, basements, laundry rooms | Paint absorbs differently and can show brush marks; limited profiles |
| Engineered wood | Budget renovations where MDF is too soft | Edges chip if the nail misses backing |
Profiles run from flat square to colonial, stepped, and ogee. Height is the usual tiebreaker: 3 to 5-1/4 inches for standard ceilings, taller for rooms with high ceilings. Buy primed stock if you are painting, and match the existing profile if only part of the house is being redone — mismatched profile reads as a mistake from the hallway.
Fasteners by wall type
| Wall situation | What holds | Notes |
|---|---|---|
| Studs present (framed walls) | 2-inch 18-gauge brad nails | Studs sit 16 inches on center, so nail at every stud and once or twice between |
| No stud behind the board | Angle the brad into the bottom wall plate | Hit the bottom plate, which runs the whole length of the wall |
| Concrete or masonry basement | Masonry nails, or a 1/4-inch concrete bit with sleeve anchors | Drill first, keep the hole deeper than the fastener by an inch |
| Old plaster and lath | Short finish nails driven into lath | Test a hidden spot; brittle plaster cracks if you hammer hard |
| Extra rigidity wanted | Construction adhesive bead plus nails | Nails set while adhesive cures; squeeze-out needs wiping now, not later |
Step-by-Step: How to Install Baseboards and Trim
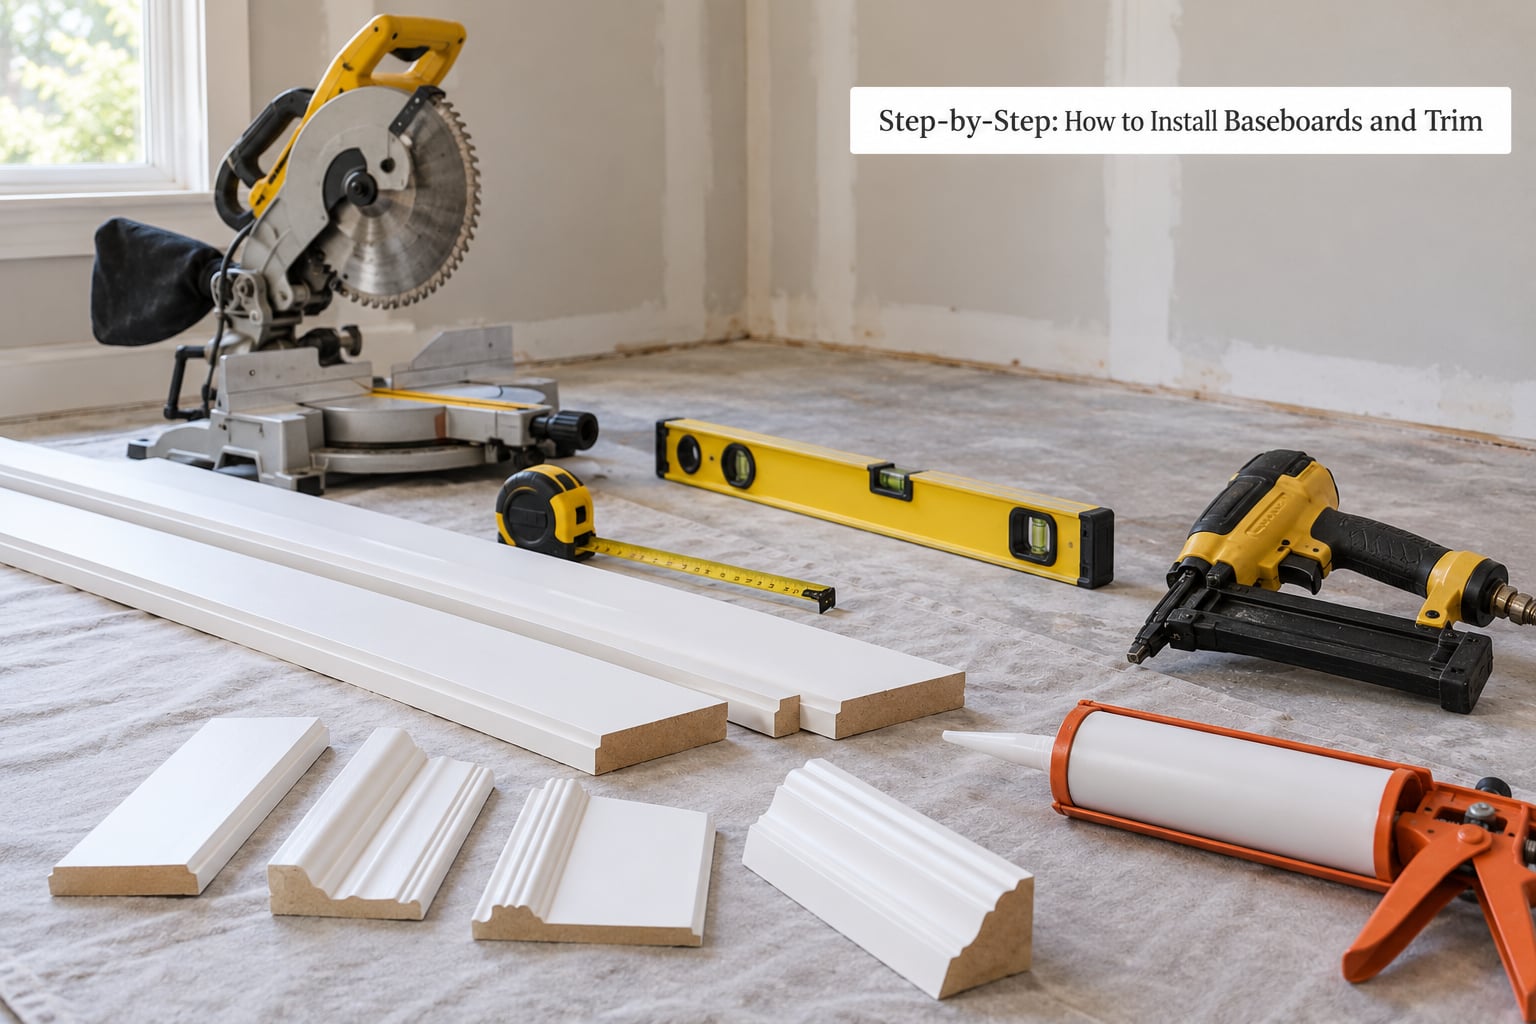
Work in this order: prepare the room, measure, mark and cut, fit the first piece, fasten the runs, add casing and cap molding, then fill and finish. Do not skip ahead — the steps depend on each other.
Step 1: Measure the wall and choose the baseboard
Measure each wall run separately. Doorways, closets, and alcoves break the wall into segments, and each one gets its own measurement instead of one number for the whole room.
For a run that ends at a doorway, measure to the face of the casing, not to the opening. Subtract the thickness of the casing and add a small amount so the baseboard dies into the leg rather than butting into it. Standard baseboard is 5/8 inch thick and typical casing is 3/4 inch wide; matching those keeps a replacement from looking oversized next to the existing door trim.
Bring the boards into the room 24 to 48 hours before you cut. Wood that arrives cold and dry from the lumber rack will move later, and cracks show up at the joints first. Order roughly 10 percent more than the total measured length — corner waste is real, and a bad first cut should not end the project.
Step 2: Mark and cut the baseboard accurately
Cut square at every opening and miter at every outside corner. Set the saw to 45 degrees, and if your saw has a bevel adjustment, nudge it to 45.5 — the extra half degree makes the outside seam close tight instead of leaving a hairline gap.
There are two ways to hold the board on a miter saw. Laying it flat on the table is faster and steadier for thin stock, but the board face is what matters, and measuring the top edge instead of the bottom edge throws your cut off by the thickness. Standing the board on edge against the fence gives the squarest cut and the truest angle on taller profiles, with less risk of kicking back. Most carpenters cut standing for baseboard and flat for casing.
Inside corners get a cope joint instead of a miter. Make a 45-degree back bevel on the end that butts into the corner, then cut the profile away with a coping saw following that bevel line. The result is a face that hugs the wall at any angle, which matters in rooms that are out of square. Mitered inside corners open into a visible wedge the moment the joint moves.
Measure twice, support the offcut so it cannot pinch the blade, and make one test cut before you commit to a whole run.
Step 3: Fit the first piece and check alignment
Start at the most visible wall, at a corner where two runs meet. Set the board in position, press it to the wall, and check it with a level along the top edge and a straightedge across the face.
If the floor drops across the room, a straight run will rock or leave a wedge of daylight underneath. Leave the piece loose or put a single temporary nail in it, move down the wall checking for daylight every few feet, and mark where the board needs to be scribed to fit. Holding the first board right saves the whole run.
Keep the reveal the same everywhere — the small line where the top of the baseboard meets the wall. Marking a pencil line at the correct height across every wall before you nail a single board makes that consistency automatic.
Step 4: Install the baseboards and cope the corners
Nail each board into every stud it crosses, plus one or two nails between studs, landing on a 12- to 16-inch spacing. When a stud is not in the way, angle the nailer down into the bottom wall plate, which runs the full length of the wall and is always solid.
Work from the fixed point outward. Nail the long wall first, then butt the next run into a coped end so the face stays continuous through the corner. Set the nails at a slight downward angle into the wall or plate, not into the face of the board — a proud nail head shows after painting even after filling.
On uneven floors, where height changes across a room, step the baseboard up at a natural break such as a doorway rather than forcing a single height. Cover the transition with shoe molding or quarter round, which hides the change and gives you somewhere to hide a gap that will never fully close.
Step 5: Install door, window, and decorative trim
Casing goes on after the baseboard, and its bottom edge meets the top of the baseboard or butts into the leg of the baseboard, depending on the profile you picked. Miter the casing corners and test-fit all four pieces before nailing any of them.
Check door clearance before the last nail goes in. If your new baseboard is thicker than the old one, the door may stop clearing it. Set the hinge pin and shave a little off the back of the board, or plan on re-hanging the door on a three-inch hinge.
Cap molding is optional. Quarter round or shoe molding gives the baseboard a finished top edge, hides where the profile was scribed to fit an uneven wall, and makes transitions between two flooring types look deliberate.
Step 6: Fill, caulk, paint, and clean up
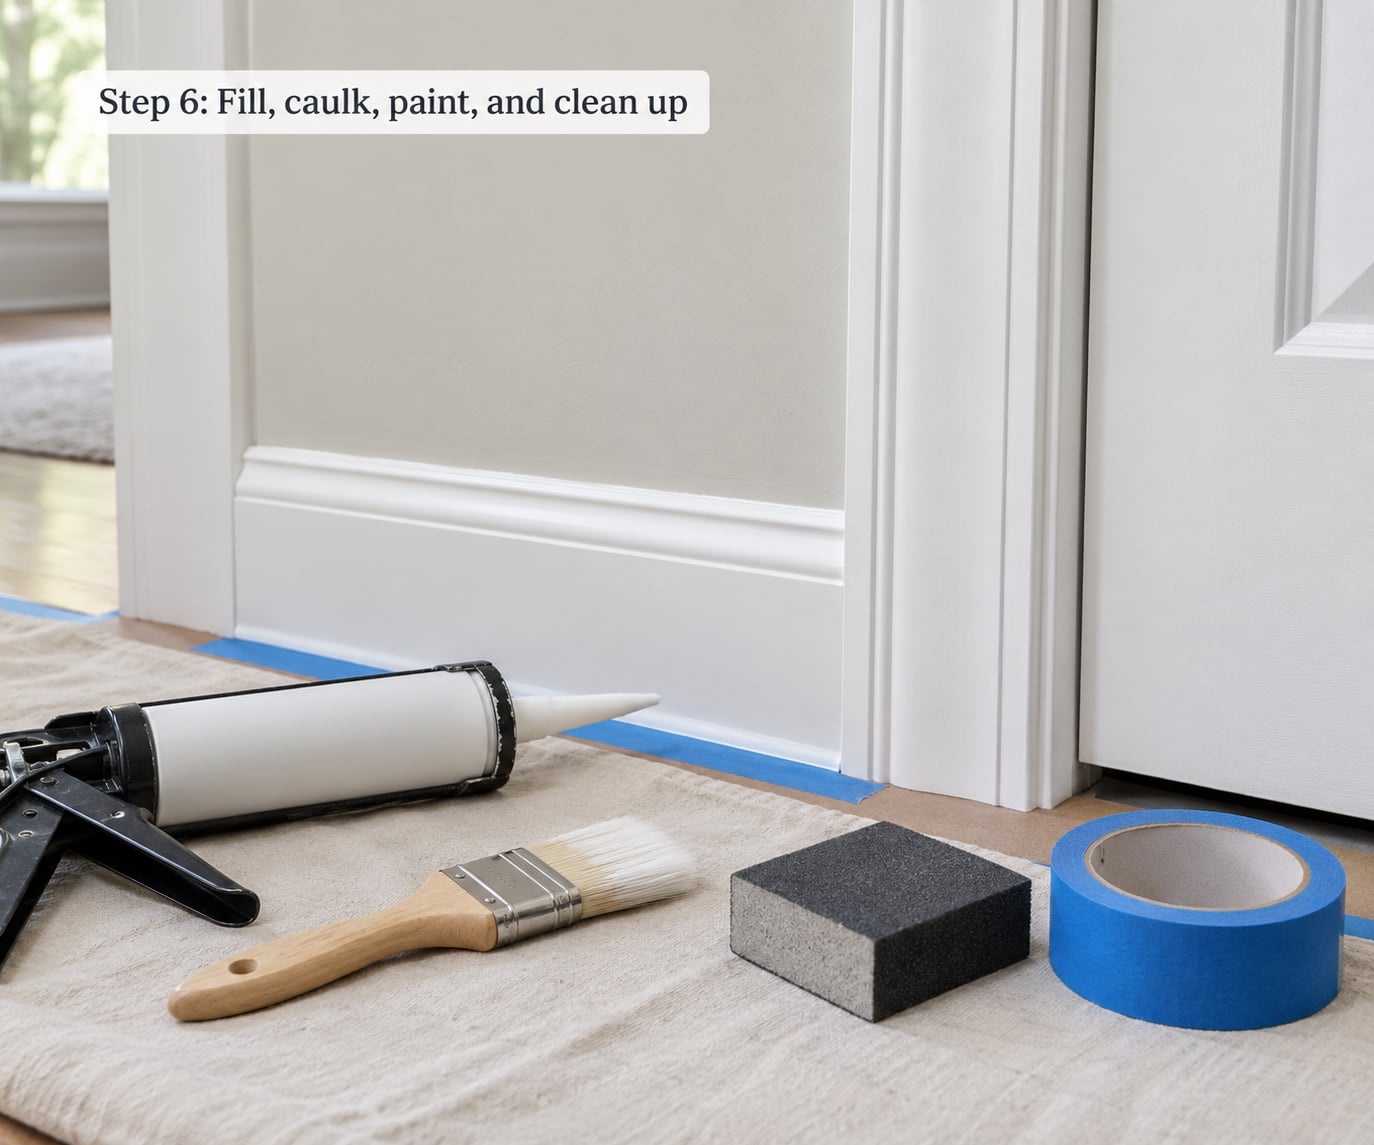
Fill every nail hole with wood filler while the boards are still bare. Let it dry, sand flush with 120 grit, then a light pass with 220. Missed holes telegraph themselves as dots no matter how many coats go over them.
Caulk the joints and the top edge where the baseboard meets the wall. Do not caulk the bottom edge against the floor. That joint has to move as the floor moves, and a rigid bead along it cracks the trim later.
Prime bare wood or MDF first, then paint. Keep a plastic shield and a damp rag moving with the brush so drips never reach the floor. Pull painter’s tape while the paint is still slightly wet, and give the whole room a day before you push furniture back against the baseboard.
Common Mistakes
- Mitering inside corners. Use a cope joint instead. A mitered inside corner opens into a wedge gap within a season.
- Measuring the top edge and cutting the bottom. With the board standing, measure and mark the edge that rests against the fence.
- Cutting a perfect 45 degrees. Take the saw to 45.5 for outside corners so the seam closes.
- Nailing only into drywall. Find the studs with a stud finder, or angle into the bottom wall plate.
- Letting the reveal change along a wall. Mark a level pencil line around the room before you start.
- Caulking the floor line. Caulk the top edge and joints only, and leave the floor joint free to move.
- Painting before filling. Nail holes show through every coat. Fill and sand first.
- Ordering exactly the measured length. Add the 7 rule allowance plus one spare board for corner waste.
- Installing baseboard before flooring. Put the flooring down first, then the trim. Otherwise the baseboard blocks the floor and has to be pulled.
- Forcing trim onto an uneven wall. Scribe the back edge to the wall instead of bending the whole board.
Walk the room once at the end before you put tools away. Look down every run from the doorway, then crouch and sight along the baseboard from one end to the other. Light rakes across the top edge and any wave in the reveal shows up immediately from a low angle.
Frequently Asked Questions
What is the easiest way to cut baseboard corners?
Outside corners get a miter cut, so set your miter saw to 45 degrees and nudge the bevel to 45.5 for a tight seam. Inside corners get a cope joint: cut a 45-degree back bevel on the end that meets the corner, then follow that line with a coping saw to remove the profile. Coped corners stay tight even when a room is out of square.
How do I install baseboards on an uneven wall?
Scribe the back edge rather than bending the board. Hold the baseboard tight to the wall and mark where the wall surface falls behind it, then shave that material away with a block plane or file, working in 2- to 3-inch sections. Check for daylight behind the board as you go. Cap the scribed top with quarter round or shoe molding to give the edge a finished look.
What nails or screws should I use for baseboards?
Use 2-inch 18-gauge brad nails driven into studs, spaced every 12 to 16 inches. When no stud lines up, angle the nailer downward into the bottom wall plate that runs along the bottom of the wall. On concrete or masonry, drill and use sleeve anchors or masonry nails. Screws work on drywall but they split thin MDF edges more often than nails do.
Should I paint baseboards before installing them?
Yes, one coat of paint or primer before installation saves a great deal of time later. On the floor you can spray or roll without drips, and you only have to touch up nail holes, caulk lines, and cut ends afterward. Bring the boards into the room 24 to 48 hours ahead so the wood adjusts to your indoor humidity and the joints do not crack later.
How do I fix a gap between baseboard and the wall?
Check the measurement first. A gap at the top of the baseboard means the wall runs out of square at the corner, and a thin scribe or shim strip of the same material tucks behind it. A gap at the bottom means the new trim is thinner than the old trim, and a shoe molding or quarter round cap hides it. Fill small cracks with paintable acrylic latex caulk.
Can I install baseboard trim without removing the old baseboard?
You can nail new trim over old, but only if the existing baseboard is thin, flat, and firmly attached, and the new piece is at least a half inch wider. You will also lose roughly an inch of floor or wall clearance, which is why doors sometimes stop closing. Cutting off the top of the old baseboard with a multi-tool and capping it with quarter round is a cleaner middle ground.
Conclusion
Start by measuring every wall and ordering one extra board. Mark a level reveal line around the room, cut one test joint, and dry-fit the entire run before a single nail goes in — that habit prevents most of the mistakes people blame on the trim itself.
Check your local building requirements before you go further. Anything touching structural framing, wiring, or gas lines belongs with a licensed contractor, and older homes can hide plaster, asbestos-containing materials, or knob-and-tube wiring behind the baseboard you are about to pull.