You can find a stud without a stud finder by starting at an electrical outlet, then measuring 16 inches across the wall in both directions. Add a strong magnet to catch the drywall screws and a tap test to confirm what you found. Most people land on the right stud in under ten minutes.
Studs are the vertical framing members behind your drywall, usually 2×4 or 2×6 lumber, and they are the only solid thing in a hollow wall to hang a TV, a mirror or a shelf on. Drywall and plaster alone will not hold real weight.
Table of Contents
- What You Need
- Step-by-Step: How to Find a Stud Without a Stud Finder
- Method 1: Check for Visual Stud Clues
- Method 2: Use a Small Magnet
- Method 3: Knock and Measure to Find a Stud Without a Stud Finder
- Method 4: Make a Controlled Test Drilling
- How to Confirm the Stud Location
- Common Mistakes
- Safety Before Drilling or Mounting
- Frequently Asked Questions
- How far apart are wall studs usually spaced?
- Can I find studs in a finished wall without a stud finder?
- Do nail heads mark the center of a stud?
- What is the most reliable way to find a stud?
- Can I use a magnet to find metal studs?
- Should I drill a test hole to find a stud?
- Conclusion
What You Need
None of this is expensive, and most of it is already in a junk drawer.
- A tape measure for measuring 16 and 24 inch on-center spacing.
- A small neodymium or rare earth magnet, the kind sold as a fridge magnet pull or a magnet ball. A plain souvenir magnet is usually too weak to hold through drywall.
- A flashlight held at a shallow angle to the wall, which makes fastener dimples and drywall texture cast shadows.
- A pencil or marker for marking your line before you drill.
- A coin or key for tapping along the surface.
- A tooth probe or thin screwdriver for probing a nail hole in trim.
- Safety glasses whenever you drill or knock a hole into plaster or lath.
Step-by-Step: How to Find a Stud Without a Stud Finder
The methods below run from most reliable to least, so start at the top. If your wall is unusual, jump to the section that matches it.
Each method depends on a different signal, and combining two of them is what turns a guess into a location you trust.
Method 1: Check for Visual Stud Clues
Outlets and light switches are the strongest clue in the house. Electrical boxes get screwed to the side of a stud so the box does not float in the wall, which means a stud sits within about an inch and a half of each side of every receptacle.
Other clues worth a look: nail holes along the top of baseboard trim, faint dimples where drywall screws sit in rows, extra-wide patches of joint compound beside door and window casings, and visible seams where two drywall sheets meet. Older homes sometimes have baseboard painted shut, so run your finger along the top edge with a flashlight to feel for the bumps.
Mark the wall on both sides of the box, then measure. You have found your first stud either way.
Method 2: Use a Small Magnet
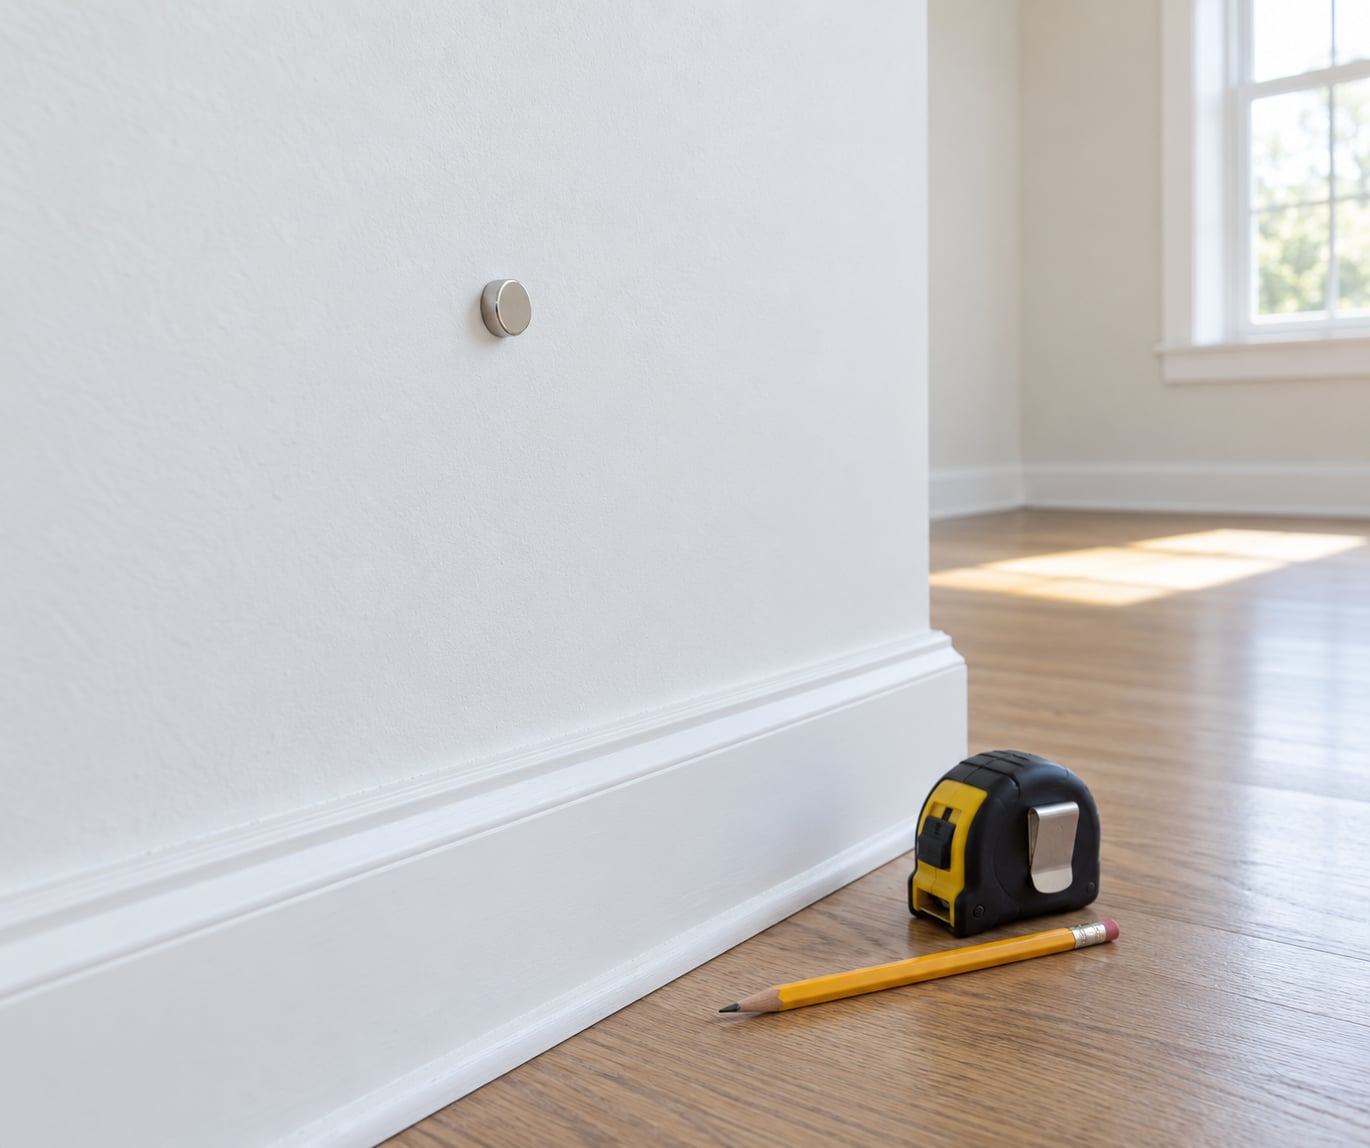
Drywall fasteners are steel, and a rare earth magnet sticks to them through half an inch of gypsum. Hold the magnet flat against the wall and slide it slowly in one horizontal pass. It will tug, then snap at each screw, which marks the stud face.
People ask about hanging a magnet on string for ceiling joists, and it works well for scanning a ceiling overhead without your hand in the way. Keep it simple on walls; the direct hand method is faster.
Expect false positives. Electrical boxes have metal, and so do some pipes, so a magnet that grabs near an outlet or a bathroom tells you metal is nearby, not that you found framing. Screws also appear on the wrong side of a stud for construction, so treat each hit as an edge and find a second hit 1.5 inches away before you trust it.
Method 3: Knock and Measure to Find a Stud Without a Stud Finder
Knock along the wall with a coin or your knuckle. Between studs you hear a hollow, boxy thud because you are hitting the air gap. Over a stud the sound turns flat and solid. Some people can tell instantly; most need a few passes to calibrate their ear.
Measuring does the heavy lifting. Standard stud spacing is 16 inches on center, which means the distance between the centers of two studs, not the gap of empty wall between them. Once you have one confirmed stud, mark 16 inches to each side and look for drywall fasteners or a solid knock there. Mark 16 inches again to find the next one.
Two caveats. Older houses sometimes use 24 inch spacing or nothing consistent at all, especially around additions and remodels. And knocking is a supporting clue, so confirm before you load a wall with weight.
Method 4: Make a Controlled Test Drilling
When the clues point somewhere but will not agree, drill a small pilot hole in a spot you will patch later, such as behind the future position of a shelf bracket or inside a closet corner.
Solid framing tells you immediately through the bit. It feels gritty and resistant, like boring into hardwood, and the bit may squeal. Hollow wall cavity feels like punching air with almost no resistance. Stop as soon as you sense the change, and switch to a spade bit only when the screw head shows up.
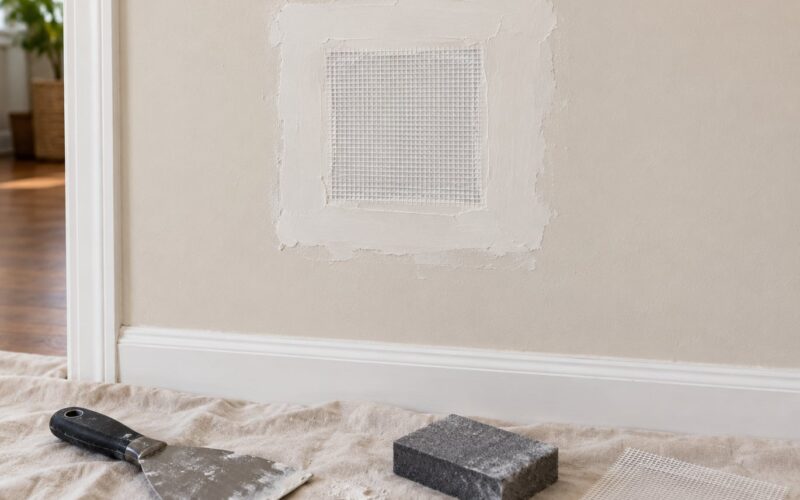
Keep the first hole to the size of the fastener you plan to use. A 1/8 inch hole patches with filler; a 3/4 inch hole needs a patch kit and a sanding session.
How to Confirm the Stud Location
Require two independent signals before you drill for real. One clue plus a guess is how people end up with a row of holes chasing the framing.
Good pairs look like this: an outlet box plus a 16 inch measurement, or a magnet hit plus a solid knock, or a flat sounding spot plus a screw found with the flashlight at a shallow angle. When you have two, mark the stud edges with pencil, then measure the width to work out the center. A standard 2×4 measures 1.5 inches across its face.
Mark the center, not just the edge. Screws and nails often sit an inch or two off center because they are driven where they will not split the wood, so a single fastener tells you almost nothing about the middle.
If the wall is a mystery, meaning a metal stud wall in an apartment, a concrete block wall, or plaster over lath, treat your result as provisional and consider a $30 electronic scanner before mounting anything heavy. If you are unsure what you are dealing with structurally, that is the point to stop guessing.
Common Mistakes
- Assuming a nail is the center. Fasteners are driven off center to avoid splitting. Measure the stud width instead.
- Measuring from an unverified edge. If the edge is a door jamb, you are measuring from trim, not framing. Find one real stud first.
- Trusting uniform spacing. 16 inches is the standard, not a law. Kitchens, bathrooms and finished basements often break the pattern.
- Drilling a large test hole. Start at the bit size you actually need.
- Probing near outlets and switches. Live wiring runs through those boxes, and the same goes for plumbing behind sinks and toilets.
- Using a weak souvenir magnet. If it does not stick directly to your fridge door with some force, it will not read through drywall.
- Believing the magnet on the first pull. Build up the list of hits first, then decide where the edges are.
Safety Before Drilling or Mounting
Drywall hides more than lumber. Electrical cable and plumbing run through the wall cavity, often routed through a knockout hole in the stud itself so a wire or pipe can pass through.
Stay well clear of above and below every outlet, switch and junction box, and avoid drilling in the band between a wall’s baseboard and roughly 6 inches above the floor in rooms where old work may have been patched. Wear eye protection, especially on plaster and lath.
Do not cut into a wall you suspect is load bearing without understanding what it does. For anything electrical, gas, or structural, use a licensed professional. Your local electrical inspector is a free and genuinely useful second opinion when you are unsure.
Frequently Asked Questions
How far apart are wall studs usually spaced?
Standard wood framing places studs 16 inches on center, meaning the distance between the center of one stud and the center of the next. Some walls use 24 inch spacing, and garages, closets and utility rooms are often built with wider or irregular layouts. Older homes can be less consistent, especially where rooms were added later.
Can I find studs in a finished wall without a stud finder?
Yes. Most finished walls give something away: electrical boxes are screwed to a stud, baseboard trim has nail holes, and drywall screws leave faint dimples in visible rows. Combine that with a 16 inch measurement from a confirmed stud and a tap test, and you can locate framing without buying a tool.
Do nail heads mark the center of a stud?
No. Fasteners are usually driven an inch or two to one side so the driver will not split the lumber, and they avoid the edges of the face for the same reason. One nail tells you roughly where a stud is, not where its middle is. To find the center, find two fasteners or tap out both edges, then measure in 1.5 inches.
What is the most reliable way to find a stud?
Start from an electrical outlet or light switch, because the box is always fastened to a stud. Measure 16 inches in each direction to locate neighbors, confirm with a magnet or a knock, then mark the center. On plaster over lath, the magnet method beats a knock test because the lath creates false hollow sounds everywhere.
Can I use a magnet to find metal studs?
A strong neodymium magnet is the best tool for metal studs, which are invisible to a standard wood-stud scanner. It grabs the metal web, the screws and the track, so you can sweep a whole wall in a few passes. Expect strong hits at corners and door openings too, and read them as edges rather than centers.
Should I drill a test hole to find a stud?
A small test hole settles arguments that guessing cannot. Drill at the bit size you need in a place you can patch, and solid resistance in the bit means framing while a hollow, easy push means an empty cavity. Keep it small, move a few inches if you miss, and patch before you mount anything.
Conclusion
Start at an outlet or a switch, mark the stud beside it, and measure 16 inches in each direction to find its neighbors. Run a magnet along the wall to find fasteners, tap to feel for the change from hollow to solid, and mark the center rather than a single nail. If two clues agree, you can mount into framing. If they disagree, drill one small test hole somewhere you can patch it before the real hole goes in.