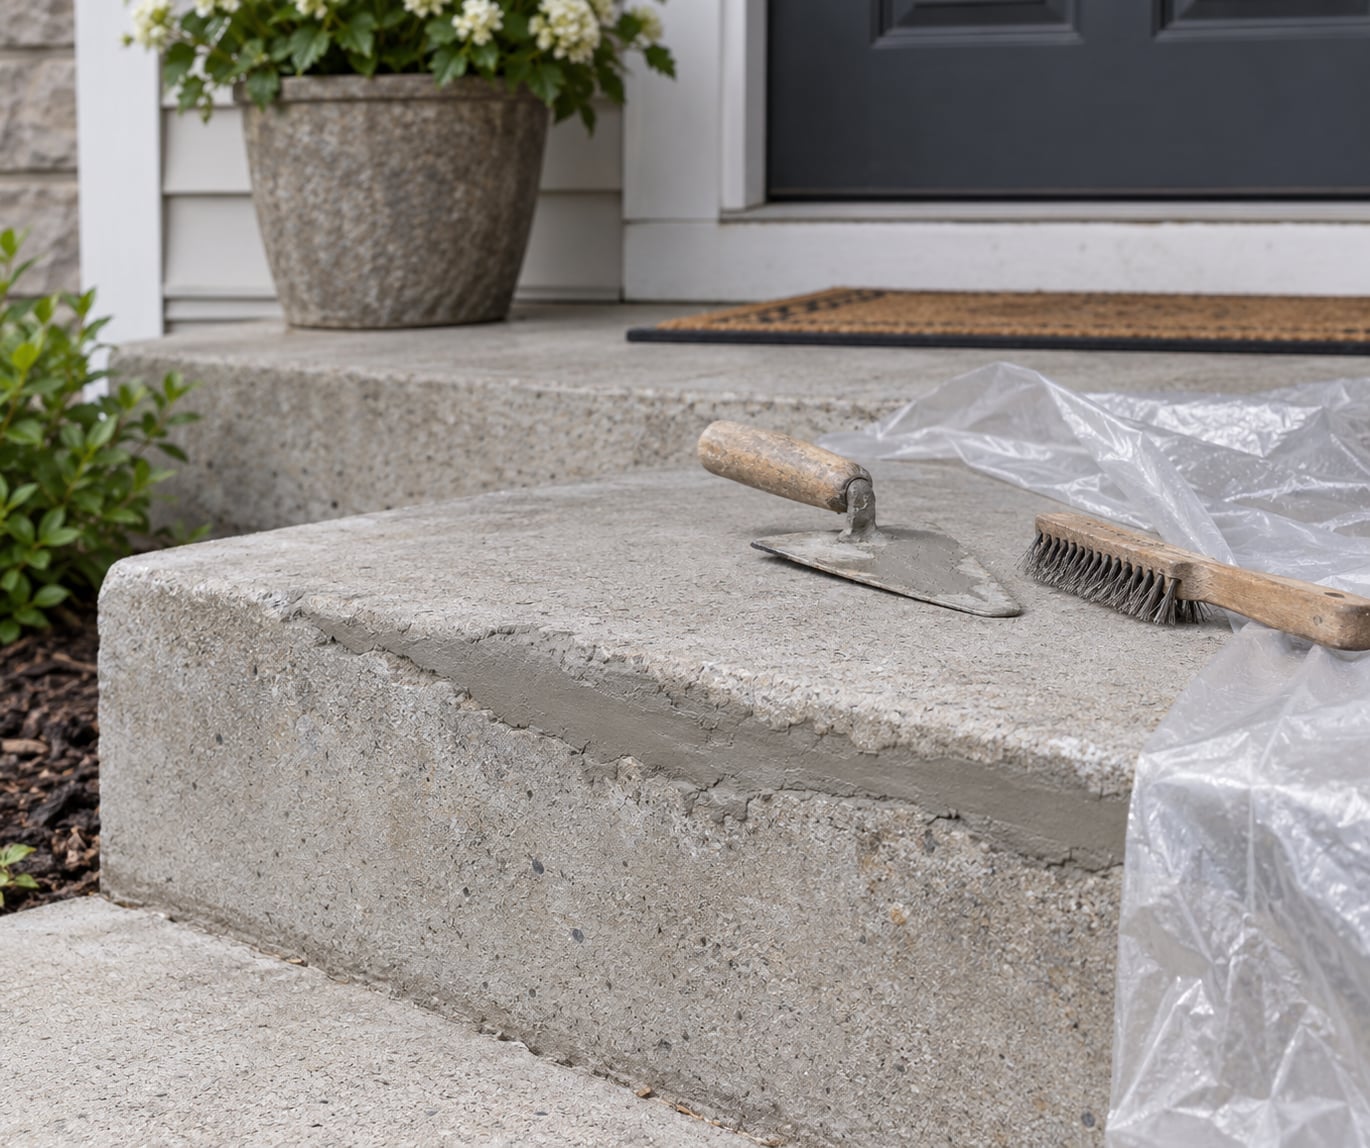
A cracked concrete step is usually a patch job, not a rebuild. Nearly every damaged step falls into one of two groups: narrow surface cracks that a flexible filler handles in an hour, and chips or broken edges that need mortar placed against a form and finished flush. Here is how to repair cracked concrete steps yourself, plus how to tell the difference between damage you can fix and damage that needs a mason.
The whole job is preparation and patience. The patch material is cheap and forgiving; dirty surfaces, shallow cavities and impatient curing are what make repairs fail in a season. Budget a Saturday for a front step, and keep the steps off until the cure is done.
Table of Contents
- What You Need
- Tools for assessing and preparing the step
- Materials by the type of damage
- How to Repair Cracked Concrete Steps Step by Step
- 1. Inspect the Crack and Check for Structural Damage
- 2. Clean and Prepare the Damaged Area
- 3. Open and Treat the Crack
- 4. Mix and Apply the Concrete Patch
- 5. Level, Smooth, and Blend the Repair
- 6. Seal and Cure the Repair
- 7. Check the Repair and Prevent Future Cracks
- Common Mistakes
- Patching over dust, moss or old sealer
- Patching a wet or a bone-dry surface
- Using pre-mixed vinyl patch where feet go
- Skipping the undercut
- Leaving a lip or a low spot
- Sealing or painting too early
- Repairing the same crack twice without diagnosing it
- Frequently Asked Questions
- Can I repair cracked concrete steps in cold or wet weather?
- What is the best material to use to repair cracked concrete steps?
- How long before I can walk on a repaired concrete step?
- Will a patched step match the rest of the concrete?
- When should I call a contractor instead of repairing concrete steps myself?
- Conclusion
What You Need
The tool list is short, and you probably own half of it already. What changes with the job is the repair material, and that depends entirely on how the crack behaves.
Tools for assessing and preparing the step
- Flashlight and glasses for looking into the crack at an angle. A hairline crack only shows up when light rakes across it.
- Gloves, safety glasses, and a dust mask. Grinding concrete throws sharp dust you do not want in your lungs or eyes.
- Cold chisel and hammer for knocking off loose concrete and undercutting the crack edges.
- Wire brush and stiff nylon broom to scrub off dust, laitance and old sealer.
- Shop vacuum or a leaf blower for getting concrete dust off the surface. Concrete dust that gets sealed under a patch is the number one cause of a repair that peels off later.
- Spray bottle and bucket for dampening the surface and mixing.
- Margin trowel and steel finishing trowel for placing and finishing the patch.
- Straightedge and 4-foot level to check the slope and the height of the finished repair against the rest of the step.
- Wood strip, screws or masonry nails, and a hammer if you are rebuilding a broken edge and need a form.
- Plastic sheeting and duct tape for curing. A square of plastic taped over the patch does more for the cure than any sealer.
Materials by the type of damage
Hairline cracks in sound concrete take an elastomeric or polymer-modified crack sealant, the kind sold in a cartridge that goes in a caulk gun. It stays a little flexible as the step flexes with temperature and freezes, which keeps it from splitting open again next winter.
Cracks between roughly 1/8 inch and 1/4 inch wide, plus small chips and spalled spots, take a polymer-modified concrete patch or a vinyl concrete patch. Read the bag before you buy: some products are rated for foot traffic only after several hours, some need a full cure.
Broken corners, spalled step edges and anything deeper than about 1/4 inch want a quick-setting cementitious repair mortar. Masonry pros reach for a hydraulic or polymer-modified quick-set product for stepped edges because it grips the vertical face and hardens fast enough that you are not waiting a full week on the one surface people actually walk on.
Avoid pre-mixed vinyl cement patch on any step you intend to stand on. It shrinks as it cures and does not hold weight, which is exactly the complaint that shows up over and over on r/DIY when people ask whether a tub of that stuff will hold up on a stair. That material has a place, but it is filling gaps in non-structural concrete, not rebuilding a nosing.
You may also want a concrete bonding agent, which is a latex or acrylic liquid brushed onto clean concrete to give new mortar something chemical to grab. A good number of modern patch mortars are polymer modified and bond to damp concrete without a separate adhesive, so the bag matters more than the category.
On safety: eye protection and gloves are not optional when you are chiseling or grinding concrete, and hearing protection matters if you use an angle grinder. Keep people off the steps while the patch sets. If the crack runs deep through the step, rebar is exposed, or the whole stair is shifting, stop assessing and call a qualified concrete contractor or mason rather than working around a structural problem.
How to Repair Cracked Concrete Steps Step by Step
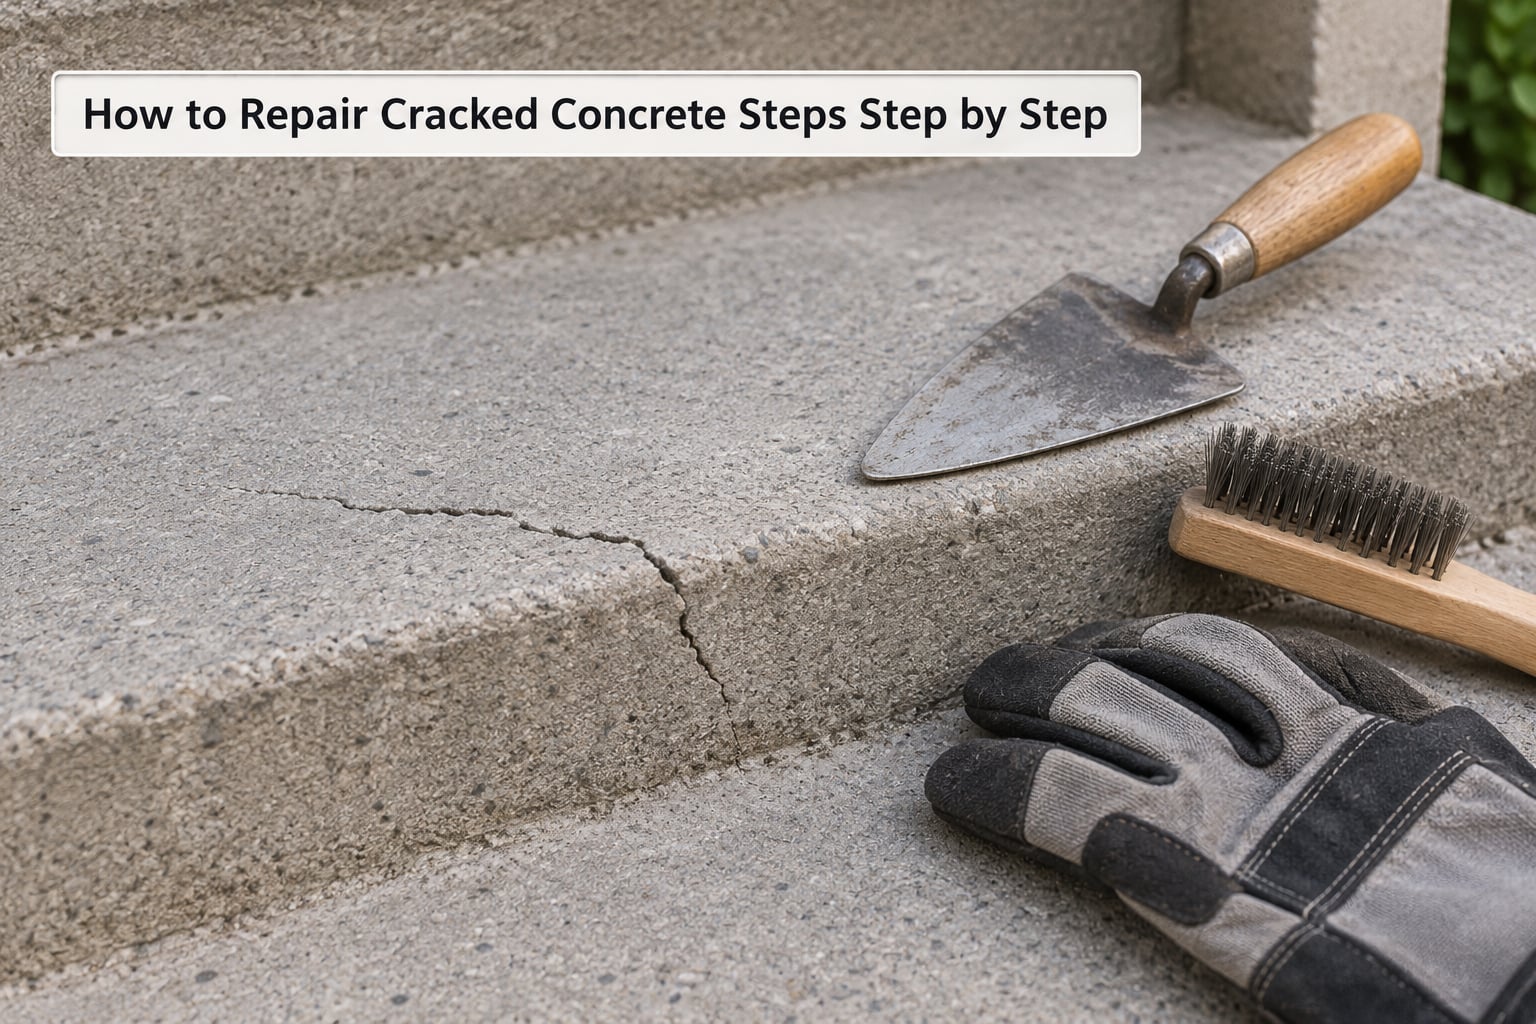
1. Inspect the Crack and Check for Structural Damage
Start by measuring, not by guessing. Hold a coin next to the crack or slide a flat card into it: a quarter is a shade over 1/4 inch, a nickel is close to 1/8 inch. Crack width tells you most of what you need to know.
A crack that is barely a hairline, stays the same width, and does not run all the way through the step is cosmetic settling. Fill it with sealant and move on. A crack around 1/8 inch to 1/4 inch wide, especially one that crosses the step from front to back, has let water in for a season. That still patches well on the DIY list, as long as the concrete around it is solid.
Call a mason when you see any of these: a crack wider than 1/4 inch that goes the full depth of the step, one that is full of rust-colored staining, one where the step has separated from the foundation or from the house and a gap you can see light through, or one that has already been patched once and cracked again along the same line. Add to that list steps that rock under your weight, risers that differ in height by more than a quarter inch, and a stair that sounds hollow when you knock on it with a knuckle. Hollow usually means water got in, rusted the reinforcement, and turned the interior to powder.
One more test that costs nothing: mark the crack ends with a pencil and write the date beside them. Check it in a month and again after a freeze-thaw cycle. A crack that measurably changed width moved, and movement means a mason.
2. Clean and Prepare the Damaged Area
Chisel off every loose, flaking, or crumbly piece. Tap lightly with the chisel held at a shallow angle and let the concrete break away on its own; if you have to hit hard, the surrounding material is already compromised and that is worth knowing before you patch.
Scrub the area with a wire brush and stiff broom until the fresh surface is grey and powdery, not dark and slick. Any old sealer, paint, or algae film has to come off, because patch material will not bond to it. A pressure washer works well here, but give the surface a full day to dry if you use one.
Vacuum or blow off all the dust. This step gets skipped more than any other, and it is why patches pop off a year later. Then dampen the concrete with a spray bottle until the surface is dark and damp but has no standing water. That state is called surface-saturated dry, and it is where you want to be: dry concrete pulls water out of fresh mortar too fast to cure properly, while a wet surface traps water against the old concrete and weakens the bond.
On a bagged patch product, damp concrete is also usually what the manufacturer wants, since most polymer-modified mortars bond better to a wet substrate than a dry one. If the bag says the surface must be dry, follow the bag.
3. Open and Treat the Crack
If the crack is too narrow to get material into, widen it on purpose. Set a cold chisel in the crack and tap the handle so the chisel cuts downward and slightly inward, undercutting the top edge. You want the cavity wider at the bottom than at the surface, so the patch locks in mechanically instead of just sitting in a slot.
Work along the length in short taps, keep the chisel moving, and brush the debris out often. Two things to watch: the chisel slips sideways out of the crack and toward your hands, so keep your non-dominant hand on the far end of the chisel, not near the head. And if you switch to an angle grinder, wear eye and hearing protection, use a masonry blade, and light pressure, because concrete dust from grinding is genuinely unpleasant to breathe and it will coat everything nearby.
Stop as soon as the crack has a clean V-shaped channel. Cutting into sound concrete to widen it further weakens the surface and leaves a wide feather edge that is hard to finish flush, which defeats the whole point.
For hairline cracks that are stable, undercutting is overkill. Just brush them clean, and run a cartridge of polymer crack sealant in a steady bead so it sits slightly proud of the surface. Caulk does not need a trowel; let it level and shrink.
4. Mix and Apply the Concrete Patch
Mix to the consistency the bag describes, which for most quick-setting repair mortars is somewhere between stiff cookie dough and wet sand. Put a scoop on the back of the trowel, turn the trowel over, and strike the edge across it. The mortar should hold together and break off clean at the strike-through. Too wet and it bleeds water out of the finish; too dry and it will not adhere to the undercut you just cut.
If your product calls for a bonding agent, brush it on after dampening and let it go tacky first. Painting it on soaking wet and immediately troweling over it just pushes the liquid around instead of letting it soak in.
Work the material into the repair from the bottom and the back side up. Press it in with the heel of the trowel rather than just dropping it on top, because the underside is where voids form. For an edge rebuild, set your form first, pack the mortar behind it, and let the board do the shaping so the nosing comes out straight.
Fill voids, do not overfill. Most patch materials shrink slightly as they cure, so finishing level with the surrounding step is right, and a bit proud is easier to grind down later than a low spot you have to build up. On the final pass, strike the surface off with the trowel held a few degrees off flat, drawing from the wet material back toward yourself.
5. Level, Smooth, and Blend the Repair
This is the step people skip, and it is the step that makes a repair look obvious from across the yard. The finished patch should carry the same slope, the same texture, and above all no lip where a shoe can catch.
Float the surface with a steel trowel held at a slight angle, then run the edge along the joint where the patch meets the old concrete to blend the seam. If the repair is on a step edge, use a margin trowel or a concrete edging tool to roll the nosing back to its original round or square profile. Check with a straightedge laid across the step and with a level held across the tread: a repaired spot that holds water is a repaired spot that goes soft next winter.
For a genuinely broken corner, build a form instead of freehand-shaping it. Screw or nail a straight wood strip to the face of the step, grease the face lightly so the mortar will not stick, and pack the mortar behind the strip. Screws set in a strip, or a couple of masonry screws driven into the sound concrete, give the patch something to bite into. Remove the form once the mortar has firmed up enough to keep its edge, usually after a few hours, then strike and float the face to match.
Color will not match perfectly, and trying to force it on site usually makes it worse. A grey patch on warm grey concrete reads as a shadow. If appearance matters more than durability, tint the final coat with a masonry stain once the repair has cured.
6. Seal and Cure the Repair
Curing matters more than sealing. Concrete gains most of its strength through the first week by hydrating slowly, and people who keep a patch damp through that week get a repair that outlasts one that was sealed hard the next morning.
Tape a sheet of plastic over the repair as soon as the patch has firmed enough not to stick to it. That holds humidity in without you having to remember to mist. Without plastic, dampen the patch with a hose or spray bottle several times a day for the first three days, then twice a day for the rest of the first week, and cover it with a damp towel or burlap in between. Keep people and pets off the steps for at least 24 to 48 hours, and follow the bag for what your product allows; some quick-setting mortars are walkable in about an hour, and using them well before they harden is how edges chip off later.
Check the product’s cure window before sealing. Applying a sealer to a patch that is still off-gassing or still soft traps moisture and leaves a blotchy, peeling finish. Most people seal a few days to a week after the repair, once it is firm, cool to the touch, and has taken on uniform color. A penetrating silane-siloxane sealer is the usual choice on exterior steps because it lets moisture escape rather than forming a film over the surface.
Work in decent weather. Concrete patch mortars want a surface above roughly 50 F, and above 90 F the surface can dry out faster than the mortar can cure, so patch in the shade or work early in the morning in hot weather. Skip rain until the patch has taken its initial set, and cover it if a shower moves in.
7. Check the Repair and Prevent Future Cracks
Once cured, walk the step with your weight, not just your eyes. A good repair feels like part of the step underfoot, holds a thumbnail bite at the joint, and does not shed dust when you scuff it. Compare the front edge height against the rest of the step and recheck the slope with the straightedge. If a crack you repaired last year is back on the same line, stop patching and get an evaluation.
Most cracks on entry steps start with water. Point the downspouts and gutter corners away from the stairs, and check that the ground slopes away rather than toward the step. A half inch of fall per foot is worth more than any sealer. If water runs across the tread and sits at the back edge, the step is feeding itself.
Winter is harder on these stairs than any load. De-icing salt attacks the surface and leaves it pitted, and water that soaks in and freezes expands from inside. Sand or kitty litter works nearly as well on a step and does no chemical damage. Keep the joints between steps clear of ice and mud so water can move, and avoid piling snow against the risers, which loads the step sideways.
Reseal every few years if your climate gets hard on concrete, and watch the stairs after a rough winter. A pencil mark with a date next to any new crack turns a guess into a measurement.
Common Mistakes
Almost every failed patch I get asked about comes down to the same handful of mistakes. None of them are about skill; all of them are about skipping ahead.
Patching over dust, moss or old sealer
The repair looks great the day you do it and peels off in a season. Concrete dust, algae film, and old penetrating sealer all sit between your patch and the sound material. Scrub with a wire brush until the surface turns light grey, then vacuum or blow it off right before the material goes on.
Patching a wet or a bone-dry surface
Standing water weakens the bond at the interface. Bone-dry concrete sucks water out of the fresh mortar faster than it can cure, leaving a dusty crumbly patch at the edge. Dampen first, wait a few minutes for the surface water to soak in, and patch when the concrete is dark but no puddles are sitting on it.
Using pre-mixed vinyl patch where feet go
This comes up constantly on home repair forums. Pre-mixed vinyl patch shrinks during curing and does not carry load, so it ends up dished out of the nosing within a year. It is fine for filling small gaps in vertical or non-structural concrete. For a walked-on step, use a cementitious or polymer-modified repair mortar, and skip the cheap tub if you want the repair to last.
Skipping the undercut
Filling a crack with a flat or even-sided shape gives the patch nothing to hold onto, and the first freeze-thaw cycle pushes it out. Angle the chisel inward as you step 3 describes, so the cavity is undercut below the surface.
Leaving a lip or a low spot
Overfilling is common because fresh mortar looks like it settles more than it does, and it leaves a raised edge that catches a shoe heel. Strike the patch off level, check it with a straightedge, and remember that a low spot holds water.
Sealing or painting too early
Sealer on a curing patch traps moisture and flakes. Let the repair firm up and reach its final color first, follow the cure times on the bag, and keep foot traffic off while you are there. Painting steps is its own headache, since exterior masonry paint on a concrete tread peels under foot traffic; a masonry stain or a penetrating sealer is the more sensible finish.
Repairing the same crack twice without diagnosing it
A crack that reopens in the same place is telling you the step is still moving. That means settling soil, a failed expansion joint, a shifting pad, or water getting in from underneath. No patch survives that, and calling a contractor early is cheaper than a third round of repairs.
Frequently Asked Questions
Can I repair cracked concrete steps in cold or wet weather?
Not really. Most concrete patch mortars want a surface above about 50 F and above freezing, and they need several hours without rain to take their initial set. Cold weather slows the cure dramatically, and a falling shower washes out the surface before it hardens. Wait for a dry stretch with daytime temperatures in the 50s or warmer, patch early in the morning, and cover the repair with plastic if a shower moves in overnight.
What is the best material to use to repair cracked concrete steps?
It depends on the crack. Hairline, stable cracks want a flexible polymer-modified crack sealant or elastomeric caulk in a cartridge. Cracks between 1/8 and 1/4 inch, chips, and spalled spots take a polymer-modified concrete patch. Broken corners and deeper edge damage want a quick-setting cementitious repair mortar placed against a form. Avoid pre-mixed vinyl patch anywhere a foot will land.
How long before I can walk on a repaired concrete step?
Give it at least 24 to 48 hours for a standard patch, and follow the bag, because some quick-setting mortars are walkable in about an hour while others ask for longer. Full strength takes roughly 28 days, so keep heavy foot traffic, lawn equipment, and stacked material off the repair for the first week. Keep it damp and covered for that first week either way; that is what turns a patch into something durable.
Will a patched step match the rest of the concrete?
Not exactly, and chasing a perfect match on site usually makes the repair stand out more. Age, road dust, and moisture leave concrete a shade nobody can buy off a shelf. Finish the repair with a masonry stain matched to the existing color, and do it after the patch has fully cured so you are coloring cured mortar, not fresh mortar. Some people leave the patch proud and let wear blend it in over time.
When should I call a contractor instead of repairing concrete steps myself?
Call a qualified concrete contractor or mason when the crack runs the full depth of the step and is wider than a quarter inch, when reinforcement is exposed or rust is bleeding out, when a step has separated from the house and you can see a gap, when the treads rock or the risers no longer match in height, or when a previous repair failed along the same line. Those point to movement or water inside the slab, and no patch material fixes movement.
Conclusion
Start by measuring the crack and knocking off anything loose. If the concrete is sound around the damage, clean it down to bare grey, dampen it, undercut any narrow crack, and fill it with a polymer-modified patch or a quick-setting repair mortar placed against a form if it is an edge. Keep it damp under plastic for a week, seal it afterward, and stay off it until the bag’s cure time has passed.
Cracks that run the full depth, steps that rock or separate from the house, and repairs that have already failed twice are movement, not wear. Bring in a concrete professional for those, before you spend another weekend on a patch that will not hold.