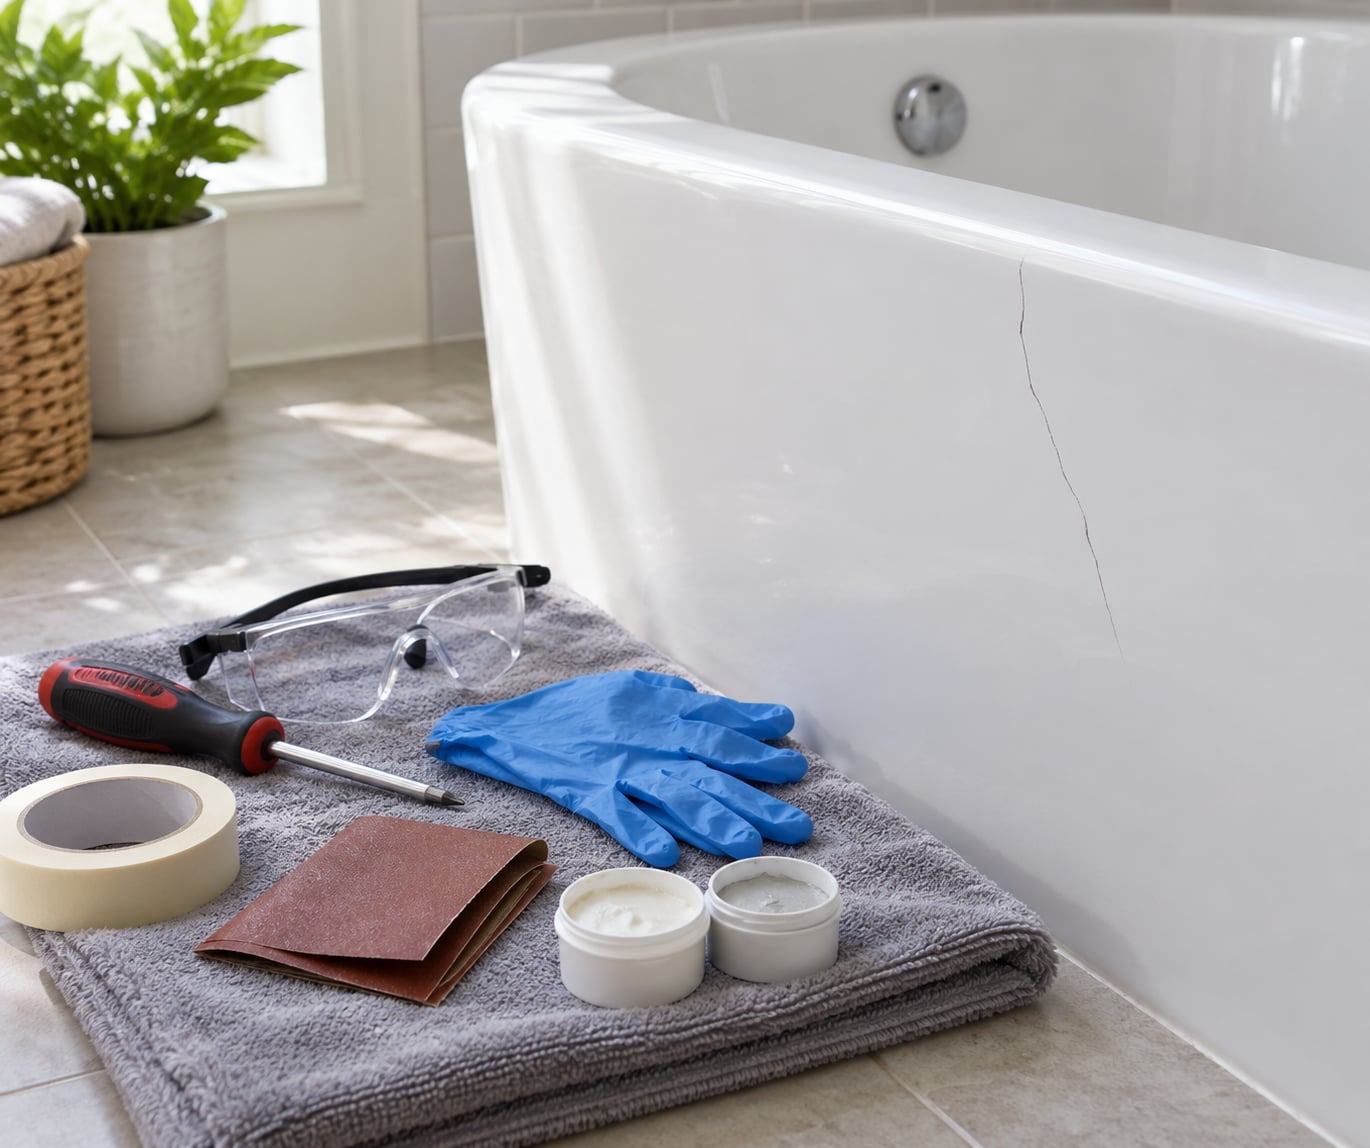
Most cracked bathtubs can be patched, but only when the damage is a stable crack in the shell rather than a split in a tub that flexes or is sinking. Learning how to fix a cracked bathtub comes down to two questions before you open any tube of resin: what is the tub made of, and is the crack still moving. A small, stable crack in a fiberglass or acrylic tub is a few hours of work with a repair kit, while an active leak, a crack around the drain, or a tub that shifts under your weight belongs with a professional.
The mistake I see most often is skipping that second question. Someone patches a hairline crack in the tub floor, it looks perfect, and three months later the same crack is back with a bigger hole beside it. The filler did not fail — the tub kept moving under it.
So this guide walks through the whole decision, then the actual repair. It takes about two to four hours of work spread over a day or two, mostly waiting for things to cure.
Table of Contents
- What You Need
- The basic kit
- What to use for each tub material
- How to Fix a Cracked Bathtub Step by Step
- Step 1: Identify the Bathtub Material and Crack Type
- Step 2: Decide Whether the Crack Is Safe to Repair
- Step 3: Clean and Prepare the Crack
- Step 4: Apply a Material-Compatible Repair
- Step 5: Sand, Smooth, and Cure the Repair
- Step 6: Check the Repair for Leaks
- Common Mistakes When Fixing a Cracked Bathtub
- Frequently Asked Questions
- Can a cracked bathtub be repaired?
- Is a leaking cracked bathtub safe to keep using?
- How long does a DIY bathtub crack repair take?
- Does epoxy work on a bathtub?
- Can a repaired bathtub be refinished afterwards?
- When is replacing the tub better than repairing it?
What You Need
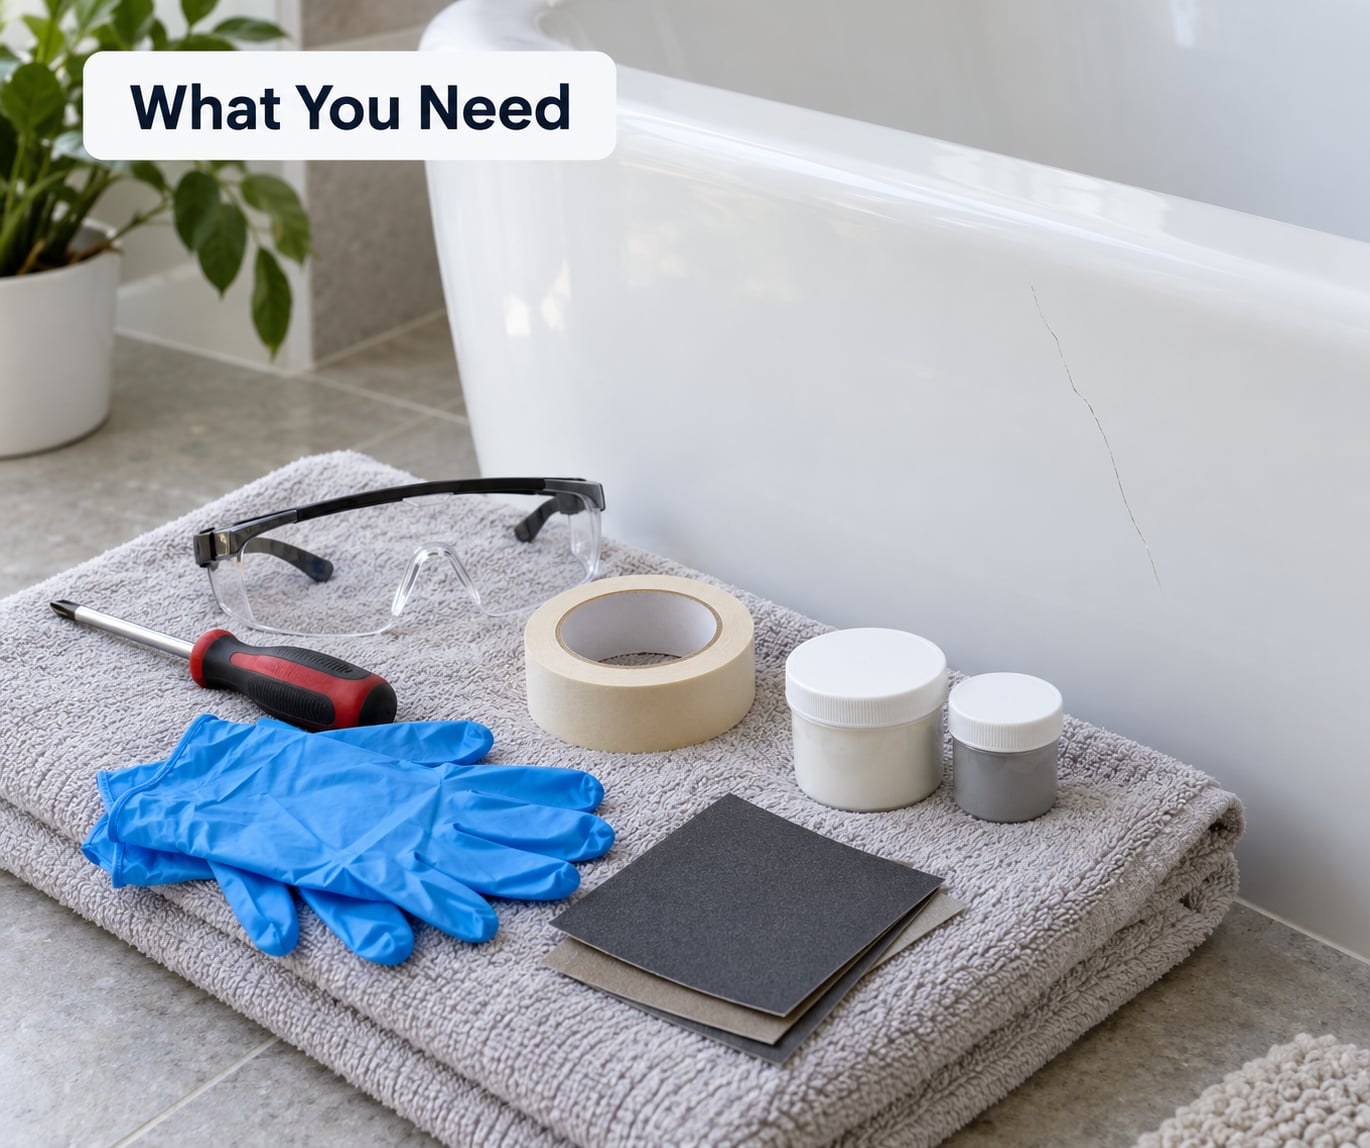
A tub crack repair needs a short, specific list rather than a full workshop. Most of the job is preparation, and preparation is what decides whether the patch lasts.
The basic kit
- A bathtub repair kit matched to your tub material, or a two-part epoxy resin and its hardener
- Fiberglass mesh or mat, cut to roughly twice the length of the crack
- A putty knife or flexible spreader for pressing the compound into the crack
- Sandpaper in 120, 220, 400 and 600 grit, plus a sanding block
- 91 percent isopropyl alcohol and clean rags or paper towels
- A drill with a small stop-hole bit, for cracks that are still growing
- A utility knife, a straight edge, and painter’s tape for masking
- Nitrile gloves, eye protection, and a dust mask for the sanding steps
What to use for each tub material
- Acrylic or fiberglass: a two-part epoxy, polyester resin with hardener, or a store-bought acrylic repair kit. Fiberglass mesh under a hairline crack, or a filler paste on its own for a chip.
- Porcelain enamel over cast iron: a porcelain-compatible repair enamel or chip-fill compound. Body filler is not a substitute, and standard household epoxy will not bond reliably to glassy enamel.
- Solid surface or cultured marble: a repair compound matched to that surface, applied per the manufacturer’s instructions. These materials sand easily and colour-match more closely than plastic tubs.
For a small, stable, non-structural crack, this list is the whole job. Skip the mesh for a hairline craze, and use it for anything wider than the head of a pencil.
For a crack that leaks, sits around the drain or overflow flange, or travels across a tub that moves when you stand in it, call a qualified tub installer or a refinisher instead. Those cases need support work under the tub, a judgement about the subfloor, or both, and a patch on top only hides the problem.
How to Fix a Cracked Bathtub Step by Step
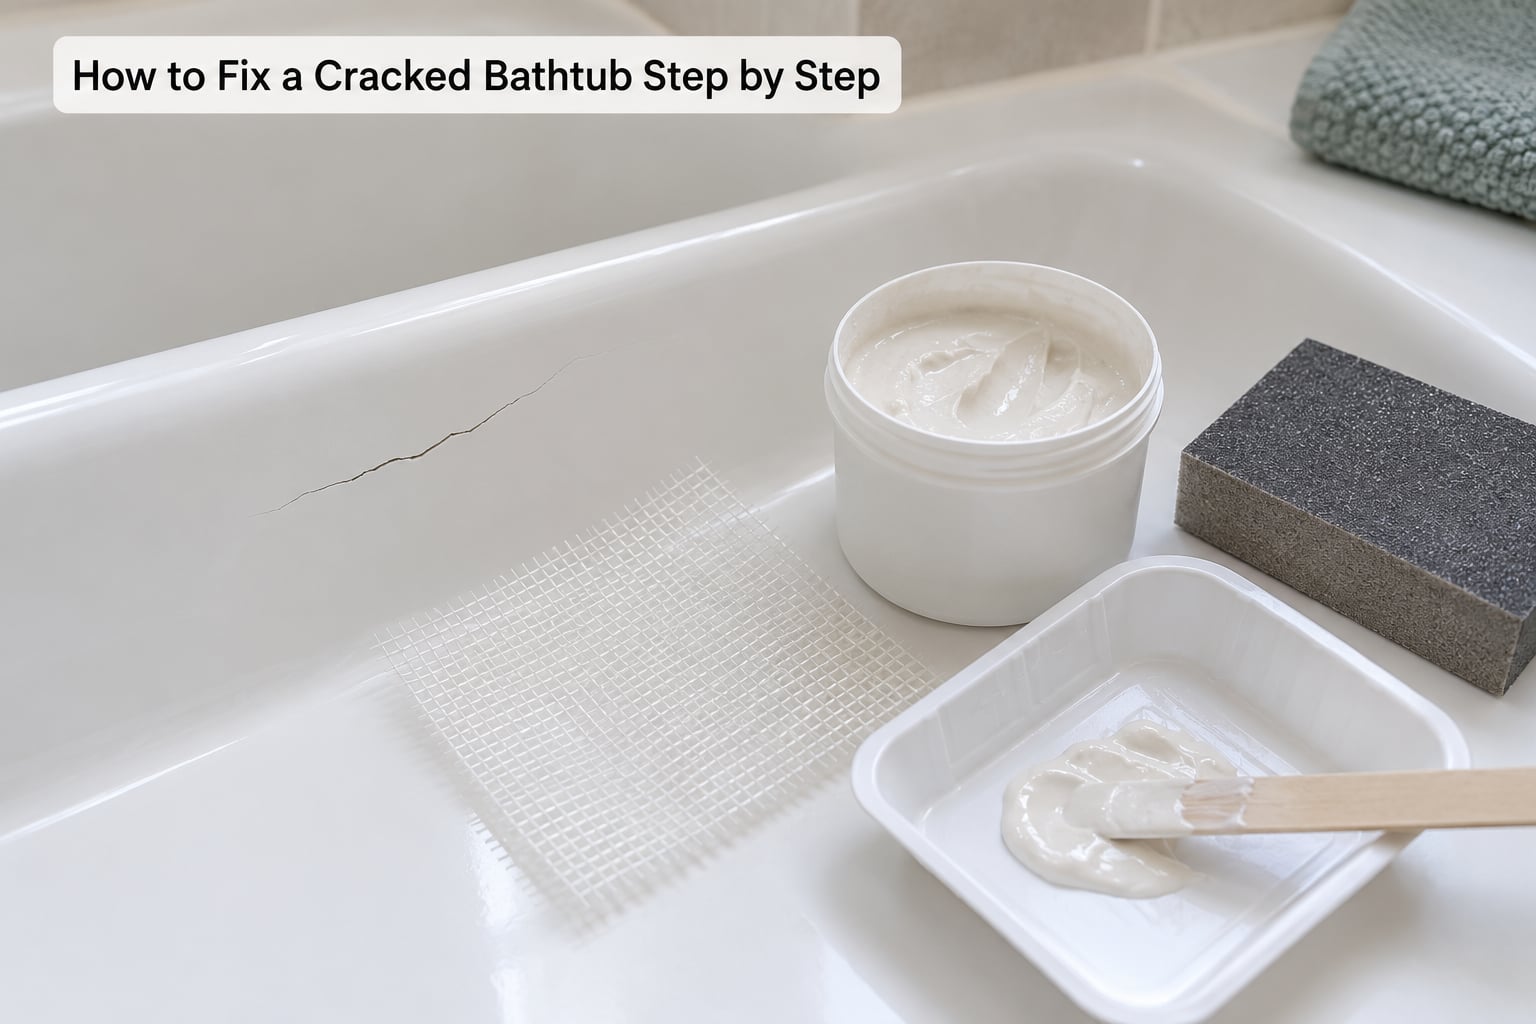
Work in this order and the repair is straightforward. The gate is Step 2 — do not start sanding until you know the crack is not moving.
Step 1: Identify the Bathtub Material and Crack Type
Acrylic and fiberglass tubs feel slightly warm, hollow and springy when you knock on them, and the surface has a soft gel-coat sheen. Porcelain enamel over cast iron is heavy, rigid, cold to the touch and rings when you tap it. Solid surface tubs feel thick and stone-like, with colour running through the material rather than sitting on top as a coating.
Then classify the damage itself. A hairline surface crack is a thin line in the coating that does not open when you press on either side. A wider opening is a split you can feel with a fingernail or see daylight through. A loose or shifting section moves, clicks or sounds hollow when you press it. A crack associated with a leak shows water below the tub or a damp ceiling in the room underneath.
Most real-world cracks land in the last category — a floor crack near the drain, often almost circular. That is the case the rest of these steps are written for.
Step 2: Decide Whether the Crack Is Safe to Repair
Repair it yourself when the crack is short, the surface around it is firm, the tub does not shift, and nothing is leaking. Call a professional when water is already coming through, when the crack has been repaired before and re-opened, when it runs into or around the drain or overflow flange, when the tub sags or moves noticeably, or when a cast iron tub shows rust bleed at the crack.
Do the flex test before anything else: have someone else watch from outside the tub while you step in and shift your weight from foot to foot. Movement, creaking or a spongy feel means the tub is unsupported, and a patch alone will fail within months. The fix for that is under-tub support — expanding structural foam injected from below through a hole drilled in the flange area, or a mortar or bed of mix poured under the tub. Get that in place first, let it cure, then patch.
If water is leaking to the space below, stop using the tub now, turn off the water supply to it, dry the area, and deal with the water damage. A slow drip into a ceiling will cost more than the tub ever did.
Step 3: Clean and Prepare the Crack
Mask off the surrounding area with painter’s tape and protect the drain. If the crack is close to the drain or overflow, remove the overflow cover plate and lift the drain flange out before you start, so the repair is not fighting a fitting.
Scrape out any loose gel-coat or softened material with a utility knife, then scuff the surface around the crack with 120 grit. Feather the scuffed area wider than the crack rather than digging into it — you are preparing the surface for adhesion, not shaping a hole. Wipe the area with 91 percent isopropyl alcohol to remove soap scum, body oils and wax, and let it dry completely. On acrylic, prefer alcohol over acetone, which can attack some gel-coats.
Wear gloves and eye protection, keep the room ventilated, and put on a dust mask when you sand. Skip the harsh cleaners; none of them help the epoxy bond.
Step 4: Apply a Material-Compatible Repair
Mix the resin and hardener exactly as the label states, in a disposable tray. You get a few minutes of working time, so mix a small batch rather than the whole kit. A common mistake is measuring “about right” instead of by volume — the ratio is what makes the epoxy cure hard instead of staying gummy.
Press the compound into the crack with the putty knife, working along its length and pushing the material into the ends. On a crack wider than a pencil line, lay fiberglass mesh over the wet resin, extend it an inch past each end, and saturate it so it wets out with no dry patches. Build thin layers rather than one thick one; each layer needs its own cure.
If the crack is visibly growing, drill a small stop-hole at each end before you fill. The relief hole stops the crack from continuing past the point where you stopped working, and owners on DIY forums consistently confirm this step before applying anything. Fill those holes too.
Follow the manufacturer instructions on the kit for temperature, working time and cure. Do not substitute body-shop filler for a tub repair, and do not mix brands of resin and hardener.
Step 5: Sand, Smooth, and Cure the Repair
Wait for the full cure time the label specifies before touching the repair — the surface may feel dry long before the resin has hardened underneath. Then sand it flush with the surrounding tub, starting around 220 grit and working up through 400 to 600 for the final finish. Feather the edges outward so there is no lip to catch a towel, and use wet sandpaper on porcelain enamel to keep dust down.
Wipe the dust away with a damp cloth, then a final alcohol wipe. If colour matters, apply appliance enamel or touch-up paint matched to your tub in thin coats, letting each one dry before the next. Sand the finish lightly between coats with 600 grit.
Give the whole repair the full cure the manufacturer specifies, commonly 24 hours, before the tub sees water or anybody’s weight. That wait is the cheapest insurance in the job.
Step 6: Check the Repair for Leaks
Fill the tub with a controlled amount of water rather than running the shower into it, and leave it while you work elsewhere. Then check underneath the tub, along the flange, and on the ceiling or wall of the room below. Feel along the repair line for dampness and look for a colour change at the edges of the patch.
A repair that stays dry and rigid has held. One that beads with water, softens, or develops a hairline crack right at the edge of the patch means the tub is still moving, and the compound was never the right answer. At that point, stop, dry everything out, and get the tub inspected before spending another evening on it.
Common Mistakes When Fixing a Cracked Bathtub
- Repairing an active leak. Stop the water and dry the tub first, or you are sealing a wet joint that will fail again.
- Skipping the stop-holes. A growing crack resumes at the ends and the new repair fails within weeks.
- Using the wrong compound. Household epoxy and body filler on a tub is the most common reason a repair pops later. Match the product to the material.
- Applying over soap residue. Alcohol wipe the area after sanding and before the resin goes on, every time.
- Sanding too early or too hard. Wait for the full cure, feather the edges, and stop at the crack line rather than scuffing the whole tub.
- Testing before the cure is complete. Water and load in a half-cured patch is how a good repair turns into a bad one.
- Ignoring a moving crack. If the tub flexes, support it from below first. No filler, kit or paint fixes a tub that keeps moving under load.
One safety note to keep in front of you: a patch that looks perfect is still only a surface fix. If the crack went through the shell, the tub is unsupported, or water is reaching the room below, have it looked at properly before you use the bath again.
Frequently Asked Questions
Can a cracked bathtub be repaired?
Most can. A short, stable crack in an acrylic, fiberglass or porcelain enamel tub is repairable with a matched compound and mesh, and the result can be nearly invisible. Cracks around the drain or overflow flange, cracks in a tub that flexes or sags, recurring cracks, and any tub that is leaking need a professional rather than a patch.
Is a leaking cracked bathtub safe to keep using?
No. Stop using the tub, turn off the water supply feeding it, and dry the area as soon as you can. A crack in the shell lets water into the subfloor and the room below, and that damage grows quietly. Get the tub assessed before anyone uses it again.
How long does a DIY bathtub crack repair take?
Two to four hours of active work for a small crack: roughly an hour preparing and cleaning, an hour applying the compound and mesh, and the rest sanding and finishing. The longer constraint is cure time. The repair needs the full cure the manufacturer specifies, commonly 24 hours, before water or weight goes on it.
Does epoxy work on a bathtub?
Yes, when it is the right kind. A two-part epoxy or polyester resin bonds well to the gel-coat on acrylic and fiberglass tubs, ideally with fiberglass mesh under the crack. On porcelain enamel, use a porcelain-compatible repair enamel or chip-fill compound. Rigid body filler and general-purpose hardware epoxy are poor choices on tubs.
Can a repaired bathtub be refinished afterwards?
Yes, and it is a sensible next step if several areas are damaged or the colour has gone patchy. A refinisher will strip the old coating, repair any remaining cracks and lay down a new finish across the whole tub. Wait until your repair is fully cured, and tell the refinisher it is there so the new coating bonds properly.
When is replacing the tub better than repairing it?
Replace it when the crack runs around the drain or overflow flange, when the tub moves or is unsupported, when the subfloor or the framing behind it is damaged, when the same crack has already been repaired twice, or when the tub is cast iron with rust bleed at the break. Those repairs cost more than the tub is worth, and a patch would only hide the problem.
Start with the flex test and a look at the material. If the tub is firm, the crack is small and nothing is leaking, patch it with a compound matched to the surface, over mesh, and give it the full cure. If it moves, drips or sits by the drain, get a tub professional in before you buy a single kit.