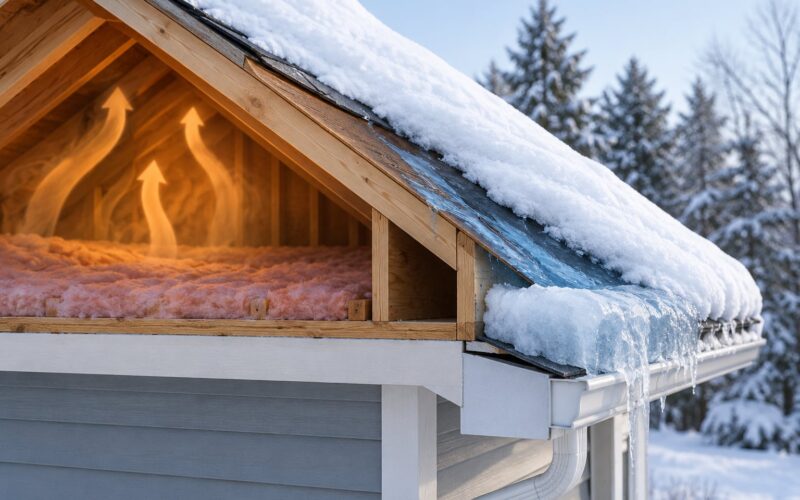
An ice dam is a ridge of frozen meltwater that builds up at your eaves, blocks runoff, and pushes the next wave of water back under the shingles. The good news is that you can learn how to prevent ice dams without a roof rake, because the rake was never fixing the cause.
The cause is heat leaving the living space and warming the roof deck from above. Snow melts high on the roof, the water runs down, refreezes over the cold overhang, and dams up. Control the attic heat, keep the water moving, and you never have to set a ladder in a freeze.
Before anything else: nobody walks a snow-covered or icy roof, and nobody climbs a ladder alone in freezing weather. Every method below happens in the attic, at the gutter, or with a contractor on the ground.
Table of Contents
- What You Need to Prevent Ice Dams Without a Roof Rake
- Step-by-Step: Rake-Free Ice Dam Prevention
- Step 1: Insulate the attic floor before the heating season
- Step 2: Air-seal gaps that let warm air into the attic
- Step 3: Keep drainage paths and roof features clear
- Step 4: Use professionally installed roof heating cables where appropriate
- Step 5: Have a roof professional address persistent drainage or design problems
- Common Mistakes That Make Ice Dams Worse
- Frequently Asked Questions
- What is the most effective way to prevent ice dams without a roof rake?
- Can I remove snow from my roof with a broom or shovel instead?
- Do roof heating cables prevent ice dams completely?
- How much attic insulation do I need to prevent ice dams?
- Should I put extra insulation on top of existing attic insulation?
- When should I call a roofer about recurring ice dams?
- Conclusion
What You Need to Prevent Ice Dams Without a Roof Rake
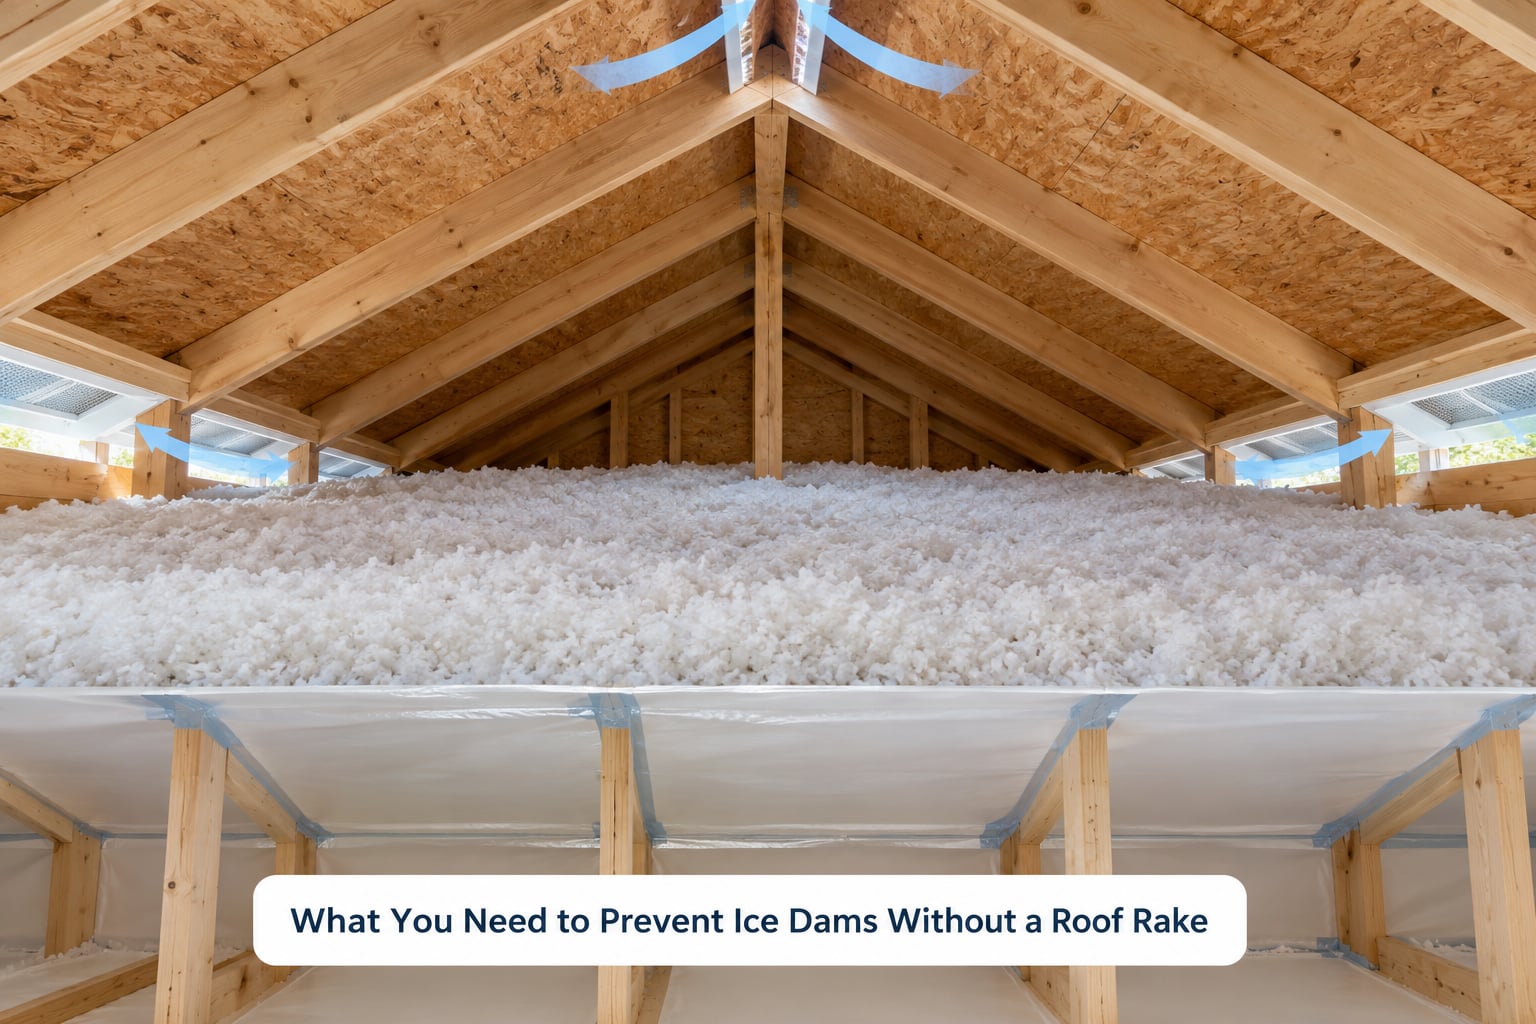
Most of the work is diagnostic, and you can do the first pass yourself from the attic hatch on a cold, still day.
- A bright light and a flashlight. Both, because a headlamp leaves your hand free to hold a pencil.
- Incense or a smoke pencil. Watch the smoke on a windy day and it will show you exactly where air is moving through bypasses.
- Tape measure. To check insulation depth and to confirm the attic floor is covered edge to edge.
- Caulk, sealant, and a foam gun for sealing gaps you can reach safely from the floor of the attic.
- An infrared thermometer or a borrowed blower door test. Cheap, fast, and it turns guesswork into numbers.
- A roofer, insulation contractor, or energy auditor for anything behind drywall, above a vaulted ceiling, or on a steep or tall roof.
Two items are not on that list on purpose: an axe, a chisel, and a blowtorch. Every one of those turns a small problem into a roof replacement.
Step-by-Step: Rake-Free Ice Dam Prevention
Work these in order. Each one is cheap on its own, and skipping ahead to the last two means paying to manage a symptom that the first three steps would have prevented.
Step 1: Insulate the attic floor before the heating season
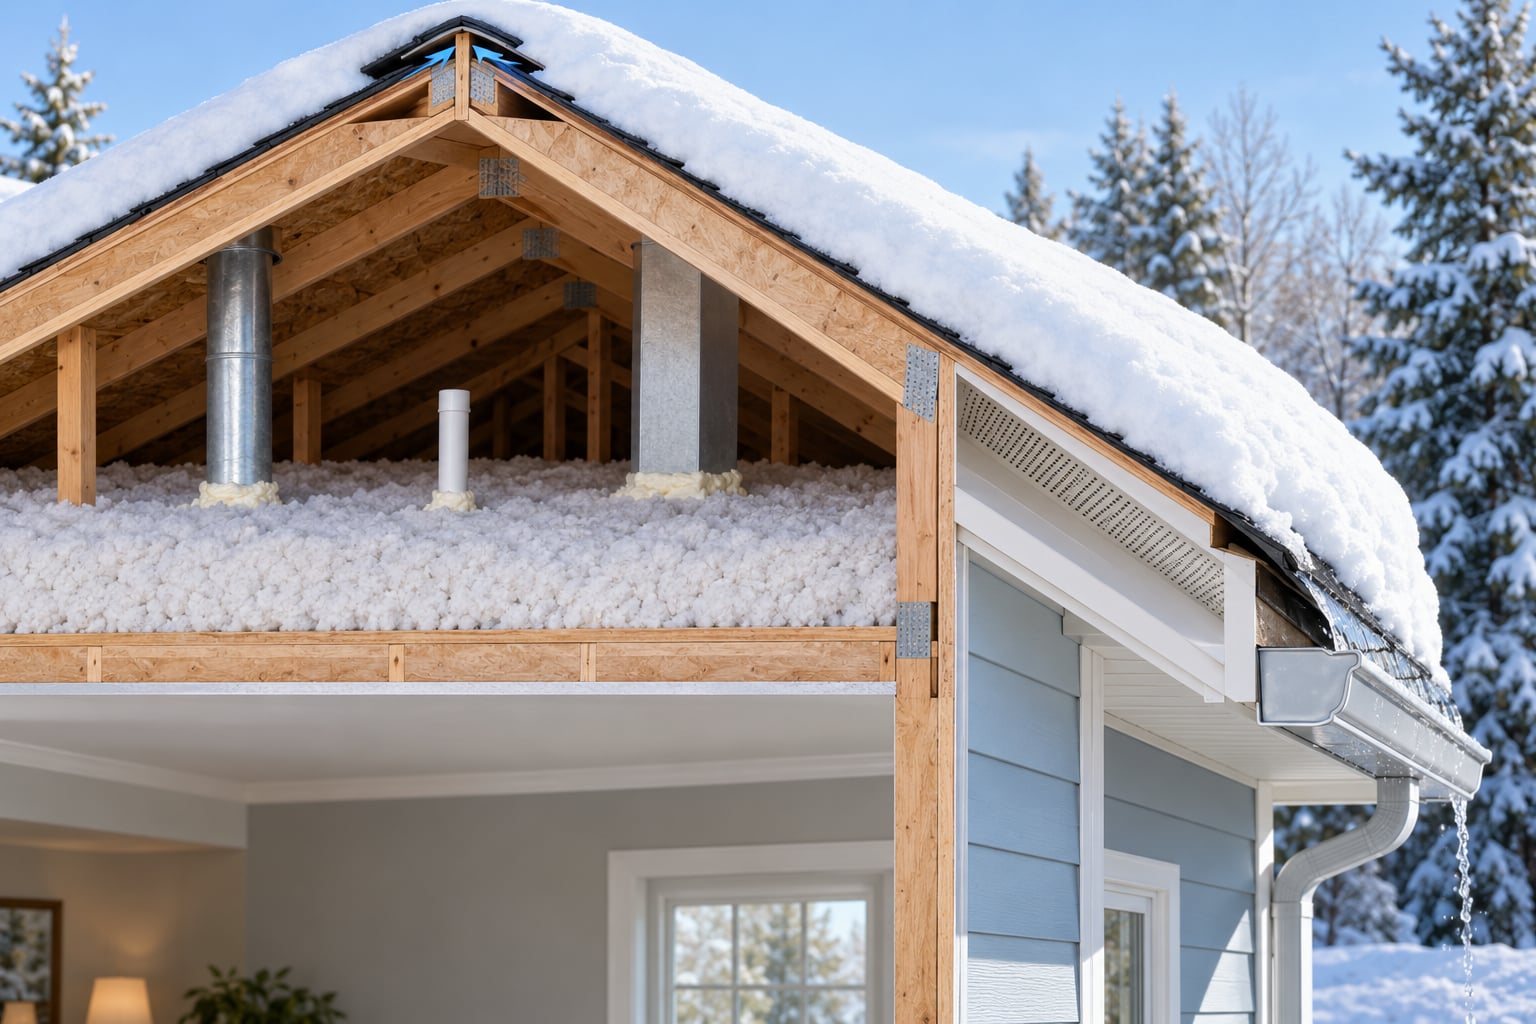
Insulation on the attic floor is the heat break between your warm rooms and the roof deck. When it is thin or missing in patches, the deck warms from below, snow melts, and the meltwater has somewhere to go except downhill into the eave.
Check for uniform coverage at the same depth across the whole floor, with no thin spots, no settled areas, and no bare rim joists around the perimeter. Rim joists are the first thing homeowners miss, and they run the full length of the house right where the eave is.
Two quick numbers: most of the northern US and Canadian snowbelt wants a higher insulation target than a mild climate would, and blowing insulation over existing batts is a normal way to get there. Where the depth matters is the perimeter, at the rim joist, and inside any area where the ceiling steps up or down.
You can tell it worked by watching a storm. If a fresh fall stays on the roof and the eaves drip only after a mild sunny afternoon, the deck is no longer being warmed from the house. Snow sitting on a well-insulated roof is a good sign, not a warning.
Step 2: Air-seal gaps that let warm air into the attic
Insulation without air sealing is a weak move, and this is the single most common reason a homeowner’s insulation upgrade did nothing. Air bypasses carry humid, warm air into the attic, and that air carries far more heat than the same volume of air sitting still behind insulation.
Start from the hatch with the smoke pencil and look for the usual suspects: gaps around light fixtures and ceiling boxes, the tops of exterior walls, the drywall-to-plumbing penetrations, the attic access hatch and its frame, and the joint where the chimney or flue enters the space. Bypasses cluster in those spots because that is where the ceiling gets cut and patched.
Seal what you can reach safely: caulk or sealant on small gaps, sealant on the hatch frame, and a listed firestop or plaster ring where a cable or pipe passes through a box. Some of these are electrical items, so if you find a gap around a light fixture that is anything more than caulk-sized, stop and have an electrician look at it.
Know when to stop and call a contractor. Flexible duct connections, penetrations buried behind a wall or a bathtub surround, and any of this inside a vaulted or cathedral ceiling need someone who can open it up. A blower door test before and after is the cleanest way to know whether the sealing worked.
Step 3: Keep drainage paths and roof features clear
Meltwater has to leave. If it cannot, freezing water becomes a dam no matter how good your attic is. Walk the ground line and look at the gutters, downspouts, valleys, and any internal roof drains while the weather is dry.
Clean the gutters twice a year, before the first freeze and after leaf drop. Check that each downspout discharges somewhere sensible and that extensions do not discharge against the foundation, and confirm that the connections between gutter sections are tight. On homes with internal roof drains, the strainers and the drain leader are the whole system, and they need clearing more often than most people expect.
On the roof side, look at the valleys and the flashing details around chimneys and skylights. Restricted drainage usually shows up in a specific place year after year, and that repeat pattern is useful information for a roofer later.
Never pry ice out of a gutter by hand from a ladder. Homeowners have pulled the gutter free from the fascia that way and turned a small problem into a fascia repair. If you want to clear ice at the edge, the safe method is a roof professional with the right equipment.
Step 4: Use professionally installed roof heating cables where appropriate
Roof heating cables melt a channel through the ice at the eave so meltwater can drain and refreeze harmlessly on the way out. That is genuinely useful on a specific trouble spot, and it is the least effective tool on this list for anything else.
Have the cable selected and installed according to the instructions for your roof system, on a GFCI-protected circuit, with the run extended about six inches past the exterior wall line. Mounting style matters more than most buyers expect: clips that fasten to the roof surface leave visible marks, and clip-on designs that clamp to the shingle edge can slip in wind.
Be honest about the ongoing care. The cable needs power and it needs to be switched on for a few hours before a storm, not after the melt starts. Most of the failures I hear about are cables that were never turned on, or were installed on a circuit that is no longer GFCI protected.
There is a fair argument against them as a first move. Installers commonly report a jump in energy use of around 20 percent, a service life in the range of three to five years, and warranties that cover parts rather than labor. Cable also melts a path that can refreeze a few inches downhill if the run stops short. One roofer I read put it bluntly: many of the ice dams they remove each winter are on houses that already have heat cable.
So treat cables as a targeted tool for a known trouble eave, not a substitute for Steps 1 and 2.
Step 5: Have a roof professional address persistent drainage or design problems
Some homes get ice dams for reasons the attic cannot explain. Recurring dams in the same place usually mean something in the roof itself, and the fix belongs to a roofer.
Call one when the pattern repeats every winter in one location, when a large overhang sits over a wall you cannot insulate, when valleys hold meltwater, when the shingles or flashing are damaged, when the soffit is the problem, or when water backs up into the house. A professional can also evaluate an ice and water shield membrane under the shingles, which limits the damage from backed-up water but does not stop the dam from forming.
Steamed snow removal is the safest way to clear an existing dam. It is worth it on a steep, tall, or otherwise unclimbable roof, where a homeowner working alone is the biggest risk on the whole page.
Before the visit, note the date, which eave leaks, and how long the water sits before it shows up inside. Roofers decline responsibility for ice dams regularly because they see them as a maintenance and insulation issue, not workmanship. Your records are what turn that conversation into a useful one.
Common Mistakes That Make Ice Dams Worse
- Adding insulation before air sealing. Warm, humid air keeps bypassing the insulation no matter how much you pile on. Seal first, then insulate.
- Stuffing fiberglass batts into the soffits. A previous owner did this in plenty of homes. The soffit sits outside the building envelope, so it does nothing for the heat that is melting your snow.
- Cranking up the thermostat. More heat inside means more heat through the ceiling. You are making the melt faster and the dam thicker.
- A ridge vent with no soffit vents. Air needs somewhere to enter for a vent to do anything. Ridge vents paired with continuous strip soffit vents are the combination that moves air, and small drilled holes move far too little to count.
- Using rock salt. It damages shingles and whatever is planted below. Calcium chloride in socks or pantyhose, laid in a line across the dam, is the gentler channeling option.
- Sealing a wet roof. Do not cap, paint, or membrane over a damp or leaking area. It traps the water and the repair fails later.
- Climbing onto an icy roof. Falls off roofs and ladders in winter are the serious injury in this whole topic, and no ice dam is worth them.
Before each storm season, clear the gutters and downspouts, check the attic hatch seal, and confirm the heat cable circuit is live and protected. After a storm, look up from the ground: an eave that shows a heavy ice ridge, or a soffit that is stained, is telling you something before water ever reaches the ceiling.
Frequently Asked Questions
What is the most effective way to prevent ice dams without a roof rake?
Air seal the attic bypasses, then insulate the attic floor to a cold-climate level, and keep gutters and downspouts clear. That combination removes the heat that melts snow on the roof deck and gives meltwater a path off the roof. Heat cables help one troublesome eave but are a secondary tool, not the main fix.
Can I remove snow from my roof with a broom or shovel instead?
Not from the roof surface. A snow-covered or icy roof is one of the most dangerous places a homeowner can stand, and a broom or shovel on a ladder is worse than leaving the snow alone. If you need the edge cleared, hire a roofer with steam equipment or the proper safety gear. Keep snow in place; it insulates.
Do roof heating cables prevent ice dams completely?
No. Cables melt a narrow channel so meltwater can drain instead of backing up, and they work best on a single known trouble eave. Installers report energy use rising by roughly 20 percent, a service life of three to five years, and parts-only warranties. They address the symptom at the eave, not the attic heat causing it.
How much attic insulation do I need to prevent ice dams?
Cold-climate homes need a substantially higher attic insulation target than mild ones, and the rim joist is the spot most often left bare. The practical test is observation: if snow melts off your roof in patches during a freeze, the deck is still being warmed from the house and the insulation is not doing its job.
Should I put extra insulation on top of existing attic insulation?
Yes, provided the existing material is dry and settled, and provided the air leaks into the attic are sealed first. Blowing additional insulation over batts is a normal way to reach a cold-climate target. If either layer is damp, or you plan to add a vapor retarder, talk to an energy auditor before you cover everything up.
When should I call a roofer about recurring ice dams?
Call one when the same eave dams up every winter, when a large overhang sits over a wall you cannot insulate, when valleys hold meltwater, or when water is already backing up into the house. Roofers also check flashing, damaged shingles, and soffit conditions, and can tell you whether an ice and water shield would limit the damage.
Conclusion
Start with the attic, not the roof edge. Seal the bypasses, bring the attic floor insulation up to a cold-climate level with the rim joist covered, and clear the gutters and downspouts twice a year. Those three things stop the melt and keep the water moving, and they are what makes a roof rake unnecessary rather than merely inconvenient.
Heat cables come next, and only for an eave that keeps causing trouble despite the work above. If the dam keeps coming back in the same spot, have a roofer look at drainage, roof geometry, soffits, and flashing. Knowing how to prevent ice dams without a roof rake is mostly knowing where the heat is coming from, and the ladder stays in the garage.