Most leaky air duct problems come down to two materials: UL 181 rated metal foil tape for small gaps and seams, and duct mastic paste for larger joints and connections. Clean the metal, let it dry fully, apply the right material, and the repair usually lasts as long as the ductwork itself.
That is the whole method. The work takes an hour or two for the accessible runs in a basement, closet, or attic, and it needs patience more than skill. What makes the difference is finding the leak before you seal it, because sealing the wrong spot feels productive and changes nothing.
Table of Contents
- What You Need
- Step-by-Step: How to Seal Leaky Air Ducts
- 1. Turn off the HVAC system and prepare the work area
- 2. Find the leak before you seal leaky air ducts
- 3. Choose the correct sealing material
- 4. Clean, dry, and seal the damaged area
- 5. Check the repair and restore the system
- Common Mistakes When Sealing Air Ducts
- Frequently Asked Questions
- Can you seal air ducts yourself?
- Is sealing air ducts a good idea?
- How do I find a leak in my air ducts?
- What kind of tape is safe for air ducts?
- What is the 2 foot rule for ductwork?
- Conclusion
What You Need
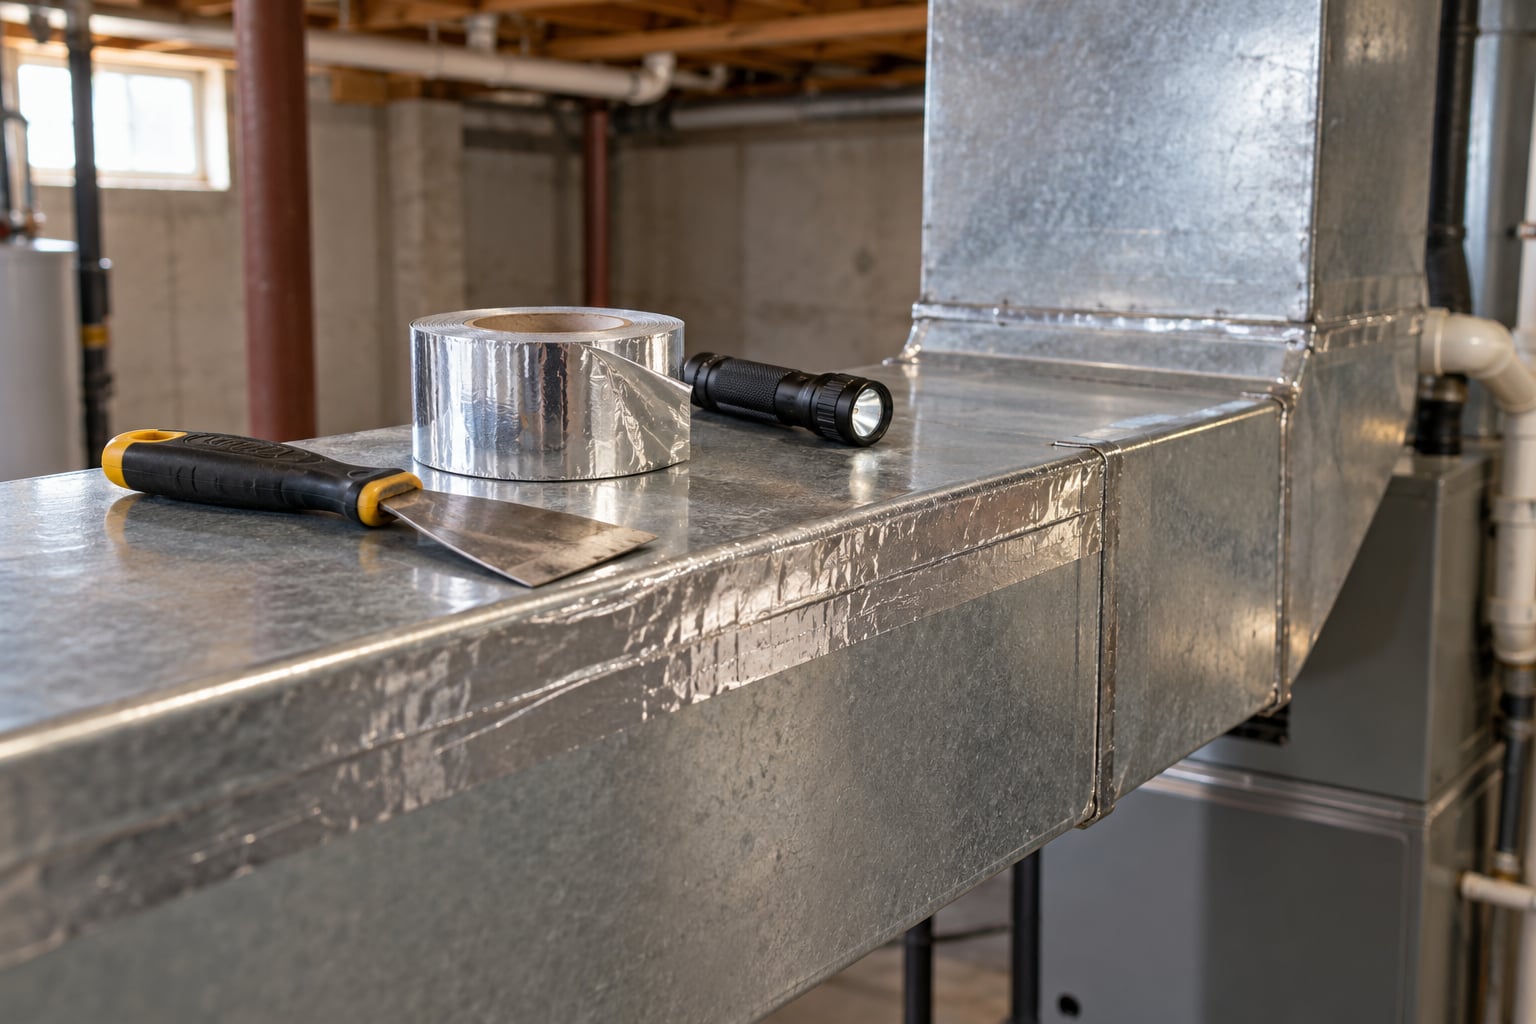
Gather the material first so you are not climbing down a ladder halfway through a joint. Most homeowners can do this with a flashlight, a putty knife, and a tube of mastic.
- UL 181 rated foil tape — the silver, foil-backed tape made for ductwork, rated for flame spread and for use in unconditioned spaces like attics and crawl spaces.
- Duct mastic — a thick paste you spread with a putty knife or butter knife. It stays slightly flexible, which matters in an attic that swings between freezing and 130 degrees.
- Wire brush or coarse sandpaper — for scrusting oxidation off galvanized sheet metal before sealing.
- Putty knife and a caulking gun — the knife for mastic, the gun for a bead of sealant around a duct boot or a wall penetration.
- Flashlight and headlamp — you will be working in crawl spaces with one hand on the duct.
- Gloves and eye protection — mastic is sticky and it will find your skin.
- Shop towels and a drop cloth — the paste drops straight onto whatever is underneath.
- Optional: a smoke pencil or incense stick, an anemometer or tissue to feel airflow, and a borescope camera if the ducts run behind finished walls.
Understand the difference between the three materials, because it decides the whole repair. Foil tape handles pinholes, small gaps, and seam splits on rigid sheet metal. Mastic handles larger seams, disconnected joints, and flex duct connections. Spray foam and aerosol duct sealers are for filling a cavity around a penetration, not for repairing a split seam.
Know when the job stops being a weekend project. If the ducts are inside a wall cavity you would have to open up, if the flex duct has an internal liner that is split, or if the run is undersized and noisy no matter what you do, call an HVAC technician. Anyone working overhead needs a stable ladder and ideally a second person, and anything involving wiring, a gas furnace, or a carbon monoxide alarm is technician work.
Step-by-Step: How to Seal Leaky Air Ducts
1. Turn off the HVAC system and prepare the work area
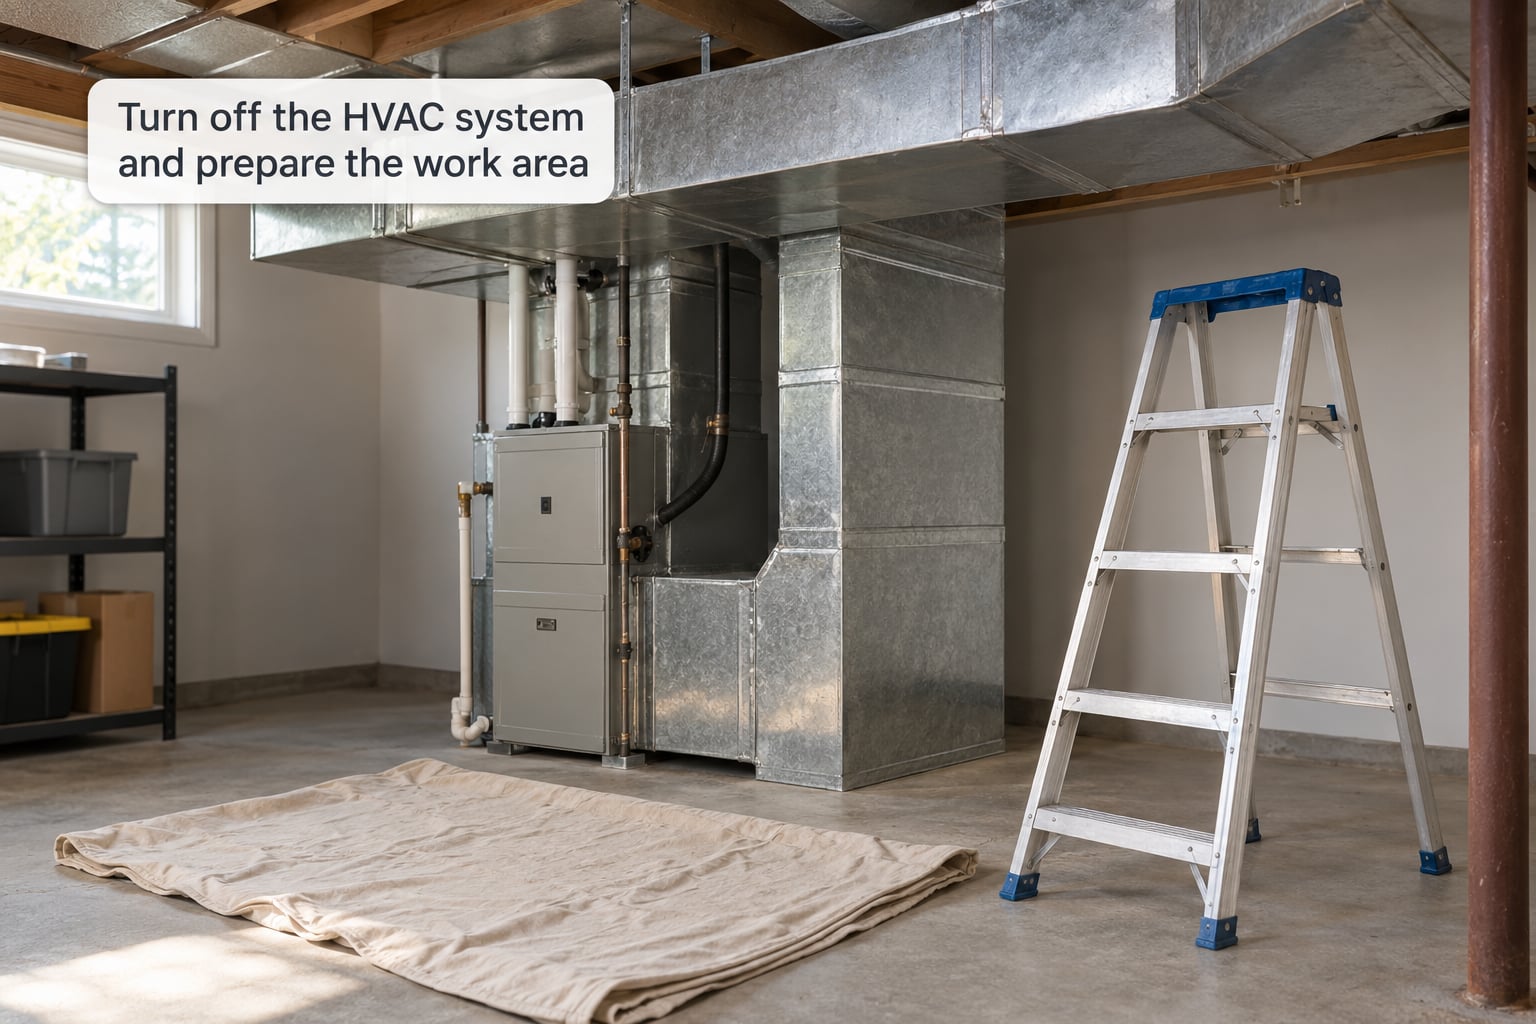
Switch the system off at the thermostat first, then cut power at the air handler breaker so nobody can start the fan while you have your hands on the ductwork. Listen for a few seconds to confirm the blower has stopped spinning.
Lay a drop cloth under the work area and move anything that the paste could ruin. This matters more than it sounds — mastic that lands on attic insulation or a finished floor is a real cleanup job.
Set your ladder on level ground and tie it off if you are working above a stairwell. Crawl spaces are the most common place people fall while sealing ducts, and the ground is rarely flat.
2. Find the leak before you seal leaky air ducts
Start with the fan running and the system set to cool, which pressurizes the supply ducts enough to feel a leak with your hand. If you cannot run the fan, close all registers except one and listen at it, which pushes more air past a suspected joint.
- Run your hand slowly along every seam, flange, screw line, and joint. Leaks feel like a faint stream of cool air.
- Hold a strip of single-ply toilet paper near the joint. It flicks and moves where air escapes — the same reason a smoke pencil or an incense stick works better.
- Watch flex duct where it pulls away from a boot or a register box. Sagging and disconnected ends are the most common failures.
- Check the stud cavity above each register. Householders on HVAC forums point out repeatedly that these cavities are wide open to the attic.
- Look for small holes where wires, plumbing, or a conduit pass through the duct or the surrounding drywall.
Mark leaks with a pencil or a piece of tape. Turning the fan off and then on again with a tissue at the joint is the fastest confirmation that you found the real problem.
3. Choose the correct sealing material
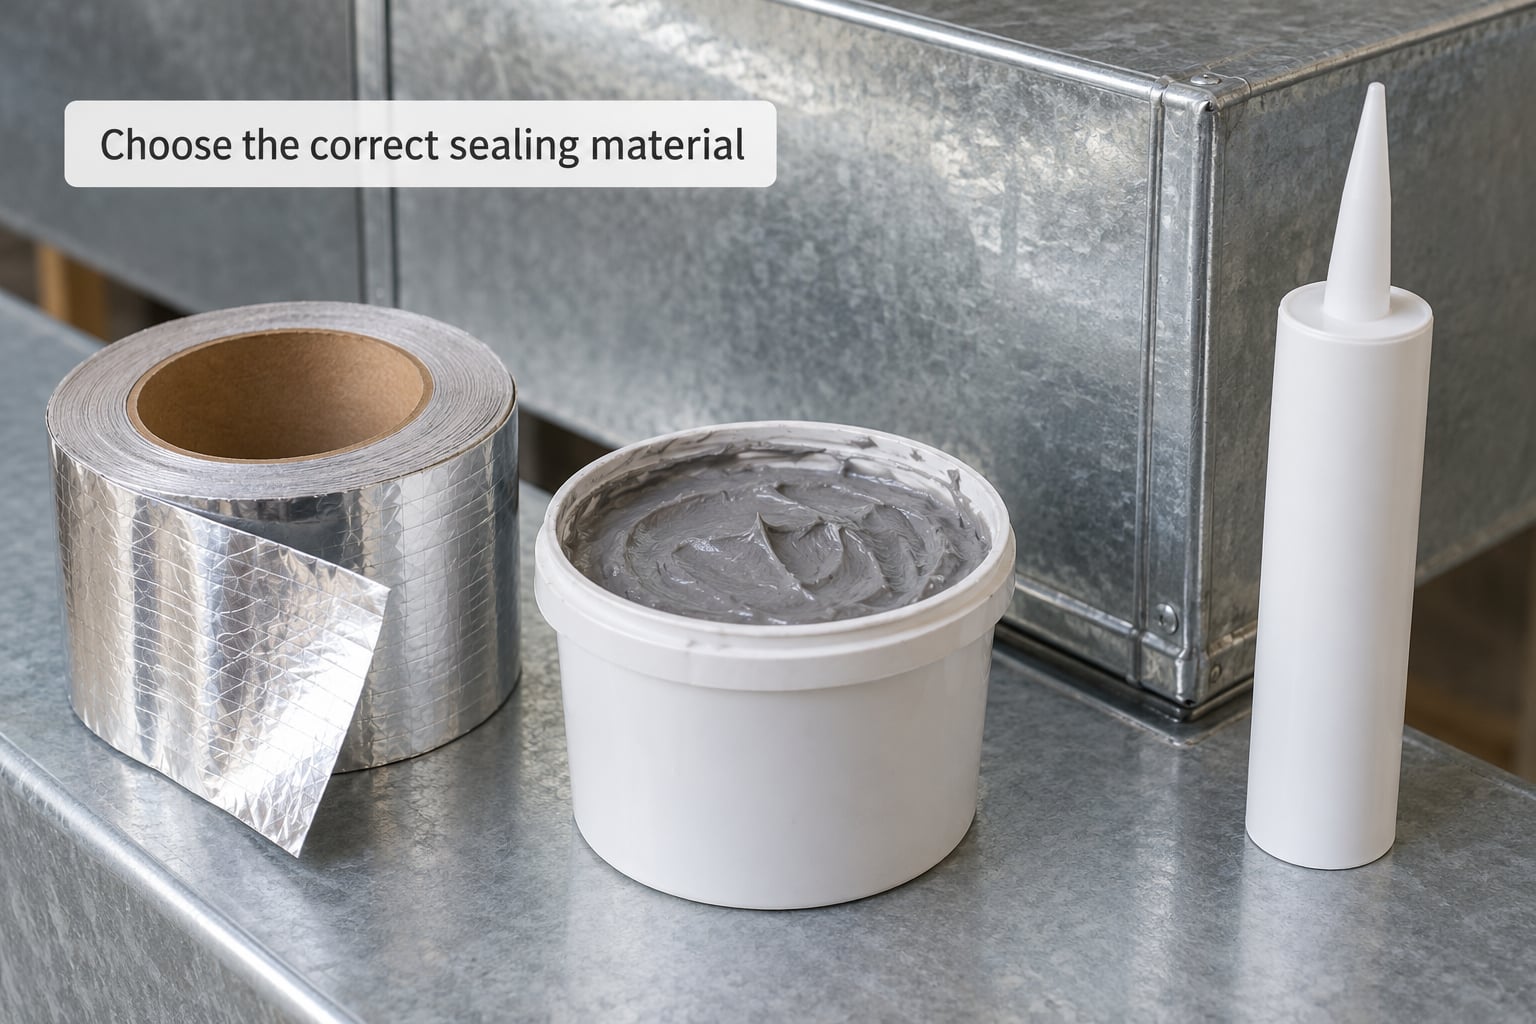
Use foil tape for a seam that has opened a hair’s width or a small puncture. Use mastic for a joint that has separated enough to see daylight through it, for a flex duct end that has pulled off its boot, and for sheet metal flanges.
Check the tube or roll for a UL 181 rating marking. It is the standard that says the product will not act as a fuel or spread flame in an unconditioned space, and it is the mark to look for on both tape and mastic. Brands like Hardcast 321 or Foil Grip come up constantly on homeowner forums, and the honest answer is that any quality UL 181 rated mastic does the same job as a specialty brand.
Match the material to the location too. Mastic on a duct boot flange to drywall, or around a wire penetration, holds better than tape because it fills an uneven gap. Never use standard grey duct tape or cloth-backed tape — the adhesive dries out, curls, and lets go within a few seasons, which is the single most common failed DIY repair.
4. Clean, dry, and seal the damaged area
Scrape off old failed mastic, wipe away dust and grease, and scuff bare or shiny metal with a wire brush so the new material has something to grip. A seal applied over dust or oily residue will peel off in a piece six months later.
Let the surface dry completely. If the duct is sweating or damp, find the condensation or the uninsulated section first — sealing a wet joint traps the moisture against the metal.
Press the foil tape down firmly along the whole seam with no wrinkles or gaps, running your thumb along the length of it. Overlap the ends rather than butting them.
Spread mastic with the putty knife in one continuous layer about an eighth of an inch thick, pressing it into the joint with the flat of the blade. Work it into the corner where the flange meets the duct rather than just bridging over the gap.
Do not pile on extra goop. A thick blob shrinks as it cures and can end up crazing and popping loose, and it hides a leak instead of sealing it. Let the mastic cure for the time printed on the label before you put insulation back over it.
Go easy on ductboard or flex duct liner. Those materials crush under a putty knife, and pressing too hard can open a larger hole than the one you started with.
5. Check the repair and restore the system
Once the mastic has cured, look over every joint you touched. Look for gaps at the edges of the patch, shiny spots where the paste did not take, and any run that still moves when you push it gently. Reapply before the material fully hardens rather than after.
Put back any register covers or insulation you removed, and clear tools and cloths out of the area so nothing blocks airflow or rattles in the plenum.
Restore power and turn the system back on. Listen near the sealed joints with the fan running. If you hear rushing air where you used to hear it before, the repair did not hold and you should find the source rather than add another layer.
If the system rattles, airflow got weaker, or a room that used to cool no longer cools, stop and call a technician. Sometimes a seal job uncovers a blockage or a collapsed run, and more goop will not fix it.
Common Mistakes When Sealing Air Ducts
Using household tape. Grey duct tape, cloth-backed tape, and standard painters tape fail because their adhesive is not rated for temperature swings or for flame spread. Use UL 181 rated foil tape and nothing else on ductwork.
Sealing over dust, grease, or rust. The paste looks fine on day one and peels away later. Scrape, scuff, and dry the surface every time.
Applying mastic too thick. Excess paste shrinks while curing and cracks. One consistent eighth-inch layer holds better than a heavy blob.
Ignoring crushed or disconnected ductwork. If the flex duct is kinked, torn open, or hanging off a register, sealing the seam is wasted effort until the damaged section is replaced or re-hung.
Sealing an internally insulated duct from the outside. This one catches people. Some flex duct has a liner inside the insulation, so water and air escape through the inner layer and an external patch looks sealed while the leak continues. Remove the registers and inspect the runs with an endoscope camera before spending more material on them.
Working near live wiring or a gas appliance. Shut the breaker off, and never work near a gas furnace or a flue while the system is running. Carbon monoxide back-drafting is a real risk in an inadequately sealed system, and a working alarm on every level is non-negotiable.
Sealing only the supply ducts. Return ducts leak too, and a leaking return pulls in attic dust, insulation fibers, and moisture instead of sending it somewhere harmless.
Frequently Asked Questions
Can you seal air ducts yourself?
Yes, if the ductwork is accessible and the damage is limited to seams, small holes, or joints. Most accessible runs in a basement, crawl space, or attic can be repaired with UL 181 rated foil tape or duct mastic and a putty knife. Stop and call a technician for ductwork inside finished walls, split internal liners, undersized or crushed runs, or anything near wiring, a gas furnace, or a flue.
Is sealing air ducts a good idea?
In most homes, yes. The Department of Energy estimates 20 to 40 percent of the energy moving through a typical duct system is lost before it reaches a room, and the same gaps pull dust, insulation fibers, and moisture into living space. Sealing both supply and return runs is one of the cheapest efficiency upgrades available, provided the ductwork is properly sized to begin with.
How do I find a leak in my air ducts?
Run the system fan with the thermostat set to cool so the supply side is pressurized, then work along each seam, flange, and joint with your hand. Hold single-ply toilet paper or a smoke pencil near the joint and watch for movement. In a wall cavity you cannot open, remove the registers and inspect the runs with a borescope camera and a light.
What kind of tape is safe for air ducts?
Use foil tape rated to UL 181, the standard for duct sealants and tapes used in unconditioned spaces. Look for the rating printed on the roll. Never use standard grey duct tape or cloth-backed tape; the adhesive dries out and curls within a few seasons, and it is not rated for flame spread in an attic or crawl space.
What is the 2 foot rule for ductwork?
The 2 foot rule is a builder guideline about how far a duct register should sit from interior corners so the air has room to spread and mix instead of rushing along the wall. It is a comfort and airflow design guideline, not a sealing requirement, and it is not part of most residential codes.
Conclusion
Start by turning the system off and finding one leak properly, with the fan running and your hand along the seams. Everything else follows from that one step, because a sealed guess is the repair that fails first.
Match the material to the damage: UL 181 rated foil tape for small gaps and seams, mastic for larger joints, flex duct connections, and boot flanges, and skip household tape entirely. Clean the metal and let it dry before you apply anything.
When the ductwork is behind a finished wall, the liner inside the flex duct is split, or a run is crushed and undersized, call an HVAC technician. Sealing is the right repair for gaps, not for damaged ductwork.