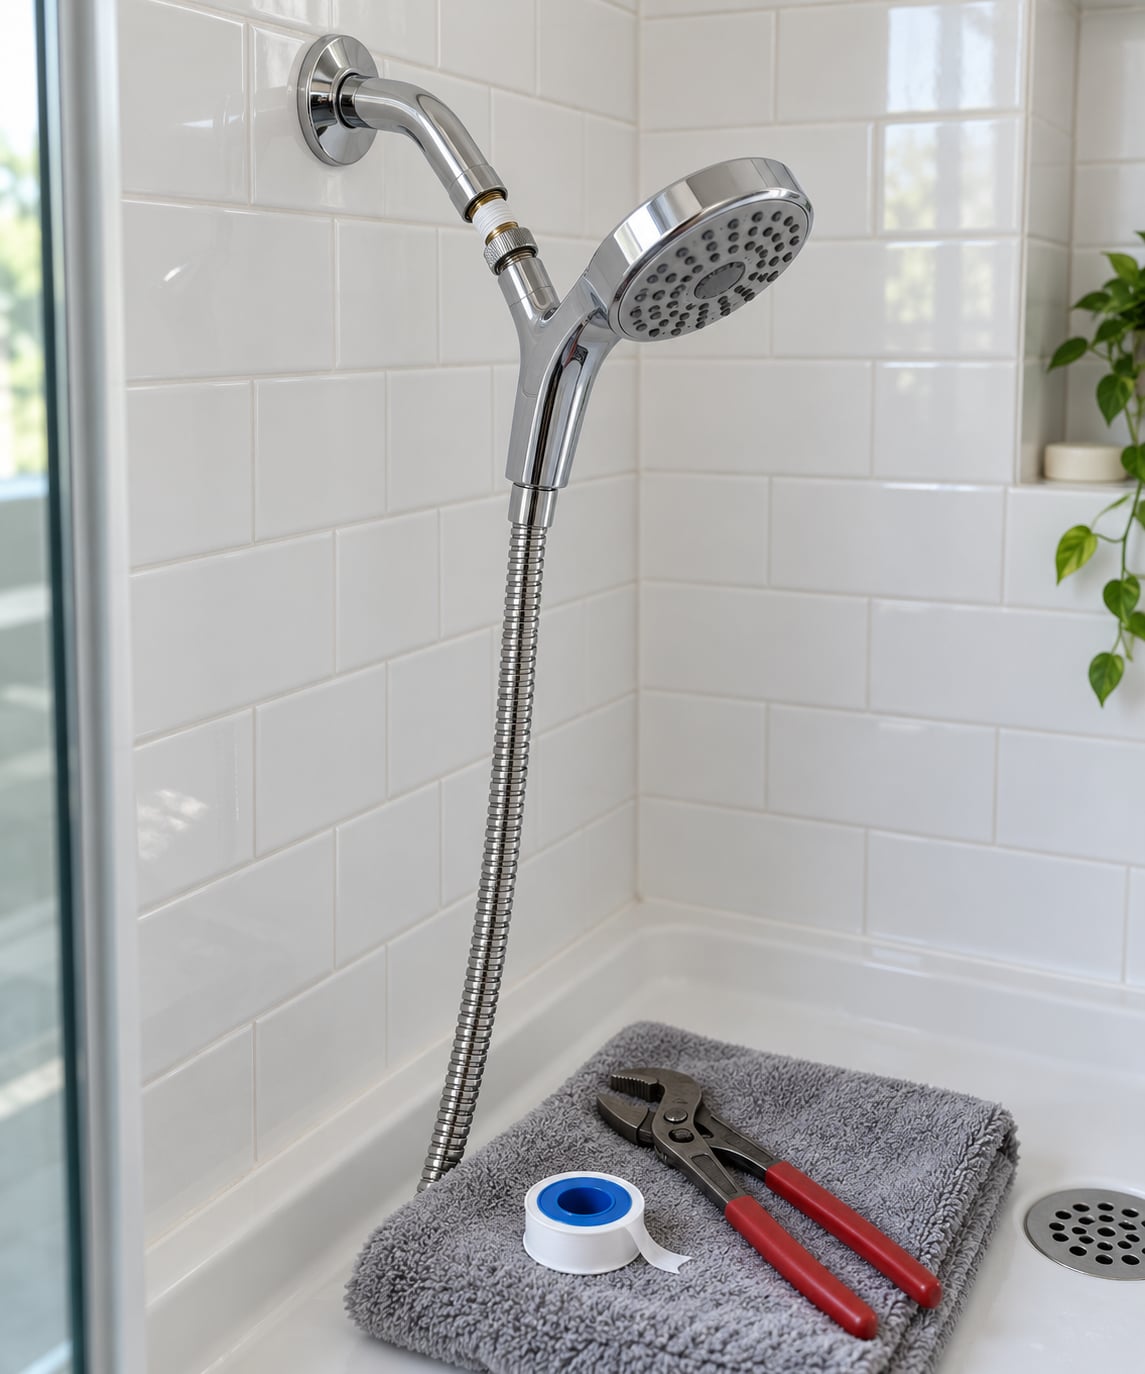
Replacing a shower head is a beginner-level plumbing job that takes 15 to 25 minutes and needs no plumber. Almost every shower head is a screw fitting: you turn the old head counterclockwise to remove it, wrap fresh plumber’s tape onto the threads of the shower arm, then screw the new head on clockwise and tighten it by hand.
The part that catches people out is direction. Viewed from below, looking up at the arm coming out of the wall, counterclockwise loosens and clockwise tightens. If it will not budge, you are almost certainly turning the wrong way, not dealing with a seized fitting.
You can replace just the head and leave the valve, trim and pipework alone. You need a wrench only if the old head is stuck or has a flange that has to come off too.
Table of Contents
- What You Need
- Step-by-Step
- 1. Turn Off the Water and Protect the Shower Area
- 2. Remove the Old Shower Head
- 3. Check the Connection and Clean the Threads
- 4. Install the New Shower Head
- 4a. Replacing the Shower Arm Instead
- 5. Turn the Water Back On and Test for Leaks
- How to descale clogged nozzles
- Common Mistakes
- Frequently Asked Questions
- Do I need to turn off the water to replace a shower head?
- How do I know which shower head will fit?
- Can I replace a shower head without a plumber?
- What thread size do most shower arms use?
- Why is my new shower head leaking?
- Should I use plumber’s tape or pipe sealant?
- Conclusion
What You Need
Gather these before you start, because the job stalls halfway if the tape is not in the bathroom.
- The new shower head, plus any separate hose, bracket or slide bar it needs
- Adjustable pliers, basin pliers or a strap wrench
- Thread seal tape, sold as plumber’s tape or Teflon tape
- An old towel or two, plus a bucket
- A stiff nylon toothbrush or a small wire brush
- A soft cloth or a roll of electrical tape to protect the finish
Before you buy, look at the connection and decide what you are working with. Most shower arms in the US are 1/2 inch NPT, the national pipe thread standard, and a 1/2 inch head fits any of them. Quarter inch fittings exist but are rare, and a head that will not screw on smoothly after two full turns is usually the wrong size rather than seized.
Three terms worth knowing before you touch anything:
- Shower arm is the threaded pipe stub coming out of the wall that the head screws onto.
- Escutcheon or flange is the decorative trim plate covering the hole where the arm exits the wall. It can unscrew separately or be a rubber gasket trapped under the head.
- Diverter valve is the lever on your handle that switches water between the head and the tub spout. You never touch it for this job.
Spread a towel in the shower pan and drape another over the drain cover. Small parts and grit fall out of a shower arm more often than anyone expects.
Step-by-Step
1. Turn Off the Water and Protect the Shower Area
You normally shut off the shower valve, not the whole house. If you have a separate shutoff for the hot and cold feeds to that bathroom, use it. The main supply only has to be off if there is no local valve, if the valve does not stop the flow, or if you are also replacing the shower arm deeper in the wall.
Open the hot and cold taps to confirm the flow has stopped, and make sure nobody is in the shower. Then lay your towels down.
2. Remove the Old Shower Head
Yes, shower heads just unscrew. Grip the head with your fingers, or slide the cloth between the plier jaws and the finish, and turn counterclockwise. A rubber or silicone nozzle face usually comes loose in the hand within a few turns.
Some heads tighten with a second nut underneath, or trap a rubber gasket against the arm or the escutcheon. If the head does not start turning, stop and look underneath before applying more force.
If it will not move, walk up this ladder rather than leaning on the wrench:
- Try bare hands again with a dry cloth for grip.
- Spray penetrating oil around the threads and wait 10 to 15 minutes. Repeat if needed.
- Use a strap wrench, which bites on a round smooth body that plier jaws slide off.
- Use rubber-jaw pliers, or pliers with a cloth wrapped around the head.
- Warm the joint with a hair dryer for a minute, then try again while it is warm.
- If the head is seized solid or made of brittle plastic, replace the whole assembly, arm and all.
WD-40 is a lubricant, not a penetrant, and it leaves a film that can gum the threads further. Penetrating oil is the right product for a stuck head.
For a pliers problem that is really a direction problem, the fix is simple and it is the most common confusion on this job: hold the arm still, turn the head counterclockwise, and stop putting more force into it.
3. Check the Connection and Clean the Threads
Look at the bare arm before fitting anything. The threads should be straight, clean and free of scale. Scrub off limescale or old baked-on tape with the toothbrush or wire brush, working along the grooves, and wipe the arm dry.
Stripped, gouged or badly corroded threads are the point of no return for a simple swap. Do not try to re-tape a damaged thread, because a head on a stripped thread will never feel tight and will drip constantly.
If the arm is plastic rather than brass, treat it gently. These OEM plastic threads cross-thread and strip far more easily than metal, so hand-tight is genuinely the limit rather than the starting point.
4. Install the New Shower Head
Wrap thread seal tape onto the arm first. Press the tape onto the threads in the direction of tightening, clockwise, so it winds on rather than unwinds, and lay down two or three wraps. That is enough; more tape is a common cause of leaks because excess tape flakes off and gets pushed into the valve seat.
Then screw the head on clockwise by hand until it is snug, and add a quarter turn with the wrench. No more. Over-tightening splits brass fittings and strips threads, and those failures cost far more than a drip.
By setup, the install differs slightly:
- Fixed head screws straight onto the arm as described above.
- Handheld replaces the fixed head at the arm, then threads the hose onto the outlet at the bottom of the handle. Seal that hose connection with a washer, not tape, unless the fitting is a plain threaded NPT one.
- Combination is a handheld mounted on a slide bar bracket, with the hose still connecting to the arm exactly as above. Brackets usually screw to the wall with the screws supplied.
Do not add tape to a rubber-gasket fitting. Many shower heads and hose connections seal with a flat rubber washer under the threads, and tape on a washer thread pushes the seal out of position and causes the exact leak you are trying to fix.
If you are swapping the hose too, this is the moment to do it. Fit the hose, run it without kinks, and check that the hose nut is hand-tight before you turn the water on.
4a. Replacing the Shower Arm Instead
Do all shower arms unscrew? Most do, but this is a different job with a different risk level. Unscrewing an arm means turning a pipe that is threaded into a fitting inside the wall, and a corroded or galvanized arm will often snap off and leave a broken stub in the tile.
Before you go there, buy a replacement arm of the same length, and remember that arm length is measured from the wall to the end of the arm, not the head. Wrap the old arm in a rag, use a strap wrench rather than channel pliers, and turn counterclockwise slowly. If you feel sudden resistance or hear a crack, stop and call a plumber, because a stub broken below the tile line is an opening job, not a tool job.
Plumbers routinely replace a chrome arm in one visit on the assumption the old one will be damaged on the way out. Having a spare on hand before you start costs less than a return trip.
5. Turn the Water Back On and Test for Leaks
Open the shutoff valve slowly and let the air out. Start on a low flow and watch every connection, then run the shower at full pressure for a couple of minutes, because a joint that is dry at low flow can weep under full pressure.
Watch the arm-to-head joint, the hose nut on a handheld, and the escutcheon at the wall. A drip at the thread joint means one more wrap of tape and a gentle re-tighten, done with the water off. A leak at the escutcheon or coming from the wall itself is a different problem and needs a plumber.
If flow drops after the swap, take the shower head off and look at the nozzles. Hard water clogs them with limescale fast enough that a low-pressure complaint is usually scale, not the new head. A kinked hose and a partly closed valve cause the same symptom.
How to descale clogged nozzles
Fill a bowl with white vinegar and soak the head face for 20 to 30 minutes. Rub the nozzles with an old toothbrush to clear the holes, rinse, and run hot water through for a minute. Nozzles that rub clean clear up on their own.
For heavier scale on a fixed head, a rubber nozzle face you can unscrew makes this much easier.
Common Mistakes
Almost every failed shower head swap comes down to one of these.
- Cross-threading means the head started at an angle and the threads are riding each other instead of screwing in. Back it off completely, start the threads straight by hand, and only then use a wrench.
- Over-tightening cracks fittings and strips brass. Hand-tight plus a quarter turn is the correct target.
- Wrong thread size shows up as a head that will not seat or bottoms out before it is snug. Confirm 1/2 inch NPT before buying.
- Too much plumber’s tape flakes into the valve and causes both a leak and low pressure. Two or three wraps is right.
- Tape on a rubber-gasket thread blocks the washer seal and creates a drip at the hose nut.
- A missing or misplaced washer inside a hose connection leaks even when the nut is tight. Check it exists and sits flat.
- A partly open shutoff valve looks exactly like low pressure. Open the valve fully and retest.
- Turning the wrong way wastes the most time of anything on this list. Counterclockwise loosens, clockwise tightens.
A symptom chart is faster than guessing when something is off.
| Symptom | Likely cause | Fix |
|---|---|---|
| Drip at the arm-to-head joint | Not enough tape, or cross-threaded | Remove, clean, re-tape with two or three wraps, retighten by hand plus a quarter turn |
| Drip at the hose nut | Washer missing, seated wrong, or tape on a gasket thread | Disassemble, remove tape, reseat the washer flat |
| Water weeping at the wall or escutcheon | Failed behind-the-wall joint or a corroded arm | Stop and call a plumber |
| Head will not turn | Wrong direction, or scale and old tape bonding the threads | Confirm counterclockwise, then penetrating oil, strap wrench, warm with a hair dryer |
| Low pressure after the swap | Clogged nozzles, kinked hose, or a partly closed valve | Soak nozzles in vinegar, unkink the hose, fully open the valve |
| Cross-threaded head that will not start | Thread started crooked | Back it off, restart straight by hand before using a wrench |
Two more things that get misdiagnosed. A plastic OEM shower arm strips easily, so if the head feels loose and wobbly in the arm, the arm threads are damaged rather than the new head being faulty. And an old galvanized arm in a pre-war house can crumble the moment it is disturbed, which is a plumber job with a plaster repair attached.
Frequently Asked Questions
Do I need to turn off the water to replace a shower head?
Usually you only shut off the shower valve or the local hot and cold supply valves for that bathroom, not the main water. You need the mains off if there is no local valve, if the valve will not stop the flow, or if you are replacing the shower arm itself. Open the taps afterward to confirm the flow has actually stopped before you start unscrewing anything.
How do I know which shower head will fit?
Check the thread size on your existing arm first. Nearly all shower arms in the US are 1/2 inch NPT, so a standard head will fit, and 1/4 inch fittings are the rare exception. Also decide between a fixed head, a handheld, or a combo with a slide bar, and check whether the new unit includes a hose and bracket or needs them bought separately.
Can I replace a shower head without a plumber?
Yes, in almost every case. It is a screw fitting that comes apart with hand tools, takes 15 to 25 minutes, and needs a wrench for maybe a quarter turn. Call a plumber if the arm threads are stripped or cracked, if the leak is coming from behind the escutcheon or inside the wall, or if the arm is corroded and may break off in the pipe stub.
What thread size do most shower arms use?
1/2 inch NPT, which is the national pipe thread standard used on virtually every shower arm in North America. Quarter inch fittings exist on some imported and older fixtures. You can identify yours by eye, or by rule of thumb: if the new head will not screw in smoothly by hand after a couple of turns, it is likely the wrong size rather than seized.
Why is my new shower head leaking?
The usual causes are too little plumber’s tape, a cross-threaded connection, or tape applied to a fitting that seals with a rubber gasket instead of threads. A missing or unseated washer inside a hose connection also drips. Drips at the escutcheon or wall are not the head at all. Turn the water off, dismantle the joint, clean it, and redo it with two or three wraps of tape.
Should I use plumber’s tape or pipe sealant?
Use thread seal tape, also sold as plumber’s tape or Teflon tape, on the plain threaded shower arm. Wrap it clockwise so it winds on with the thread rather than unwinding against it, and use two or three wraps. Do not put tape on a rubber-gasket fitting, and do not use pipe dope on a shower arm unless the manufacturer specifies it.
Conclusion
Start by confirming two things: which way is counterclockwise when you are looking up at the arm, and whether your arm threads are 1/2 inch NPT. Shut off the local valve, protect the drain, then unscrew the old head counterclockwise, scrub and dry the threads, wrap two or three turns of plumber’s tape clockwise, and hand-tighten the new head plus a quarter turn.
Test on low flow first, then full pressure, and watch the joint and the escutcheon. Stop and call a plumber if the arm threads are stripped or cracked, if water is coming from behind the wall trim, or if the arm is corroded enough that it might break off inside the pipe stub.