To build healthy soil in a new yard, start with a soil test, figure out whether you are dealing with builder fill, clay, sand or rock, clear out debris and rubble, loosen the compacted layer, work in 2 to 3 inches of finished compost, correct pH only if the test calls for it, then mulch, water deeply and keep living roots in the ground.
Most of the work happens in the first season. The results keep coming for years after that, and that is the part that surprises new homeowners. Soil is not a thing you buy and spread. It is a living system that improves when you stop compacting it, keep it covered, and feed it organic matter.
A word of honesty first, because most advice on this topic is relentlessly cheerful: building soil takes seasons, not a weekend. Organic matter works, but you do not need to excavate the entire yard to make it work. Ground that is mostly clay and refuses to absorb water does not fail from a lack of fertilizer. It fails from structure.
Here is the plan in the order that matters. Work through it top to bottom and you will not waste material on the wrong problem.
Table of Contents
- What You Need
- How to Build Healthy Soil in a New Yard: Step-by-Step
- 1. Test the soil before you build healthy soil in a new yard
- 2. Remove weeds, sod, and construction debris
- 3. Check drainage and break up compaction
- 4. Add compost or other appropriate amendments
- 5. Choose plants that fit the site
- 6. Mulch and protect the soil surface
- 7. Water deeply and avoid traffic on wet soil
- 8. Monitor and improve the soil over time
- Common Mistakes
- Frequently Asked Questions
- How do I know whether the soil in my new yard is healthy?
- How much compost should I add to a new yard?
- Can I build healthy soil in an area with clay or very sandy soil?
- Do I need to till a new yard before planting?
- How long does it take to improve poor yard soil?
- Should I put mulch over the entire yard or only around plants?
- Conclusion: Start With a Soil Test
What You Need
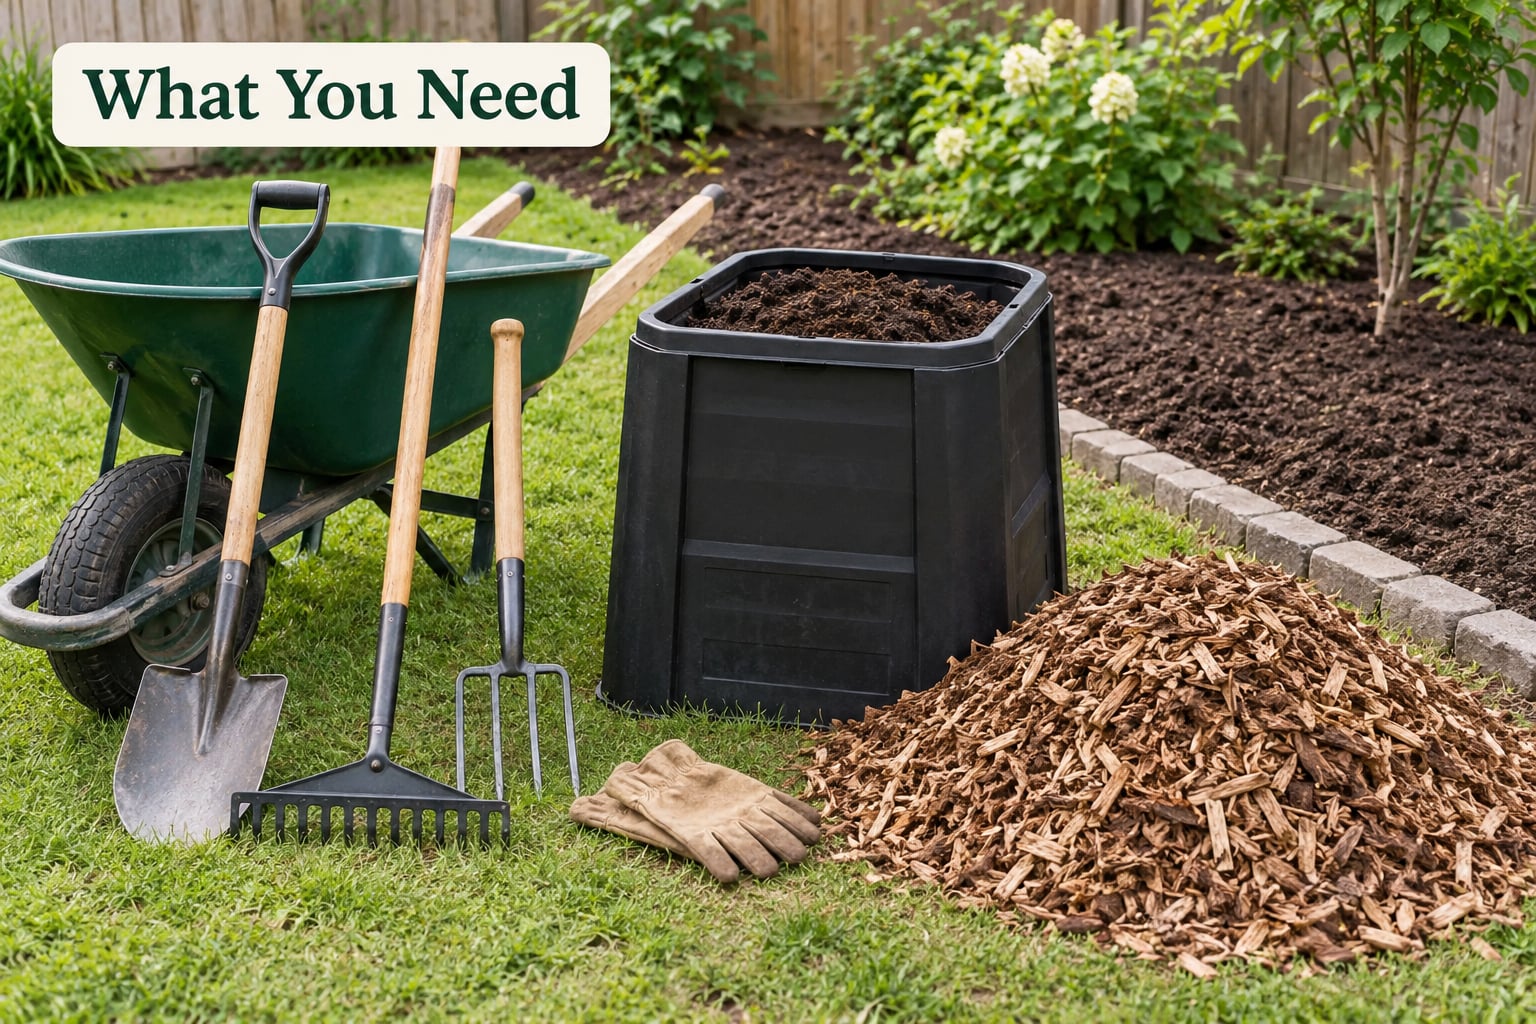
The tool list for this job is short. A shovel, a garden fork or a small tiller, a wheelbarrow, a bucket for measuring, gloves, and a hose with a slow-flow nozzle are enough to do the whole first year by hand.
You also need a way to test. Either a soil-test kit you can buy at a garden center, or — better — a sample you mail to your local cooperative extension or land-grant university lab. Labs give you actual numbers for pH, organic matter, and the nutrients your plants are short on.
For materials, keep this list conditional:
- Finished compost. Dark, crumbly, earthy-smelling, and fully broken down. Bagged or bulk.
- Aged manure if the soil test or your crops call for extra nitrogen. Well-aged only, never fresh.
- Leaf mold or shredded leaves for mulch, often free if you have a truck and a neighbor with a pile.
- Wood chips, shredded bark, or straw to cover and protect the surface.
- Lime or sulfur only if the test shows a pH problem.
- Topsoil only where subsoil is exposed or a bed needs raising.
Here is the part most guides get wrong: the amendment you need comes from the test, not from a habit. Adding lime to soil that is already alkaline locks calcium out and makes iron deficiency worse. Adding fertilizer to soil that is actually fine just pushes nutrients past the root zone and into runoff. Buy the compost, then decide the rest once you have numbers in hand.
One more thing worth grabbing early is cardboard, the brown kind from appliances. It is the cheapest way to smother a patch of weeds or a thin layer of fill, and most of us already have a stack of it in a closet somewhere.
How to Build Healthy Soil in a New Yard: Step-by-Step
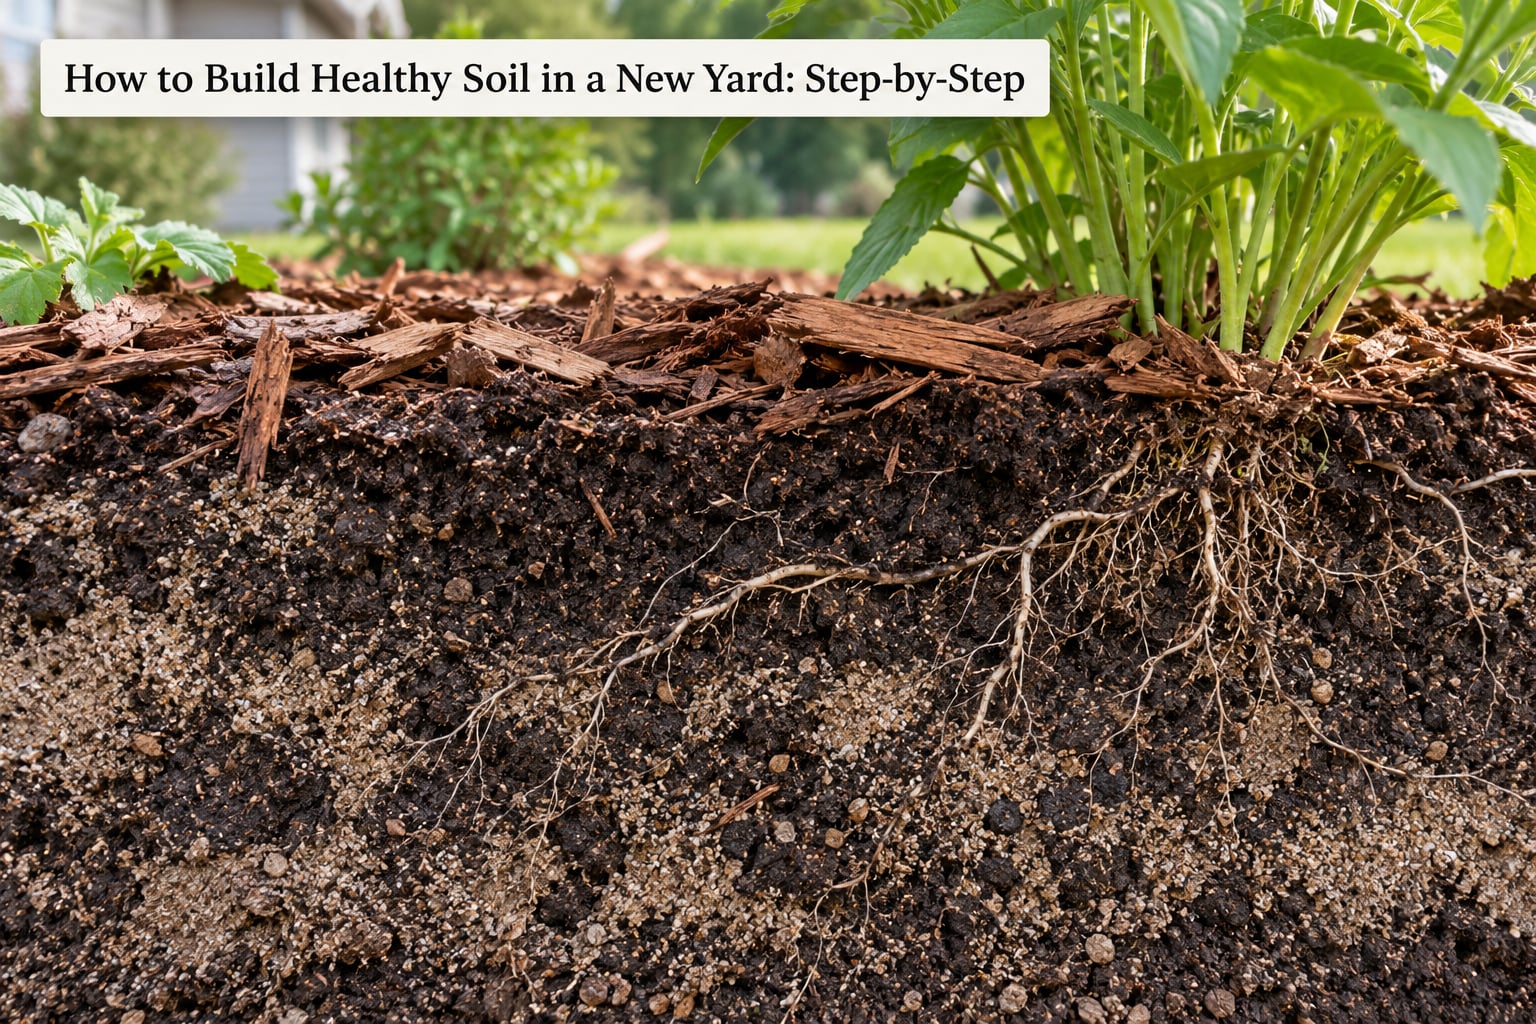
Eight steps, in order. Skipping ahead to the compost step is the most common error, because compost on top of a sealed, compacted layer just washes off the sides.
1. Test the soil before you build healthy soil in a new yard
Test before you add anything, and sample the lawn area and the garden area separately — they often have completely different histories. Take 10 to 15 cores from each area with a shovel or soil probe, mix them in a clean bucket, and reduce the mix to about a cup in a sealed bag. That sample represents the whole area.
What the test should tell you: pH, organic matter percentage, and the levels of phosphorus, potassium and usually nitrogen. Organic matter is the number most homeowners ignore and the one that matters most in a new yard. Below roughly 2% is low, and nothing else you do will move as fast as raising it.
A jar test fills the gap if you cannot get a lab result yet. Fill a straight-sided jar two-thirds with soil and water, shake it, and let it settle for a day. Sand settles fast, silt forms a thin band, and clay sits on top in a thick layer. That gives you your texture, which is enough to plan the next step.
Read the report before you act on it, not after. Most labs include a recommendations sheet, and your extension office will walk you through it if you ask. The most common complaint is receiving a report full of numbers and no idea what any of them mean.
2. Remove weeds, sod, and construction debris
Clear the site before you improve it. New yards often arrive with builder fill, rubble, root balls, tape, plastic, concrete washout and buried utility trenches — and none of that belongs in a planting bed.
Three situations, three different approaches. For a new garden bed, strip sod and weeds entirely so nothing competes with what you are planting. For a lawn area you want to keep, remove only the weeds and debris and leave the existing turf alone; killing and re-seeding is a last resort. For a construction lot, walk the site and pull everything that is not soil. Find the filled trench lines, dig a test hole at the ends to check for debris, and probe with a metal rod where you plan to plant.
The question to ask your builder if the yard was part of the contract: what was the source of the fill, and was topsoil replaced or just spread over subsoil? Buyers who skipped that question ended up with rocky, uneven ground and bare dry patches by the second summer.
3. Check drainage and break up compaction
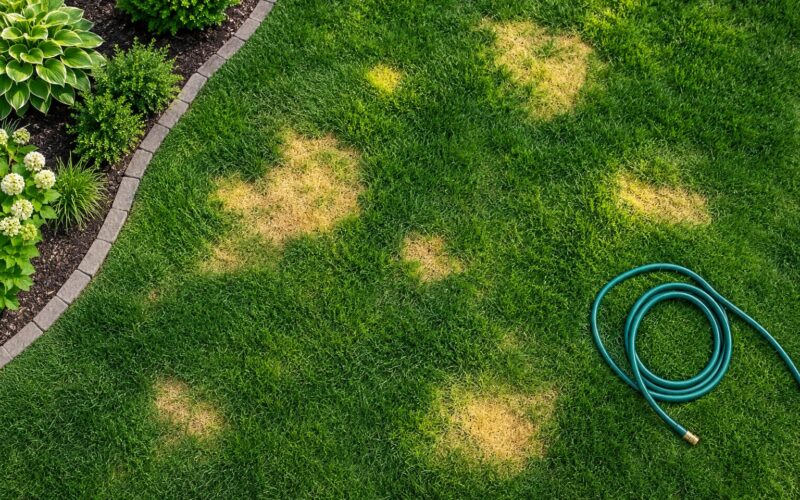
Water infiltrates slowly, puddles sit for days, and everything you add runs off sideways — that is a drainage problem, not a compost problem. Test it directly: dig a hole about 12 inches deep, fill it with water, let it drain, then fill it again. Time how long the second fill takes to disappear. Roughly 3 inches an hour is good. Fifteen minutes or less means you have a compaction or drainage issue to fix first.
Break up the compacted layer with a garden fork. Work in a grid pattern, stabbing and lifting rather than turning the soil over, going as deep as the fork reaches without dragging subsoil to the surface. The right attitude is simple: improve what you already have rather than excavating the yard.
Do not pulverize the soil. Crumbling it into fine powder destroys the structure you are trying to build, and it re-compacts the first time it rains. Leaving some clods is fine. Soil that breaks into pea-sized crumbs is the target.
| Soil type | How it feels or looks | Drainage | Add | Avoid |
|---|---|---|---|---|
| Clay | Sticks to your boot, forms a ribbon when moist | Slow, puddles hold | Finished compost, gypsum in some regions, mulch | Sand — it makes clay worse by filling pore space with fines |
| Sandy | Gritty, drains fast, dries out by noon | Quick | Compost, leaf mold, heavy mulch | Leaving the surface bare; pure sand as a growing medium |
| Silt | Smooth, floury when dry, crusted when wet | Moderate, prone to crusting | Compost and a permanent mulch layer | Walking on it when wet; allowing surface crust to form |
| Loam | Soft, holds shape briefly, dark | Good | Light compost topdressing yearly | Over-amending; it is already in decent shape |
| Limestone or rocky | Hard, uneven, alkaline, dry patches | Patchy, water runs off | Compost in pockets, mulch, plants with deep taproots | Spreading thin compost over rock; lime |
| Builder fill | Hardpan, brick or rubble, gray streaks | Slow in compacted zones, fast in loose fill | Compost plus deep forking, and expect multiple seasons | Tilling it deeply, or assuming it is topsoil |
If your yard really is mostly heavy clay, the answer is not to haul it all out. It is compost, mulch, and plants with strong root systems that break the structure up over a few seasons — plus accepting that drainage in heavy clay is partly a design problem you solve with bed shape, not a soil problem you solve with a product.
4. Add compost or other appropriate amendments
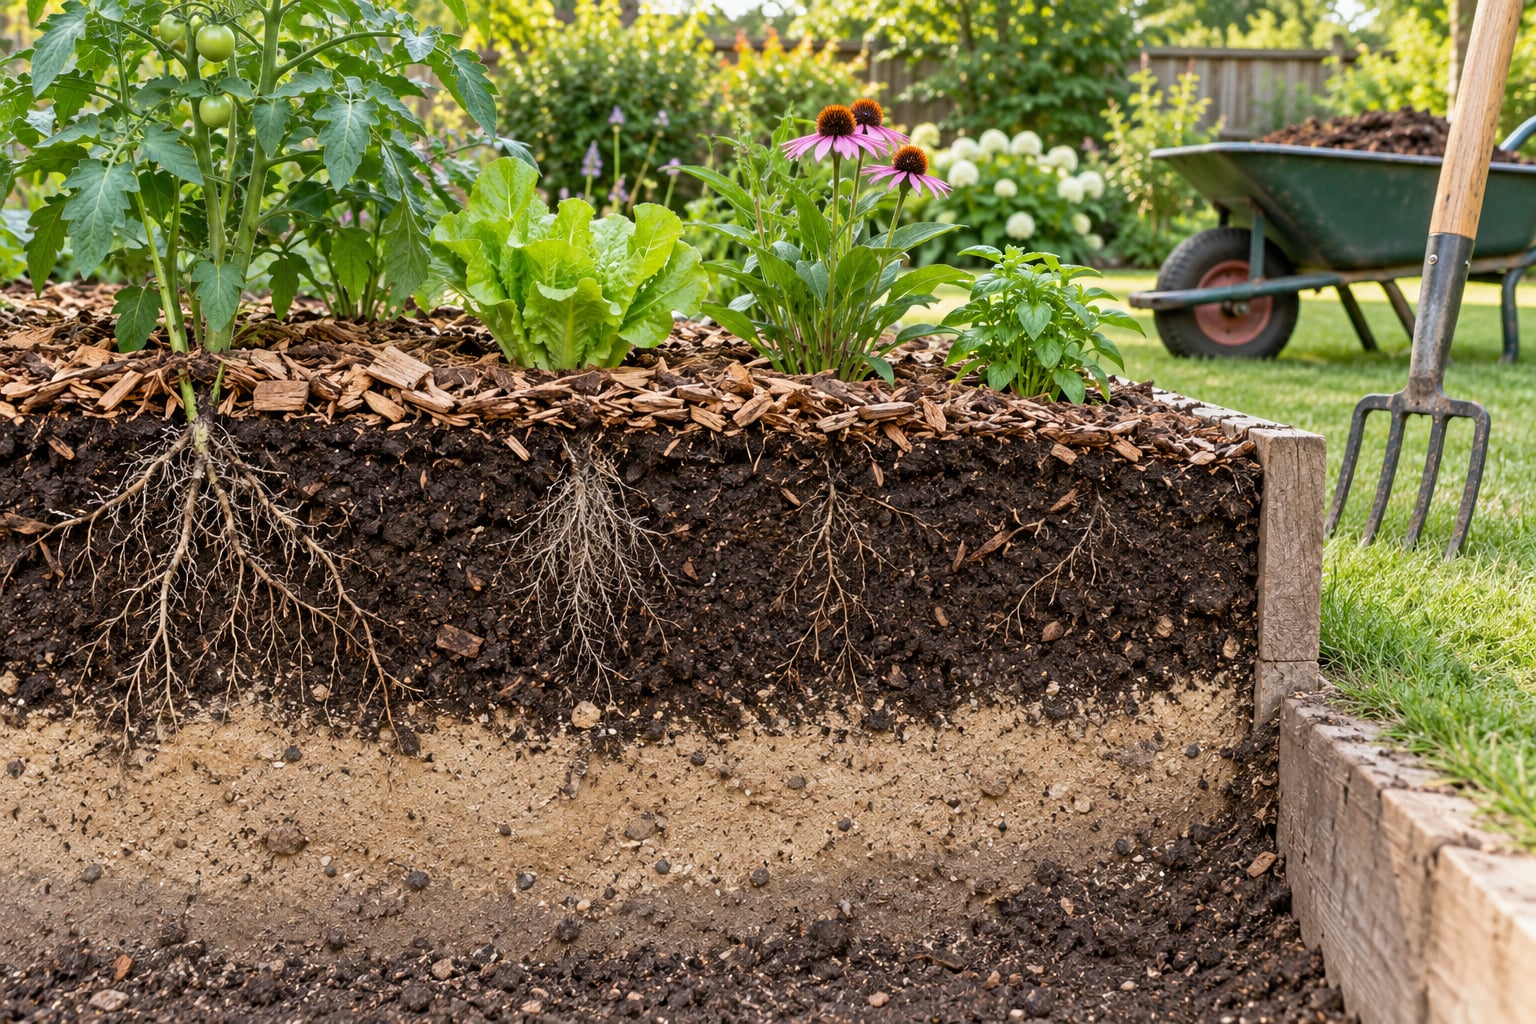
Spread finished compost evenly over the surface at a measured depth, then fork it into the top 4 to 6 inches. Two to 3 inches of compost is the standard starting point for new or depleted ground. One inch on ground that already has decent organic matter is plenty.
| Amendment | Rate per 1,000 sq ft | What it actually does |
|---|---|---|
| Finished compost | 1 to 3 cubic yards | Adds organic matter, feeds soil biology, improves structure and water retention |
| Aged manure | 1 to 2 cubic yards | Adds nitrogen and organic matter; use only fully aged |
| Leaf mold | 1 to 2 cubic yards | Builds moisture retention and soil structure; good mulch layer too |
| Wood chips or bark mulch | 2 cubic yards | Surface cover only — protects soil, reduces evaporation, adds organic matter as it breaks down |
| Topsoil | Only where subsoil is exposed | Fills low spots; not a substitute for compost |
| Coffee grounds | Thin layer, under mulch | Adds nitrogen and organic matter in small amounts; not a bulk amendment |
| Worm castings | A few handfuls per planting hole | Gentle nutrients and biology for transplants |
| Lime or sulfur | Per the lab report | Only changes pH — and pH controls nutrient availability |
For a 1,000 square foot area, 1 cubic yard of material spread 3 inches deep covers roughly that footprint. Work it out before you order, and remember the delivery minimum. The pattern that works best is incremental: add compost and mulch year after year as the budget allows, which beats one heroic weekend.
If money is the constraint, you can build soil for almost nothing. Wood-chip the whole area and haul leaves from the local transfer station to sheet-mulch it. Kitchen scraps go straight down under a deep mulch layer. Sheet mulching — cardboard, then leaves or chips, then a couple of inches of compost — kills weeds, holds moisture and feeds the soil underneath without any digging at all.
What not to do: work fresh manure into a bed (it burns roots and carries pathogens), pile fertilizer on unverified assumptions, or trust a bag that promises to fix everything. Two soil tests are cheaper than one bad season.
5. Choose plants that fit the site
Match the plant to the conditions you actually have, not the ones you wish you had. Note the sun exposure honestly, watch where water sits after a storm, and pick plants suited to your climate zone and soil type.
Better soil widens what you can grow, but it does not remove the need to match plants to your growing conditions. Deep-rooted natives and tough perennials break up compaction as they grow, and ground covers keep living roots in the soil, which is one of the principles behind New Mexico’s Healthy Soil framework: keep soil covered, minimize disturbance, keep roots alive, build diversity.
6. Mulch and protect the soil surface
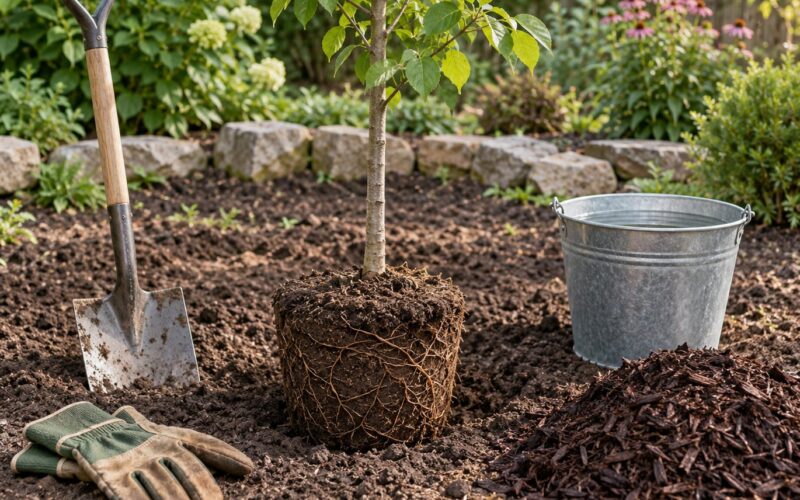
Apply 2 to 3 inches of shredded bark, wood chips, leaf mold or straw over the bed, keeping it a few inches away from trunks, stems and plant crowns so it does not trap moisture against the bark. Pull it back in spring if it has matted down against stems.
Mulch cuts evaporation, buffers temperature swings, stops splash erosion and suppresses new weeds. As it decomposes it becomes organic matter, which is exactly the slow improvement you want. On bare subsoil, mulch alone can hold enough moisture for seed to germinate, which is often the difference between grass taking and not.
7. Water deeply and avoid traffic on wet soil
Water based on soil moisture and weather, not on a fixed daily schedule. Push a finger a few inches into the bed: if it is dry all the way down, water. If it is still damp, wait a day.
Water slowly so it soaks in rather than running off, and let the surface begin to dry between irrigations. Keep people, pets and equipment off saturated beds — walking on wet soil is the fastest way to undo the compaction you just fixed.
8. Monitor and improve the soil over time
Progress shows up in ways you can feel. Digging gets easier. Water sinks in instead of standing. Roots reach deeper, earthworms show up after rain, and plants grow steadily instead of surging then stalling.
| Time | What you should see | What to do |
|---|---|---|
| 3 months | Mulch in place, weeds down, first new growth | Keep watering deep; top up mulch |
| 6 months | Visible earthworm activity, darker soil, fewer bare spots | Light compost topdressing on beds |
| 12 months | Deeper roots, steadier growth, less crusting | Retest the soil; repeat the pH check |
| 24 months | Crumbly structure, better water retention, mulch partly decomposed into the surface | Keep roots in the ground with cover crops or ground cover |
Set a light seasonal routine. Topdress beds with a half-inch to an inch of compost each spring. Replenish mulch to 2 or 3 inches each fall. Shred or mow leaves and return them rather than bagging them. Retest every two to three years and adjust based on what comes back. Treat bare soil as the real enemy — anything growing, covering or mulched is soil you no longer have to fight.
Common Mistakes
Most disappointing first years trace back to one of these:
- Adding too much compost or fertilizer. Two or three cubic yards per 1,000 square feet is plenty. Over-amended soil drains too fast and loses nutrients past the roots.
- Working soil that is too wet. Wet soil smears and re-compacts the moment you step on it. Wait until it crumbles.
- Tilling deeply for no reason. A rototiller in new fill brings subsoil to the surface and leaves a powdery surface that crusts after the first storm. Fork shallowly instead.
- Ignoring drainage. Everything you add runs off a hardpan. Check infiltration before anything else.
- Piling mulch against plant stems. Keep mulch 2 to 3 inches away from trunks and crowns to avoid rot and rodent damage.
- Watering shallowly and often. This encourages roots to stay near the surface, where they dry out first.
- Choosing plants that do not suit the site. A sun-loving perennial in wet shade will disappoint no matter what you did to the soil.
- Expecting instant results. Organic matter builds over seasons. Anyone promising a transformed lawn in a weekend is selling something.
Two more worth naming because they are so common: adding sand to clay, which fills pore space with fine particles and makes drainage worse, not better. And buying topsoil without knowing what the builders already spread — the question is whether topsoil was replaced or just laid over subsoil, and the answer changes your whole plan.
A simple working rule for the second year onward: keep the soil covered, keep roots in it, disturb it as little as possible, and add compost annually. That is the whole method.
Frequently Asked Questions
How do I know whether the soil in my new yard is healthy?
Healthy soil is dark, crumbly, and smells earthy. It absorbs water instead of repelling it, drains within a few hours, and holds a fistful together without smearing into clay. You will see earthworms after rain, roots reaching deeper than you expect, and steady plant growth. Signs of trouble are standing water, a hard surface you cannot push a fork into, gray or rocky fill, bare patches that stay bare, and a surface that crusts and sheds water. A lab test confirming organic matter above 2% and a pH near neutral for most plants settles the question.
How much compost should I add to a new yard?
For new or depleted ground, spread 2 to 3 inches of finished compost over the surface, which works out to roughly 2 to 3 cubic yards per 1,000 square feet, then fork it into the top 4 to 6 inches. Ground that already has decent organic matter only needs about 1 inch. Work it in before you plant rather than laying it on top of sealed fill, where it will wash away. Repeat with a lighter topdressing each spring instead of dumping everything in year one.
Can I build healthy soil in an area with clay or very sandy soil?
Yes, and both improve faster than people expect. Heavy clay needs compost, leaf mold and steady mulch to build crumb structure, plus deep forking and plants with strong taproots to open channels. Sandy soil needs the same organic matter applied more often, because it holds almost nothing. In both cases keep the surface covered and water deeply but less often. Avoid adding sand to clay, since fine particles fill the pore space and make drainage worse.
Do I need to till a new yard before planting?
Usually not. Breaking up a compacted layer with a garden fork is enough for most new yards, and tilling deeper often drags subsoil to the surface and leaves a crust that sheds water. Skip tilling entirely if you are sheet mulching, which smothers the ground with cardboard, leaves or chips and compost on top. The only firm exception is a hardpan that will not accept water, and even then loosening it with a fork beats turning the whole area with a machine.
How long does it take to improve poor yard soil?
Expect visible change in the first season and real structure over two to three years. At three months you should see mulch in place and weeds under control. By six months earthworms and darker soil are common signs. At one year roots run deeper and growth steadies, and by year two the top few inches crumble properly. A builder-compacted lot usually takes longer, since the fill itself has to be reshaped by roots and organic matter. Retesting every two to three years keeps you honest about progress.
Should I put mulch over the entire yard or only around plants?
Mulch the whole planted area if you can, because bare soil is what dries out and crusts. On a lawn you are overseeding, mulch the seeded patches and keep it in place until the grass is up. In beds and around trees, spread 2 to 3 inches and hold it back a few inches from trunks and crowns. Do not bury an existing lawn under thick mulch to fix thin spots; topdress with compost instead, and keep any material off the crowns of perennials.
Conclusion: Start With a Soil Test
Do three things first. Test the soil, with a separate sample for the lawn and the garden. Find out whether drainage works and whether you are looking at clay, sand, rock or builder fill. Then add only what that ground needs — usually 2 to 3 inches of finished compost worked into the top 4 to 6 inches, and nothing else until a test says otherwise.
Start with one bed rather than the whole yard. It is easier to keep covered, easier to mulch, and it teaches you your soil faster than any reading. From there it is simple: keep the soil covered, keep roots in it, add compost each spring, and stop walking on it when it is wet. The improvement is real, it just arrives on a seasonal schedule rather than a weekend one.