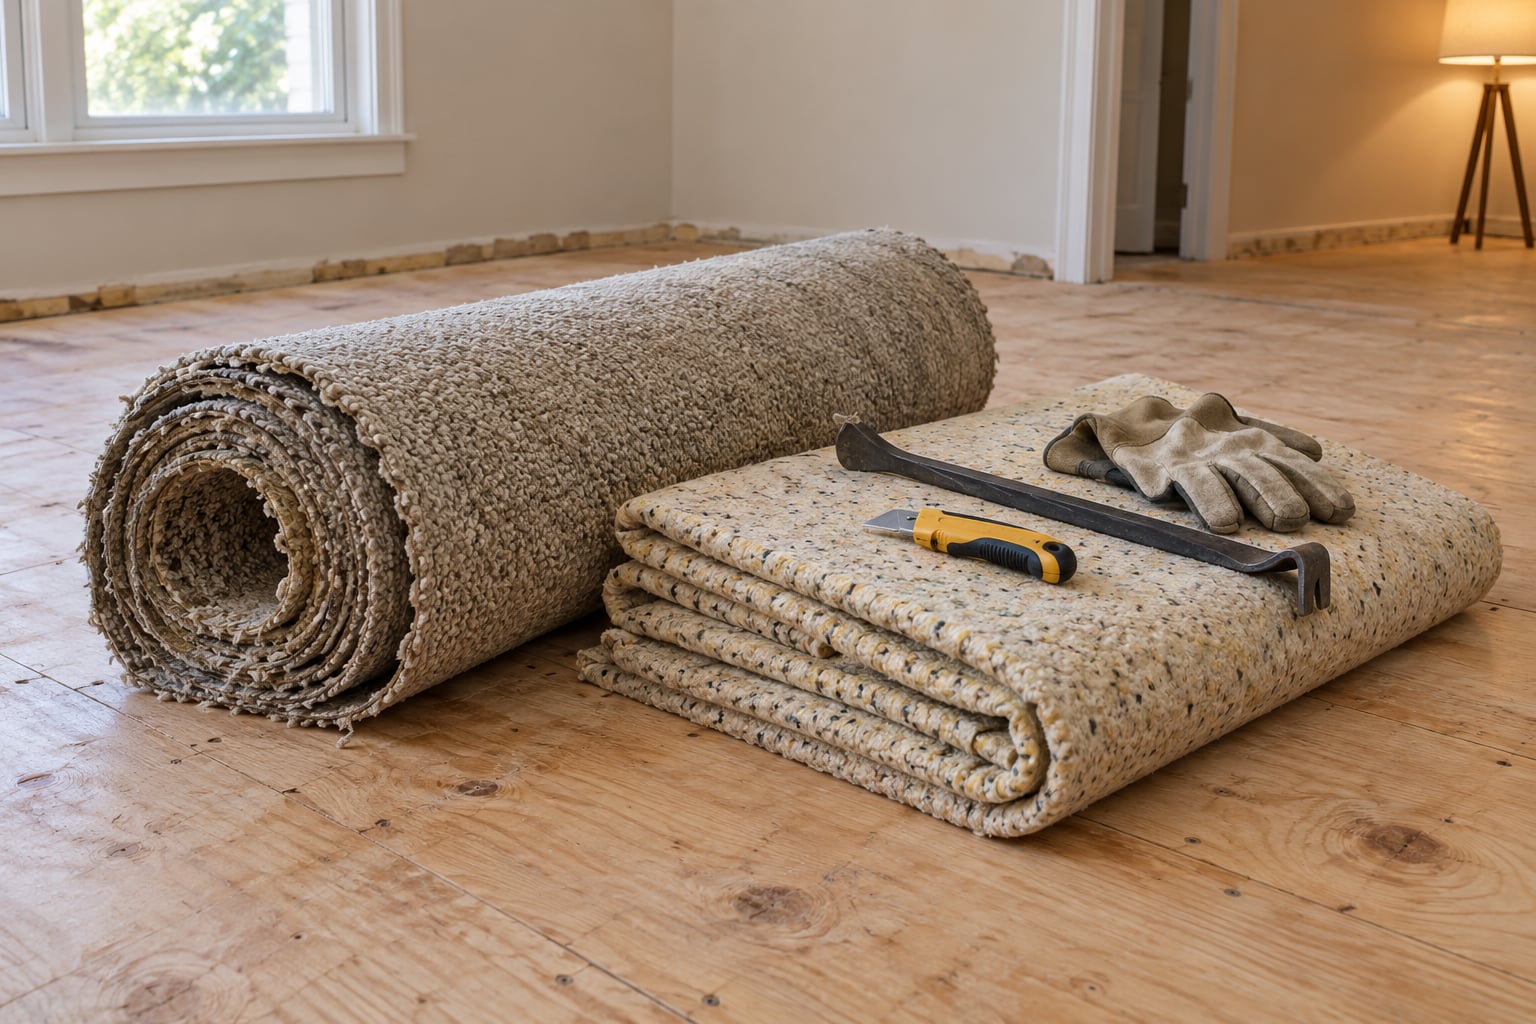
Learning how to remove old carpet and padding comes down to four things: free the carpet from the tack strips at the perimeter, cut and roll it so you can carry it out, rip up the padding underneath, then clear every staple, nail and patch of adhesive off the floor that was hidden the whole time. Most carpet is held down at the walls only, so the job is far less work than it looks on moving day. A 12-by-12 bedroom takes an experienced person about two hours; a first-timer should budget most of a day, and twice that if the carpet was glued down or nailed directly to hardwood.
Before you cut anything, find out what is under there. Knowing whether you are dealing with a plywood subfloor, original hardwood or bare concrete changes the tools you need and how gently you work.
Table of Contents
- What You Need
- Step-by-Step: How to Remove Old Carpet and Padding
- 1. Prepare the Room and Protect Your Home
- 2. Cut and Roll: How to Remove Old Carpet in Sections
- 3. Remove the Carpet Carefully
- 4. Pull and Remove the Padding
- 5. Remove Tack Strips and Adhesive Residue
- 6. Clean and Inspect the Subfloor
- Common Mistakes
- Frequently Asked Questions
- How difficult is it to remove old carpet and padding for a DIY homeowner?
- Do I need to remove the old tack strips before installing new flooring?
- How do I remove old carpet staples without damaging the subfloor?
- What should I do if the carpet or padding underneath is damp?
- Can I install hardwood, laminate, or tile over the exposed subfloor?
- How should I dispose of old carpet and padding after removal?
- Conclusion
What You Need
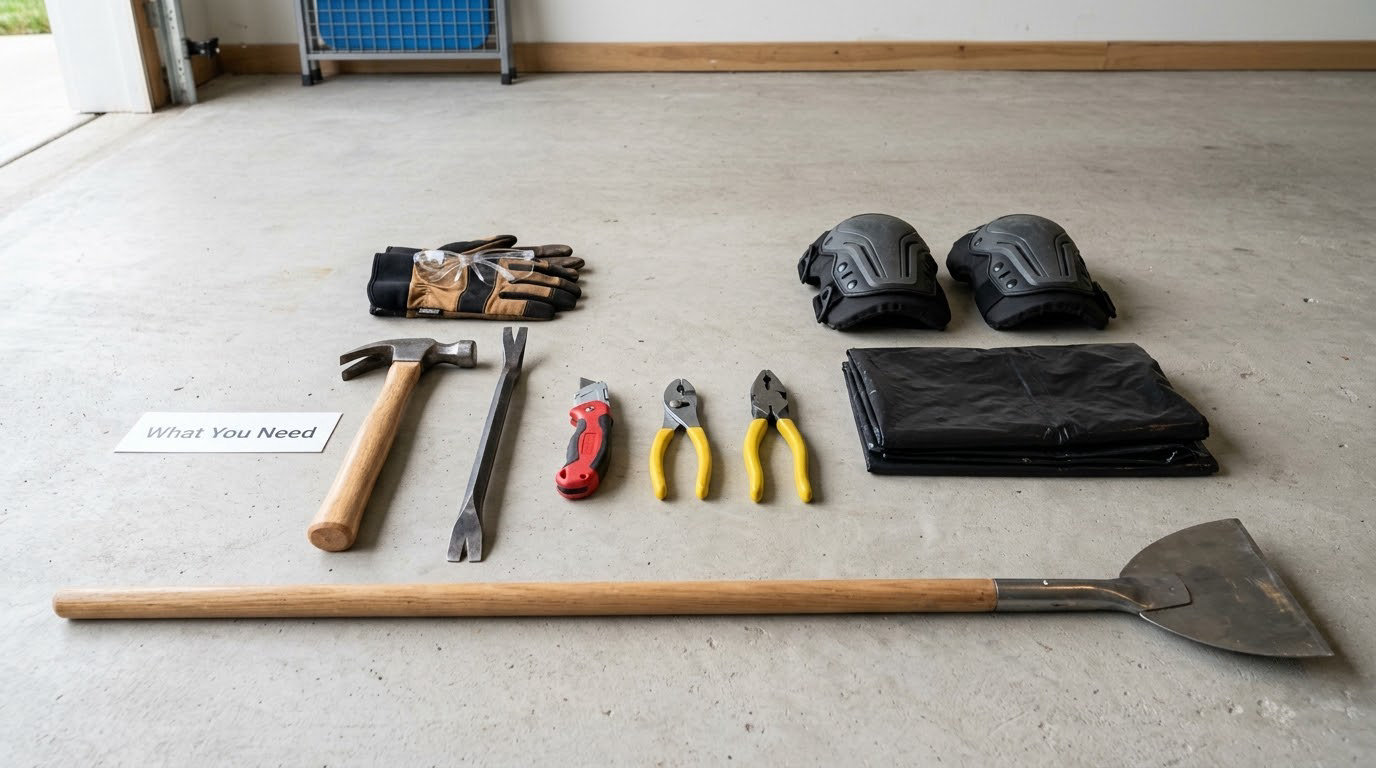
Most of the tool list costs less than one hour of a contractor’s time, and you will use half of it again later. Buy the knee pads first — a carpet job is hours of kneeling, and that is the single most common complaint from people doing this themselves.
- Utility knife with fresh blades. Blades dull fast on carpet backing, and a dull blade chews rather than cuts.
- Long-handled floor scraper. A shingle-style scraper or the long-handled tool sold at carpet supply stores. This is the difference between an hour of staple pulling and three.
- Pry bar, flat bar or shingle remover. For lifting the carpet off the tack strip and for popping tack strips loose.
- Locking pliers and a small hammer. Pulling staples and driving the occasional stubborn tack strip nail back down.
- Work gloves, safety glasses, knee pads, and a dust mask or N95 respirator. Old carpet fiber and decades of dust are genuinely unpleasant to breathe.
- Heavy-duty trash bags, a box cutter, and duct tape. Bags for the padding, tape for the carpet rolls.
- A folded towel. Slipped under the pry bar, it stops the bar from digging into a wood floor.
Put on a respirator if your home was built before 1990 and the carpet has never been replaced. Some older carpet and the black mastic used under it can contain asbestos, and the material only becomes a risk once it is cut and disturbed. If you suspect it, test before you demo rather than after. Also look for dampness, dark staining, or a musty smell before pulling anything up; those need to be fixed at the source, not covered with new flooring.
Finally, decide which of three jobs you are doing, because each changes your approach: removing carpet to install new carpet, removing it to expose a finished floor you want to keep, or removing a glued-down install. Only the second one demands the care.
Step-by-Step: How to Remove Old Carpet and Padding
1. Prepare the Room and Protect Your Home
Move all furniture out of the room completely, including the heavy pieces you were planning to slide aside. Dragging a dresser across carpet tears it, and a lifted corner gives you a head start on the cut.
Tape plastic sheeting over the door opening so dust does not follow you through the house, and open a window. If a door casing or baseboard is in the way of the carpet edge, remove the baseboard with a pry bar and a folded towel protecting the wall — it is easier to reinstall a baseboard than to cut carpet short and live with the gap.
Knee the carpet in a few spots and look for soft spots, odors or staining. Mold, a mouse nest, or a section of carpet that is already tearing is information you want now, not after you have a pile of it in your hallway.
2. Cut and Roll: How to Remove Old Carpet in Sections
Pull a corner of carpet up and cut it free from the tack strip with your utility knife, cutting from the back side where you can see the fibers. A long strip along the wall, about an inch in, protects the baseboard and any finished floor beneath from an errant blade.
Lift the carpet and roll it back on itself about a foot, then cut through the doubled layer to make strips roughly two feet wide, the width of a hallway. Wide strips are heavy and floppy; narrow strips are miserable to carry. Two feet is the compromise most people settle on.
Roll each strip tightly, back side out, and wrap the roll in duct tape. A taped roll holds its shape through a hallway and into a vehicle, which an untaped one will not.
3. Remove the Carpet Carefully
Start in a doorway corner. Slide the flat bar under the carpet and lift it off the tack strip in short pulls, one section at a time — the angled nails in the strip are designed to grip, so the carpet wants to fight you the whole way across the room.
Work along a wall, not around the perimeter. The carpet releases much faster when you pull parallel to the tack strip than when you tug at it straight off the nails.
Around a built-in cabinet, a threshold or a doorway, cut the carpet into a smaller piece so you can pull it straight back rather than levering against the obstruction. Keep the cutting blade pointed away from anything finished.
4. Pull and Remove the Padding
Padding is usually stapled to the subfloor and comes up in sheets once the carpet is gone. Lift a corner, pull it back along its length, and cut it into sections you can carry. A wet pad is much heavier than it looks, so smaller pieces matter here more than anywhere else in the job.
Whether the pad is glued depends on what is underneath. Padding over a plywood subfloor is nearly always stapled or loose-laid, and it tears away cleanly. Padding laid directly on hardwood, tile or a finished concrete slab is often fused in place with adhesive, and it has to come up as a stubborn layer rather than a sheet.
Signs your padding is bonded rather than loose: it tears instead of releasing, the underlayer stays behind as a thin film, or a corner stretches rather than lifts. When that happens, work the heat and scrape method in Step 5 instead of yanking.
5. Remove Tack Strips and Adhesive Residue
If you are installing new carpet over the same floor, leave the tack strips in place and drive any proud nails down with a hammer. Fresh carpet needs a clean, level run anyway, and pulling good strips out to rebuild them later is wasted work.
If you are exposing a floor you want to keep, the strips come out. Slide the pry bar or flat bar under the end of a strip, protect the surface with the folded towel, and lever it up in short movements rather than one hard pull. Concrete nails in a slab may need an angle grinder to cut off flush.
Now handle the residue, working up this order and stopping as soon as the residue comes off:
- Heat. A hair dryer or heat gun softens the adhesive or foam. Scrape with a plastic paint scraper while it is still soft. Slow, but it works and it is the least toxic option.
- Dish soap and water. Mix warm water with dish soap, wet the residue, let it sit 20 to 30 minutes, then scrub in sections with an old towel. This is what works on forty-year-old foam.
- Mineral spirits or denatured alcohol. More aggressive. Ventilate the room, wear the respirator, and test a patch in a closet corner first, because solvents can strip a finish.
- Sanding. The last resort on a finished wood floor, and it means refinishing. If you get to this step on hardwood, the cost of the original project has just gone up significantly.
Vinegar is widely tried and widely useless here. So is alcohol on foam residue. Skip both and go straight to soap and water or a solvent.
6. Clean and Inspect the Subfloor
Sweep, then vacuum, then scrape. Vacuum alone leaves grit behind that will telegraph through new flooring, and grit under a scraper is what scratches wood.
Run your hands across the surface and look for three things: protruding nails or staples, soft or delaminated spots in the plywood, and any moisture or staining. A section of subfloor that gives under your knee is a repair job, not a flooring job. Multiple tack strips showing heavy rust is worth a look at the roof above.
For hardwood, check the boards for movement and any exposed nail holes, and decide now whether the floor is getting refinished or refinished only where it is damaged. For new carpet, the bar is simple: dry, clean, and flat within a quarter inch over a six-foot span.
Common Mistakes
Cutting the carpet without first checking what is underneath. Lift one corner in a spot that does not matter and look. Discovering glued-down padding on a finished floor changes the entire project.
Pulling the carpet off the tack strip in one long yank. It will either tear the carpet in a strip or take a chunk of the baseboard with it. Short, parallel pulls along the wall are slower for five minutes and much faster overall.
Overfilling the roll. Two-foot strips that are rolled tight are already awkward to get down a staircase. Wider rolls are worse.
Forgetting that tack strips often run under the carpet at doorways. The strip across the threshold is the one that catches people, and the carpet is stapled or tacked to it. Cut the carpet away from the doorway, then lift that strip separately.
Yanking the padding instead of determining whether it is bonded. If it stretches rather than tears, it is glued. Heat first, then scrape.
Sanding residue off a finished wood floor as the first move. Nobody regrets trying soap and water first. Sanding is where a floor project becomes a floor refinishing project.
Skipping the moisture check. New carpet over a damp subfloor traps the problem, and you will find it again in a year.
Frequently Asked Questions
How difficult is it to remove old carpet and padding for a DIY homeowner?
Moderate, and mostly physical. Carpet held by tack strips at the walls releases with a flat bar and a utility knife, which is the easy 80 percent. The hard part is the padding and the staples, and it is hard because of the repetition rather than the technique. A 12-by-12 room usually takes two hours for a first-timer who works carefully, and another hour for disposal. Glued-down carpet and carpet nailed directly to hardwood add real time.
Do I need to remove the old tack strips before installing new flooring?
It depends on the new flooring. Installing new carpet over existing tack strips is normal practice, as long as the strips are sound and any proud nails are hammered down; the new pad goes down first, then the carpet is stretched onto the same strips. Installing hardwood, laminate, or tile is different. Those floors need a flat, clean surface, so the strips come out and any divots get filled.
How do I remove old carpet staples without damaging the subfloor?
Use a long-handled floor scraper, the shingle-style kind sold at carpet supply stores. Rock it forward over each staple so the blade edge lifts the staple head instead of driving it deeper. For a few stubborn ones, slide a folded towel under locking pliers so the jaws sit above the surface, then squeeze. On finished hardwood, always test a corner first, because the plier jaws can mar the finish.
What should I do if the carpet or padding underneath is damp?
Stop and find the source before installing anything new. Common causes are a roof or plumbing leak, a condensation problem, or a slab that is wicking groundwater through the pad. Removing the wet material lets you see and dry the subfloor, and covering it again with new flooring traps the moisture. A rented dehumidifier and several days of airflow usually settle a damp subfloor; persistent wetness means calling a roofer or plumber, not a flooring crew.
Can I install hardwood, laminate, or tile over the exposed subfloor?
Yes, once the subfloor is bare, dry, clean, and level. Plywood and OSB are fine once old nails are removed and any soft spots are replaced, though tile usually wants a backer board. Concrete works for tile and laminate after grinding or patching, and many people carpet over concrete instead of trying to install hardwood on a slab. Check the flooring manufacturer’s flatness requirement, typically no more than a quarter inch of variation over a six-foot span.
How should I dispose of old carpet and padding after removal?
Curbside trash usually takes a rolled carpet if your local service accepts it as bulky waste, but rules and size limits vary, so check first. Most people end up renting a dumpster or hiring junk removal, since 500 square feet of carpet and padding fills more than people expect. Some areas recycle carpet through specialty programs, and reusable pieces can sometimes be donated, though many shelters no longer take carpet. Always confirm what your local service actually takes.
Conclusion
Start at a doorway corner with a utility knife and a flat bar, pull the carpet back along the wall rather than straight off the nails, and cut it into taped two-foot rolls. That sequence is what keeps the job from turning into a mess on moving day.
Before you buy any new flooring, clear the staples and scrape the residue off, then look at the exposed subfloor while it is bare. Dry spots, soft plywood, and uneven areas are all obvious now and invisible later. Fix what you find, then install — and if the padding turned out to be glued to a finished wood floor, work the heat and dish soap steps before reaching for anything stronger.