Drip irrigation basics for home gardens come down to one idea: move water slowly to the root zone instead of spraying it over everything. Water leaves a spigot, passes through a head unit that controls pressure and filters it, travels down distribution tubing, and drips out of emitters sitting beside each plant. In a typical home setup that saves 30 to 60 percent of the water an overhead sprinkler would use.
I built my first bed two summers ago from a kit, half of it unused. The half I skipped was the filter and the pressure regulator, and I spent a month wondering why the far end of the row stayed dry. Once those two parts went in, the same layout ran without a single adjustment. That experience shapes most of what follows, because the parts that look optional are the parts that decide whether the system works.
If you want the short version: buy a point-source emitter kit for a handful of raised beds or containers, a drip line kit for long vegetable rows, and always add the filter, regulator and backflow preventer even if the kit box does not mention them.
Table of Contents
- What Is Drip Irrigation and How Does It Work?
- Drip Irrigation Basics for Home Gardens: Key Components
- How Do You Choose the Right Drip Irrigation System?
- How to Set Up Drip Irrigation in a Home Garden
- What is the 30/30 rule for drip irrigation?
- What is the 200/200 rule for drip irrigation?
- How long should drip irrigation run in a vegetable garden?
- How often should drip irrigation run?
- How Do You Troubleshoot a Drip Irrigation System?
- How to Maintain Drip Irrigation for Healthy Plants
- Drip Irrigation vs. Sprinklers for Home Gardens
- Frequently Asked Questions
- Is drip irrigation better than a sprinkler for a home garden?
- How often should I run drip irrigation?
- What is the difference between drip emitters and a soaker hose?
- Do I need a filter and backflow preventer for drip irrigation?
- How do I know if my drip irrigation has a leak?
- Can I use drip irrigation for container plants and raised beds?
- Conclusion
What Is Drip Irrigation and How Does It Work?
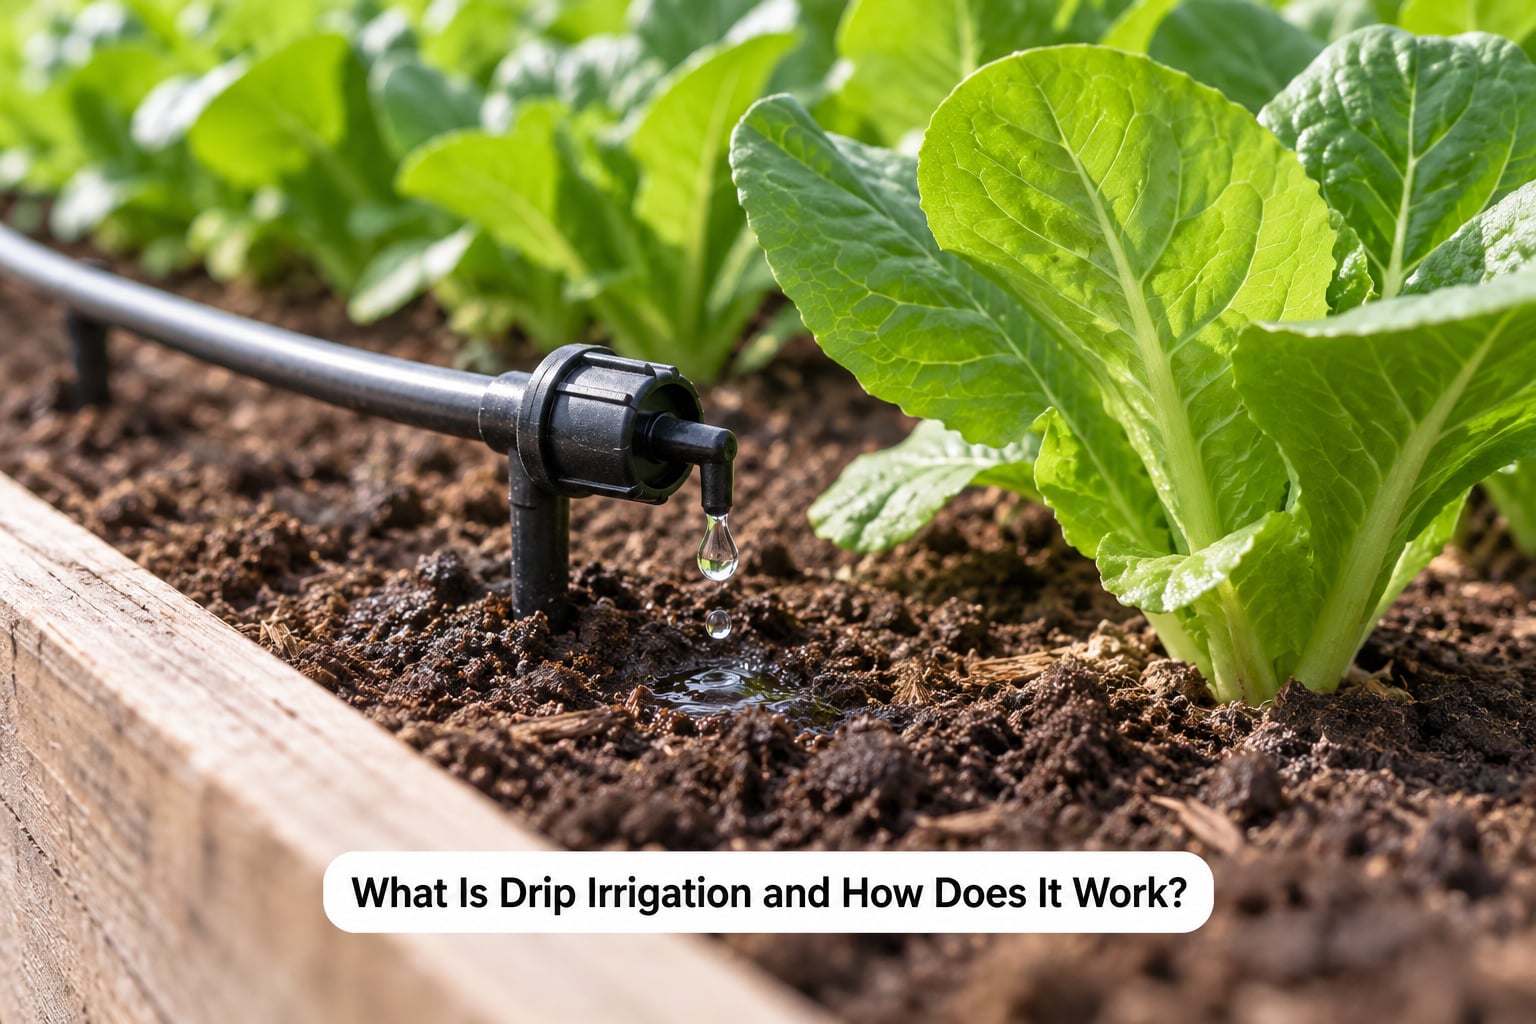
Drip irrigation is a slow-release watering method that delivers water directly to the root zone of plants through a network of small tubing and emitters, instead of spraying water over the whole garden.
The path of water is straightforward. From a hose bib or spigot, water moves through a backflow preventer, then a pressure regulator that steps household pressure down to roughly 15 to 30 psi, then a filter that catches sand, rust and mineral grit. From there it enters distribution tubing, usually 1/2 inch mainline, that runs along the header and each bed. Emitters or drip line deliver the water at each plant.
Every one of those steps exists because household pressure would destroy the small orifices inside an emitter. Too much pressure and the emitter sprays or pops; too little and it barely drips.
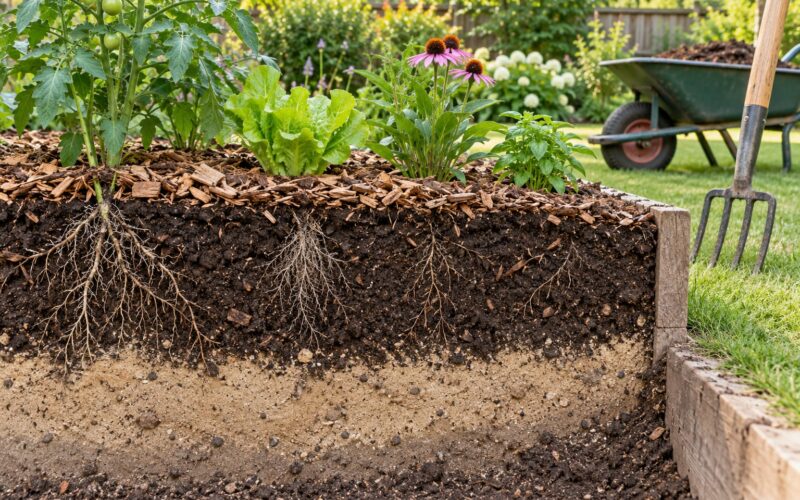
Slow delivery changes how water behaves in the soil. Sprinkler water lands on paths, walls and leaves, where wind and sun take a chunk of it before it soaks in. Drip water lands in a small wet spot next to the stem, so nearly all of it infiltrates where roots can drink it.
The practical difference shows up in three places. Foliage stays dry, which cuts fungal disease on tomatoes, beans and squash. Soil stops crusting and eroding, because nothing is being slammed into it from above. And the paths stay dry enough that you pull a fraction of the weeds you used to.
Drip Irrigation Basics for Home Gardens: Key Components
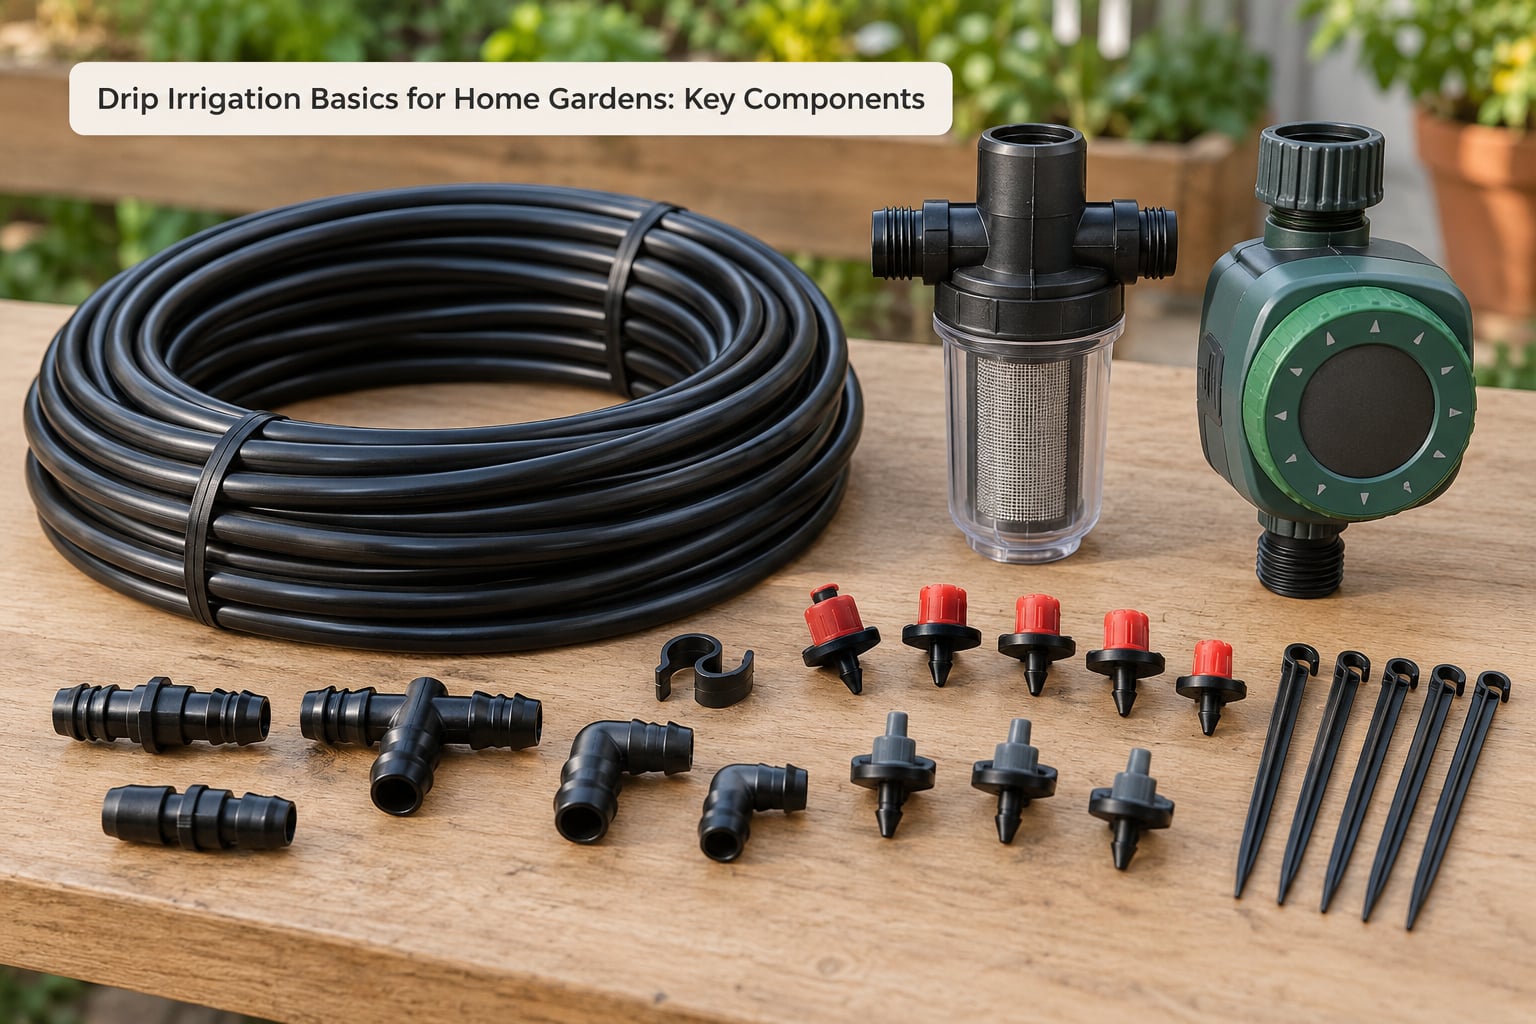
Here is the whole parts list for a home system, and what each piece actually does. The first four go at the spigot as a head unit, in this order.
| Part | What it does | Required? |
|---|---|---|
| Backflow preventer | Stops irrigation water from siphoning back into the drinking supply. Many local plumbing codes require one. | Yes, and check local code |
| Pressure regulator | Drops line pressure to the 15-30 psi band emitters are rated for. | Yes |
| Inline filter | Catches grit and mineral particles before they reach the tiny emitter orifices. | Yes, always |
| Hose-end timer or controller | Turns the water on and off so the system runs while you work or sleep. | Recommended |
| Distribution tubing | The 1/2 inch mainline carrying water from the head unit to each bed. | Yes |
| Fittings | Tees, barbs, couplings and adapters that branch and terminate lines. | Yes |
| Emitters or drip line | Deliver water at each plant, rated in gallons per hour. | Yes |
| End caps and flush valve | Close the ends of a line and let you blast out dirt when flushing. | Yes |
Emitters come in a few shapes, and picking the wrong one is a common beginner mistake.
Point-source emitters are single spikes you push into the soil next to one plant. They come in flow rates from about half a gallon per hour to 4 GPH, and adjustable or pressure-compensating versions keep output steady as pressure changes. One or two per vegetable plant is usual, though large shrubs and young fruit trees want two to four spread around the root area.
Inline emitters are the same devices pre-installed every 12 or 24 inches along a length of 1/4 inch tubing. They are tidy for containers and small plots but they waste tube on bare soil between plants.
Drip line is poly tubing with tiny emitter ports every 6 to 12 inches. Snap it along a row and it waters a whole line of crops. Thicker tubing rated at 15 mil lasts longer than the 8 mil version when you plan to leave it on the soil surface for seasons.
Micro-sprinklers spray a few feet in a circle from a spike. They are the one drip component that wets foliage, which makes them useful for germination beds and leafy greens but wrong for tomatoes and peppers that want dry leaves.
How Do You Choose the Right Drip Irrigation System?
Choose by layout, crop and how much fiddling you want to do. The decision most people agonize over is drip line versus a soaker hose, so here is the honest comparison.
| Criterion | Drip line or emitters | Soaker hose | Overhead sprinkler |
|---|---|---|---|
| Typical efficiency | Around 90 percent of applied water reaches the root zone | Roughly 70 to 80 percent | 60 to 75 percent, more in wind and heat |
| Best use | Vegetable rows, raised beds, containers, trees, shrubs | Small raised beds, seedbeds, shrubs along a fence | Lawns, large flat beds, germination |
| Setup effort | Moderate: layout, fittings, emitters | Very low: hook it up and lay it down | High: heads, zones, trenching |
| Typical service life | Several seasons on the surface, longer if buried | One to two seasons before it degrades | 10 to 15 years for the heads |
| Failure mode | Visible: a spray or a blow-off you can hear | Hidden: one wet spot, dry everywhere else | Visible: broken head or dry zone |
| Adjustability | Per plant, per hour, up to flow by emitter choice | Whole hose only | Per zone |
| Relative cost to start | Moderate | Low | High |
That table explains why people on gardening forums lean toward drip for a real vegetable plot. The soaker hose is easier to move around, but it degrades faster and often fails in a way you will not notice until a plant wilts. Forum regulars make the same tradeoff differently: soaker hose for workability, drip line for longevity.
Match the system to the planting instead of the other way around.
- Long vegetable rows: drip line snapped along both sides of the row, emitters every 8 to 12 inches, on a 15 mil tubing if it stays outside.
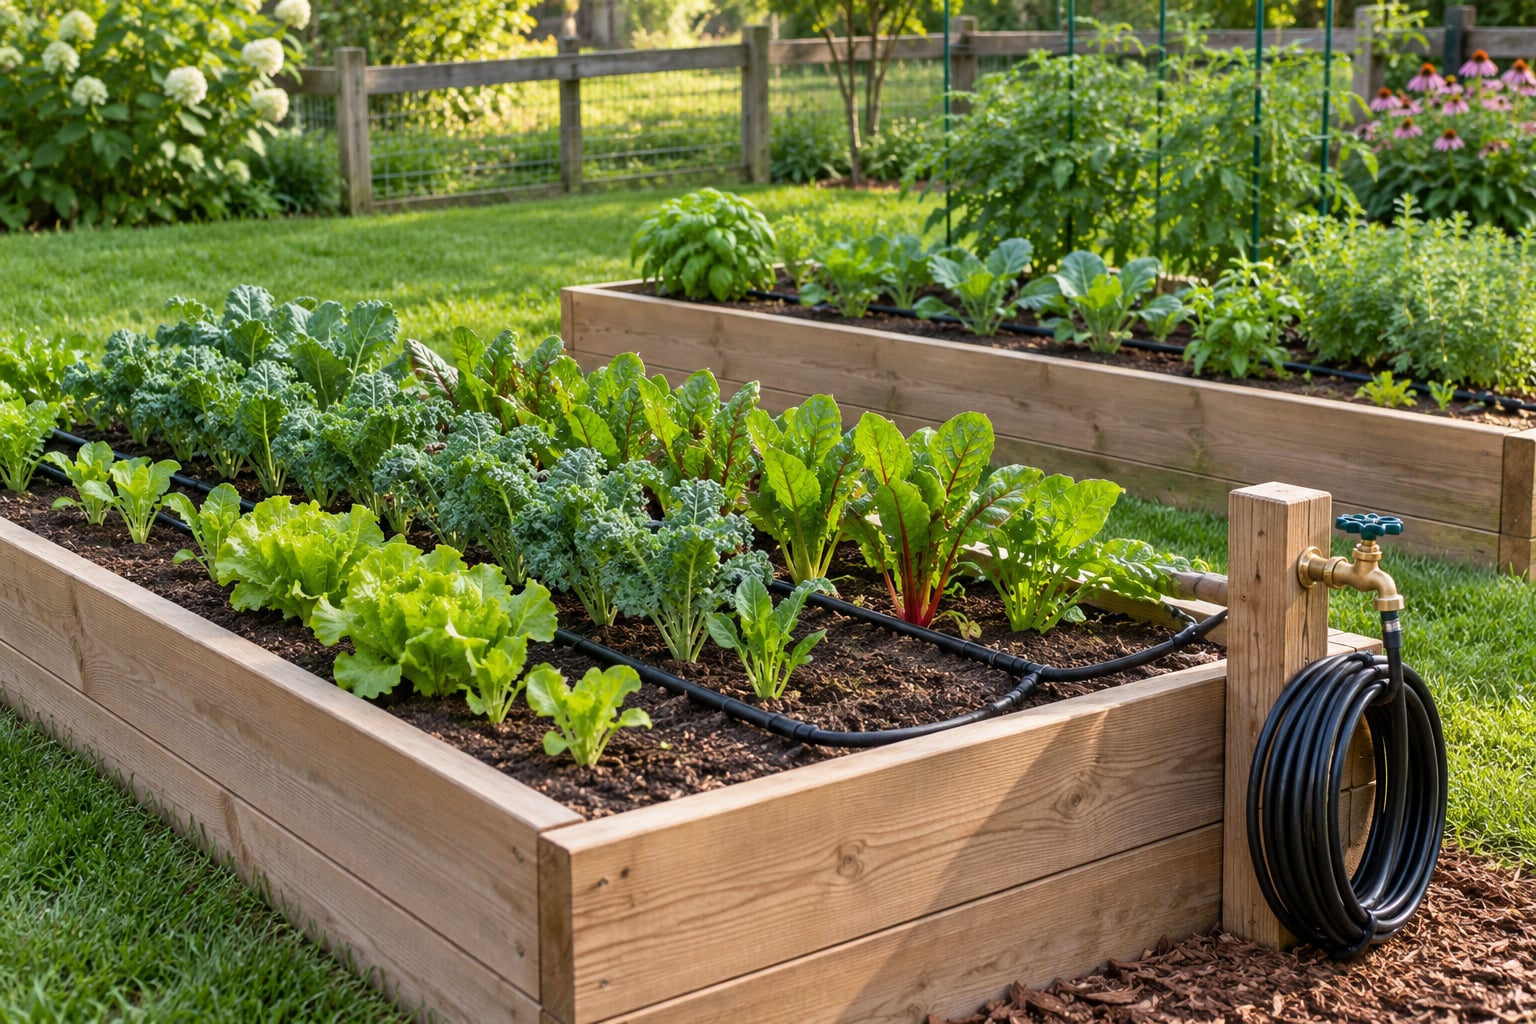
- Raised beds: point-source emitters on a 1/4 inch line, or drip line down the center of each bed for dense plantings.
- Containers: 1/4 inch distribution tubing with one emitter per pot, or a short length of soaker hose if you want zero assembly.
- Fruit trees and berry bushes: two to four higher-flow emitters, ideally on their own zone so the young trees get longer runs than the vegetable beds.
- Seedbeds and transplants: micro-sprinklers, since you want the surface evenly damp for germination.
Two limits worth knowing before you buy anything. Drip is the wrong tool for lawns, and for steep slopes where water needs to be spread rather than concentrated in one spot. It also cannot rinse dust or spider mite webbing off leaves, so crops that genuinely need foliage washing are the exception rather than the rule.
How to Set Up Drip Irrigation in a Home Garden
Setup takes an afternoon for a couple of raised beds. Work in this order and you will not have to redo anything.
- Map your zones. Group plants that need the same water. Put trees and shrubs on their own zone with a longer run, and keep thirsty vegetables together.
- Check the spigot. The spigot needs to run full flow with nothing else attached. If pressure drops badly, split the garden across two zones rather than fighting it.
- Assemble the head unit. At the spigot, attach the backflow preventer first, then the pressure regulator, then the filter, then the timer or controller.
- Run the mainline. Lay 1/2 inch distribution tubing along the header and down the bed edges. Cut it with a sharp knife so the edge is clean and it seats properly.
- Branch out. Use tees to run 1/4 inch tubing to each row, bed or container group. Cut the line to length and cap every open end with an end cap.
- Set the emitters. Push point-source emitters into the 1/4 inch line, or punch holes in drip line at the spacing your crop needs. Two emitters per vegetable plant, four or more around a tree.
- Add a flush valve at the low end of each line, then flush before you bury or stake anything. Dirt in the line now means clogged emitters later.
- Test and time it. Turn the water on and walk the line. Fix leaks, then set the timer and reduce the frequency after watching the soil.
Do the flow math before you commit to a layout. Add up the gallons per hour of every emitter on the zone. Twenty emitters at 1 GPH each is 20 gallons per hour, and if your hose bib can only push 5 GPH under pressure, the far end of that run will starve. The fix is fewer, higher-GPH emitters or a second zone.
That pressure drop is the most common complaint from first-time builders, and long runs make it worse. Emitters close to the spigot get full pressure while ones 50 feet away get a fraction of it. Looping a single line back and forth through a bed evens it out, and pressure-compensating emitters handle it automatically.
Now the scheduling question everyone asks.
What is the 30/30 rule for drip irrigation?
The 30/30 rule is a starting point for new drip systems: run the system for 30 minutes, then dig down 6 to 8 inches next to a plant and check whether the moisture has reached that depth. Wet all the way down means the run length is right. Dry at that depth means run longer or increase the emitter flow rate.
What is the 200/200 rule for drip irrigation?
The 200/200 rule is the next step for established plantings: a mature plant needs about 200 gallons per week at peak summer, spread across roughly 200 square feet of root zone. Divide by seven for the daily total, then convert that to your run time using the GPH total for the zone. It is a broad guideline, not a promise, but it gives you a real number to start from.
How long should drip irrigation run in a vegetable garden?
On loam in mild summer weather, start with 30 to 45 minutes two or three times a week and adjust from there. Sandy soil drains fast, so run shorter and more often. Clay holds water and stays wet longest, so run less often and longer. Always water early in the morning, when evaporation is lowest and leaves have time to dry if they do get wet.
How often should drip irrigation run?
Most vegetable beds do well with deep watering two or three times a week in summer and once a week in spring and fall. Containers on a patio may need daily checks in July, because pot soil dries out far faster than a bed. Rather than trusting the calendar, use a finger test: push a finger 4 to 6 inches into the soil, and water if it comes out dry.
How Do You Troubleshoot a Drip Irrigation System?
Almost every drip problem is one of four things: pressure, dirt, damage, or a schedule that does not match the plant. Work the table below before you start replacing parts.
| Symptom | Likely cause | Fix |
|---|---|---|
| One emitter sprays or chatters | Pressure too high, or a damaged diaphragm | Add or adjust the pressure regulator; replace the emitter |
| Emitters drip weakly or not at all | Mineral deposit clogging the orifice | Remove the emitter, soak the orifice in a citric acid solution, rinse |
| The far end of a long line is dry | Pressure drop along the run | Split into two zones, loop the line, or fit pressure-compensating emitters |
| Water pooling and running off | Run time too long for the soil, or emitters too close together | Shorten the run, space emitters out, switch to a lower flow rate |
| Wet spot with no water around it | Soaker hose has failed internally | Replace the soaker hose; test it under pressure before installing |
| Line split or blew off in winter | Freeze with trapped water | Drain and winterize the system, and replace the damaged section |
| Grassy growth in the paths | Overhead spray reaching bare soil | Move to drip so water stays on the planted strip |
| Roots mounded at the surface, growth weak | Water too shallow and too frequent | Run longer, less often so moisture moves down past the roots |
Hard water is the number one clog cause, and no filter catches dissolved minerals. If your emitters clog every few weeks despite a clean filter, an acid rinse on each emitter buys you months at a time.
One question that shows up constantly: can you run drip tape and individual 1/4 inch spot emitters on the same supply line? You can, as long as their flow rates are in the same general band and the line has a filter. Mixing them only causes trouble if low-flow emitters sit far from the source on a long, undersized run.
Two questions about combining systems and pressure, then. If you find yourself wondering whether a soaker hose can share a line with emitters, it can, but the soaker hose will hog the flow and starve the emitters downstream. Put them on separate zones if you use both.
And if surface tubing keeps getting chewed by foot traffic, a mower or rodents, bury it a few inches deep or run it along an edge nobody walks. Subsurface placement also cuts evaporation, though installation takes more digging.
How to Maintain Drip Irrigation for Healthy Plants
Ten minutes at the start of the season buys you a system that keeps working for years.
Flush the lines monthly during the growing season. Open the flush valves at the end of each line and let it run hard enough to clear grit. Brown or grey water coming out tells you it is working. Do this before you start seeing weak emitters.
Clean the filter every month or two. Unscrew the housing, pull out the mesh screen, rinse it under the tap and let it dry. A dirty screen starves emitters on the far end of the line and looks like a pressure problem.
Walk the beds with a coffee mug. Every emitter that fails to produce a drop within a minute gets swapped. Replacement emitters are a few cents and take seconds to install.
Inspect for leaks and damage each month. Check the fittings at the spigot, look for chewed or sun-split sections, and look for spots where water escapes from a damaged line rather than an emitter.
Then winterize before the first hard freeze. Turn off the water at the spigot, disconnect the head unit, open every flush valve and end cap, and let each line drain. Pick up the low spots so they empty fully, and bring the tubing indoors if you can. Water left inside a line expands when it freezes and splits the tubing, which is how one freeze turns into a spring full of blow-offs.
Do a quick walk-through every few weeks anyway. Check that leaves are not curling, that new growth looks normal, and that the soil under each emitter is actually damp.
Drip Irrigation vs. Sprinklers for Home Gardens
For beds, containers and shrubs, drip beats sprinklers on every measure that matters to a gardener. For a lawn, the sprinkler wins outright.
Water efficiency is the headline. Drip puts 90 percent or more of what it applies into the root zone; a sprinkler typically lands 60 to 75 percent, and the rest goes to evaporation, wind drift and paths. Over a season that is the difference between a few hundred extra gallons or an outdoor spigot running freely.
Coverage is the trade. Sprinklers throw water 10 to 25 feet and cover a flat lawn evenly with one head. Drip is deliberately local, which is exactly what you want for a row of peppers and useless for an open grassy area.
Installation effort favors the sprinkler for a large property, since you are laying pipe and zoning heads. Drip on a hose bib is an afternoon project with hand tools, no trenching and no permits in most places.
Maintenance runs the other way. A sprinkler head that pops out is obvious and takes one part to fix. A drip failure is usually a clog or a chewed section, small repairs that take minutes but need you to notice them. Both systems need annual winterization where you freeze.
Plant suitability is the deciding factor. Drip wins for vegetables, herbs, raised beds, containers, fruit trees, shrubs and xeriscape plantings. Sprinklers win for lawns, large seeded areas needing even germination, and anywhere you need to wash foliage down.
Can you run both? Yes, and many homeowners do. One zone on the hose bib for beds and containers, an in-ground sprinkler zone for the lawn. That is the arrangement I would build if I were starting over.
Frequently Asked Questions
Is drip irrigation better than a sprinkler for a home garden?
Yes, for vegetable beds, raised beds, containers, fruit trees and shrubs, drip is better. It puts roughly 90 percent of applied water into the root zone, keeps leaves dry to reduce fungal disease, and cuts erosion and weeding. A sprinkler is still the right tool for a lawn, where you want broad, even coverage across a large flat area. Homeowners often run both on separate zones.
How often should I run drip irrigation?
Most vegetable beds do well with deep watering two or three times a week in summer and once a week in spring and fall. On sandy soil run shorter and more often; on clay run longer and less often. Containers may need a daily check in hot weather. Test with your finger instead of trusting a schedule: push it 4 to 6 inches into the soil and water if it feels dry.
What is the difference between drip emitters and a soaker hose?
Emitters deliver water at discrete points, usually one or two per plant, with flow rates you choose per plant. A soaker hose seeps water along its whole length, so you cannot water one plant more than its neighbour, and it often degrades within one to two seasons, failing invisibly by wetting one spot and leaving the rest dry. Emitters are more adjustable and last longer.
Do I need a filter and backflow preventer for drip irrigation?
Yes to both. A backflow preventer keeps irrigation water from siphoning into your drinking supply, and many local plumbing codes require one at any hose bib feeding a fixed irrigation line. The filter catches grit and rust before it reaches the tiny emitter orifices. Skip it and clogs show up within weeks, especially on older galvanized plumbing or well water.
How do I know if my drip irrigation has a leak?
Look for one of four signs: a steady drip from a fitting or connection, water pooling in a low spot that never soaks in, a section of tubing that is wet along its length rather than at an emitter, or an area of soil that stays damp long after the timer runs. Listen too, since a blow-off hiss is hard to miss. Most leaks show up first at the head unit connections.
Can I use drip irrigation for container plants and raised beds?
Yes, and containers are where drip line pays off fastest, since pot soil dries far faster than a bed. Run 1/4 inch distribution tubing to each pot group and fit one emitter per container, or use a short soaker hose if you want no assembly at all. In raised beds, lay drip line down the center or run point-source emitters along both edges at 12 inch spacing.
Conclusion
Start with one zone. Pick a single raised bed or a row of containers, assemble a head unit with a backflow preventer, regulator and filter, and run point-source emitters or one length of drip line through it. Test the run with the 30/30 method, adjust the timer until a finger check at 6 inches comes back damp, and leave it a month before you build out the rest of the garden.
That single season teaches you more than any spec sheet, and it keeps 2026 watering mistakes from being expensive ones.