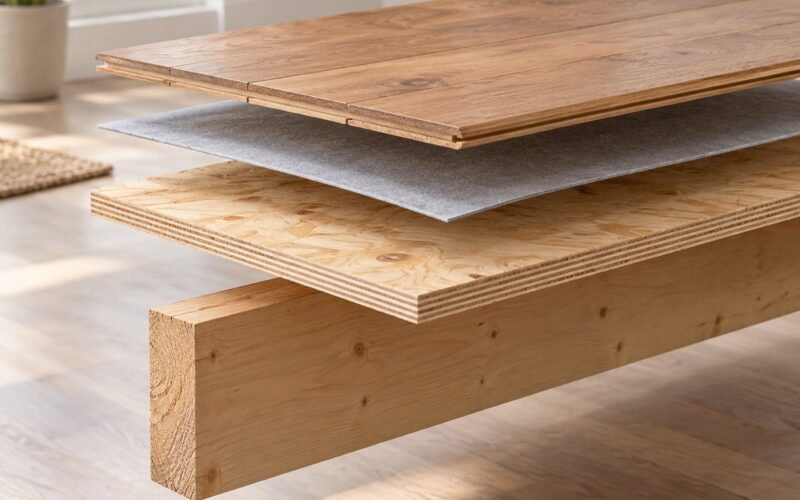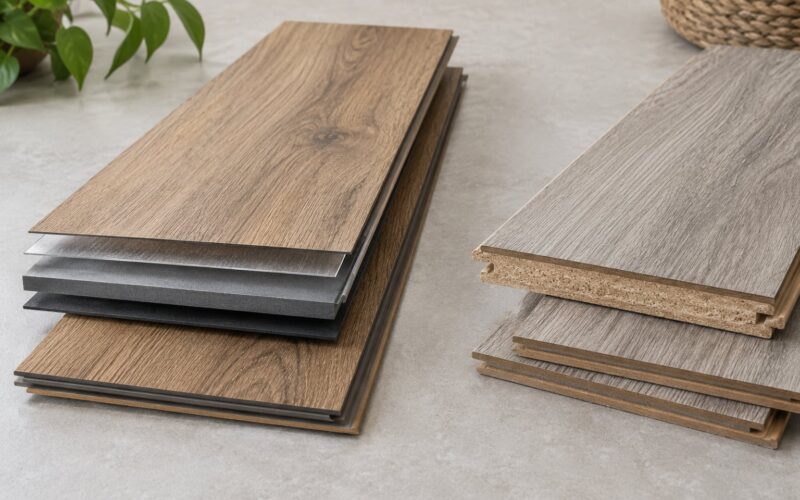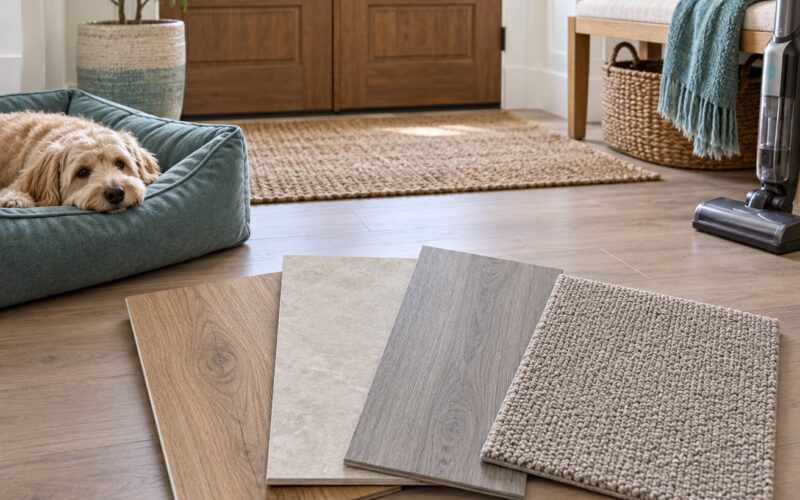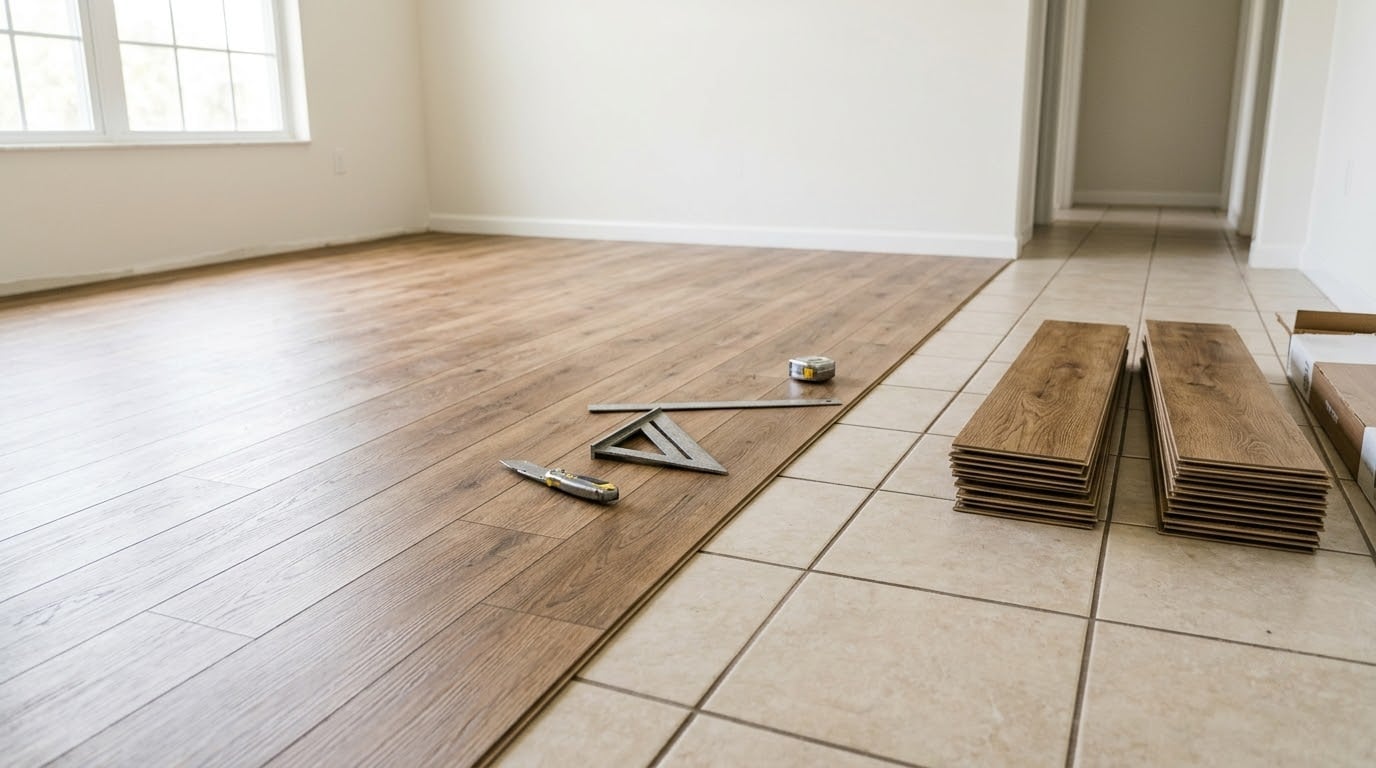
Yes, you can install vinyl plank flooring over existing tile as long as that tile is firmly attached, reasonably flat, and free of moisture damage. The trick is preparation: fill the grout joints, kill the hollow spots, and use a plank thick and rigid enough to bridge the old floor instead of sinking into it. Most rooms take a full day of prep plus a day of laying planks.
The failure everyone worries about is called telegraphing, where the grout pattern of the tile underneath shows through the new floor as a faint grid once traffic starts compressing the planks. It is avoidable, and it comes down to three things: how deep your grout lines are, how flat the tile sits, and which plank you buy.
Below is the sequence I work in, with a quick go or no-go check before you buy a single box. If your tile is delaminating, sitting over a floating laminate base, or wet underfoot, stop and read the no-go section first.
Table of Contents
- What You Need
- Step-by-Step
- 1. Inspect and Repair the Existing Tile
- 2. Clean and Prepare the Tile
- 3. Choose and Apply the Right Installation Method
- 4. Cut and Fit the Vinyl Planks
- 5. Install Remaining Rows and Complete the Floor
- Common Mistakes
- Frequently Asked Questions
- Can I put a luxury vinyl plank over ceramic tile?
- What do you put between tile and vinyl plank?
- Will self-leveling compound stick to ceramic tile?
- Do I have to remove tile before installing vinyl plank?
- Why are my grout lines showing through the vinyl plank?
- Can I install vinyl plank in a bathroom over tile?
- Conclusion
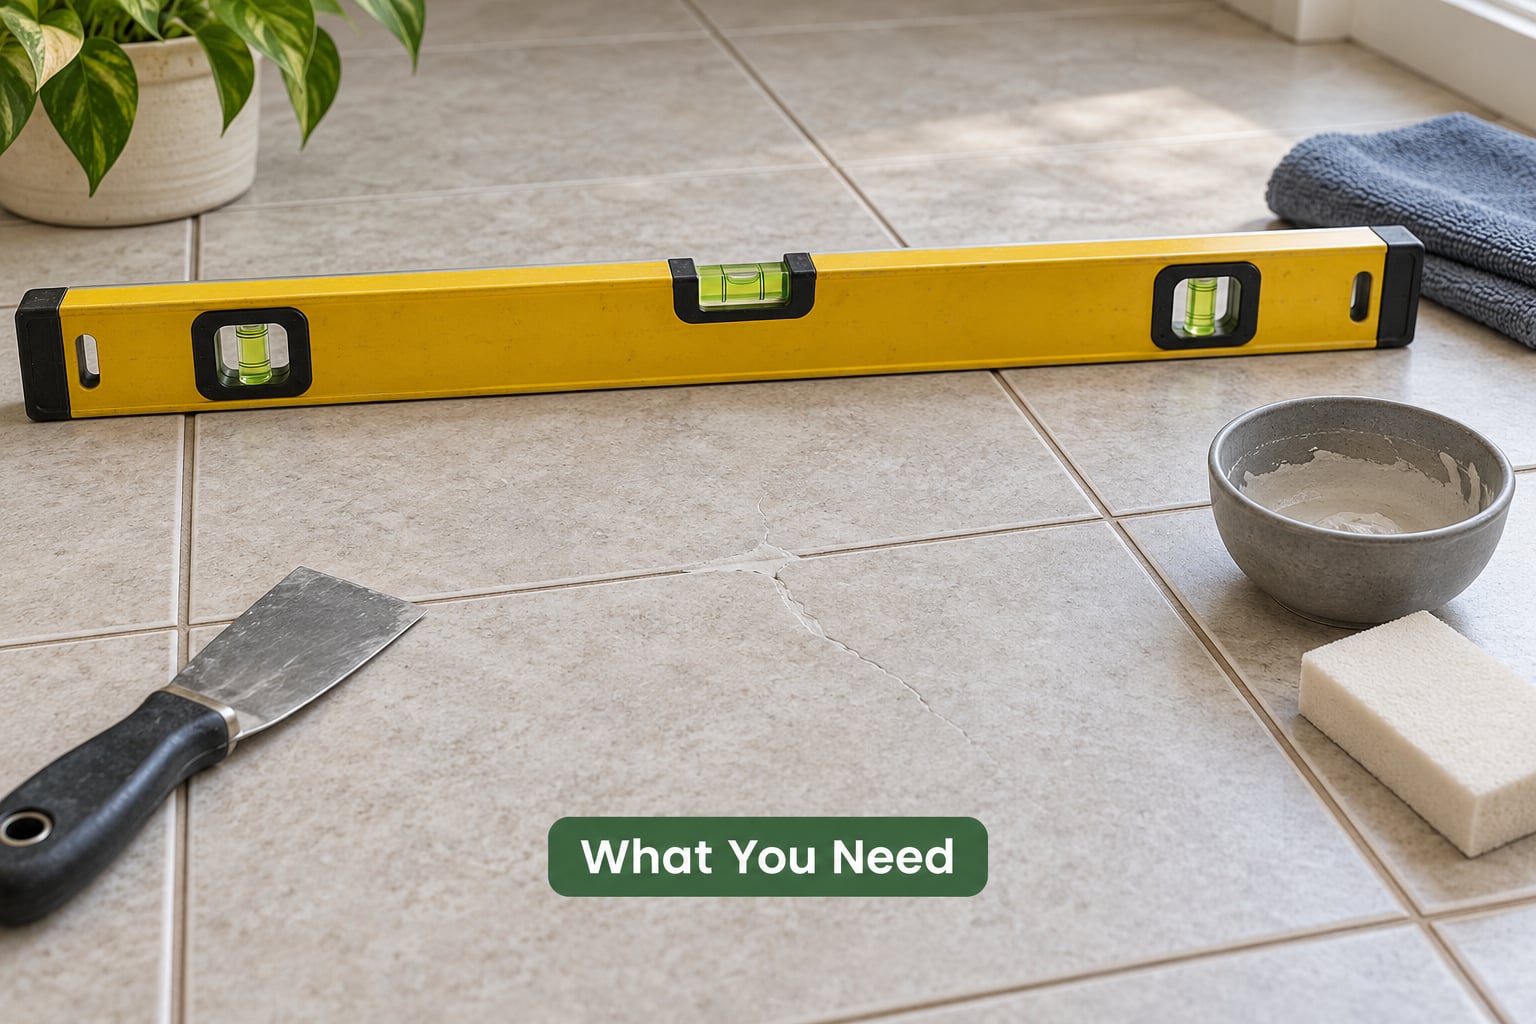
What You Need
Tools first. A 4-foot level is the single most useful item on this list, because it decides whether the job is even worth starting. Beyond that you want a pry bar and hammer, a grout saw or oscillating tool for loose or cracked grout, a floor scraper, a vacuum, a damp mop, a utility knife, a straightedge or speed square, a rubber mallet, and a tape measure.
Materials depend on which installation method you choose. For a floating click-lock floor you need rigid core planks with pre-attached padding, plus a 6-mil moisture barrier if the tile sits on concrete or in a wet room. For a glue-down floor you need planks rated for adhesive installation, a trowel the adhesive manufacturer specifies, and the same moisture barrier. Either way you need a cement-based patching compound for the grout lines, baseboards or quarter round to finish the edges, and matching transition strips where the vinyl meets carpet, hardwood, or a different tile.
Here is the condition check that decides go or no-go, with the tolerances I actually use on site:
- Flatness: within 3/16 inch over a 10-foot span. Set the level and read the middle of the beam.
- Lippage: no more than 1/16 inch between adjacent tile edges. Run your hand across the floor; a catch means a problem.
- Grout depth: shallower than 1/8 inch fills easily. Deeper or wider joints, roughly 3/8 to 1/2 inch, usually mean full self-leveling rather than a skim coat.
- Soundness: zero loose, hollow-sounding, cracked, or delaminating pieces.
- Moisture: dry to the touch, with no damp odor or staining. Basements and concrete slabs get a moisture test before anything else.
- Base: not floating laminate, not carpet, not soft-backed sheet vinyl that can flex.
Tap each tile with a rubber mallet handle and listen. A dull thud means the piece is bonded. A hollow, drum-like ring means adhesive failure underneath, and that tile has to come out before you start.
Step-by-Step
Five stages, in this order. Skipping the first two is what separates a floor that lasts fifteen years from one that shows its grout pattern by Christmas.
1. Inspect and Repair the Existing Tile
Confirm the floor is sound, flat, clean, dry, and properly bonded before you cover it. Any tile that sounds hollow, moves under your hand, or has a crack running through it gets pried out, the old adhesive scraped away, and replaced or patched level with its neighbors.
Fill cracks with the cement-based patching compound, let it cure, and sand the repair flush. Check the repair by laying your straightedge across the patched area; a light that shows under the middle means more compound is needed.
Success check: the 4-foot level sits on the floor with no rock, and no tile shifts when you press firmly on a corner.
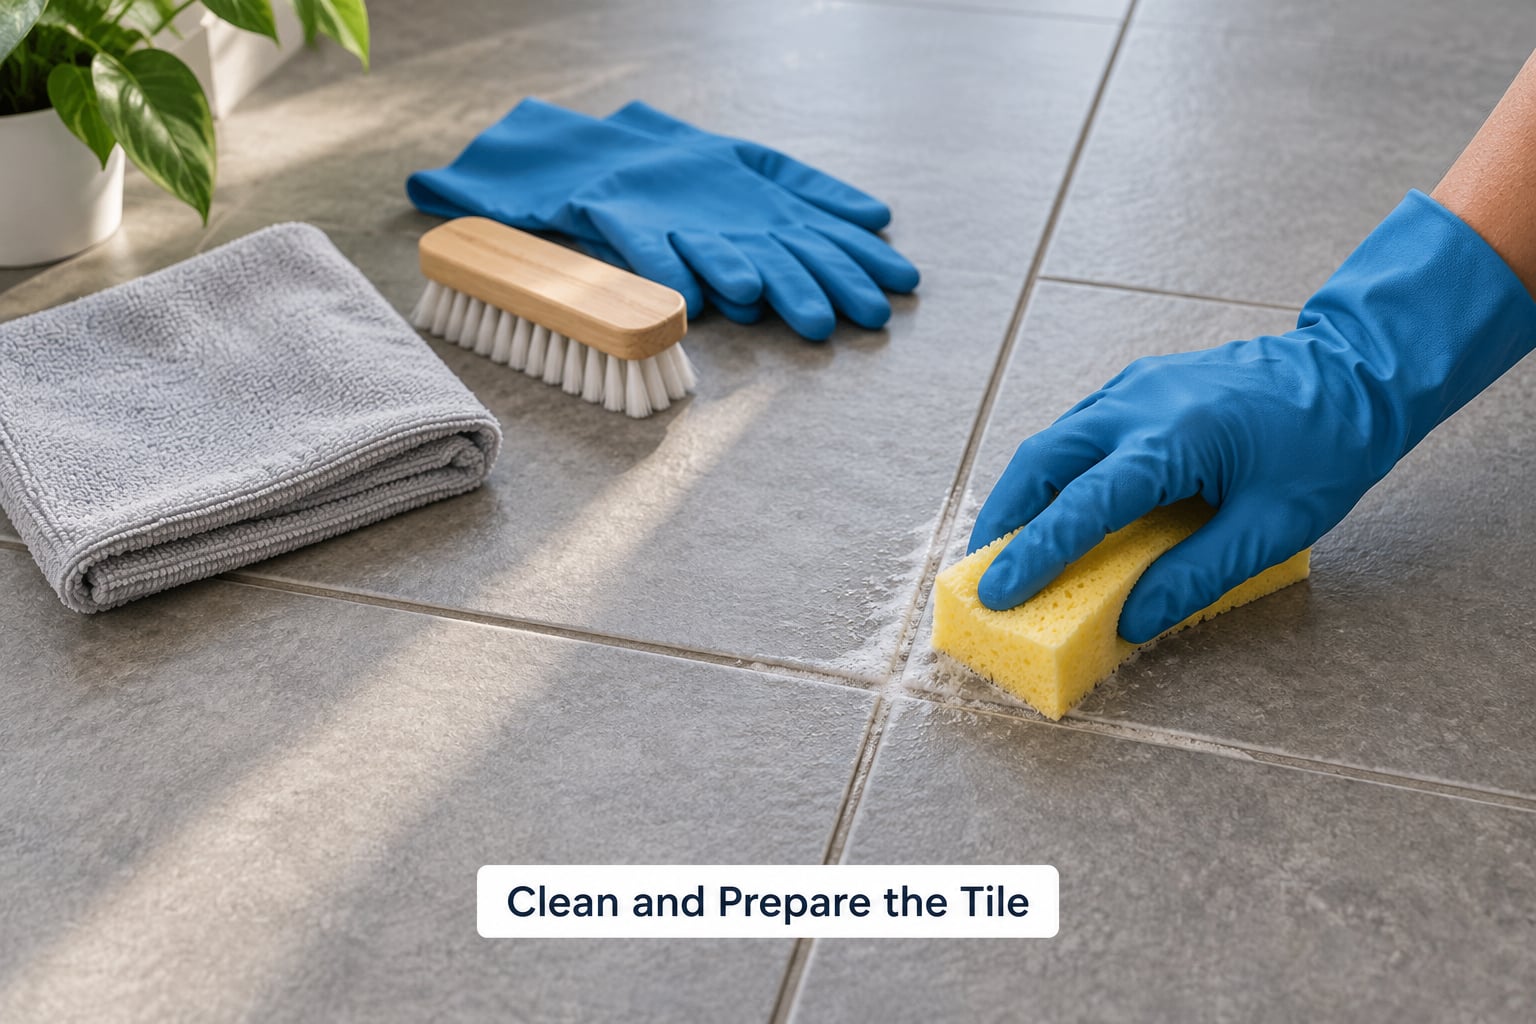
2. Clean and Prepare the Tile
Wash the tile with a neutral pH cleaner or a trisodium phosphate solution, then degrease any areas with years of hand soap and cooking grease built up. Scrub the grout lines with a stiff nylon brush, since residue hiding in the joints is the usual reason adhesive or self-leveler peels later.
Once the floor is dry, sand any high spots, glazed tile faces, or shiny residue with a 120 to 180 grit screen or pad, and vacuum everything. Wipe with a clean damp cloth and let the floor dry completely.
Success check: run a clean white cloth over the tile and drag it. No grit, no squeak, no film on the cloth.
3. Choose and Apply the Right Installation Method
Three methods exist, and the manufacturer’s installation instructions decide which one you use, not your preference. Click-lock planks snap together and float as a single sheet. Glue-down planks bond to the substrate and are the more forgiving option when the floor is flat but not perfect. Loose-lay and peel-and-stick products are a different category and are rarely rated for a tile substrate.
Read the installation sheet before opening a box. It tells you the acceptable subfloor, the required moisture barrier, the permitted adhesive, and the flatness tolerance the warranty assumes. Skipping those guidelines is the most common way people void a warranty on a perfectly good plank.
For floating floors, roll out a 6-mil moisture barrier over concrete or in any wet room, taping seams with a moisture barrier tape. Then mark your layout. Find the two walls in the room that are most parallel to each other, measure the width at several points, and plan the field so the border rows on both sides are as close to equal as you can get.
Success check: your first row is straight, sits in a chalk line, and the expansion gap at the wall measures 1/4 inch with a spacer.
4. Cut and Fit the Vinyl Planks
Measure twice and leave room. Planks expand and contract with humidity, so hold a 1/4 inch gap at every wall, doorway, and permanent fixture using spacers, not eyeballing.
Score and snap with a straightedge for straight cuts, or use a vinyl cutter for a clean edge on a scored-and-snapped plank. For tricky corners, trace the obstruction on kraft paper, lay that template on the plank, and cut the shape. Transfer the shape rather than trying to hold a plank in place and mark it freehand.
For the final row of a wall, the old trick still works. Take the gap measurement, add it to the width of the plank, mark that line on the board face, and cut along it. Fit it by hand pressure only. A plank that has to be forced into place is cutting too short.
Success check: the cut edge fits snug, the expansion gap is still 1/4 inch, and the seam between planks has a slight bevel shadow rather than a visible crack.
5. Install Remaining Rows and Complete the Floor
Work row by row from your chalk line, keeping every seam offset by at least a third of a plank length. Staggered joints are what keep a floating floor from racking into a diagonal over time.
Seat each plank with the flat side of a rubber mallet, tapping along the long edge, working from one end to the other. For glue-down, lay a consistent bead or trowel pattern, keep the open time within the adhesive’s published window, and roll the floor with a 100-pound roller after you finish, working in both directions. Leave the spacers in place until the adhesive has set for the time the manufacturer specifies.
Finish the edges: nail or adhesive-fit the baseboards back, or run quarter round along a wall you do not plan to refinish. At every doorway where heights change, fit the correct transition. A T-molding joins two floors of equal height, a reducer handles a step down, and a threshold strip covers a doorway to a bathroom.
Success check: walk the finished floor with a broom. No drifting planks, no lifting seams, no hollow clicking over the old grout lines.
Common Mistakes
These are the errors I see repeatedly, and each one has a mechanical cause rather than a mysterious one.
- Skipping the grout repair. Deep joints stay deep, and foot traffic presses the plank down into them until the grid shows through. Fix: fill every joint flush with cement-based patching compound or self-leveling compound before installing anything.
- Using a 5mm plank over tile. Thinner planks flex more and follow every high spot and hollow. Fix: rigid core planks at 5mm minimum, and 7mm if the underlying floor is uneven or the room has heavy traffic.
- Installing a floating floor over a floating floor. Two floating layers move independently and the upper one eventually lifts. Fix: remove floating laminate entirely. It cannot be covered.
- No expansion gap. Planks installed tight against a wall have nowhere to go when they grow, so they buckle or pop their seams. Fix: 1/4 inch spacers at every wall, removed only after the floor is secure.
- Ignoring hollow tile. A delaminating tile is a void under the new floor, and the plank over it deflects on every step. Fix: replace the piece and check the surrounding bond by tapping.
- Skipping the moisture barrier. On a concrete slab or in a bathroom, trapped moisture reads as a stain or a lifted seam years later. Fix: 6-mil poly sealed with moisture barrier tape, lapped and never cut with a knife that nicks it.
- Cleaning with too much water. A wet floor that looks dry still carries moisture into the seams. Fix: mop damp, ventilate, and wait a full day in warm weather.
- Forgetting floor height. Each millimeter over tile adds up, and interior or garage doors stop clearing. Fix: measure door clearance before the first row, and pull the hinge pins to trim the slab on the door side rather than sawing from the top.
- Forcing a tight fit at the last row. A plank pressed into place without slack puts shear into the click lock and it releases later. Fix: take the gap reading, cut slightly long, and slide it home.
A few last habits that pay off: acclimate the planks in the room for the period the manufacturer specifies, mix planks from several boxes so the tone spreads evenly, and buy 10 percent extra for cuts and future repairs. Keep a spare box in the closet; matching a faded section later is close to impossible.
Frequently Asked Questions
Can I put a luxury vinyl plank over ceramic tile?
Yes, provided the tile is firmly bonded with no loose or hollow pieces, flat within 3/16 inch over 10 feet, and the grout joints are filled flush. Fill the joints with cement-based patching compound or self-leveling compound, then install rigid core planks rated for the substrate. Skipping the grout repair is what causes grout lines to show through later.
What do you put between tile and vinyl plank?
For a floating click-lock floor with pre-attached pad, nothing between the planks and the tile, but a 6-mil moisture barrier over concrete slabs and in wet rooms. For glue-down, the adhesive specified by the manufacturer. In every case, the grout joints get filled flush with patching or self-leveling compound first, which is the layer that actually prevents telegraphing.
Will self-leveling compound stick to ceramic tile?
It can, but glazed ceramic tile is a non-porous surface and most self-leveling products need it roughened and primed first. Sand the glaze with 80 grit or a metal screen, vacuum, then apply the primer the compound manufacturer names and let it dry fully. Skipping the primer on glazed tile is a common reason the leveler peels away in sheets weeks later.
Do I have to remove tile before installing vinyl plank?
No, if the tile is sound, flat, and properly attached. You must remove it when it is delaminating, when the grout joints are deeper than about 1/8 inch and cannot be filled, or when the base underneath is floating laminate or carpet. Two floating layers never work, so remove floating laminate rather than covering it.
Why are my grout lines showing through the vinyl plank?
The plank is deflecting into the joint under foot traffic and printing the grid onto its surface, which is called telegraphing. It comes from unfilled grout, a plank thinner than 5mm, an unlevel floor, or a hollow tile underneath. Lift a corner, fill the joints flush, and replace the floor with thicker rigid core planks to solve it permanently.
Can I install vinyl plank in a bathroom over tile?
Yes, for the floor around a tub, shower, or vanity, as long as the room stays dry during the install. Vacuum and clean the tile, fill the joints, and use a moisture barrier. Inside a wet shower pan, most plank manufacturers do not approve installation, so use a waterproofing system and a flexible membrane there instead. Plan the toilet flange height before the first row goes down.
Conclusion
Start by putting a 4-foot level on the floor and tapping a few tiles with a mallet. That single afternoon decides whether this is a weekend project or a demolition job, and it costs nothing.
If the numbers pass, pull the manufacturer’s installation instructions for the exact plank you own and follow them over anything you read online, including this guide. Manufacturers set their own flatness tolerance, moisture barrier requirement, and adhesive spec, and skipping those is what voids a warranty. Hiring a professional makes sense when the tile needs real self-leveling, when the room is a wet area, or when you find hollow tile across more than a small patch.
Updated for 2026.