The most expensive kitchen remodel mistakes are made long before anyone turns a screwdriver — an underfunded budget with no cushion, a layout built around how the room photographs instead of how it works, cabinets ordered before the appliance specs exist, and hidden electrical and plumbing capacity quietly assumed rather than checked. Fix any of those in the planning stage and the fix is a small line item. Fix them after the drywall goes up and you are paying to reopen a finished wall.
I have watched enough remodels go sideways to know the pattern. The kitchens people regret are rarely the ones with the nicer quartz. They are the ones where the fridge door opens into the dishwasher, the island has no landing space, the range hood recirculates into a room with no duct run, and the plumbing rough-in was never documented before it disappeared behind drywall.
So this list walks through twelve kitchen remodel mistakes to avoid, ordered roughly the way they happen: budget, layout, constraints, appliances, timeline, hiring, procurement, permits, systems, moisture, mid-build changes, and the final inspection. Each one includes what to do instead, because a mistake without a correction is just a warning.
A note on safety and scope: any electrical, gas, plumbing, or structural work belongs with a licensed professional, and this guide assumes a US context. Rules, permit triggers, and inspection requirements vary by county and city, so confirm yours with your local building department rather than trusting general advice.
Table of Contents
- Kitchen Remodel Mistakes to Avoid at a Glance
- 1. Starting Without a Clear Budget and Contingency
- 2. Planning the Kitchen Around Appearance Alone
- Why kitchen remodel mistakes to avoid cluster in layout and workflow
- 3. Ignoring the Existing Floor Plan and Room Constraints
- 4. Choosing Cabinets and Counter Space Before the Appliances
- 5. Underestimating the Project Timeline
- 6. Hiring a Contractor Based on a Low Bid Alone
- 7. Not Finalizing the Design Before Ordering Materials
- 8. Forgetting Permits, Codes, and Safety Requirements
- 9. Overloading Electrical or Plumbing Systems
- 10. Letting Moisture, Ventilation, and Heat Problems Go Unaddressed
- 11. Making Last-Minute Design Changes During Construction
- 12. Failing to Inspect Work Before Final Payment
- Frequently Asked Questions
- What is the most common mistake homeowners make during a kitchen remodel?
- Do I need permits for a kitchen remodel?
- How long should a full kitchen remodel take?
- Should I buy kitchen appliances before selecting cabinets?
- How much contingency money should I keep for a kitchen remodel?
- What to Do First
Kitchen Remodel Mistakes to Avoid at a Glance
Here is the full list in one table, with the reason each mistake creates problems and the preventive action that prevents it.
| Mistake | Why it creates problems | Preventive action |
|---|---|---|
| No clear budget or contingency | Corners get cut, purchases get rushed, changes get expensive | Split the total by category and hold 10-20 percent back |
| Designing for looks only | Beautiful room, frustrating daily use | Plan the work triangle, landing areas, and clearances first |
| Ignoring the existing floor plan | Cabinets clash with doors, windows, and walls | Verify every dimension on site with a tape, not a drawing |
| Ordering cabinets before appliances | Door swings and installation clearances do not fit | Lock final appliance specs, then order cabinetry |
| Underestimating the timeline | Rooms stay gutted while lead times run | Map every phase and put lead times in the contract |
| Choosing on the lowest bid | Thin scope, uninsured work, surprise change orders | Compare written scopes, licenses, references, and payment terms |
| Design not final before procurement | Restocking fees and weeks of delay | Sign off on layout and finishes first |
| Skipping permits and codes | Tear-out, fines, insurance and resale problems | Confirm permit triggers with the building department |
| Overloading circuits or pipes | Nuisance trips, leaks, code violations | Have a licensed pro assess existing capacity |
| Ignoring moisture and ventilation | Mold, damaged cabinets, odors that never clear | Plan exhaust routing and moisture sources up front |
| Changing the design mid-build | Schedule slips, cost climbs, install conflicts | Use a written change-order process every time |
| Skipping the pre-payment inspection | Defects get paid for and never corrected | Build a punch list before releasing final payment |
1. Starting Without a Clear Budget and Contingency
A remodel with no written budget runs out of money quietly, and the shortfall always comes from the same place: the infrastructure nobody wanted to talk about. A simple way to avoid this is to divide your total into five buckets — design and permits, labor, materials, appliances, and contingency — and put a number in each before you sign anything.
Hold 10 to 20 percent of the total as contingency. That range is not a cushion for upgrades; it is for hidden conditions nobody can see until demolition opens the wall: deteriorated subfloor, outdated wiring, a corroded supply line, or older flooring that turns out to contain asbestos. Homeowners in remodel forums describe unexpected costs as the norm rather than the exception, and a project without a reserve is a project that either stalls or gets underbuilt.
If your budget is tight, decide now what you would rather keep. Countertops, or a second wall oven? Hardware, or the island? Phased renovation works when you protect the layout and the rough-ins and defer the finishes, not when you defer the parts that make the kitchen function.
2. Planning the Kitchen Around Appearance Alone
A kitchen that photographs beautifully and works badly is the most common failure mode, and layout errors are hard and expensive to fix once cabinetry is on site. Most of the kitchen remodel mistakes to avoid in this category trace back to designing the look first and the workflow second.
Why kitchen remodel mistakes to avoid cluster in layout and workflow
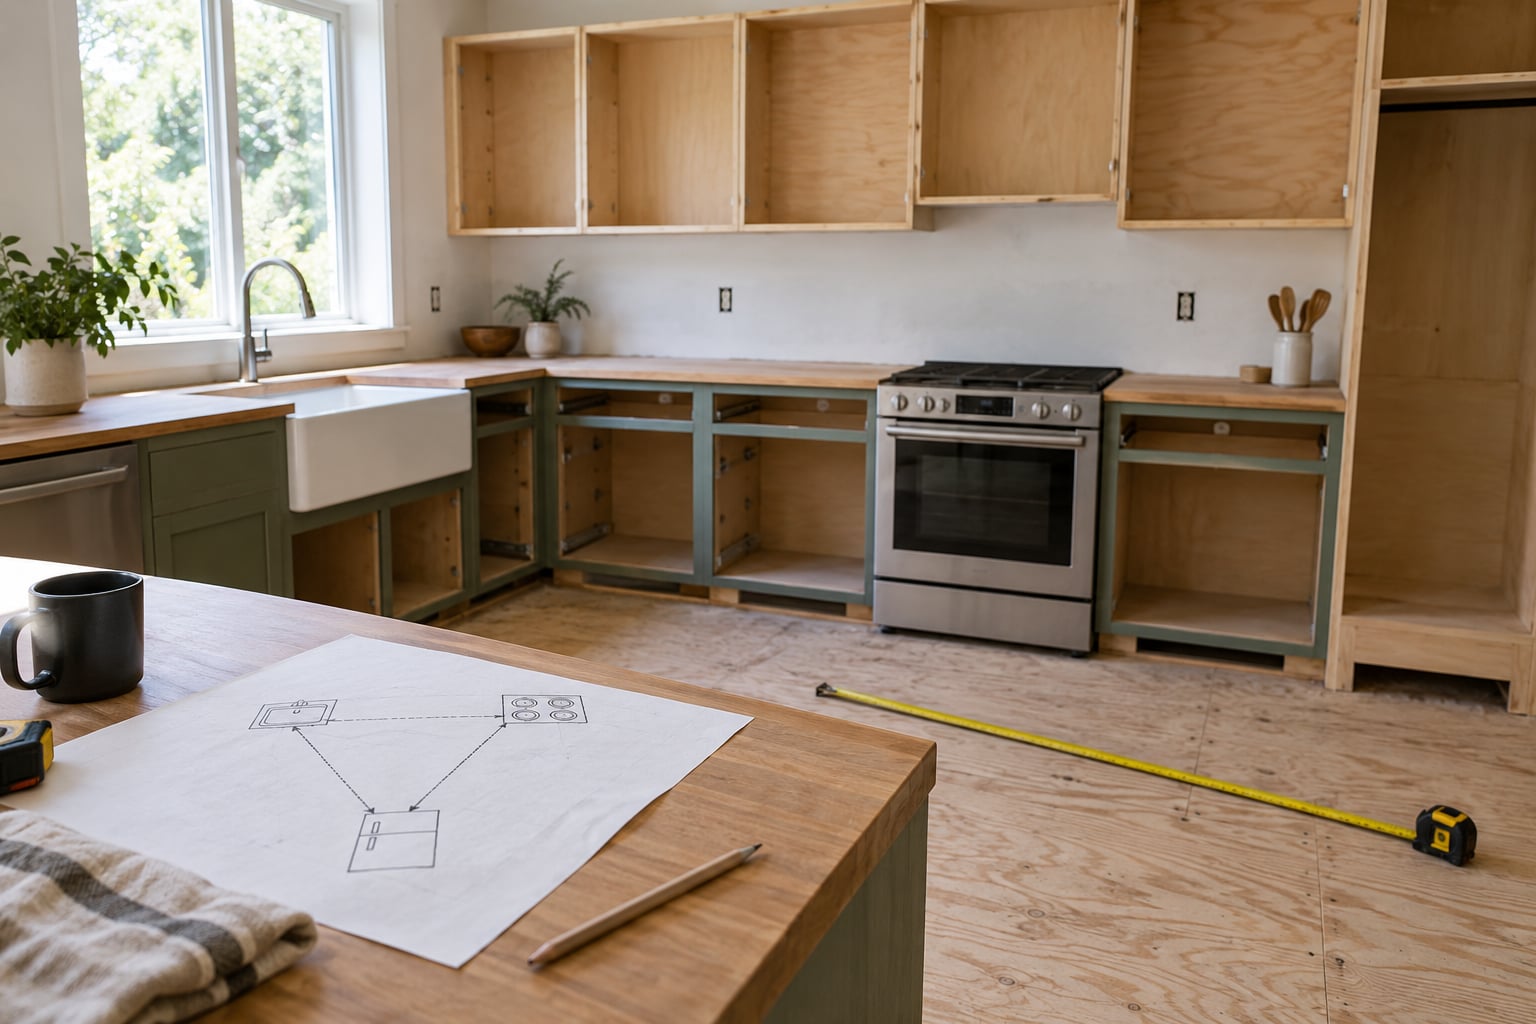
The classic principle is the work triangle: the sink, the range, and the refrigerator, with each leg ideally between 4 and 9 feet and the total triangle no more than about 26 feet. It is a starting point, not a rule to worship. An island in a small kitchen may break the triangle entirely, and the layout can still work if the walking distances stay short and nothing blocks a door.
The numbers that actually catch people are clearance and landing space. Leave 40 to 42 inches between a counter run and an island so two people can pass, and so cabinet doors and an appliance door can open without hitting anything. Put 12 to 15 inches of open counter next to the refrigerator for groceries and 12 to 15 inches next to the range for hot pans off the burner. That counter is what stops a kitchen from feeling cramped, and it is the first thing sacrificed when an island grows a few inches.
Then check the boring things. Does the dishwasher door clear the island cabinet? Do two people fit at the sink when both cabinet doors below it are open? Can someone open the oven without pulling the fridge door? Does seating block the path from sink to range? These are five minutes of standing in the empty room with a tape measure, and they are worth more than any render.
Design for the way you actually cook, too. Households that bake want uninterrupted counter and a place to park hot trays. Entertainers want seating and sightlines. Families cooking Tuesday-night dinner want a landing zone and a clear path. Forgetting that most regular cooking happens on an ordinary weeknight is how people end up with a kitchen built for hosting that they use as a corridor.
3. Ignoring the Existing Floor Plan and Room Constraints
The floor plan you have is a set of constraints, not a starting suggestion, and planning around it instead of through it saves both time and demolition. Doors, windows, low ceilings, load-bearing walls, plumbing stacks, vent locations, and electrical panels all stay where they are unless a professional confirms otherwise.
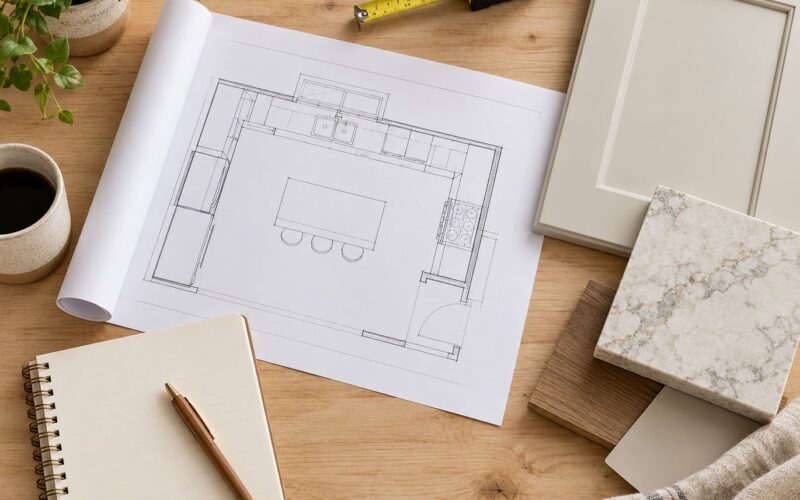
Verify dimensions yourself with a tape measure and mark what you find on a printed copy of the plan. Note ceiling height in the lowest spot, the exact window widths, and where each door swings. A single window you forgot about can mean a custom cabinet that costs more than a stock one and still arrives with a gap at the end. If you are considering removing a wall to open the kitchen, get the structural question answered first, and understand the trade-offs — an open kitchen carries cooking noise, smell, and light straight into the living room.
4. Choosing Cabinets and Counter Space Before the Appliances
Appliance dimensions decide your cabinetry, so buying appliances late or buying them by appearance alone is a costly ordering mistake. The refrigerator depth sets how far the upper cabinets can sit forward and whether the doors can open at all. The range width and venting requirements dictate the surrounding clearance. A wall oven in a tall cabinet needs the manufacturer’s specified service space behind it.
Get the final model numbers and the installation sheets for every appliance before the cabinet order goes in, then give those sheets to whoever is drawing the cabinet plan. Countertop hole placement — sink, cooktop, and any faucet or fixture holes — needs to be decided from those same sheets, not from memory. Wrong sink cutouts and cabinets ordered to incorrect dimensions are among the most repeated complaints from homeowners on construction forums, and both are pure sequencing failures rather than craftsmanship problems.
While you are at it, check what the manufacturer requires around the cooktop for the hood. Many specify clearance above the cooktop and require the hood width to match or exceed the cooktop. Finding that requirement after the upper cabinets are framed means new cabinets.
5. Underestimating the Project Timeline
A full kitchen remodel runs on a sequence, and each phase has a duration that depends on your scope, your trades, and how fast decisions get made. A realistic breakdown looks like this: design and drawings, permits and approvals, procurement lead times, demolition, rough plumbing and electrical, dry-in and inspection, cabinet and countertop installation, tile and flooring, painting and trim, then appliance installation and punch. Cabinets and stone are usually the long poles, with lead times measured in weeks rather than days.
Build the calendar with two things added: a realistic allowance for revisions, and the realistic allowance for a part arriving wrong or damaged. Homeowners repeatedly report kitchens sitting gutted while cabinets or counters were in production, with no recovery plan in place because nobody wrote the milestone dates down.
Put the schedule in the contract. Ask for start date, target completion, milestone dates for cabinet delivery, countertop fabrication, and appliance arrival, plus what happens to the schedule if a delivery slips. A contractor who will not commit to dates in writing is telling you something useful.
6. Hiring a Contractor Based on a Low Bid Alone
The cheapest bid is rarely the safest value, because bids are only comparable when the scope behind them is identical. Two estimates that differ by thousands may simply include different numbers of cabinets, different tile areas, or different electrical work, and the low one may simply be thinner.
Before signing, verify the license for your state and trade, and confirm insurance — general liability and workers’ compensation — with the carrier or an online certificate system rather than trusting a photocopy. Ask for two or three recent references in projects of similar scope and actually call them. Read the scope line by line and look for exclusions, allowances, and substitutions. Check the payment schedule, which should follow progress rather than front-loading. And note the warranty: a written workmanship warranty with a named contact and a stated period is a real commitment, an unwritten one is not.
Pay attention to how they answer questions during the estimate. Homeowners consistently value contractors who explain why something costs what it costs, and they are right to be wary of anyone who cannot. Uninsured, unlicensed work also becomes your problem if a sub gets hurt on your property.
It also helps to know how many separate subs you are dealing with. A general contractor who coordinates plumbing, electrical, tile, and cabinets gives you one point of accountability; hiring four trades directly makes you the project manager, including the permitting and the sequencing.
7. Not Finalizing the Design Before Ordering Materials
Every change after an order is placed is expensive in time and sometimes in restocking fees. Changing the layout, the tile pattern, the cabinet finish, or the appliance model after fabrication has started can add weeks, because the item may have to be re-manufactured from scratch rather than adjusted.
Lock these before any purchase order goes out: wall locations, appliance models, cabinet style and finish, countertop material, tile, flooring, backsplash, and lighting. Colors and hardware are the safe things to decide later. Get the plan signed, not just agreed on verbally, and if you are still choosing, wait on the order rather than gambling with a deposit.
8. Forgetting Permits, Codes, and Safety Requirements
Permits are common triggers in a kitchen: moving or adding electrical circuits, relocating plumbing or gas lines, structural or wall changes, new ventilation, and in many jurisdictions any change to the plumbing fixture count. Sometimes replacing like-for-like appliances or countertops is exempt, but the rules are local, so ask your building department before you assume.
Unpermitted work can mean tearing out finished surfaces later to expose them for an inspection, and it creates problems with insurance claims and with the eventual resale. Have licensed professionals handle electrical, gas, plumbing, and structural work, and require the required inspections to be completed and recorded before finishes are closed up.
9. Overloading Electrical or Plumbing Systems
Older homes rarely have the capacity a modern kitchen asks for. A refrigerator, a microwave, a dishwasher, an induction range, a beverage fridge, and countertop outlets can all land on circuits that were sized for a 1980s kitchen. Induction cooking in particular can need a dedicated high-capacity circuit.
Do not assume the existing service can carry new loads. Ask a licensed electrician to evaluate the panel, the existing circuits, and what the new appliances actually require, and a plumber to confirm supply line size and drain capacity for a farmhouse sink, a prep sink, or a second fixture group. Doing this after the cabinets are in means opening finished walls, which is exactly the cost the planning stage exists to avoid.
10. Letting Moisture, Ventilation, and Heat Problems Go Unaddressed
Grease, steam, and condensation quietly damage cabinetry, drywall, and countertop edges, and the damage shows up a year later as swelling or peeling. Plan the hood as part of the design rather than as an appliance you pick last: a vented hood that exhausts outdoors through properly sized duct is the reliable choice, and a recirculating hood filters some grease and odor but does not remove moisture and has no real duct path.
Check where the hood can actually terminate. In a room where the nearest exterior wall is far away, the duct run may need to be planned during the rough-in stage rather than improvised later. Confirm the cooktop-to-hood clearance the manufacturer specifies, and note that duct length and bends reduce airflow, so size the fan accordingly.
Look at the rest of the moisture picture too: plumbing supply lines that should be replaced rather than reused during a remodel, a dishwasher and sink on the same code-compliant circuit as required, caulk at every countertop cutout, and adequate clearance between heat sources and materials that do not tolerate it. Overhang a cooktop into thin cabinetry without planning for heat and you can get a scorched cabinet edge.
11. Making Last-Minute Design Changes During Construction
On-the-fly changes are not forbidden, they just need a process. Every change should go through a written change order that states what is changing, why, the added cost, and the schedule impact, and that you have approved it before the work happens. Verbal approvals and index cards lead to arguments later, because the crew has already moved on.
Keep a running decision log with dated photos. If a discovery mid-build genuinely requires a change — a wall that cannot be closed, an appliance that will not fit, a hidden repair — document it, price it, and get it signed, then update the schedule before anyone picks up a tool. Owners who documented their plumbing, wiring, and blocking before walls closed report it saved real money on later projects, and the photos take about an hour.
12. Failing to Inspect Work Before Final Payment
Do not release the final draw because the crew said the job was done. Walk the kitchen against the written scope and build a punch list, then hold the final payment until the items are corrected and re-verified. Cabinet doors and drawers should align and operate fully, hardware should be tight, countertop edges and cutouts should be finished, caulk lines should be continuous, and appliances should sit square with the required clearances.
Turn on everything. Run the dishwasher through a full cycle, run the faucet and check the cabinet interior for leaks, run the disposal, test the range and oven, and check GFCI protection on the required outlets. Confirm the hood actually moves air, and confirm that the required inspections are signed off. Note the model and serial numbers of installed appliances, take photographs of the finished work and of any concealed systems, and keep the warranties, manuals, and receipts in one place.
Pay close attention to what is behind the finished surfaces too: are cabinet boxes solid or particleboard, are the hinges and drawer slides soft-close and full-extension, is the toe kick installed and aligned, and are the sink cutouts properly sealed. Those are the details that separate a job that holds up for a decade from one that needs rebuilding.
Frequently Asked Questions
What is the most common mistake homeowners make during a kitchen remodel?
The most common mistake is failing to plan the layout around actual workflow before choosing finishes. Homeowners design for how the room looks, then discover during installation that there is no landing space beside the refrigerator, cabinet doors collide with appliance doors, or the work triangle forces long walks between sink, range, and fridge. Planning on paper or with a tape measure first, before cabinet orders are placed, prevents most of the expensive corrections.
Do I need permits for a kitchen remodel?
It depends on your location and the scope, and you need to ask your local building department. Common permit triggers include adding or moving electrical circuits, relocating plumbing or gas lines, structural wall changes, new ventilation, and changes to the number of plumbing fixtures. Replacing appliances and countertops like-for-like is often exempt. Unpermitted work can require opening finished surfaces for inspection and can complicate insurance claims and resale.
How long should a full kitchen remodel take?
A full gut remodel commonly runs three to six months from demolition to finished appliances, though cabinet and countertop lead times can stretch that further. Cosmetic updates finish in a few weeks. The schedule is driven less by construction speed than by procurement and decisions, so documenting milestone dates in the contract and getting appliance models chosen before cabinetry is ordered usually matters more than the crew size.
Should I buy kitchen appliances before selecting cabinets?
Decide the appliance models before cabinetry is ordered, but you do not need to physically receive the appliances first. Refrigerator depth, range width, and required installation clearances determine how the cabinets are drawn, and the countertop cutouts come from those same specification sheets. Buy or reserve the models early enough to give the cabinet designer final measurements, then deliver them before installation day.
How much contingency money should I keep for a kitchen remodel?
Set aside 10 to 20 percent of the total project budget, held separately and not spent on upgrades. That reserve covers hidden conditions revealed at demolition: deteriorated subfloor, outdated wiring, corroded supply lines, or older flooring containing asbestos. Homeowners treating contingency as optional are the ones who end up underfunding rough-ins, and those shortfalls are the most expensive kind of kitchen remodel mistake to correct later.
What to Do First
Start by documenting the existing space: measure every wall, window, door swing, and ceiling height with a tape, and photograph the electrical panel, plumbing, and any vent locations. Then write down what you actually need from the room and how you cook, and set a total budget with a 10 to 20 percent contingency ring-fenced inside it.
Next, confirm the layout. Lay out the work triangle, check 40 to 42 inches of clearance around any island, and reserve 12 to 15 inches of landing counter beside the refrigerator and the range. Verify clearances with appliance doors and cabinet doors open, not closed.
After that, check codes and requirements: permit triggers at your building department, electrical and plumbing capacity through a licensed pro, and the ventilation path for your hood. Choose your appliance models and get the specification sheets, since those drive cabinetry and countertop cutouts.
Only then compare written scopes from vetted, insured contractors, with licenses, references, milestone dates, payment schedule, and warranty terms in writing. Materials get ordered last, once the design is signed, and every change after that goes through a documented change order with a punch list held against the final payment.
The whole list reduces to one habit: decide the parts that are hard and expensive to change first, and the parts that are easy to change last. Everything in these twelve kitchen remodel mistakes to avoid comes from reversing that order.