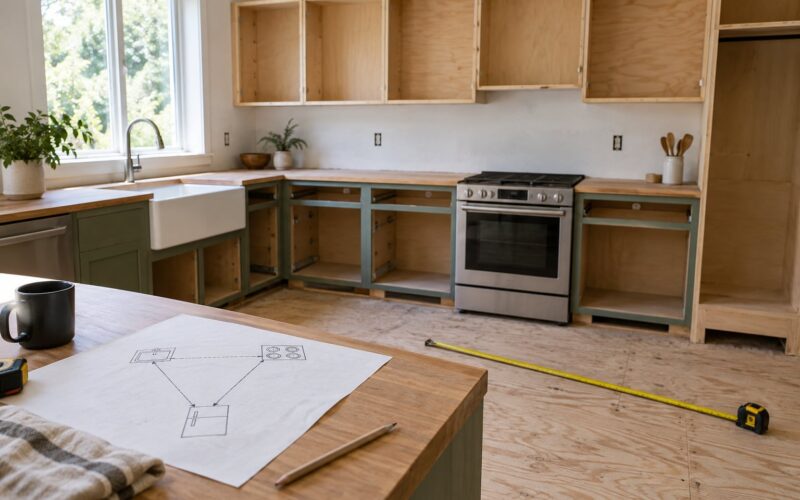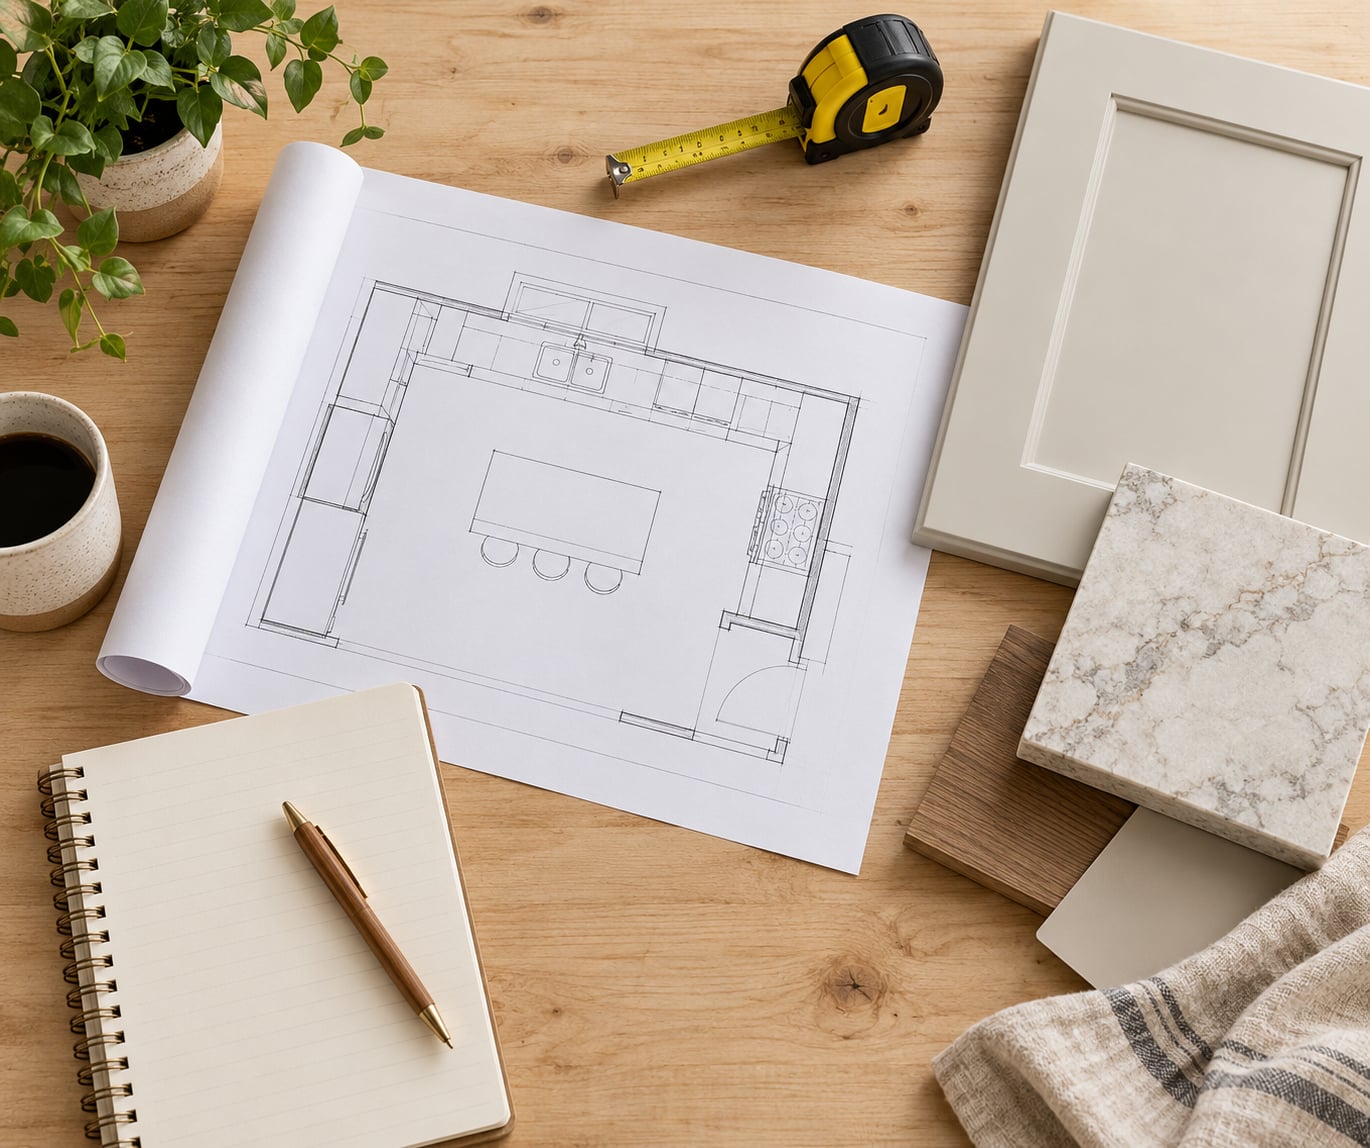
The kitchen remodel planning steps for first timers always run in the same order: define your needs, measure the room, set a budget with a reserve, settle the layout, choose finishes, confirm what plumbing and electrical work needs permits, compare contractor proposals, then lock the scope. Get that order right and the budget holds. Get it wrong and you pay for the same cabinets twice.
Most people underestimate two things: how long decisions take, and how much a kitchen hides once the drywall is off. Allow four to six months from first planning session to finished room, with three to eight weeks of that being actual construction.
Here is the short version before we go step by step.
- Plan the whole project in four to six months; construction itself usually takes three to eight weeks.
- Cabinetry and labor usually take the largest share of your total, followed by countertops and appliances.
- Hold back 10 to 15 percent of your total for what you have not found yet behind the walls.
- Get three written proposals that describe identical scope before you compare a single number.
- Choose the layout before you choose cabinets, and choose cabinets before you choose the countertop.
- Permits matter more for resale and insurance than most first-time homeowners expect.
Table of Contents
- What You Need
- Step-by-Step: Kitchen Remodel Planning Steps for First Timers
- 1. Start With Goals and Must-Haves
- 2. Measure the Existing Kitchen
- 3. Set a Realistic Budget and Reserve
- 4. Create and Test the Layout
- 5. Choose Durable, Cohesive Finishes
- 6. Confirm Plumbing, Electrical, and Structural Needs
- 7. Shortlist Contractors and Compare Bids
- 8. Wrap Up the Kitchen Remodel Planning Steps and Lock the Scope
- Common Mistakes
- Frequently Asked Questions
- How long should I plan a kitchen remodel?
- How much should I set aside for unexpected kitchen remodeling costs?
- Do I need a professional to plan my kitchen remodel?
- Can I do some kitchen remodeling work myself?
- When do I need permits for a kitchen remodel?
- Should I finish hiring a contractor before choosing cabinets and appliances?
- Conclusion
What You Need
Gather six things before you make a single decision. Most first-timer problems come from deciding with partial information, and these six items are what stop that.
Goals and must-haves. Write down who actually uses this kitchen, how you cook, what frustrates you daily, and what you refuse to give up. A list beats a mood board every time.
Measurements. The room itself, plus doorways, windows, ceiling height, and where plumbing, gas and outlets already run. You can do most of this yourself with a tape measure.
Inspiration. A handful of saved photos or layouts, and a sense of which rooms in the house already look good so your new kitchen matches.
Budget information. What you can spend, where the money is coming from, and how much you can absorb as an overrun without pausing the project.
Timeline constraints. Any firm date in your life, like a move, a baby, or a season you need the kitchen working for.
Professional contacts. Your local building department for permit rules, and a list of remodelers plus one kitchen designer or design-build firm you could actually hire. If you plan any DIY work, this is also where you find out what needs a licensed trade.
Step-by-Step: Kitchen Remodel Planning Steps for First Timers
Plan a kitchen remodel in this order: define goals, measure the existing room, set a budget with a contingency reserve, test the layout, select finishes as one coordinated scheme, confirm plumbing and electrical needs, shortlist contractors and compare written bids, then lock drawings, permits and selections before demolition begins. Each stage produces something written down, and that document becomes the input for the next one.
1. Start With Goals and Must-Haves
Write three lists: what annoys you now, what you want the room to do, and what is non-negotiable. Keep them separate, because the gap between list one and list three is where budgets get destroyed.
Sort everything into must-have, nice-to-have and future-regret-if-you-skip-it. The third list matters most. If you know you will want a garbage pull-out within five years, design the cabinet box for it now rather than patching a hole later.
Think about function first and style second. Count how many people cook at once, where you unload groceries, and how much counter space you actually need for a meal. A layout that photographs beautifully can still be a bad working kitchen for your family.
You are done with this step when every item in your dream list is sorted into one of the three columns, and you know which two items you would sacrifice if money got tight.
2. Measure the Existing Kitchen
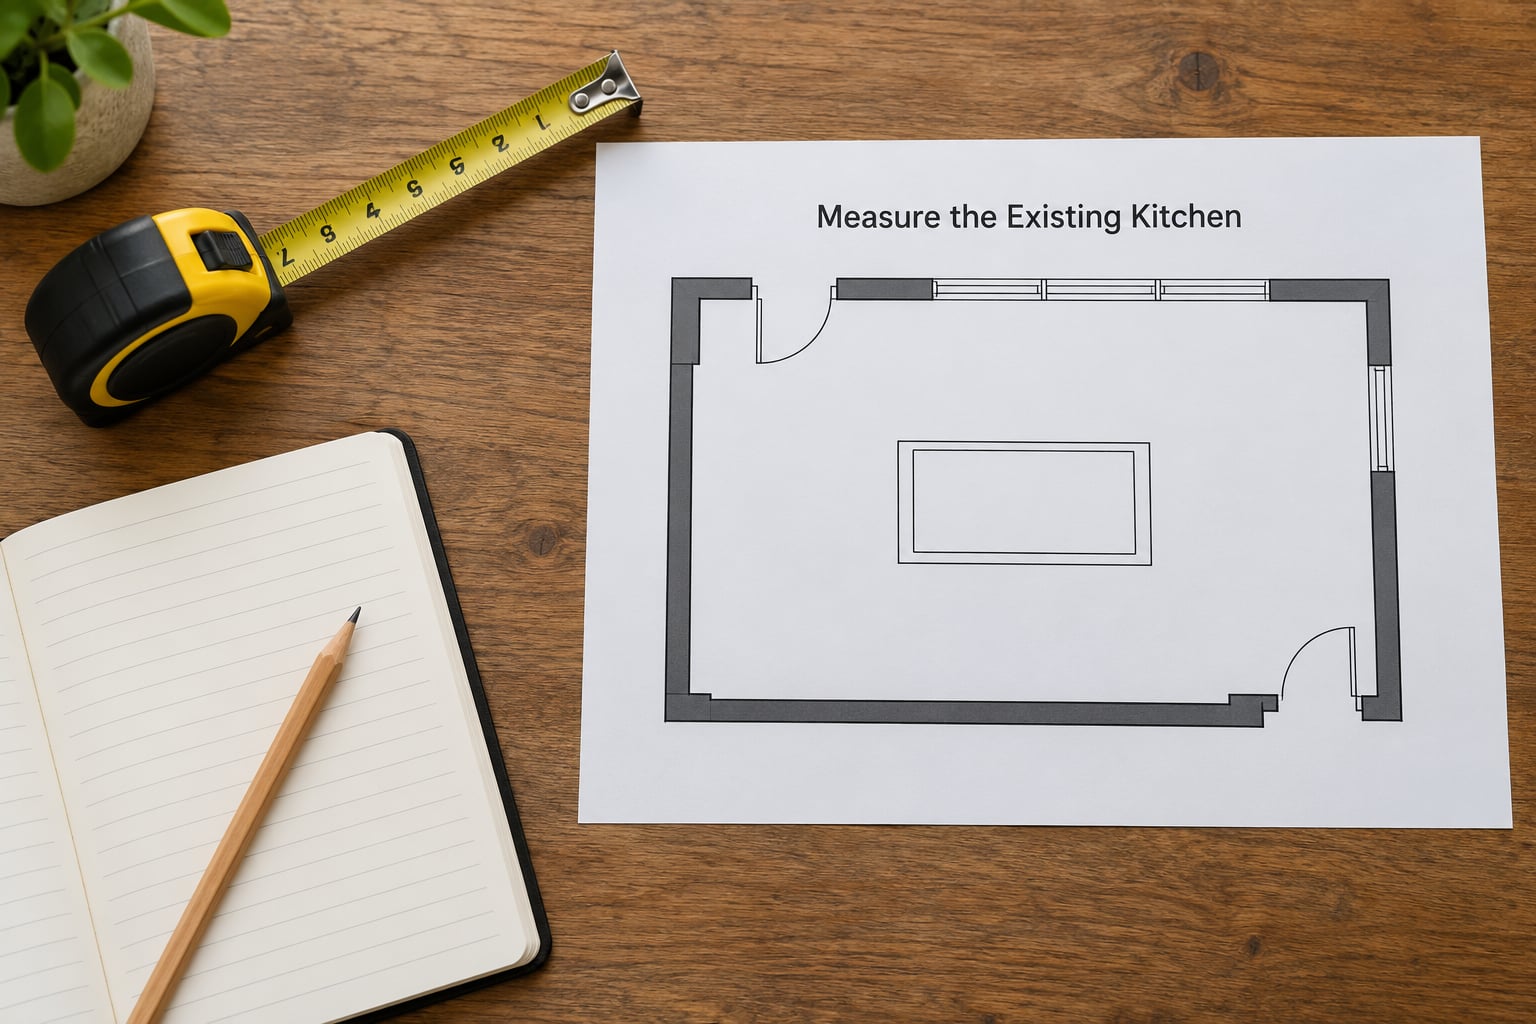
Measure every wall, the ceiling height, each door and window opening, and the location of plumbing, gas, electrical panels and outlets. Write the numbers down with a label on each one, because a wall of unlabeled figures is useless in two months.
Photograph existing finishes too, especially the floor, because you may find matching material if the remodel changes direction.
Now check the awkward realities: a low beam, a column, a bay window, a closet you forgot about, or a ceiling that is lower than it looked. Structural beams and load-bearing walls are the two that most often force a layout compromise, and neither is worth discovering after the cabinets are ordered.
Verify the critical dimensions twice, or have a remodeler verify them for you. This step is finished when someone other than you could redraw your kitchen from your notes.
3. Set a Realistic Budget and Reserve
Most projects go over because the budget described what you wanted, not what a kitchen actually involves. Build yours from the categories you will really pay for: design and drawings, demolition, materials, labor, appliances, permits and inspections, and a contingency fund.
On the 30 percent rule: this is the old industry guideline that you hold back roughly a third of the project total for the unknown. Newer guidance is more modest, usually 10 to 15 percent for a straightforward refresh and 20 percent when you are moving plumbing, opening walls or working in an older house. What matters is that a reserve line exists in your budget at all.
As for whether a given number is enough, compare scope rather than totals. A cosmetic refresh that keeps the same cabinets, counters and appliance locations is a small share of what a full gut remodel with new layout, relocated plumbing and new cabinetry costs. Most of the range between those two projects is labor, and the second category of cost is cabinetry.
Then learn to read a quote. A low total usually means something is missing, not that you got a bargain. Look for allowances written as a lump sum with no detail, exclusions listed in fine print, and line items like electrical or plumbing that are far thinner than comparable bids.
You are done when you have a written number, a category breakdown, and a reserve you are willing to spend without pausing the job.
4. Create and Test the Layout
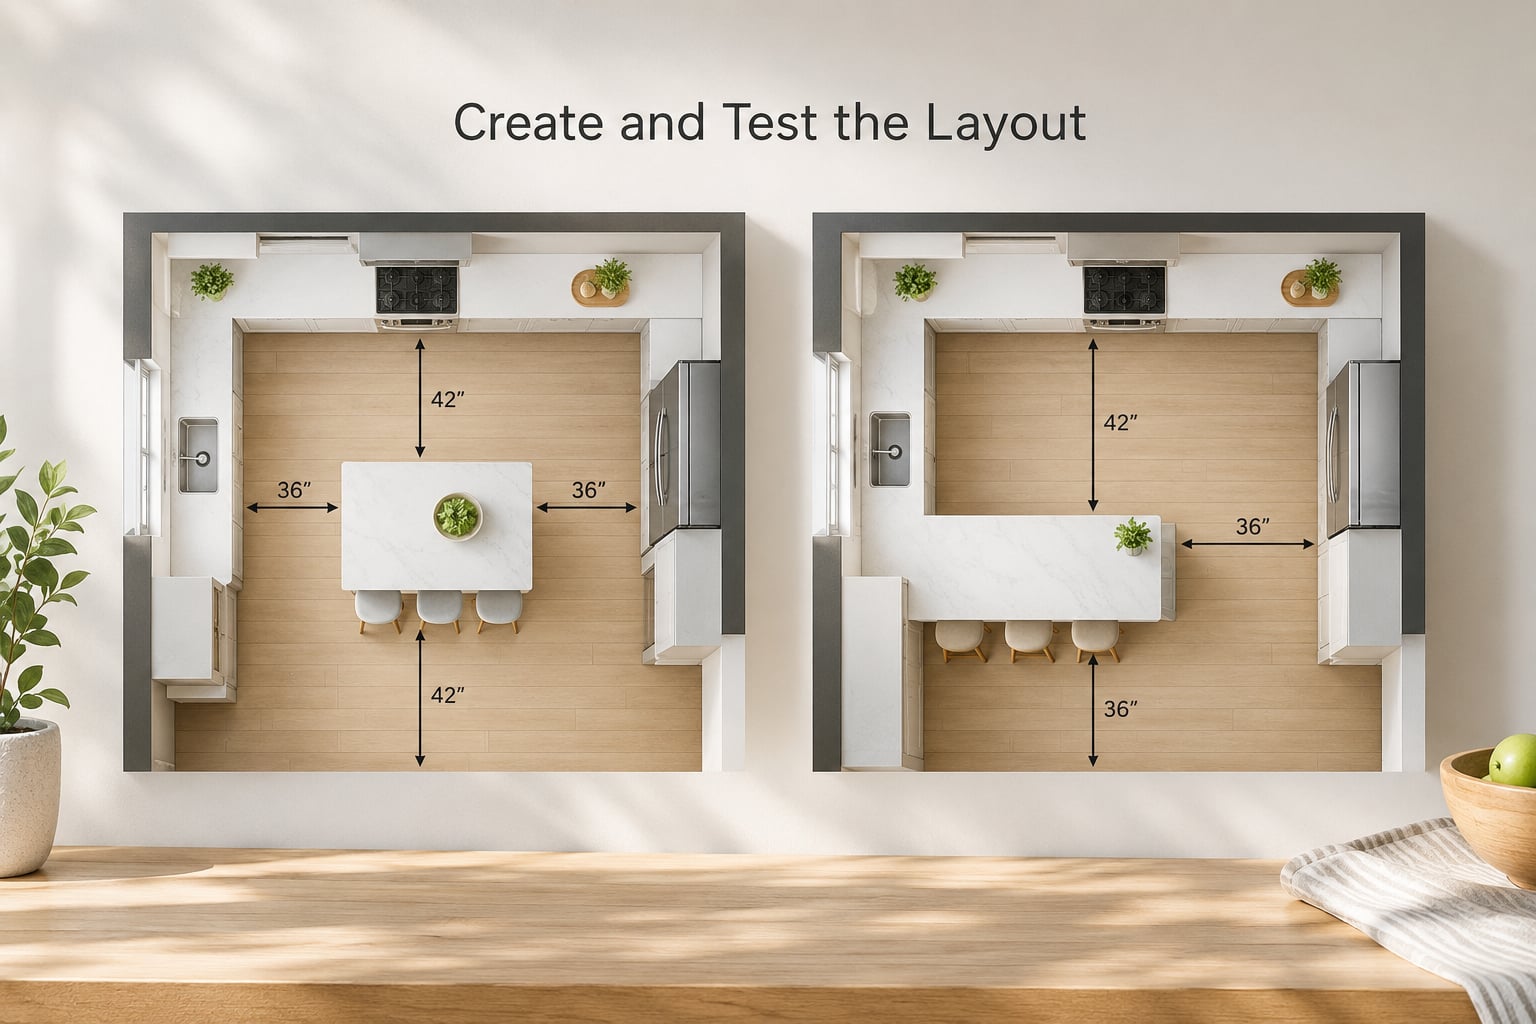
Sketch two or three layouts rather than one. Options that differ only in cabinet color are not options; options differ in whether you have an island, a peninsula, a wall oven, or a walk-in pantry.
Then check them against reality. Walk the work triangle from sink to range to refrigerator and see if it feels right. Confirm that the dishwasher door, cabinet doors and oven door do not all open into the same walkway, and that there is clearance to open the refrigerator with someone standing there.
Test footprints before you commit to anything. Painter’s tape on the floor shows an island footprint instantly, and free kitchen-planning software will do the same on a screen. Two options is usually enough to find the trade-off.
Be suspicious of any layout that depends on a measurement you are hoping for rather than one you measured. Appliances get measured in the store before purchase, including the depth of the handle and the space needed for a door to open, because fit failures are common and returns are painful.
5. Choose Durable, Cohesive Finishes
Pick cabinets, countertops, flooring, backsplash, hardware and lighting as one scheme rather than one at a time. Two or three materials that share a tone look deliberate. Five unrelated choices look busy, even when each was individually fine.
Think about how each material behaves daily. Quartz and granite stain less and need less sealing than butcher block; tile and stone take a hard punishing surface well; wood flooring is comfortable underfoot but reacts to water. Choose based on your cooking volume and your cleaning tolerance.
Hardware is the item most first-timers leave until last and most regret. Door style, pull size and finish change the look of the whole room, and they have to be ordered with the cabinets, not after installation.
Lighting is the other one people get wrong. A single ceiling fixture leaves the work surface in shadow, so plan general ceiling light plus under-cabinet task lighting, and try bulbs in a warm, cooler and neutral tone before you commit to a color temperature. Buy one of each and stand in the kitchen at night.
Set a decision deadline for every selection. Lead times on custom cabinets and stone templates are long, and a delayed countertop can hold up the whole install.
6. Confirm Plumbing, Electrical, and Structural Needs
Moving a sink, dishwasher, range, gas line or outlet changes the cost picture more than any finish choice. Relocating a sink means new supply and drain lines, possibly in a wall that needs to be opened and patched. Adding a circuit or moving an outlet means an electrician, and in most places a permit.
Removing a wall is a separate question from everything else. If it could be load-bearing, a licensed professional or engineer has to tell you so before anything comes down. Do not guess on this one.
Permits and approvals are where first-timers take the most risk. Cosmetic work like paint, hardware and some backsplash tiling often needs nothing, while structural, electrical, plumbing and gas changes usually do. Your local building department sets the rules and the answer is a phone call. If you live in a community with an association, check whether it also has approval requirements for exterior-visible changes.
Skipping permits can complicate a future sale and can create problems with an insurer after a covered loss, because unpermitted work is harder to document. Buyers, listing agents and appraisers do ask about updates. It is not worth the gamble to save on a permit fee.
You are done when you have a list of which trades are needed, which work is permitted, and who is pulling each permit.
7. Shortlist Contractors and Compare Bids
Get three proposals, and make sure they describe the same scope before you compare anything. A lower bid that excludes the countertop template or the electrical work is not a lower bid.
Verify licensing where your state requires it, confirm they carry general liability and workers compensation coverage, and ask for references from two past clients with comparable kitchens. Look at portfolio photos of actual work and read the reviews, paying attention to how the crew communicated.
Then read each proposal line by line. Check five things: a written scope of work, an itemized schedule with dates for decisions, allowances and what they exclude, the payment schedule tied to completed milestones, and the change-order process with its markup disclosed up front.
Clear communication during the estimate meeting is itself a signal. A remodeler who answers questions about permits, cleanup and inspections is usually the same one who handles them during construction.
On the DIY question: painting, backsplash tile, hardware and some flooring are reasonable for an experienced homeowner. Cabinet installation, plumbing, electrical, gas, structural changes and anything involving permits are not. A design-build firm handles design and construction together, which suits first-timers who want one point of contact. Separate designer and contractor gives you more control and more coordination for you to manage.
8. Wrap Up the Kitchen Remodel Planning Steps and Lock the Scope
Before demolition starts, everything below should be in writing: final drawings, every material and finish selection, the permit list, the contractor schedule, the payment milestones, and how you’ll handle decisions during the week.
Give every pending selection a date. Cabinet orders, stone templates and appliance delivery all run on someone else’s clock, and the install sequence depends on them. If a choice is not locked by its date, work stops around it.
Agree on communication rules in advance. How often you will get updates, who approves changes, how a change is priced, and the same-day contact for problems. Also agree on the dust containment plan, how you will live without a working kitchen, and daily cleanup expectations. Most first-timer stress is logistics, not carpentry.
Know how the sequence runs: demolition, then plumbing and electrical rough-in, then drywall and paint, then cabinets, then counters, then flooring, then appliances, then final inspection and a punch list of small items to fix before payment is released. New flooring generally goes down before the cabinets are set, and the countertop is templated after the cabinets are installed so it fits exactly.
Keep your contract, permits, warranties, receipts and before-and-after photos in one folder. When you take over the finished kitchen, collect the manufacturer warranties, maintenance instructions and lien waivers, and walk the room against a written punch list.
You are done when demolition is scheduled and nothing about the project depends on a decision that has not been made.
Common Mistakes
These are the planning errors that most often turn a first remodel into an expensive one, and each has a simple fix.
Designing before you measure. Layouts built on assumed dimensions fail at the cabinet or appliance stage. Fix: re-measure, and verify twice.
Buying before the layout is settled. Appliances bought early may not fit the final cabinet run. Fix: fix the layout first, then measure each appliance in the store before purchase.
Choosing the deepest sink you can find. This comes up again and again in homeowner forums as a regret. A very deep sink leaves you reaching into an empty basin for the dishes on every wash. Fix: pick one or two bowls of ordinary depth and let the cabinet size follow.
Skipping task lighting. One ceiling fixture leaves the counters dark and the room flat. Fix: general ceiling light plus under-cabinet lighting, with bulbs tested in three color temperatures.
Leaving no contingency. A total with no reserve means the first surprise stops the job. Fix: hold back 10 to 15 percent, more if plumbing moves or the house is old.
Making selections late. Custom cabinets and stone lead times run for months. Fix: give every selection a decision date and treat it as binding.
Choosing the cheapest bid. It is consistently the costliest choice, because a thin scope gets corrected later through change orders. Fix: compare scope line by line, then price.
Skipping permits. It saves a small fee now and creates problems at resale or after a claim. Fix: ask your building department before work starts.
Having no process for surprises. Deciding on the spot during demolition is how budgets disappear. Fix: agree in the contract who approves changes and how they are priced before day one.
Going silent during construction. Without scheduled check-ins you find out late. Fix: agree on weekly updates and a decision deadline list up front. Most remodelers will tell you the same thing here: the middle of a kitchen project gets worse before it gets better.
Frequently Asked Questions
How long should I plan a kitchen remodel?
Plan on four to six months from your first serious conversation to a finished, usable kitchen. Design and selection work typically takes several weeks on its own, permits and scheduling add more, and construction itself commonly runs three to eight weeks. If a custom cabinet order or a stone template slips, add a few more. Build your schedule backward from any firm date you have, such as a move or a holiday, and lock every material selection well before the install date.
How much should I set aside for unexpected kitchen remodeling costs?
Most guides suggest holding back 10 to 15 percent of the total project cost, and 20 percent when you are moving plumbing lines, opening walls or working in an older house where wiring and supply lines may be surprising. Older guidance used a 30 percent reserve, which is still sensible for a full gut remodel with structural work. The bigger risk is having no reserve at all, so put the line in the budget before you commit to a contract.
Do I need a professional to plan my kitchen remodel?
You can plan it yourself if you are organized and comfortable with measurements, layout software and product research. A kitchen designer is worth it when you are changing the layout, moving plumbing, opening a wall or working in an older house, because those decisions carry code and structural consequences. Many first-timers use a designer only for the layout and cabinet plan, then hand the construction drawings to a general contractor.
Can I do some kitchen remodeling work myself?
Paint, backsplash tile, hardware replacement and some flooring work are reasonable for an experienced homeowner. Cabinet installation, plumbing, electrical, gas and any structural change are not, and most of them require permits and licensed trades. Removing old cabinets or preparing the room for a contractor is another common split: homeowners demo and clean, then let the contractor handle the trades and reinstall. Check your local rules before starting anything.
When do I need permits for a kitchen remodel?
Cosmetic work such as paint, hardware and cabinet refinishing often needs no permit. Structural changes, moving plumbing or electrical, adding or relocating outlets, gas work and some electrical upgrades generally do. Your local building department decides, so call them with a short description of the work before you sign a contract. If your home is in a community with an association, check whether it also requires approval. Unpermitted work can complicate a later sale.
Should I finish hiring a contractor before choosing cabinets and appliances?
Yes, hire first. The contractor or designer needs to see the room and your goals before layouts are drawn, and cabinet lines, appliance models and rough openings all depend on that layout. Appliances can be selected shortly after, but measure each one in the store before buying. Custom cabinet orders run long lead times, so lock those selections early once the layout is signed off.
Conclusion
The kitchen remodel planning steps for first timers are not complicated, they are just ordered. Define the needs, measure the room, set a total and a reserve, test the layout, choose finishes as one scheme, confirm what the trades and permits require, then compare proposals on scope rather than price.
Here is what to do this week: write the three lists, spend an afternoon with a tape measure, and put a number on paper with a reserve line in it. Once those three exist, you are ready to talk to a designer or a contractor with something concrete in hand.