Yes, you can clean a mini split unit yourself, and most of the job is filter and surface work you can finish in an hour. A proper routine means cutting the power, cleaning the filters, vacuuming and treating the indoor coil, clearing the condensate drain, tidying the outdoor unit, and letting everything dry before you switch it back on.
A routine clean takes 60 to 90 minutes. Opening the indoor head to reach the blower wheel adds another hour or so, and that is the part worth knowing before you start, because the reassembly is what trips people up.
Mini splits earn their reputation as mold magnets for one reason: moisture sits on the indoor coil, and whatever is on the coil and on the blower wheel gets pushed straight back into your room. A musty smell that shows up 10 minutes after the system starts is almost always a dirty blower wheel rather than a dirty filter.
Table of Contents
- What You Need
- Step-by-Step: How to Clean a Mini Split Unit
- Step 1: Turn Off Power and Check the Manual
- Step 2: Clean or Wash the Air Filters
- Step 3: Vacuum the Indoor Unit and Coil Area
- Step 4: Wipe the Casing, Vents, and Removable Parts
- Step 5: Clean the Drain Outlet if Needed
- Step 6: Reassemble, Test, and Check for Problems
- Common Mistakes
- Frequently Asked Questions
- How often should I clean a mini split unit?
- Can I use spray cleaner on a mini split?
- How do I clean a mini split filter?
- What if my mini split smells musty after cleaning?
- When should I call an HVAC professional instead of cleaning it myself?
- Conclusion
What You Need
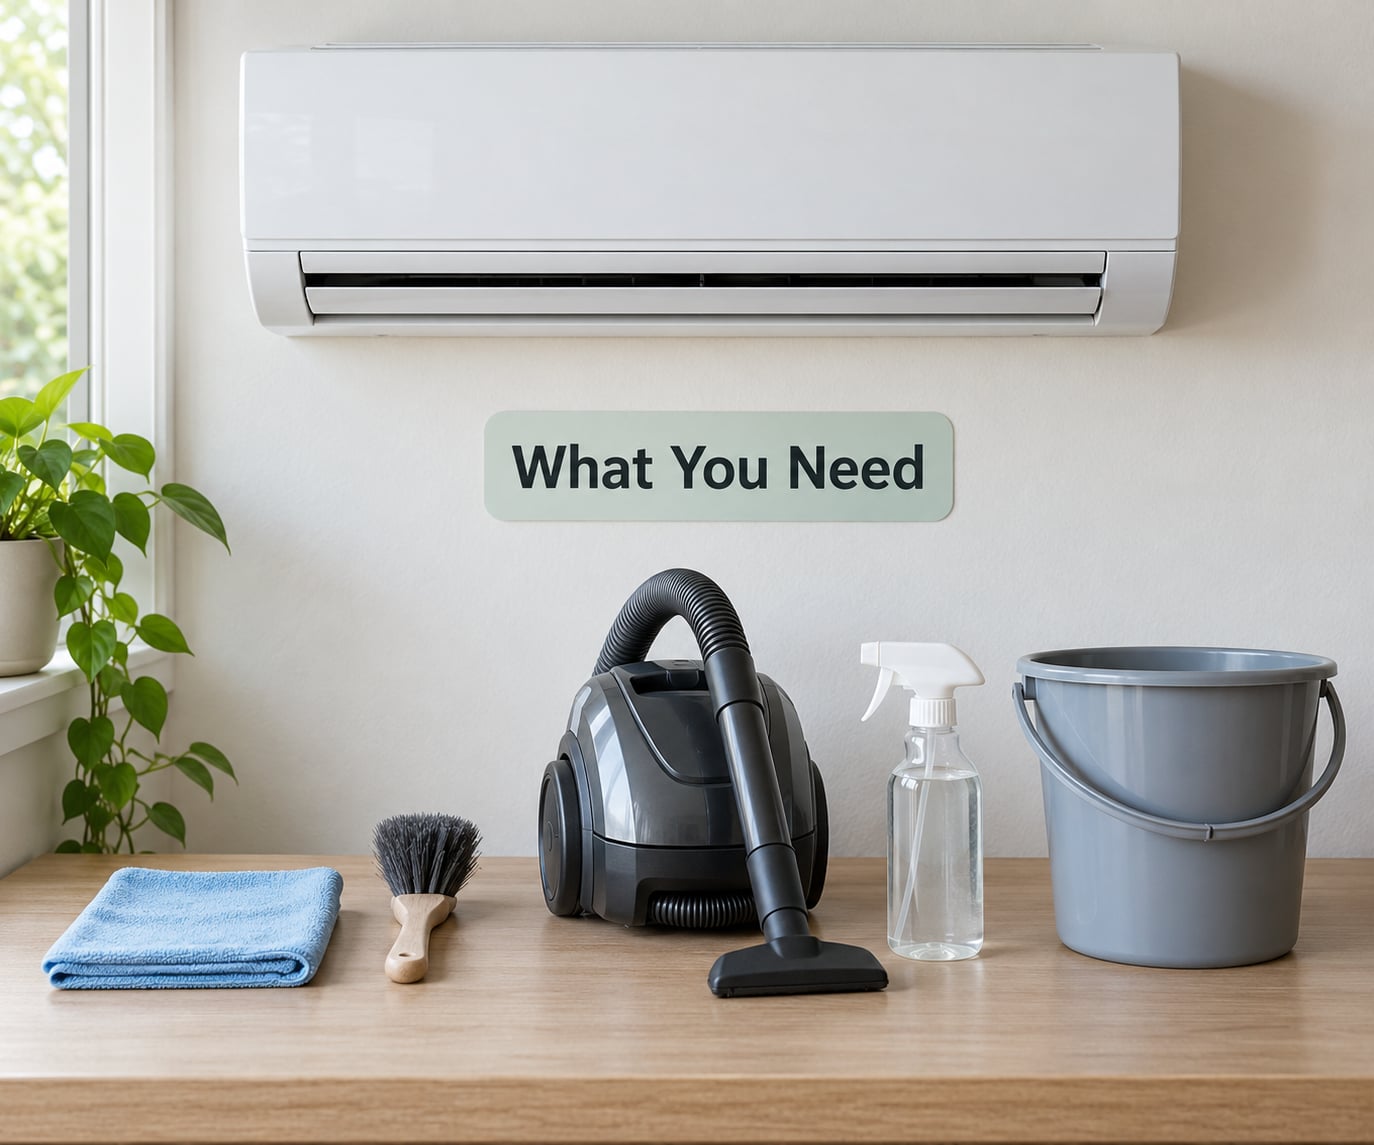
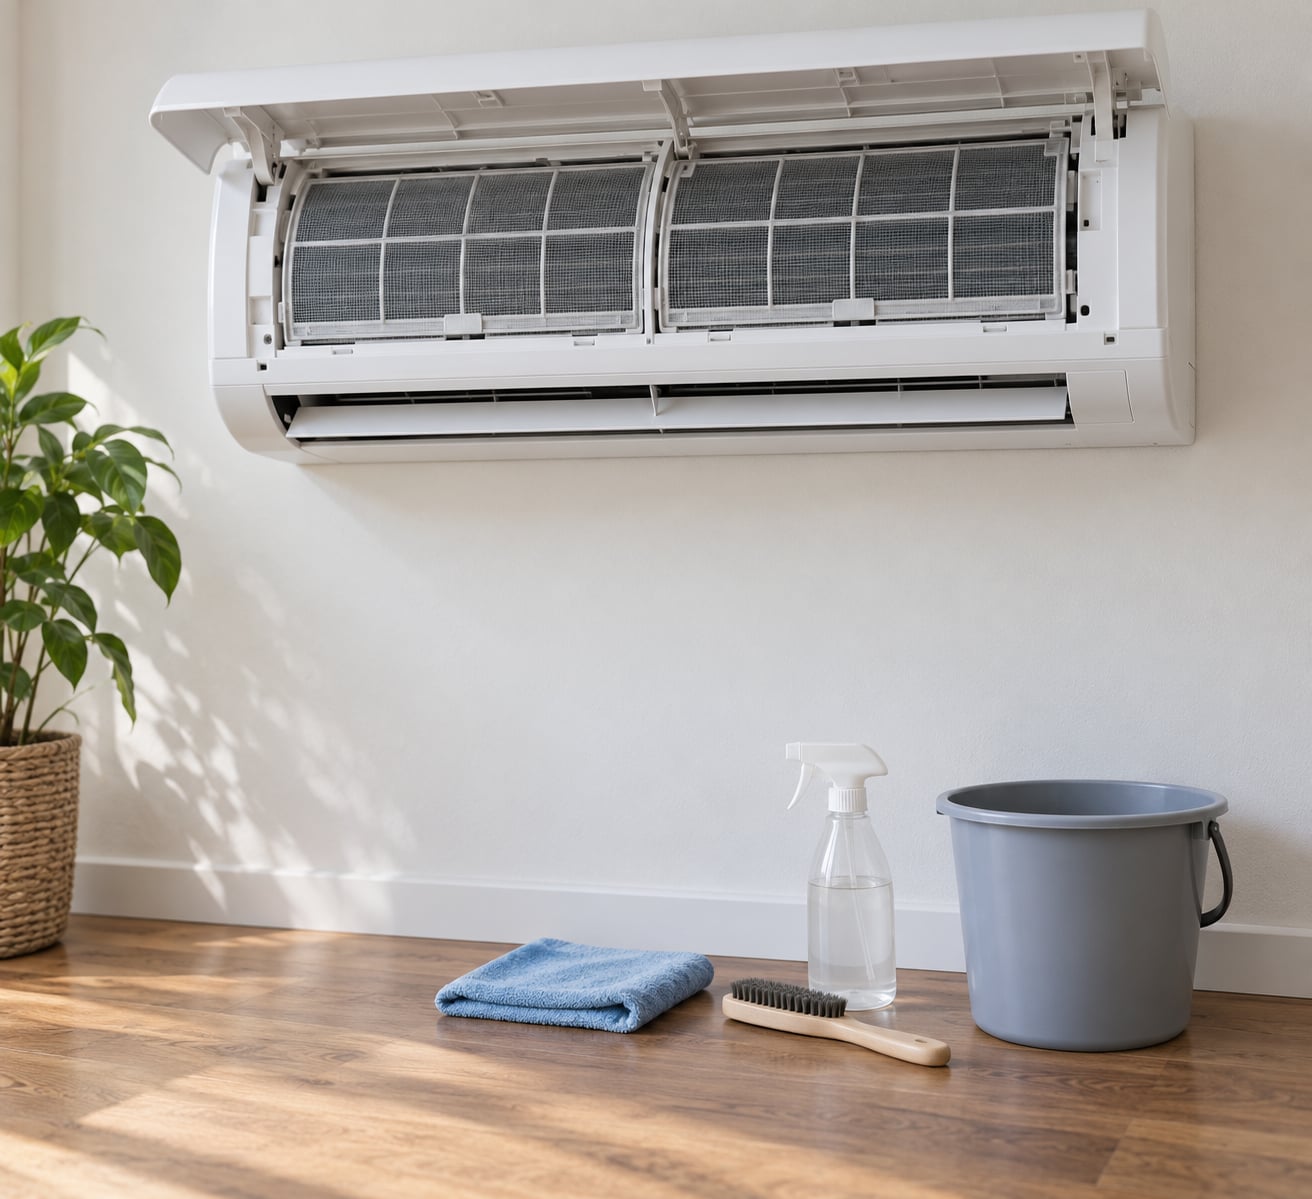
You do not need a pressure washer, a ladder full of chemicals, or a shop full of tools. The whole job is done with a soft brush, suction, a mild cleaner, and patience.
| Item | What it is for | Use it or skip it |
|---|---|---|
| Owner’s manual | Filter access, cleaning restrictions, whether the coils are factory-sealed | Use it. It outranks any guide, including this one |
| Soft bristle brush | Coil fins, louvers, blower wheel vanes, the drain pan | Use it. Never use anything stiff enough to bend a fin |
| Vacuum with hose and brush head | Filters, casing, coil face, blower wheel, outdoor debris | Use it. Keep suction low when you are within an inch of the fins |
| No-rinse foaming coil cleaner | Breaking down grime on the evaporator coil and the blower wheel | Use it only if the manual permits coil cleaning |
| Microfiber cloth | Casing, louvers, filter frames, final wipe-down | Use it. A grocery bag works in a pinch |
| Spray bottle and bucket | Diluted mild detergent for washable filters and the drain pan | Use it, mixed mild, not full strength |
| Old towel or cleaning bib | Catching dirty runoff from the coil and drain | Use it. This is the step people skip and regret |
| Garden hose with a gentle nozzle | Rinsing the outdoor condenser coil from the inside out | Use it outdoors only, and never aim into the head |
Before anything else, read the manual. Some manufacturers seal the indoor coil behind a plate and treat coil cleaning as a technician-only task, and doing it anyway can complicate a warranty claim.
Then kill the power properly. Switch off the branch circuit breaker for the unit and the disconnect switch on the outdoor unit, and confirm the head is dead before water or spray goes anywhere near it. Never spray a running unit, and never clean an energized electrical area.
Step-by-Step: How to Clean a Mini Split Unit
Step 1: Turn Off Power and Check the Manual
Run the unit in fan-only mode for a few minutes first, then switch to Off at the remote and at the wall controller, so the fan stops cleanly instead of stopping mid-spin. Then flip the breaker and pull the outdoor disconnect.
Note the filter orientation as it comes out. Most filters have an arrow or a mesh side that has to face the same way on reinstall, and getting it backwards chokes airflow.
Step 2: Clean or Wash the Air Filters
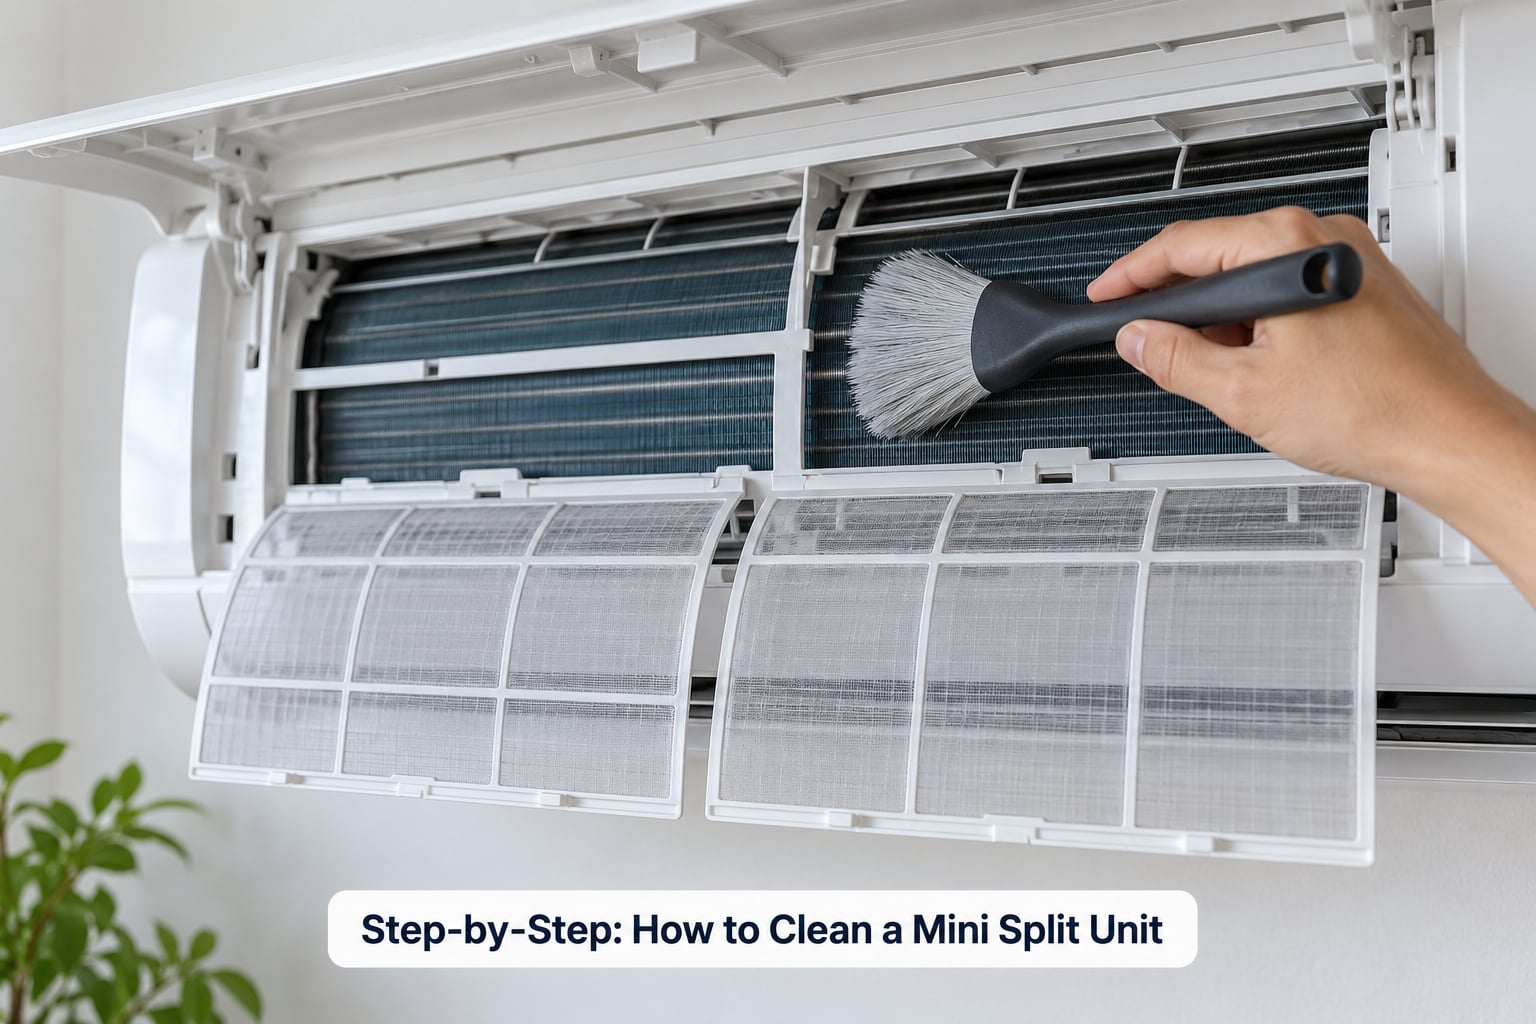
Lift the front panel and slide the filters up and out. Vacuum both sides with the brush head, working from the frame inward.
Washable filters get a rinse in lukewarm water with a small amount of mild detergent, then they dry completely, propped at an angle, before they go back in. Dimensional filters are wiped or gently rinsed, never bent. A filter put back damp is how a musty smell starts in the first place.
While the filters are out, notice how much dust is packed against the intake grille. That gives you a fair read on the rest of the job.
Step 3: Vacuum the Indoor Unit and Coil Area
With low suction, vacuum the coil face, the blower compartment, the louvers and the drain area. Work from the outside in so you do not drive dust deeper into the unit, and keep the vacuum nozzle off the delicate fins.
On heavier buildup, the head comes off. On most wall-mounted heads, that means removing three fixing screws, loosening the set screw, shifting the heat exchanger aside and pulling the blower cage out, as homeowners describe it on the Terry Love Plumbing forum. Photograph the head before you touch a screwdriver, because the photos are how you get it back together right.
Brush the blower wheel vanes, then spray a no-rinse foaming coil cleaner into the wheel and along the coil, working in the same direction the fins run. Technicians on r/askHVAC commonly point to Nu-Calgon Evap Foam No Rinse for this step, describing it as foaming down into the coil and breaking up buildup well. Give it 10 to 15 minutes, then vacuum it out. Heavy grime takes a second pass.
Step 4: Wipe the Casing, Vents, and Removable Parts
Dampen a microfiber cloth with water and a drop of mild detergent. Wipe the casing, the front grille, the louvers and any removable trim, and go easy on the plastic louvers, which snap and crack if you force them.
Never immerse a part, never spray directly into the unit, and stay away from ammonia, bleach, alcohol, and acidic cleaners. Vinegar is the same family of mistake, and it is worth a sentence of its own: vinegar is acidic, it etches aluminum and copper over time, and it leaves a residue that traps more dust than it removes.
Step 5: Clean the Drain Outlet if Needed
Every cooling pass throws off a pint or more of water, and it leaves through a small tube at the bottom of the head. Clear the opening of the drain outlet with a soft brush, flush the pan with a little lukewarm water and mild detergent, and watch that the water actually exits at the outdoor end. A slow drain is the main reason a mini split drips indoors.
Some Midea owners report standing water in the drain pan that no amount of flushing fixes, and that pattern is a technician job. Stop and call an HVAC pro if the drain is inaccessible, still clogged after one gentle attempt, leaking, or frozen.
Step 6: Reassemble, Test, and Check for Problems
Put the blower cage and heat exchanger back exactly where they were, refit the three screws, tighten the set screw, and slide the housing back on until it clicks. The head goes back together in reverse order, with no screw left loose and no panel out of line.
Reinstall the dry filters, close the panel, restore the disconnect and breaker, and let the unit run 10 to 15 minutes. Check the airflow at the outlet, listen for new rattle or squeal, and watch the lines for frost where there should be none. If the head drips, smells worse, or runs weakly, power it down and reassess rather than pushing through.
Common Mistakes
Almost every expensive mistake with this job is a small shortcut someone took on a ladder.
Spraying liquid straight into the unit. Water reaches the blower motor, the electronics and the sensor, and the head dies. Spray onto a cloth, or onto the coil from a low angle with the unit dead.
Using vinegar on the coil. It etches metal and leaves a film. Use a pH neutral or mildly alkaline coil cleaner, and read the label rather than guessing from the front of the can.
Using ammonia or bleach. Both damage plastics, and bleach kills mold at a strength that also kills the coatings on the coil.
Vacuuming hard against the fins. Aluminum fins fold over in seconds, and a folded fin blocks airflow across that whole section. Drop the suction to a whisper and use the brush.
Reinstalling damp filters. A wet filter over a wet coil is the fastest route to a mold problem. Air-dry overnight if you have to.
Forcing the louvers. They are thin plastic blades. Move them by the edge, gently, and never pry.
Leaving the outdoor unit to the weather. Clear two to three feet of clearance, vacuum the fins, rinse gently from the inside out, and comb bent fins straight with a fin comb while the metal is soft and wet.
The routine that keeps all of this at bay is short: check the filters every two weeks in heavy-use seasons, wash them as you go, give the coil face and drain a look monthly, and clear the outdoor unit before the cooling season starts.
Frequently Asked Questions
How often should I clean a mini split unit?
Check the filters every two weeks while the system runs heavily, and clean them whenever they look grey. Give the indoor coil face and the drain pan a look about once a month, and vacuum and clear the outdoor unit before cooling season. A full deep clean with the head opened is usually a once-a-year job. Homes with pets, pollen, coastal salt air or heavy cooking odors need the shorter intervals.
Can I use spray cleaner on a mini split?
Only if your manual allows it. Never spray an energized unit, and never spray straight into the head where water can reach the blower motor, controls or sensors. A no-rinse foaming coil cleaner is the standard choice, sprayed on a dead unit in the direction the fins run and left for 10 to 15 minutes. Skip the coil entirely on sealed units. Use a damp cloth, not a spray bottle, on plastic louvers and casing.
How do I clean a mini split filter?
Lift the front panel, slide the filters up and out and note which way they face. Vacuum both sides with a brush head, then rinse washable filters in lukewarm water with a small amount of mild detergent. Let them dry completely, propped at an angle, before reinstalling. Wipe dimensional filters rather than rinsing them, and never bend a mesh or pleated filter to make it fit.
What if my mini split smells musty after cleaning?
That usually means the blower wheel and drain pan still hold moisture and biofilm, not the filters. A real clean means opening the head, brushing the wheel vanes and applying no-rinse foaming coil cleaner to both the wheel and the coil. If the smell returns within weeks, standing water in the drain pan is the likely cause, and a technician should clear or treat the drain line. Filters alone will not fix a persistent odor.
When should I call an HVAC professional instead of cleaning it myself?
Stop and call a technician if the indoor coil is sealed behind a plate, if the unit uses refrigerant through lines you cannot identify, if the drain stays clogged or leaks after one gentle flush, or if the head will not reassemble properly. Any refrigerant work, wiring beyond the disconnect, and blower motor or fan blade service belong to a licensed pro. Warranty terms also often limit coil cleaning to authorized service.
Conclusion
The safest first move, and the one that decides how the rest goes, is switching off the breaker and the outdoor disconnect, then reading the manual before your hands go anywhere near the head. From there, work in order: filters, blower wheel, coil, drain, outdoor unit, reassemble, and let the unit run long enough to prove itself.
Keep filters on a two-week rhythm, glance at the coil and drain monthly, and clear the outdoor unit before the season. Anything involving sealed refrigerant lines, a drain that will not clear, or a head that will not go back together is a technician’s job, not a weekend’s.