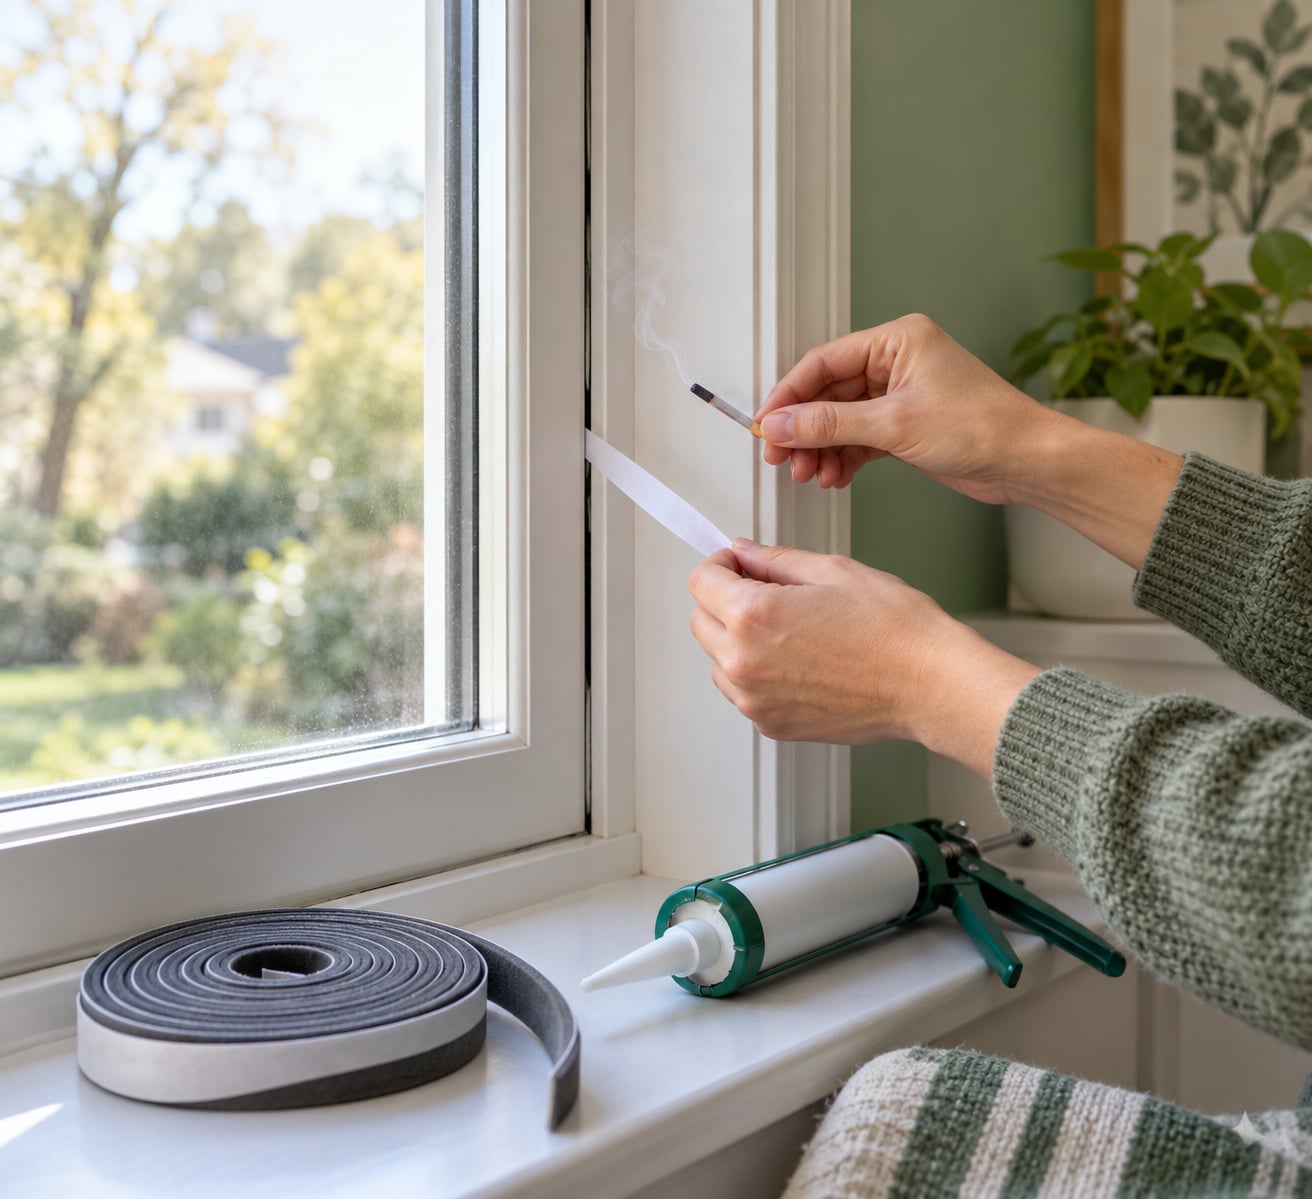
To find and seal drafts around windows, close the sash and walk a thin tissue around its edges on a breezy day — wherever the tissue moves, that is the gap. Seal moving parts with weatherstripping and fixed joints with the right caulk. Most of it takes an afternoon and a handful of cheap tools.
The catch is that a lot of what people call a draft is not an air leak at all. Cold glass, a failed insulated glass unit and moisture on the inside face of the window all feel the same to a hand, and sealing the wrong one wastes your weekend. So the diagnostic step matters more than the caulking gun.
Here is the order I would work in: test the room, mark the leak on the actual window rather than the wall next to it, then match the repair to the location. Get that sequence right and you will not seal the wrong joint.
Table of Contents
- What You Need
- How to Find and Seal Drafts Around Windows by Room
- Step-by-Step
- 1. Check the Window for the Actual Source of the Draft
- 2. Clean and Prepare the Leaking Area
- 3. Choose the Right Repair for the Draft Location
- 4. Apply the Repair and Let It Cure
- 5. Test the Window Again
- Common Mistakes
- Frequently Asked Questions
- What is the best way to seal drafts around windows without blocking them?
- Should I use caulk or weatherstripping around a window?
- Can renters seal drafts around windows without damaging the frame?
- How do I find the source of a draft around a window?
- Why does my window still have condensation after I seal the draft?
- When should I replace a window instead of sealing air leaks?
- Conclusion
What You Need
You need very little. Most of the tool list costs less than a single tube of good exterior sealant.
- A thin strip of tissue or paper — a receipt works. A wet hand or the back of your knuckles also works, and catches airflow that a tissue misses.
- A smoke pencil — the electrical kind that makes a thin stream of vapor, not a smoking candle. An unlit incense stick or a wood-burning candle works in a pinch.
- Painter’s tape — for a fast test of whether a gap is the problem, and as a temporary seal on its own.
- A small brush, plastic scraper and a damp rag for getting old caulk and loose paint off a surface.
- Exterior-grade silicone or polyurethane sealant for anything on the outside of the house.
- Interior acrylic latex sealant for indoor joints you plan to paint later.
- Weatherstripping — see the material notes in step 3 for what fits your sash type.
- Backer rod for wider exterior gaps that a bead of caulk alone will not fill.
Safety limits first: work from the floor, not a ladder. Keep open flame away from curtains and blinds, and do not lean out of a second-story window to check the exterior joint. If a test needs a ladder, that is the point to stop and decide whether it is a one-day job at all.
How to Find and Seal Drafts Around Windows by Room
Turn off the furnace and the bathroom and kitchen exhaust fans, close interior doors, and pick a day when there is a modest breeze. Work the windward side of the house first, because that is where the pressure difference shows up. Then walk the rest of the rooms in the same order so you can compare them.
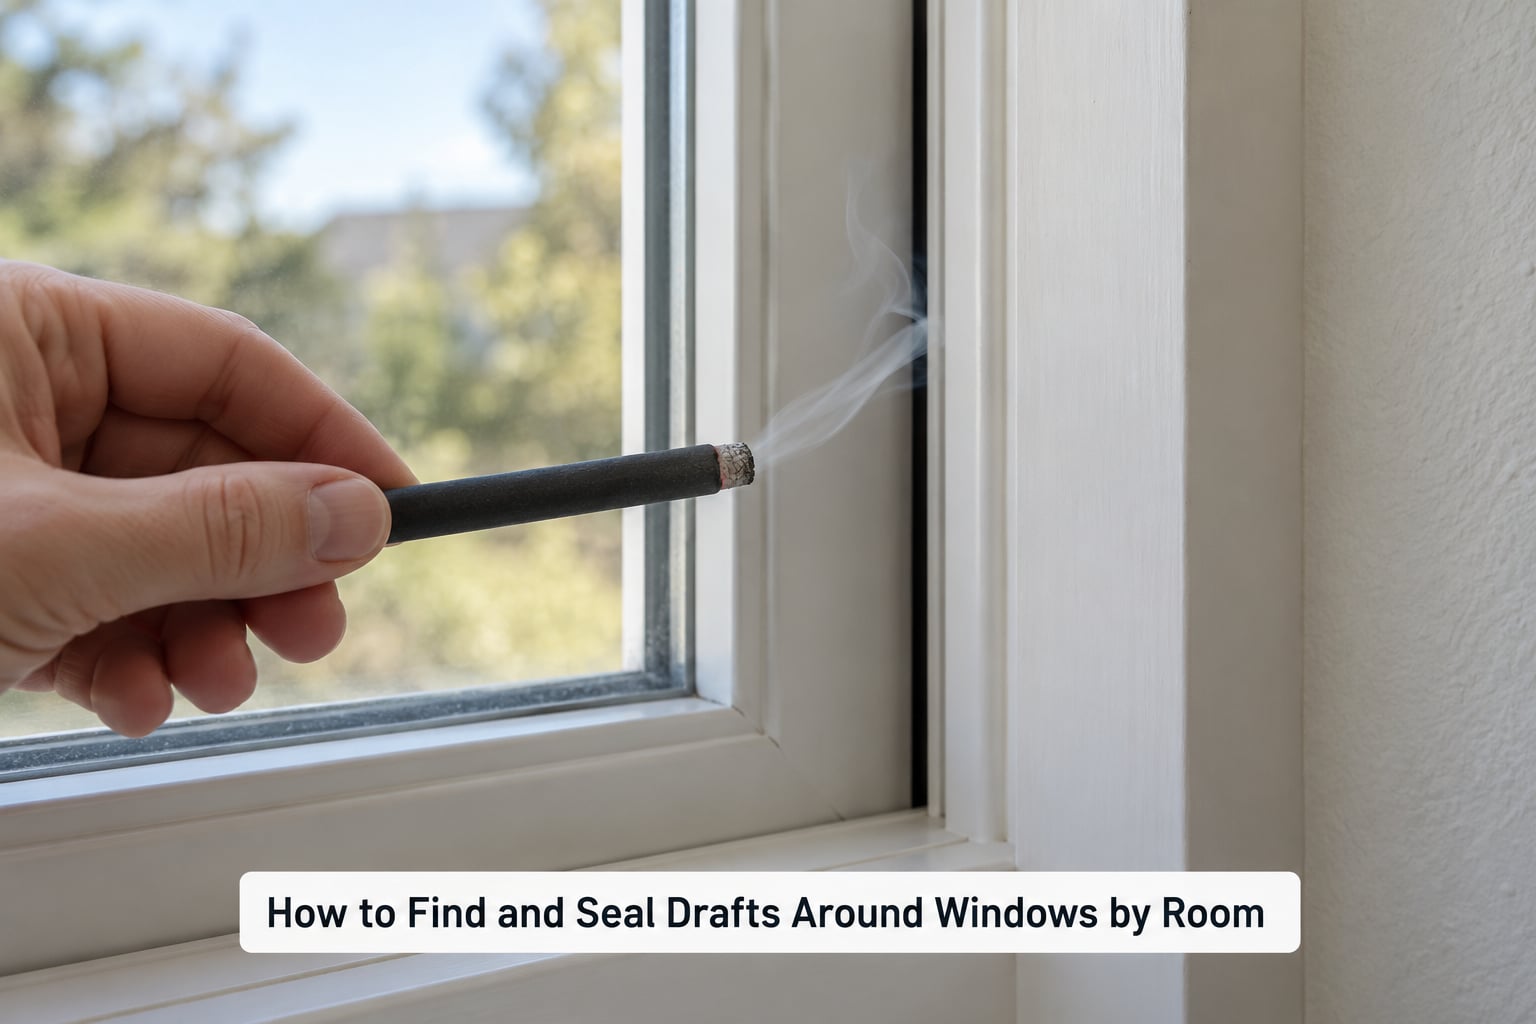
At each window, open and close the sash once to confirm it latches fully and sits flat in the frame. A window that closes but does not latch is a hardware and alignment problem, not a sealing problem, and no amount of caulk will fix it.
Run the tissue slowly along the following points, pausing a few seconds at each one:
- The meeting rail, where the two sashes touch on a double-hung
- The side jambs, along the full height of the frame
- The top and bottom edges where the sash meets the frame
- The lock and latch area
- The perimeter joint where the window frame meets the wall, at the sides and across the top
- The sill and the apron beneath it
Then swap the tissue for the smoke pencil and repeat the same path. The vapor makes a leak obvious because it pulls in and stirs instead of drifting away. That is worth the five dollars. If the whole face of the glass feels cold but nothing moves, you are dealing with heat loss through the glazing rather than air coming through a gap.
Triage before you touch a caulk gun. A draft is air in motion. Radiant cold is the window surface pulling heat off your skin, and no amount of sealing changes it. Condensation is warm room air meeting glass below its dew point, which is a moisture problem, and it can get worse when you tighten up the room without addressing ventilation.
| What you notice | What it actually is | What helps |
|---|---|---|
| Tissue moves at one edge only | Real air leak at a sash or frame joint | Weatherstripping or caulk at that joint |
| Whole glass pane feels cold to the cheek | Radiant heat loss through the glazing | Thermal curtains, window film, storm panels |
| Wet glass or peeling trim in winter | Condensation from indoor moisture | Reduce room humidity, improve airflow, keep the gap |
| Fog or milkiness between two panes | Failed insulated glass unit, not a leak | Glazing repair or window replacement |
| Cold air pours in from a closed window | Frame-to-wall or rough opening leak | Exterior sealant, backer rod, flashing check |
Write down what you find while you are standing there. Room, window, and which edge leaked. When you come back with the caulk and tape in hand, you will not remember whether the draft was on the latch side or the hinge side, and guessing is how people seal the trim instead of the leak.
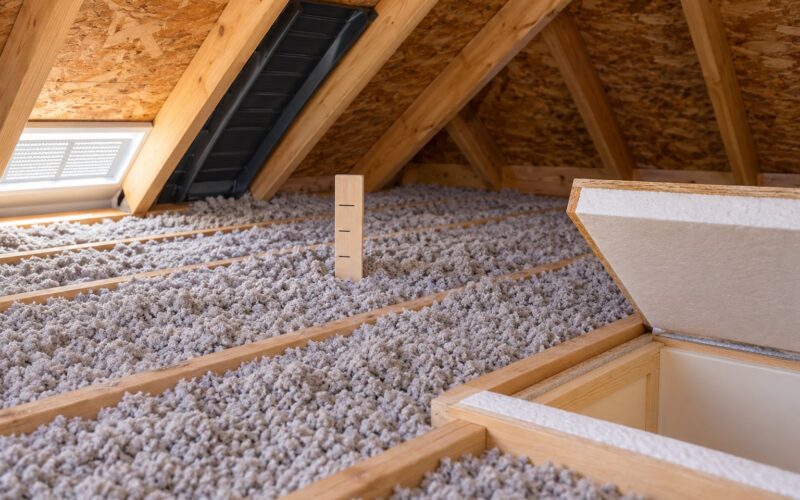
One extra test is worth doing for a house with two floors. Close the doors and windows downstairs and turn on exhaust fans upstairs for a few minutes, then bring the tissue back to the upstairs window frames. If the drafts get noticeably stronger, warm air is escaping somewhere below and being pulled back in through the upper windows. That points at the attic hatch, ducts, or bathroom fans rather than at the window itself.
Step-by-Step
1. Check the Window for the Actual Source of the Draft
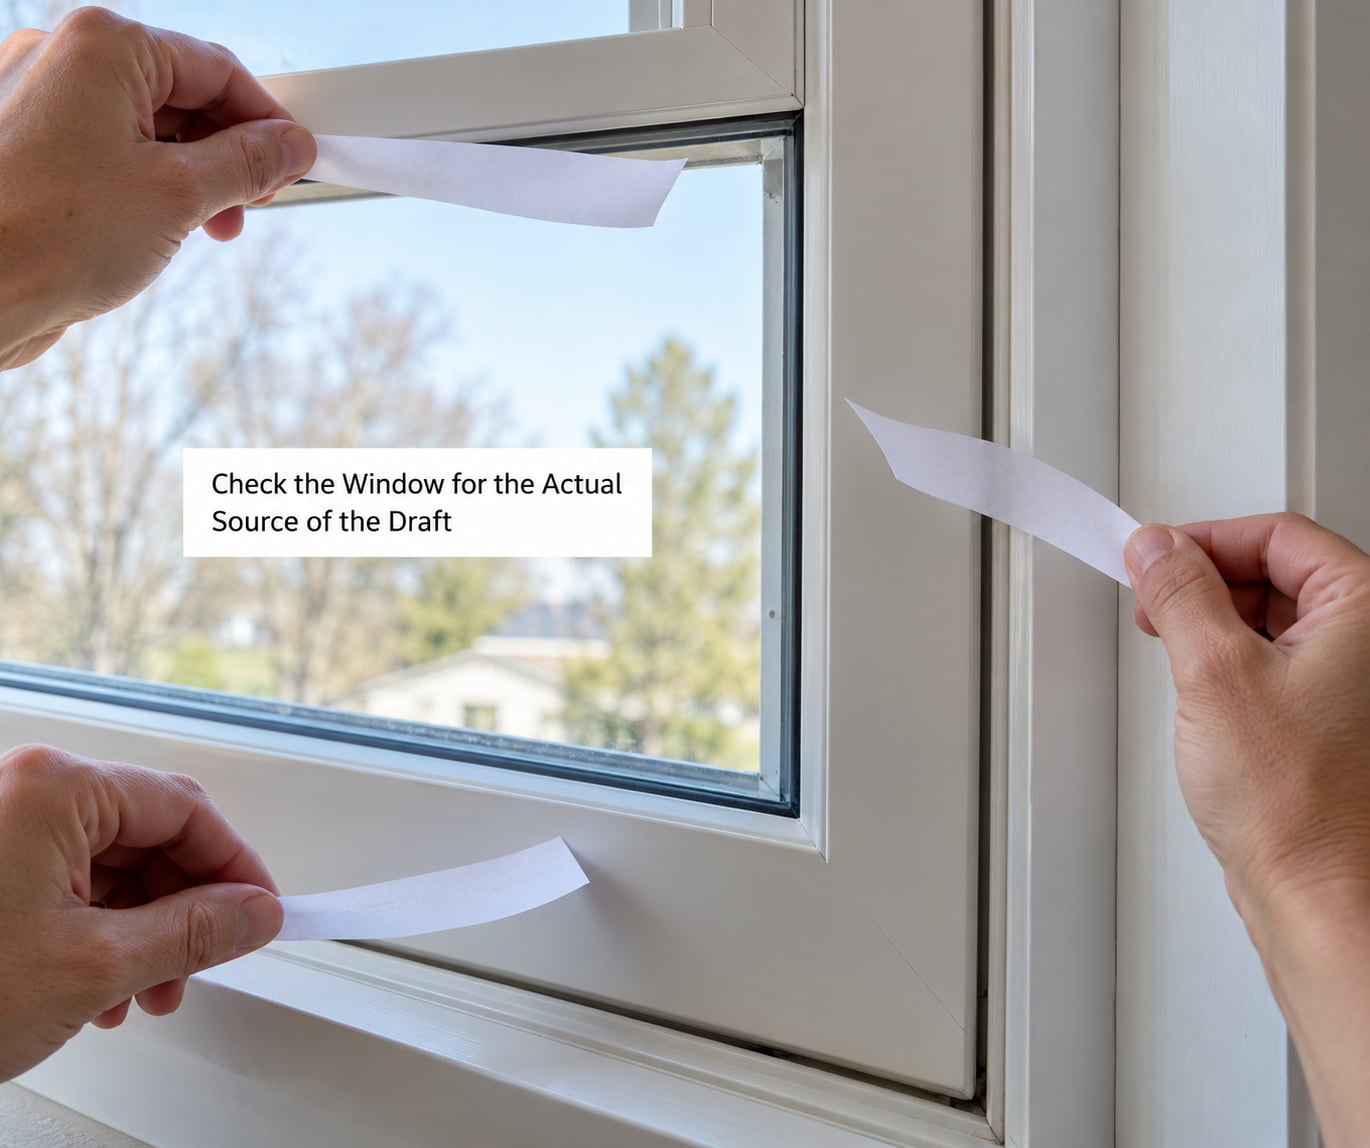
Air enters a window through a small number of predictable places, and each one has its own repair. Find the path before you clean anything, because it decides what you buy.
- Sash-to-frame gap — the sash moves, so this needs a compressible strip, never a rigid bead of caulk.
- Meeting rail — on a double-hung, air slips between the two sashes. A bulb seal or V-strip on the lower sash handles it.
- Frame-to-wall joint — the frame sits in a rough opening, and the joint between them is the source of a surprising number of leaks.
- Rough opening — the space inside the wall around the frame. This one is normally filled with insulation, and you can check by gently pushing a section of trim or jamb and feeling for hollow, cold air.
- Sill and apron — several readers on home improvement forums report their draft came from here rather than the sash, usually through a gap at the bottom of the frame or an unsealed apron joint.
- Glazing — old single-pane windows putty and an old seal letting air right at the glass edge.
Mark the spot with a pencil on the frame itself. If the tissue moves along the whole length of an edge, it is a strip problem. If it moves at one corner, it is a joint problem.
2. Clean and Prepare the Leaking Area
New sealant fails for one reason above all others: the surface underneath was not clean and dry. Scrape off loose caulk, flaking paint and old adhesive with a plastic scraper so you are not cutting into the frame, then wipe the area with a damp rag and let it dry fully.
Paint that has already let go will take the new bead with it. If the loose paint extends past where you intend to seal, remove it back to sound material and prime that bare wood before caulking. On an exterior joint, work when the surface temperature is above freezing and the air is dry; most sealant labels specify a range, and going outside it is how you get a bead that peels off in a season.
3. Choose the Right Repair for the Draft Location
The rule is short: weatherstrip anything that moves or compresses, caulk anything that stays still. Caulking a sash gap is the most common mistake on this list, because the bead is rigid, the sash flexes, and the seal breaks the first time someone opens the window hard.
Weatherstripping materials are not interchangeable, and the wrong one is why people complain that tape peels off or flattens within months.
- Open-cell foam tape — cheap, forgiving, works on uneven gaps. Expect roughly one to three seasons before it needs replacing, and do not paint over it.
- Closed-cell foam tape — denser and longer lasting, usually around three to five years, but it needs a consistent gap to seal properly.
- V-strip or tension seal — a folded vinyl or metal strip that springs against the gap. Good for the sash-to-frame and meeting rail on double-hung windows, and it is the community favourite when replacing rather than layering.
- Felt weatherstripping — the traditional choice for wooden sash windows. It compresses quietly and does not mar painted wood, but it soaks up rain and wears out faster.
- Brass or metal V-strip — the durable option on wood windows where you want longevity and the profile fits the groove.
- Vinyl or silicone bulb seal — simple and effective along the top edge of the lower sash, where it presses against the meeting rail.
For fixed joints, exterior-grade silicone or polyurethane goes on the outside, where it has to survive rain, sun and freeze-thaw cycles. Interior acrylic latex is easier to clean up and takes paint, and that is all it needs to do on an indoor trim joint. Silicone on an interior painted surface is a headache to remove later, so match the product to the surface.
Wide exterior gaps, anything past roughly a quarter inch, need backer rod pushed into the joint first so the sealant sits on a backing rather than bridging a hole.
4. Apply the Repair and Let It Cure
For weatherstripping, measure one edge, cut to length, and peel the backing back a few inches at a time as you press the strip into the groove or onto the frame. Keep the strip straight and unbroken, and cut mitred corners rather than butting two pieces together. Press it down firmly along the whole run, then close the window and reopen it to check that nothing binds.
For caulk, cut the nozzle at an angle about the same width as the gap, pierce the seal inside the cap with the nozzle tip, and run one continuous bead from one corner to the other in a single pass. Break off each end rather than starting a second bead in the middle. Smooth it with a damp finger or a wet plastic tool immediately, and scrape off any squeeze-out before it skins over.
Then leave it alone. Cured sealant takes anywhere from a few hours to a full day or more depending on the product, the bead thickness and the temperature, and a joint handled too early can be pushed out of shape.
For a temporary fix, painter’s tape pressed into a clean gap works surprisingly well on small drafts and peels off old paint more cleanly than most people expect. Removable window film kits and thermal curtains cover a bigger gap for a whole season without touching the frame at all.
5. Test the Window Again
After the cure time, open and close the window a few times, then repeat the tissue and smoke test along the same path you marked earlier. Compare it against your notes rather than relying on memory of how bad it felt.
If the draft has gone but the window now sticks or the sash rides high, you have packed the gap with something too thick. If the draft is the same or stronger at the same point, the air is coming from somewhere further back, usually the rough opening or the wall, and the next step is the exterior joint or a professional assessment rather than more sealant on the sash.
Common Mistakes
Most failed draft repairs share a small set of causes. These are the ones that come up again and again.
- Sealing over dirty, damp or flaky surfaces. The bead looks fine on day one and peels off with the first cold snap.
- Caulking the sash instead of the frame. A rigid bead on a moving part breaks the first time the window moves.
- Covering weep holes and drainage paths. The small openings at the bottom of the frame let rainwater escape. Seal them and water gets trapped in the wall or the sill pan, and the problem shows up as rot instead of a draft.
- Painting over weatherstripping. Paint on a compression strip makes the window hard to operate and turns a simple repair into a strip removal job.
- Ignoring the exterior joint. If you only work inside, an outside leak can keep pulling air in through the frame forever.
- Using too much caulk. A fat bead does not seal better, and excess squeezes out or blocks the sash.
- Assuming every leak is an air leak. Fogged panes, cold glass and condensation need different fixes, and sealing around them can trap moisture.
One more worth mentioning: painting a window shut. If the sash is stuck before you start, work the seal loose with a putty knife and a hair dryer on low, never force it. And if a single window has multiple failing edges, the sash is warped or the frame is out of square, and you are looking at reconditioning or replacement rather than sealant.
Frequently Asked Questions
What is the best way to seal drafts around windows without blocking them?
Match the product to the joint. Use a compressible weatherstripping on any sash edge or meeting rail that moves, and a quality caulk on fixed joints such as the frame-to-wall connection or the sill. Keep weep holes at the bottom of the frame open so rainwater can drain out of the wall.
Should I use caulk or weatherstripping around a window?
Weatherstripping goes wherever the window moves or compresses, including the sash-to-frame gap, the meeting rail on a double-hung, and the top of the lower sash. Caulk goes on stationary joints such as the frame-to-wall perimeter and interior trim seams. Caulking a moving sash is the most common reason a draft repair fails.
Can renters seal drafts around windows without damaging the frame?
Yes, if you stay reversible. Removable window film kits, thermal curtains, rope-style seasonal seals and self-adhesive weatherstripping all come off without residue. Painter’s tape pressed into a clean gap works for small drafts and peels cleanly off most old paint. Check your lease before anything permanent.
How do I find the source of a draft around a window?
Close and latch the window, then move a thin tissue or the back of your hand slowly around the meeting rail, jambs, sash edges, lock, and the joint where the frame meets the wall. Then repeat the same path with a smoke pencil, which makes leaking air visible. Write down what you find while you are standing there.
Why does my window still have condensation after I seal the draft?
Condensation is moisture meeting cold glass, not an air leak. Tightening the room reduces the airflow that was carrying that moisture away, so indoor humidity sources matter more than the seal. Run exhaust fans during cooking and bathing, keep the temperature difference moderate, and leave the drainage path at the bottom of the frame clear.
When should I replace a window instead of sealing air leaks?
Replace when the sash is warped or will not latch, the frame is out of square, glass is fogged between the panes, or several edges leak at once after new weatherstripping. Those are structural or glazing failures that sealant cannot fix. A single leaking edge on a sound window is usually a strip and a bead of caulk.
Conclusion
Find and seal drafts around windows in one order: test with tissue and a smoke pencil on a breezy day, write down which edge leaks, clean that edge back to sound material, then strip the moving parts and caulk the fixed joints. Retest the same path once the sealant cures. If the same spot still leaks after that, the air is coming from the rough opening or the wall, and that is a bigger job than a tube of caulk.